This post may contain affiliate links. Please see my full disclosure for details.
Hi Bold Bakers!
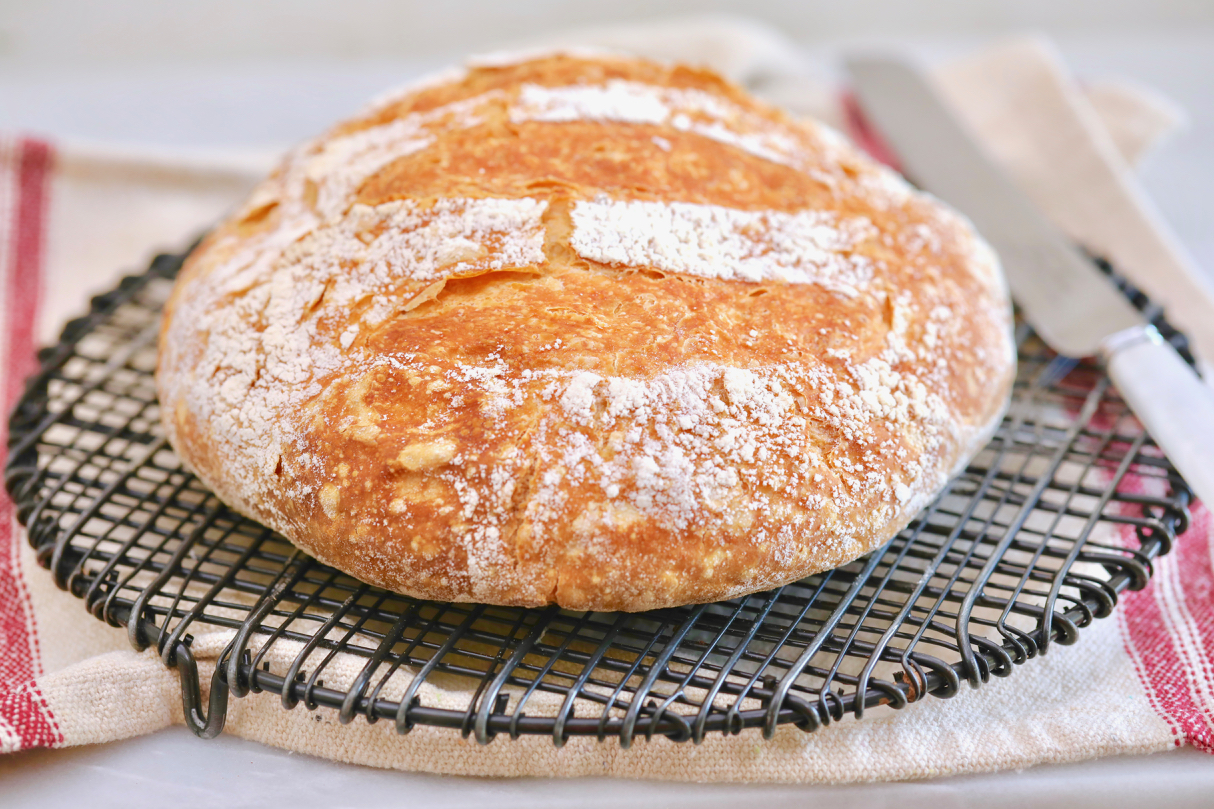
I have heard from a lot of you that you would love to do more bread making in 2020! All sorts of doughs from sourdough, to No-Knead doughs to basic bread doughs. I’m all in, but first I thought it’s important we cover the ‘7 most Common Breadmaking Mistakes You’re Probably Making’ so you don’t do them going forward! Then you’ll be ready to make my Artisanal Whole Wheat Bread for beginners, my Cinnamon Raisin Bread, and even my World’s Simplest Sourdough Bread recipe.
1. Failing to Weigh Your Ingredients Accurately
For absolute accuracy use a scale to weigh your ingredients in grams or ounces. Yes, you can use cups, however, cup measurements aren’t as precise and can vary throwing off your dough. This is the reason that in bakeries and restaurants we exclusively use a scale for measuring. If you need one, you can find a scale on Amazon!
2. Mistakenly Adding Salt DIRECTLY on top of Yeast
Yeast will be killed if salt lays DIRECTLY on top of it. Don’t worry, I just mean that when adding the yeast and salt add them on opposite sides of the bowl. Give then individually a little mix into the flour and THEN you can mix it all together (See video below for example!).
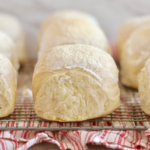
3. Incorrectly Adding Too Much Liquid
Unless specified in the recipe, when making bread add JUST enough water to form a ball of dough that cleans the bottom of the bowl (See video below for a visual). Although recipes give you a specific amount of liquid you might not need it all OR you might even need a little extra. That is perfectly normal. Add your liquid slowly until you see your dough come together.

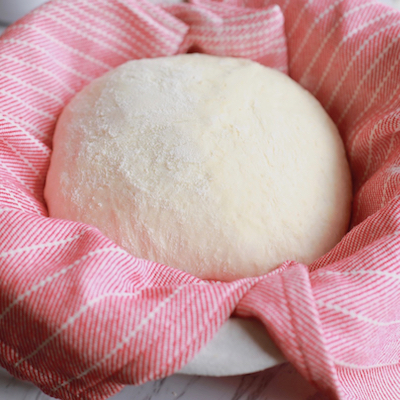
4. Not Covering Up Your Dough At All Stages of Breadmaking
Fun fact: Dough and air are not best friends! Quite the opposite, actually. We don’t want the dough to be left uncovered for long periods of time at any stage of the breadmaking process.
Air coming in contact with your dough will cause a skin will form. If a skin develops, it’s really hard for your dough to rise sufficiently. Think of the skin as a jacket actually holding back your dough from proofing underneath it.
A Solution? Cling wrap the dough then place a clean kitchen towel over that. Now you are all good.
5. Inadequately Proofing Your Dough
Proofing is an important step in the breadmaking process. This stage ensures your dough will rise to its full potential and that your crumb will be formed correctly.
A telltale sign of over-proofing would be a flatter dough coming out of the oven. Another way to tell if your dough has been over-proofed is that your dough sticks to the cling wrap and will drag your dough when you try and remove it.
How to make sure you don’t over-proof your dough? Using your finger, push into the side of your formed bread loaf. If the bread springs back fast and your indentation disappears then it needs to proof for longer. When your dough gets to the stage where your indentation disappears much slower then your bread is adequately proofed (See video below for a demonstration of this technique).
6. Failure to Create Steam in the Oven
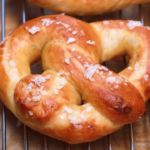
Steam is a very important element when baking bread and shouldn’t be overlooked because it is an extra step. Steam in the oven while baking creates a flexible and chewy crust. Also, shine in my opinion. You can easily create steam in a domestic oven at home.
Here are 2 solutions: Place a shallow baking pan with some hot water on the bottom rack of your oven during the preheating. Leave it in there for roughly 20-25 minutes or so for the initial stage of baking. Then you can remove it so you will form a thick crust.
Alternatively, once your dough is in the oven, immediately spray the dough and interior of the oven with a spray bottle of water OR you can splash of water using a little cup.
7. Don’t Let the Heat Escape During Baking
If the door is open within the first 20 minutes of baking, it won’t allow for “oven spring.” Oven spring is the first rise of the bread in the oven and it’s incredibly important. Please keep that oven door closed and the heat in. Also, allowing heat to escape will result in a soft crust. This is a must in breadmaking.

Tips and Tricks for Breadmaking at Home:
- Be mindful when switching up flours from the original recipe:
- If a bread recipe calls for a particular flour, but you want to use a replacement flour, be mindful of your liquid measurements
- For instance, bread flour could be replaced for all-purpose flour, but since bread flour absorbs more liquid than all-purpose you would need more liquid
- I would not recommend substituting a 1 to 1 ratio of whole wheat flour to all-purpose flour. Completely replacing all-purpose flour with whole wheat flour will result in a heavy and dense bread. However, feel free to do half whole wheat flour and half all-purpose
- Treat bread dough like a living thing: keep it warm and covered:
- The yeast in the dough is a living organism and should be treated as such with warmth, food (sugar), liquid, and cared for
- Therefore, the dough is happiest in a warm environment and it should be covered (cling wrap and kitchen towel ‘blanket’) and protected from drafty air
- Take notes as you bake your bread:
- Pay attention and write down how you do your steps in bread making because it will help improve how you make bread the next time
- Good notes could include proofing time, steaming method, baking temps/times, etc.
- Understand the type of yeast you’re using:
- Active dry vs. instant yeast
- Active dry yeast requires that you bloom the yeast in a warm liquid before you mix in your dry ingredients
- Instant yeast does not need to be activated, instead, it is incorporated into the dry ingredients when mixing the dough
- Active dry vs. instant yeast
- Score dough at an angle before you bake:
- Scoring controls the direction in which your bread will rise during “oven spring”
- These slits allow for the release of heat through the top of the bread so it doesn’t burst through the bottom/sides
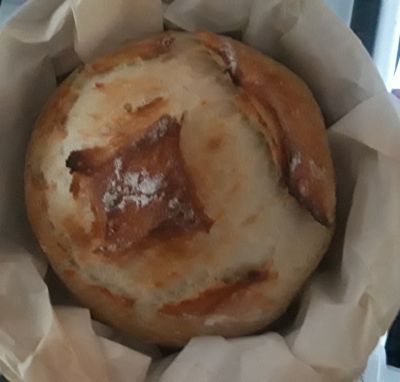
- When to take out your bread:
- The bread should be a deep golden brown color
- A good test would be to tap the bottom — if it sounds hollow, it’s done.
Don’t forget to follow Bigger Bolder Baking on Pinterest!
Make Some Bread!


Watch The Recipe Video!
This Recipe Made By Bold Bakers
2 Images
Georgi Murray
Noellean
About Us
Meet Gemma

About Us
Meet Gemma
Hi Bold Bakers! I’m Gemma Stafford, a professional chef originally from Ireland, a cookbook author, and the creator of Bigger Bolder Baking. I want to help you bake with confidence anytime, anywhere with my trusted and tested recipes and baking tips. You may have seen one of my 500+ videos on YouTube & TikTok or as a guest judge on Nailed It! on Netflix or the Best Baker in America on Food Network. No matter your skills, my Bold Baking Team & I want to be your #1 go-to baking authority.

Having a hard time reading it because your tips video, comment and share ribbon are blocking the text. Having a way to hide that would be awesome, but I couldn’t find it.
Hi, thanks for all the helpful tips. I have a question, I made a bread called in Spanish Rosca. Using 2 different recipes I found, I used the scale to measure everything. After I let the dough proof I started to knead it and shape it but the dough felt hard and wouldn’t shape. Reminded me of play dough lol. I don’t understand what I did wrong if I followed the recipe. It took me 3 times to finally get it right. But still don’t know what went wrong and this is why I am super excited to know you’ll… Read more »
Hi Gemma, just confirming I’ve got the instructions correct. I put a pan of water in the oven with my bread for steaming, I don’t open the oven for the first 20 minutes but then at around 25 minutes its okay to open the oven to take the water out? Thanks for all of your great work.
Why is my irish s bread so crumbly
Thanks for the tips. Love your site, videos and teaching style❣️
These are wonderful tips Gemma. Thank you so much.
Gemma, if using a dutch oven should I preheat and should I use parchment paper
Thank you very much for pointing out this, I have been able to identify my mistakes
I have struggled to make a good Ciabatta bread but your recipe has changed all that! absolutely delicious and I am amazed how long the bread stayed fresh. Going to try the wheat bread next. THANK YOU! great tips
Hi Gemma, first of all thank you for all your advise. I live in Malta (a tiny island in the Mediterranean) and most common flour found here is a type called “00”. Can I use this this same way as plain or all purpose flour please.