This post may contain affiliate links. Please see my full disclosure for details.
Hi Bold Bakers!
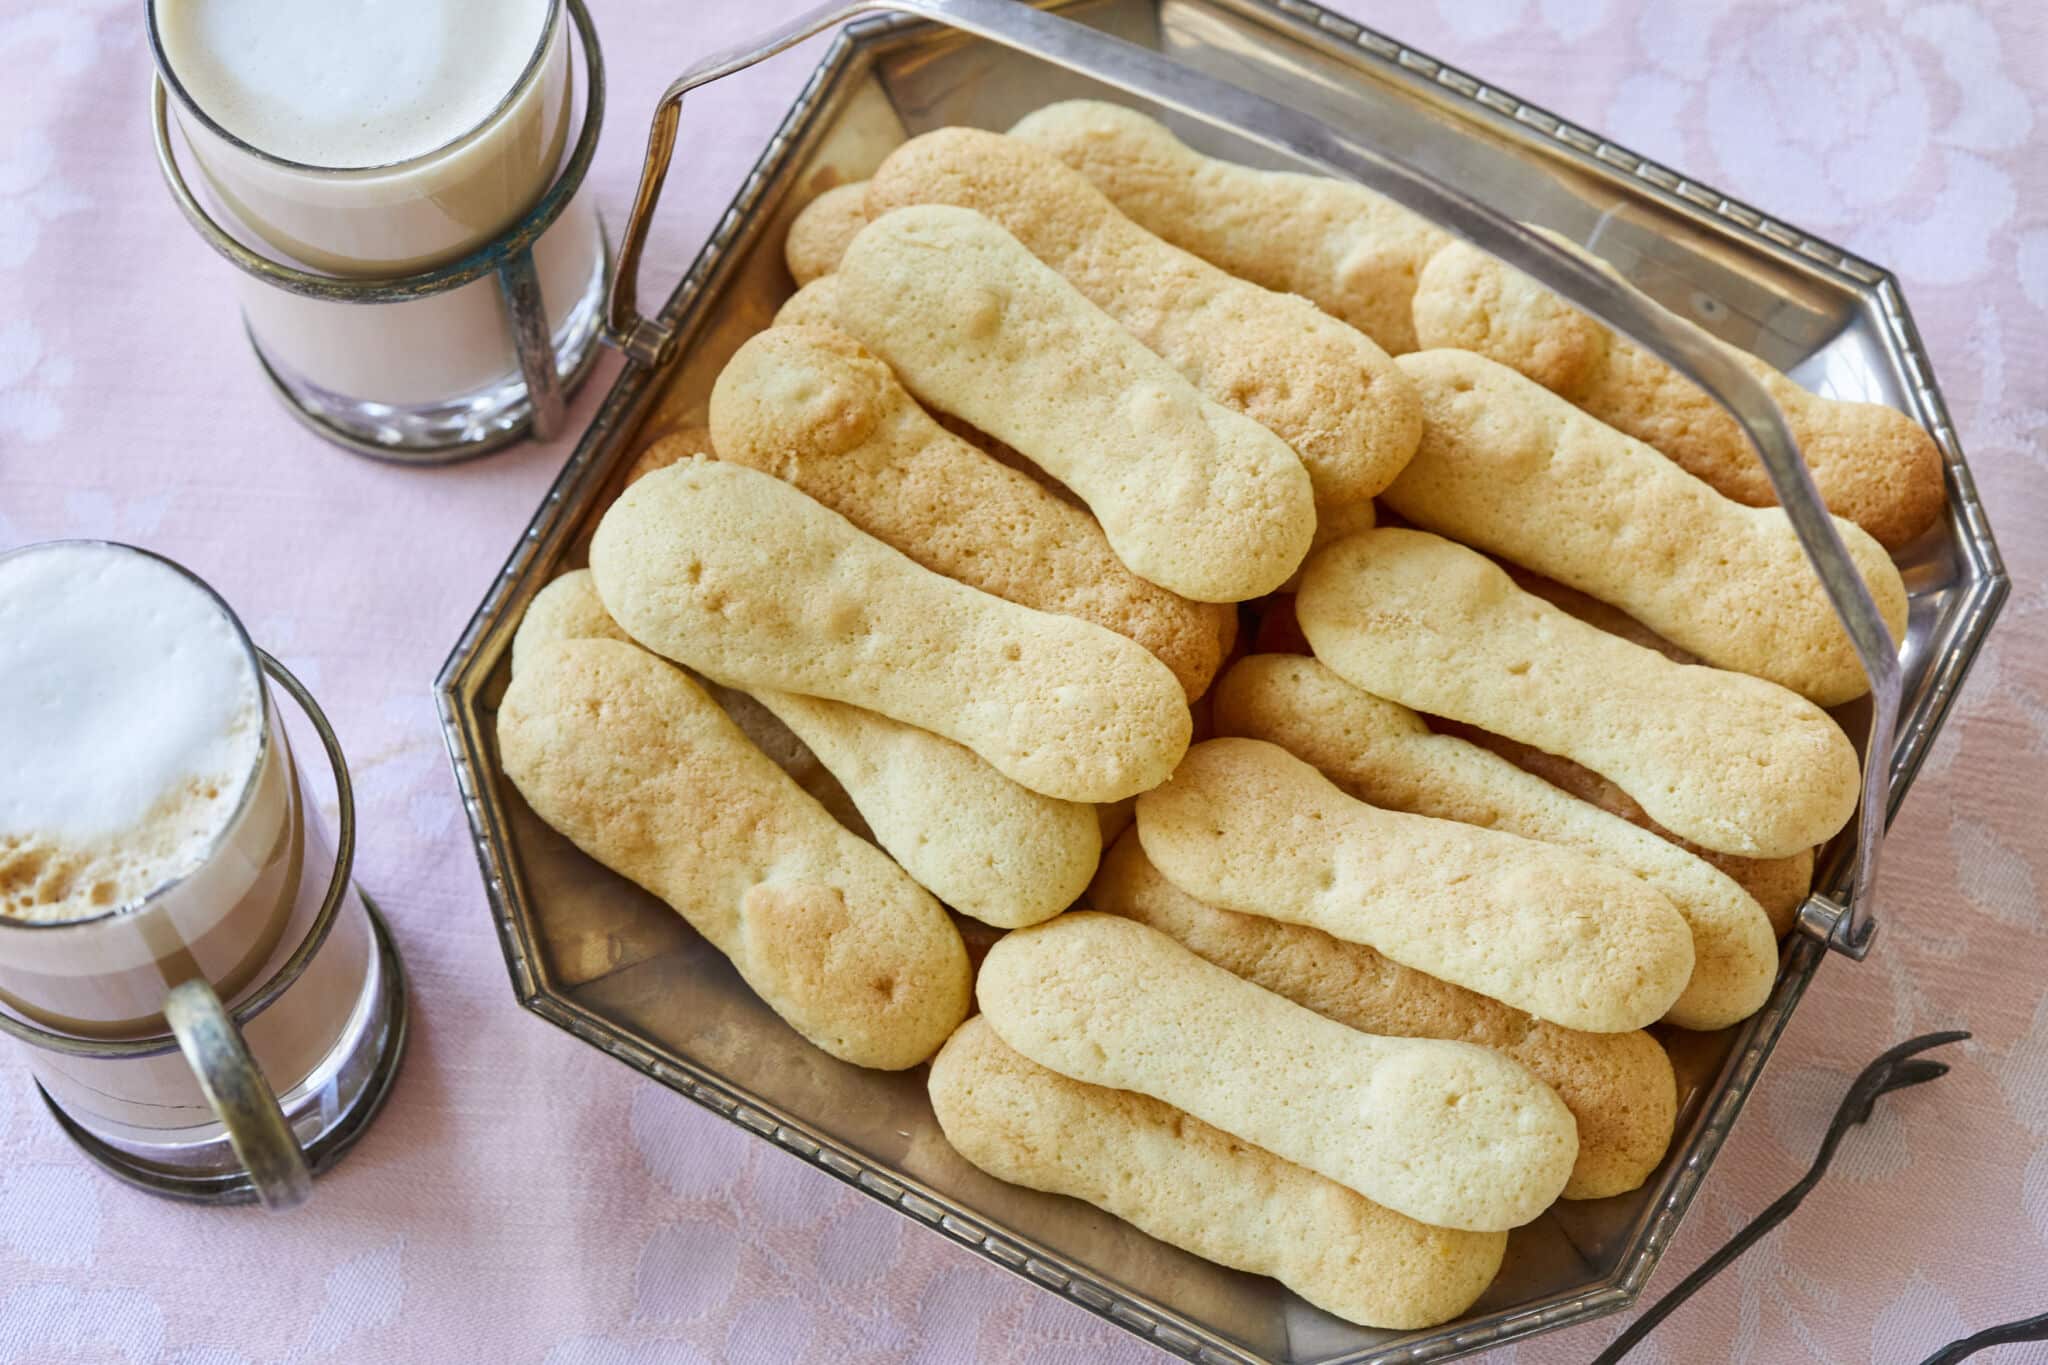
WHY YOU WILL LOVE THIS RECIPE: My Homemade Ladyfingers Recipe will help you make these unique biscuits with a crispy exterior and sponge-like interior easier and faster than going to a store!
IMPORTANT NOTE: This recipe was updated and improved on 03/21/23, to include definitions and history, additional step-by-step photography, answers to the most frequently asked questions and Pro Chef Tips.
Being a Bold Baker is about not only having a large toolbox of skills, but also simple recipes up your sleeve, giving you the confidence to bake anywhere, anytime. While we might all at times tempt to try complete and extravagant recipes, all you really need to make the best desserts are the basics.
Knowing how to make Homemade Ladyfingers is a key building block for everything from my 10-Minute Berry, Chocolate Tiramisu, my favorite 10-minute Tiramisu and The BEST Tiramisu Recipe (100% From Scratch). While you might think these are exclusive to Italians and are very difficult to find even at an imported goods store, worry no more! Let’s see how these ladyfingers bake out light and spongy even without the raising agent baking powder!
Table of Contents
- What are Ladyfingers?
- Tools You Need
- Homemade Ladyfingers Recipe Ingredients
- How to Make Ladyfingers
- Should Ladyfingers Be Soft Or Crunchy?
- Why is my Batter Thin? Why did my Ladyfingers Deflate/Spread?
- FAQs
- Gemma’s Pro Chef Tips
- Try Ladyfingers in More Desserts!
What is Ladyfingers?
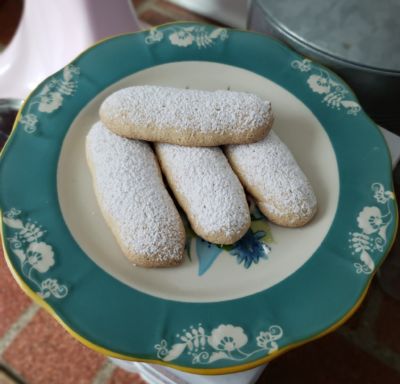
Ladyfingers (AKA “sponge fingers” in British English) are finger-shaped traditional Italian pastries with biscuits’ crispy exteriors and sponge cakes’ airy and light interiors.
The history of Lady fingers is said to date back to the late 15th century in Western Europe, where today’s Italy borders France. They were originally baked for a visit by the King of France and later on introduced to other Italian regions as a local cuisine pride.
The word “savoiardi” that is often seen on the market means “ladyfingers” in Italian!
.")
Tools You Need
- Mixing bowls
- Whisk
- Measuring cups and spoons
- Stand mixer or hand mixer
- Metal spoon
- Sieve
- Large pastry bag for piping
- Parchment paper
- Baking sheets
Homemade Ladyfingers Recipe Ingredients
- Egg yolks: Egg yolks need to be at room temperature in order to mix well. Egg yolks contain an emulsifier to lower the surface tension between fat and water to bring the two together into a homogenous mixture at the same density. As a result, this will stabilize the ladyfingers cookies’ structure.
- Granulated sugar: Sugar adds sweetness. In addition, sugar contributes to meringue by dissolving in (as beaten in) the protein film on the surface of the air bubbles. This sugary syrup film prevents the proteins from drying out and locks in the air to make cookies rise during baking.
- Vanilla extract: Vanilla extract enhances flavors!
- Egg whites: Egg whites need to be at room temperature to whip up well. Proteins from egg whites are made of amino acids. Whisking adds air, which creates bubbles and causes amino acids to unravel to the surface of bubbles. As they coat the air bubbles, they begin to link together to form nets to keep air bubbles from popping. With the addition of sugar, egg whites ensure the stable aerated bubbly structure of ladyfingers.
- All-purpose flour: All-purpose flour is the base and has the perfect protein content to create light instead of chewy heavy cookies.
- Powdered sugar: for dusting (optional).

How to Make Ladyfingers
- Prep: Firstly, preheat the oven to 350°F (180°C) convection (fan assist). Fit a large piping bag with a medium round nozzle or snip the end by ½ inch. Line two baking pans with parchment paper.
- Stencils: draw 3 ½-inch long lines about 1 inch apart for piping straight ladyfingers.
- Egg yolk mixture: Whip egg yolks with ¼ cup (2 oz/58 g) sugar on high speed until pale and fluffy, about 3 minutes, followed by the vanilla.
- Meringue: Whip the egg whites on high speed until soft peaks (which barely hold their shape and flop over immediately when the beaters are lifted), about 2 minutes. Add the remaining ¼ cup (2 oz/58 g) sugar, a tablespoon at a time continuing to whip until the whites hold stiff peaks (which stand straight up when the beaters are lifted and the meringue does not fall off the bowl when upside down).
- Introducing: Using a large metal spoon, gently cut and fold in the whipped whites to the yolk mixture JUST until almost combined.
- Combine wet and dry: Sift the flour (and 1/4 teaspoon salt if preferred) over the batter. Continue to gently fold to incorporate all the flour.
- Filling and piping: Fill the piping bag with the batter and pipe the batter onto the lines on the trays.
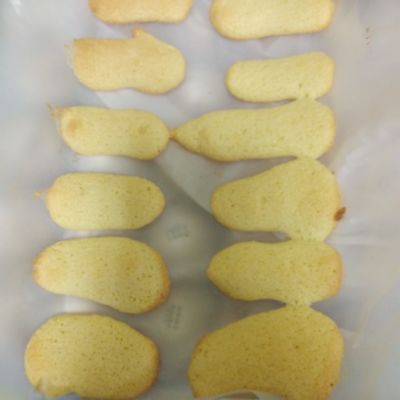
- Bake: at 350°F(180°C) for 14-15 minutes, or until just beginning to turn golden around the edges.
- Cooling and storing: Another key point is to allow cooling fully before storing in an airtight container for 3 days. You can also freeze homemade ladyfingers for up to 8 weeks.


Should Homemade Ladyfingers Be Soft Or Crunchy?
You might be wondering what the right texture is for a ladyfinger. Well, the truth is, when they just come out of the oven they are actually quite soft and sponge-like in the center and a little crisp on the outside. However, Given that being so delicate, they firm up in a really short time if left out in the air. It’s when they are slightly stale that they are actually great for soaking up all kinds of flavors to elevate trifles or tiramisu.
Why is my Homemade Ladyfingers Batter Thin? Why did my Ladyfingers Deflate/Spread?
- As a matter of fact, flours don’t absorb liquid the same. In most recipes, I suggest you hold back some liquid and adjust it accordingly. Here, you can gently dust and fold in more flour by a spoonful.
- Before adding in sugar, whip up egg whites until light and fluffy, which builds up a structure to hold the sugar without collapse. Whip until stiff peaks which stand straight up when the beaters are lifted.
- Use a thin-edge metal spoon for folding in order to minimize the chance of deflating the mixture.
- Chilling the batter in the fridge for half an hour will also help.
FAQs
Can Homemade Ladyfingers Be Frozen?
Ladyfingers freeze well. I suggest you wrap them up and either vacuum seal them or store them in an airtight container. To use from frozen, just defrost at room temperature for 30 minutes. From there just use these ladyfingers as normal.
Other Than Tiramisu, What Are Ladyfingers Good For?
Ladyfingers are not only the quintessential ingredient in tiramisu, but also work well in any trifle recipe instead of cake or Swiss roll. And must be remembered, they can simply be the perfect accompaniment to a cup of coffee in the afternoon.
Can Ladyfingers Be Egg-Free?
I’m glad you asked! Of course, they can — but it isn’t as easy as substituting the eggs for something else. On the contrary, it’s a whole different recipe. Get the recipe for Egg-Free Ladyfingers.
Desserts That Use Homemade Ladyfingers
I always have ladyfingers on hand, and I love to use the leftovers for dishes like my BEST Tiramisu Recipe (100% From Scratch), 10 Minute Tiramisu and 10 Minute Berry Tiramisu, so do the same! Knowing how to make ladyfingers is such an important part of any baker’s repertoire.

Gemma’s Pro Chef Tips
- Sifting dry ingredients can remove lumps from powdered sugar (or cocoa powder in other recipes) and as a result, aerate the mixture by incorporating air. In contact with heat, air molecules start vibrating and colliding with each other so air expands to leaven baked goods, resulting in lightness.
- How To Whip Egg Whites:
- The process of making ladyfingers is that of adding air into eggs so the biscuits can rise without baking powder! The yolks and the whites of the eggs are whipped separately with sugar. Therefore, the secret ingredient in a homemade ladyfinger is air!
- By giving the egg whites a good whip with a stand mixer on high, you will reach “stiff peaks” or a sturdy meringue-like base. As for the egg yolks, you want to do the same, but this can be done by hand, creating pale yellow and fluffy egg yolks.
- Homemade ladyfingers depend on this step instead of baking powder to create a super light and spongy ladyfinger. This sponge-like interior with a crisp exterior is what makes ladyfingers so unique.
- Gluten-free: You can make this Homemade Ladyfingers Recipe gluten free! Gluten-Free all-purpose flour or almond flour will work great and you can make them at home, too!
Use Ladyfingers In These Desserts:
- The BEST Tiramisu Recipe (100% From Scratch)
- 10 Minute Tiramisu
- 10 Minute Berry Tiramisu
- 10-Minute Chocolate Tiramisu
- No-Bake Tiramisu Cheesecake
- Rich and Creamy Tiramisu Semifreddo
- Tiramisu Ice Cream
IMPORTANT NOTE: This recipe was updated and improved on 03/21/23, to include definitions and history, additional step-by-step photography, answers to the most frequently asked questions and Pro Chef Tips.
Try These Recipes!


Watch The Recipe Video!
Homemade Ladyfingers Recipe (How to Make Ladyfingers)
Ingredients
- 3 large egg yolks, room temperature
- ½ cup (4 oz/115 g) granulated sugar, divided
- ½ teaspoon vanilla extract
- 4 large egg white, room temperature
- 1 cup (5 oz/142 g) all-purpose flour
- powdered sugar for dusting (optional)
Instructions
- Preheat the oven to 350°F (180°C) convection (fan assist*). Fit a large piping bag with a medium round nozzle. Set aside.
- On 2 pieces of parchment, draw 3 ½-inch long lines about 1 inch apart. This will help you pipe straight lady fingers. Place on 2 baking sheet pans.
- Using a stand mixer (or electric hand mixer) with a whisk attachment whip the egg yolks with ¼ cup (2 oz/58 g) sugar on high speed until pale and fluffy, about 3 minutes. Then beat in the vanilla.
- Using the stand mixer (or electric hand mixer) again, whip the egg whites on high speed until soft peaks (which barely hold their shape and flop over immediately when the beaters are lifted), about 2 minutes.
- Add the remaining ¼ cup (2 oz/58 g) sugar, a tablespoon at a time. Continue to whip until the whites hold stiff peaks (which stand straight up when the beaters are lifted and the meringue does not fall off the bowl when upside down).
- Using a large metal spoon, gently fold in the whipped whites to the yolk mixture, taking care not to deflate all of the air you have incorporated.
- Once the egg white mixture and yolk mixture are almost combined sift the flour (and a pinch of salt if preferred) over the batter. Continue to gently fold until all of the flour is incorporated.
- Fill the piping bag with the batter and pipe the batter onto the lines on the trays.
- Bake for 14-15 minutes, or until just beginning to turn golden around the edges.
- Allow cooling fully before storing in an airtight container. The ladyfinger will keep 3 days in an airtight container. They can also be frozen for up to 8 weeks.
Recipe Notes


PERFECT! My ladyfingers came out awesome for my tiramisu that I am making right now. To everyone having problems: I can almost guarantee you are not whipping your whites enough or that you are over folding them! Whip them to the point when you lift up your whisk that the egg white tip stands straight up and doesn’t fold over (like Dairy Queen ice cream cones lol). When you mix into your yolks, like Gemma said it’s okay if it’s streaky! You don’t wanna overmjx when you put your four in. Undermix. Thanks!
This is a true story. My sister had a double mastectomy yesterday. My niece, her only child, is 15 and loves to bake. Tiramisu has been on her bucket list, so I thought a long afternoon waiting was the perfect day to try it. Our small town does not sell lady fingers, so we used the homemade lady fingers with egg recipe. With a little help separating the eggs, my niece handled the steps herself with my support. We were blown away. The lady fingers were easy to make, beautiful and DELICIOUS! It made for a perfect outcome of the… Read more »
Hi expert bakers, please guide me how many egg yorks and how many egg whotes are there in total in this recipe? As far as i understand 3 yorks and 4 whites? M i right? Im confused
I do not read the ingredients properly so I thought it’s 3 yolks and 1 white and bake the ladyfinger without knowing. I only found out after the baking is done. Luckily it still baked well and when I try it, it tastes awesome. Thank you for the recipe 😊😊
I made these today because I found it impossible to find them at a store! I decided to make it a day before making my tiramisu (I’m attempting tomorrow) so that they could hopefully get harder which was recommended. Had no idea how it would turn out as I’ve never even had lady fingers before let alone make them. The instructions were easy and clear so that was helpful. Mine only took 5 mins in the oven which I was shocked about but glad I kept checking them. They’re defiantly very soft which isn’t what I was expecting but hey,… Read more »
Is it possible to spread the batter onto a jelly roll sheet and cut them after baking & cooled? If so, is the cooling time the same?
Came out perfect! Forgot to buy ladyfingers for a tiramisu, so attempted these instead of running back out. Almost had to make a second batch because I couldn’t stop munching on them!
Thank you chef, nice to know you, your blog is helpfully for me
I am shocked by how easy and VASTLY superior these are to store bought. There is no comparison!!
My husband forgot to buy these whilst out shopping so I decided to make them instead. I didn’t read the recipe properly and threw the sugar in with the egg whites before starting to whisk- but luckily it still worked. They are cooked and look great. They’ll go in a tiramisu later today.