This post may contain affiliate links. Please see my full disclosure for details.
Hi Bold Bakers!
WHY YOU’LL LOVE THIS RECIPE: My Apple Cider Caramels are the perfect balance of rich apple flavor, warm cinnamon spice, and buttery sweetness, wrapped up in a soft, melt-in-your-mouth bite that will have you reaching for “just one more” every time.
- Fall Flavor Explosion: Reduced apple cider intensifies the fruit’s natural sweetness and tang.
- Soft & Chewy Texture: Cooked to perfection for that irresistible tender bite.
- Warm Spice Notes: Cinnamon and sea salt woven into every layer of caramel.
- Gift-Worthy Treat: Individually wrapped, they’re perfect for sharing—or keeping all to yourself.
- Customizable Chew: Cook longer for a firmer caramel, shorter for ultra-soft.
I adore these caramels because they’re a chewy mouthful of fall in every bite. If you’ve been hesitant about making caramel, this is a fantastic beginner-friendly recipe to start with. In the recipe, I suggest skimming away any “scrum” that rises to the surface while reducing the apple cider—this keeps your caramels from turning cloudy and gives them that brighter, richer brown color. And while I usually try to offer workarounds for specialized baking tools, in this case I strongly recommend investing in a candy thermometer—it truly makes all the difference for perfect results.
Bold Bakers Loved This!
” This recipe is excellent! I used a local fresh cider from one of our orchards and, just as you said, the apple flavor & perfume are amazing. Definitely will be part of my Christmas giving this year!”– Kakubes
IMPORTANT NOTE: This recipe was improved and updated on 8/13/2025, to include explanations and substitutes of key ingredients, make-ahead and storage instructions, answers to the most frequently asked questions, and Pro Chef Tips.
Table of Contents
- What are Apple Cider Caramels?
- Tools You Need
- Key Ingredients
- How to Make Apple Cider Candy
- Gemma’s Pro Chef Tips
- Make Ahead and Storage Instructions
- FAQs
- More Caramels Recipes
What are Apple Cider Caramels?
Apple cider caramels are soft, slightly chewy, buttery candies infused with the rich, tangy sweetness of reduced apple cider and warm fall spices.
- Chewy & Satisfying: A tender bite that lingers just long enough before melting away.
- Apple-Forward Flavor: Fresh cider is simmered down to intensify its natural sweetness.
- Buttery Richness: Cream and butter create a luscious, melt-in-your-mouth texture.
- Warm Spices: Cinnamon and sea salt add depth and balance.
- Handcrafted Treat: Perfect for gifting, sharing, or enjoying one after another.
Tools You Need
- Measuring cups
- Measuring spoons
- Measuring jugs
- Mixing bowls
- Saucepan
- Candy thermometer
- 8-inch (20 cm) square baking pan
- Parchment paper
- Knife
Key Ingredients
Apple Cider
- Provides a concentrated apple flavor when reduced.
- Adds depth without overpowering the caramel.
Butter
- Gives the caramels a luscious, creamy mouthfeel and helps create a silky finish.
- Either salted butter or unsalted butter will work.
- Substitute: Coconut oil, margarine, or plant-based butter for a dairy-free option.
Granulated Sugar
- Main sweetener for balance and structure.
- Contributes to color and flavor development through caramelization.
- Substitute: Note that sugar-free sugar substitutes won’t caramelize, so they won’t work well here. Try honey or maple syrup from my sugar substitute chart.
Dark Brown Sugar
- Adds a warm, slightly smoky sweetness from molasses.
- Keeps the caramels soft and chewy.
- Substitute: You can make dark brown sugar with my recipeby mixing granulated sugar with molasses (1 tablespoon molasses per cup of sugar).
Heavy Cream
- Rounds out flavor and texture with creaminess.
- Prevents the caramel from becoming brittle for a softer chew.
- Substitute: Full-fat coconut milk for a dairy-free option.
Ground Cinnamon
- Enhances the apple flavor with warm spice.
- Substitute: Pumpkin pie spice, ground nutmeg, or ground ginger for a different spice profile.
Flaky Sea Salt
- Cuts through the sweetness and adds a subtle crunch in each bite.
How to Make Apple Cider Candy
- Butter and Line: Butter and line an 8-inch straight- sided square metal baking pan with parchment paper. Set it aside.
- Reduce Cider: Simmer the apple cider in a medium saucepan over medium heat until it reduces to a dark, thick syrup—about ⅔ cup (5 fl oz/150 ml) in volume. This takes roughly 35 to 40 minutes. Skim away any foam or “scrum” that floats to the top to keep the caramel clear and bright.
- Combine Ingredients: Remove the reduced cider from heat and pour it into a clean medium saucepan. Add butter, granulated sugar, dark brown sugar, heavy cream, cinnamon, and salt.
- Attach Thermometer & Simmer: Return the pot to medium-low heat and attach a candy thermometer. Let the cider and cream mixture simmer until it reaches 250°F (125°C), but no higher, to keep the caramels soft and chewy.
- Pour & Set: Immediately remove from heat and pour caramel into the prepared pan. Let it cool and firm up for about 3 hours or overnight.
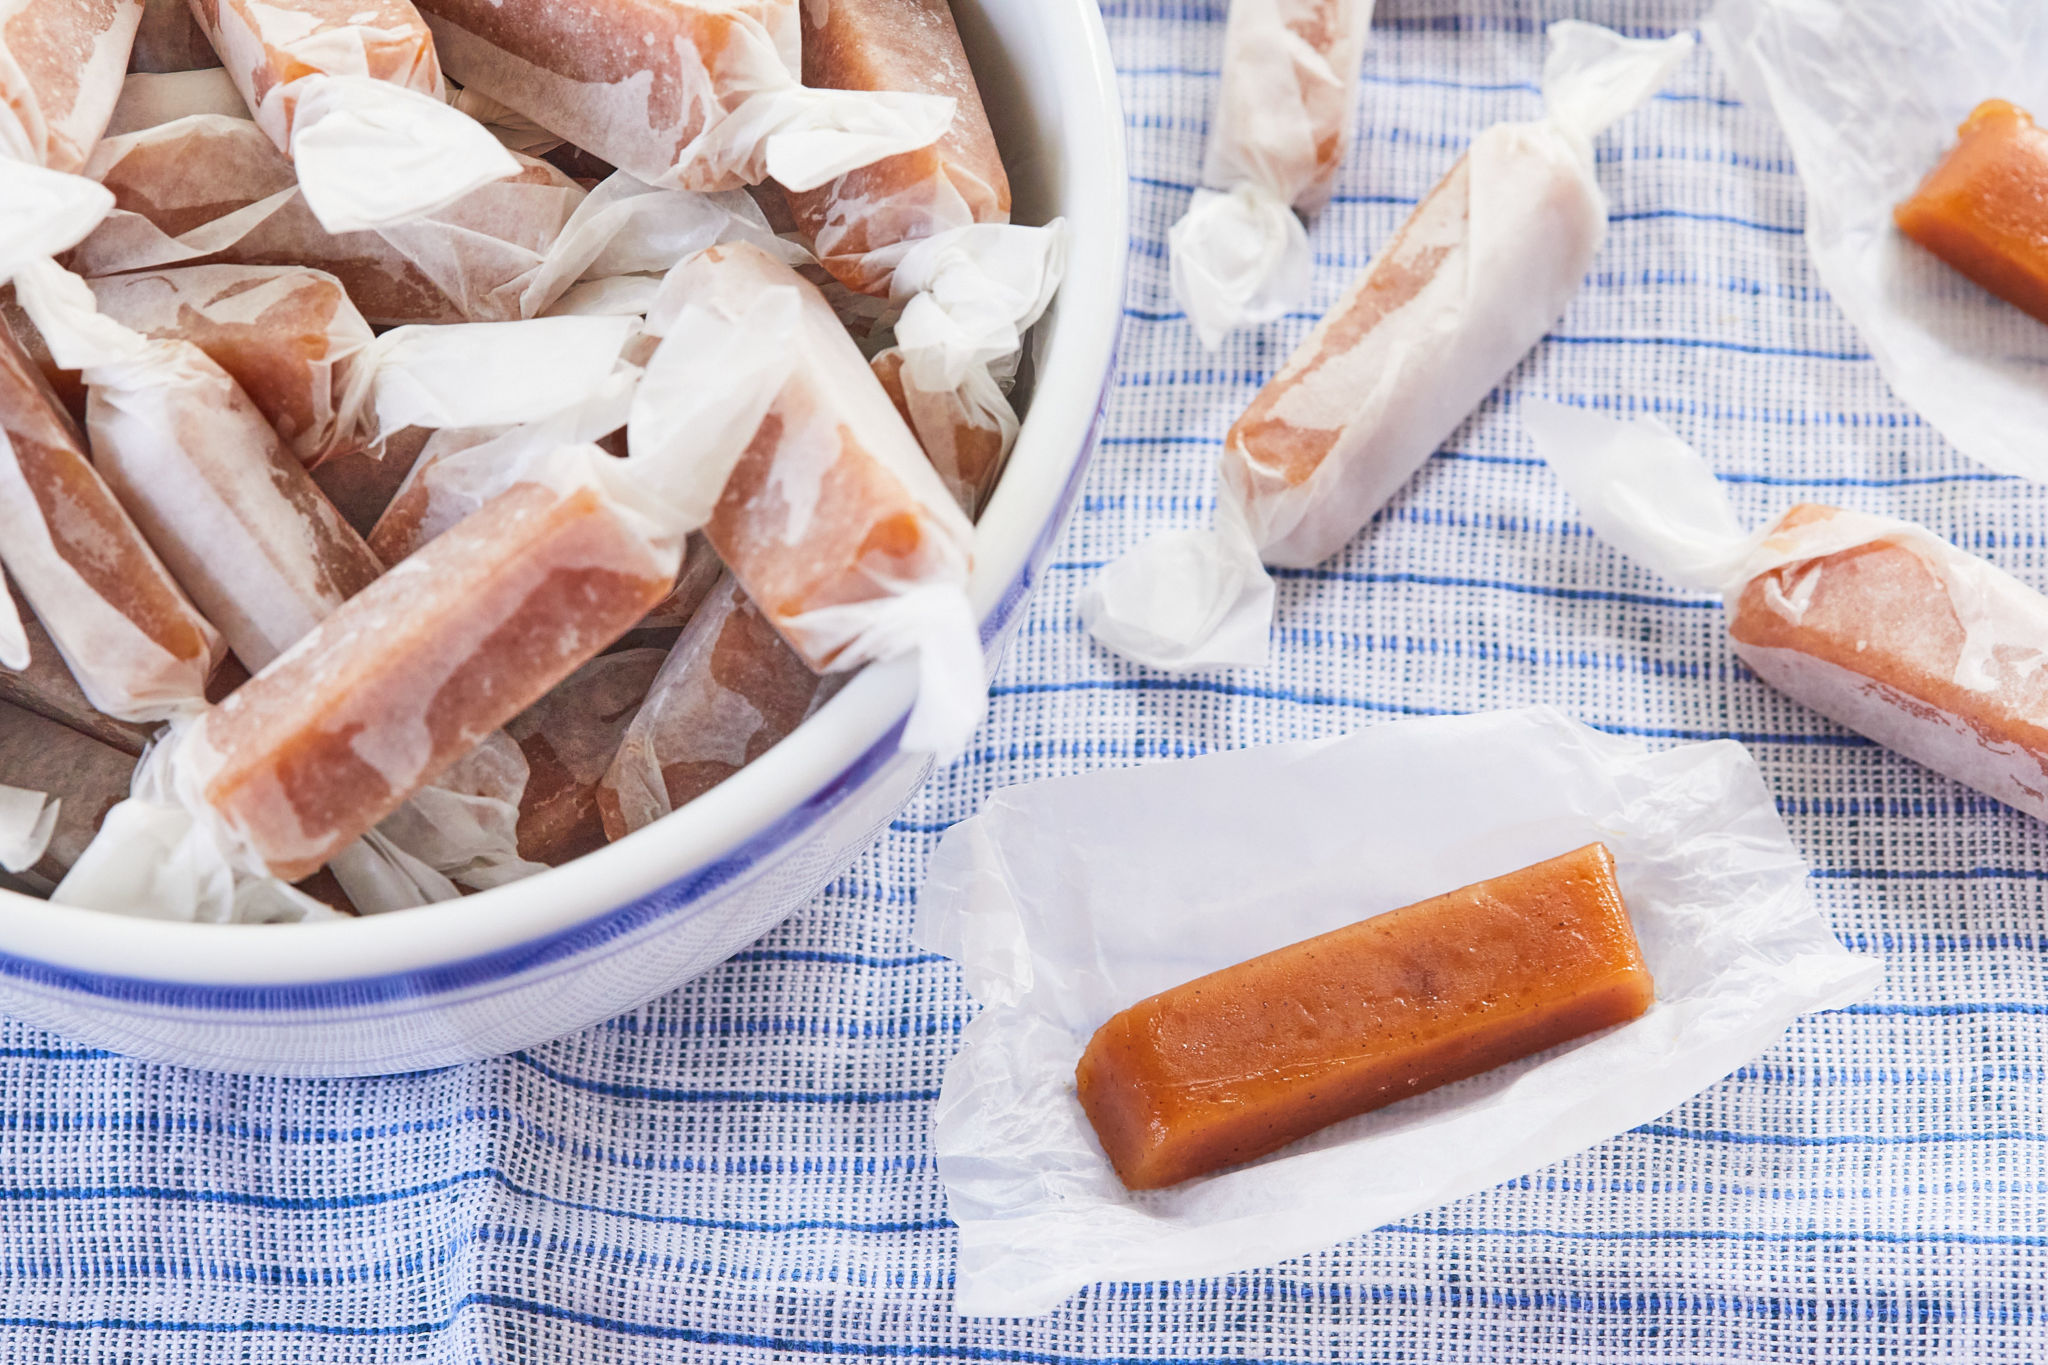
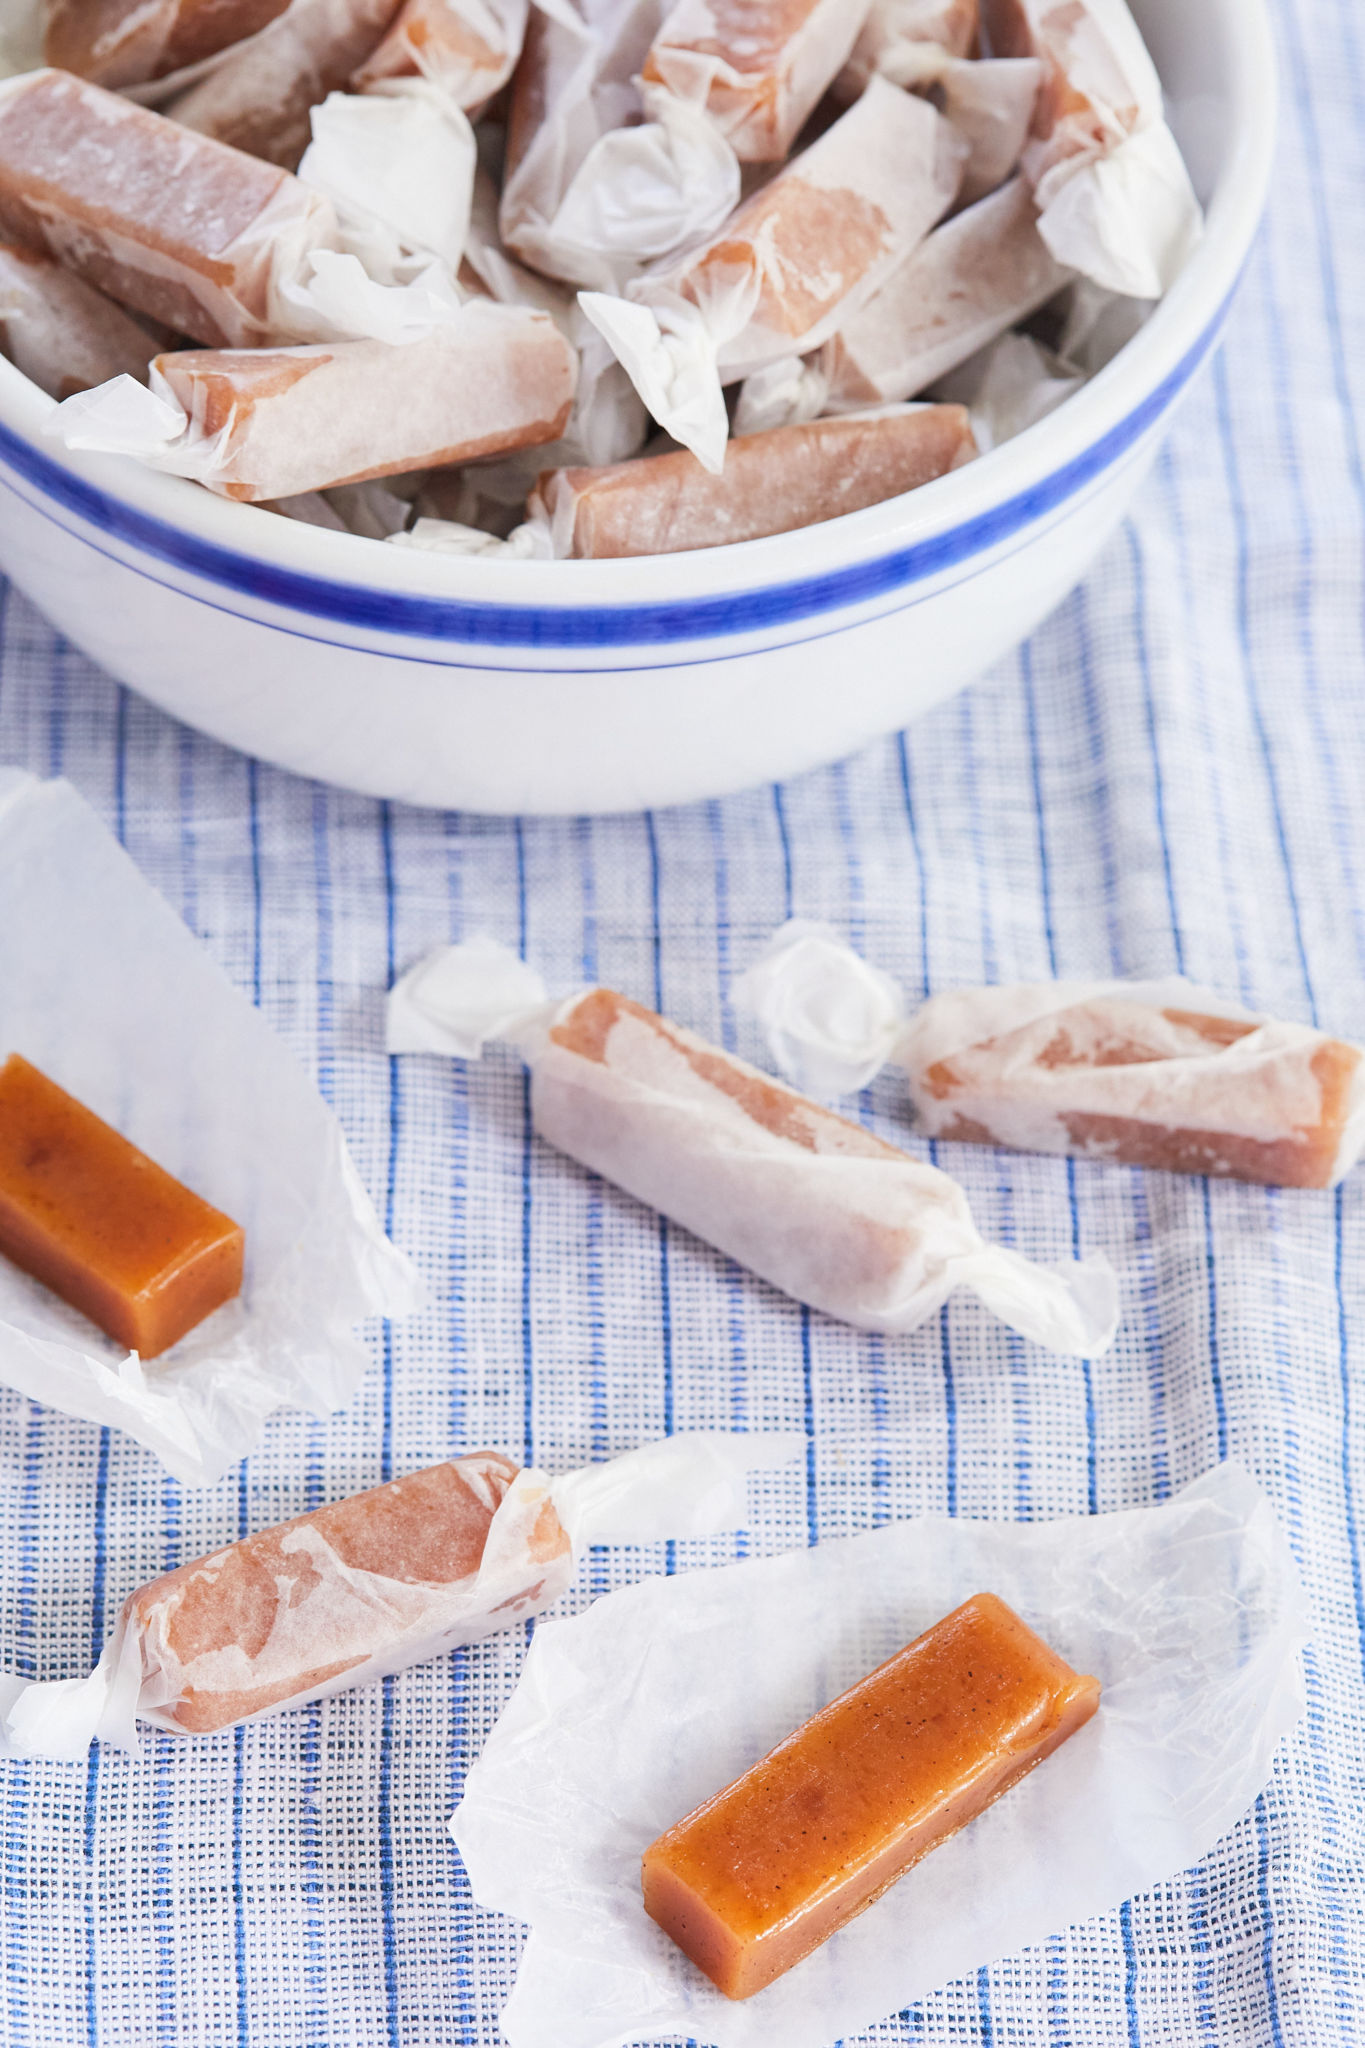
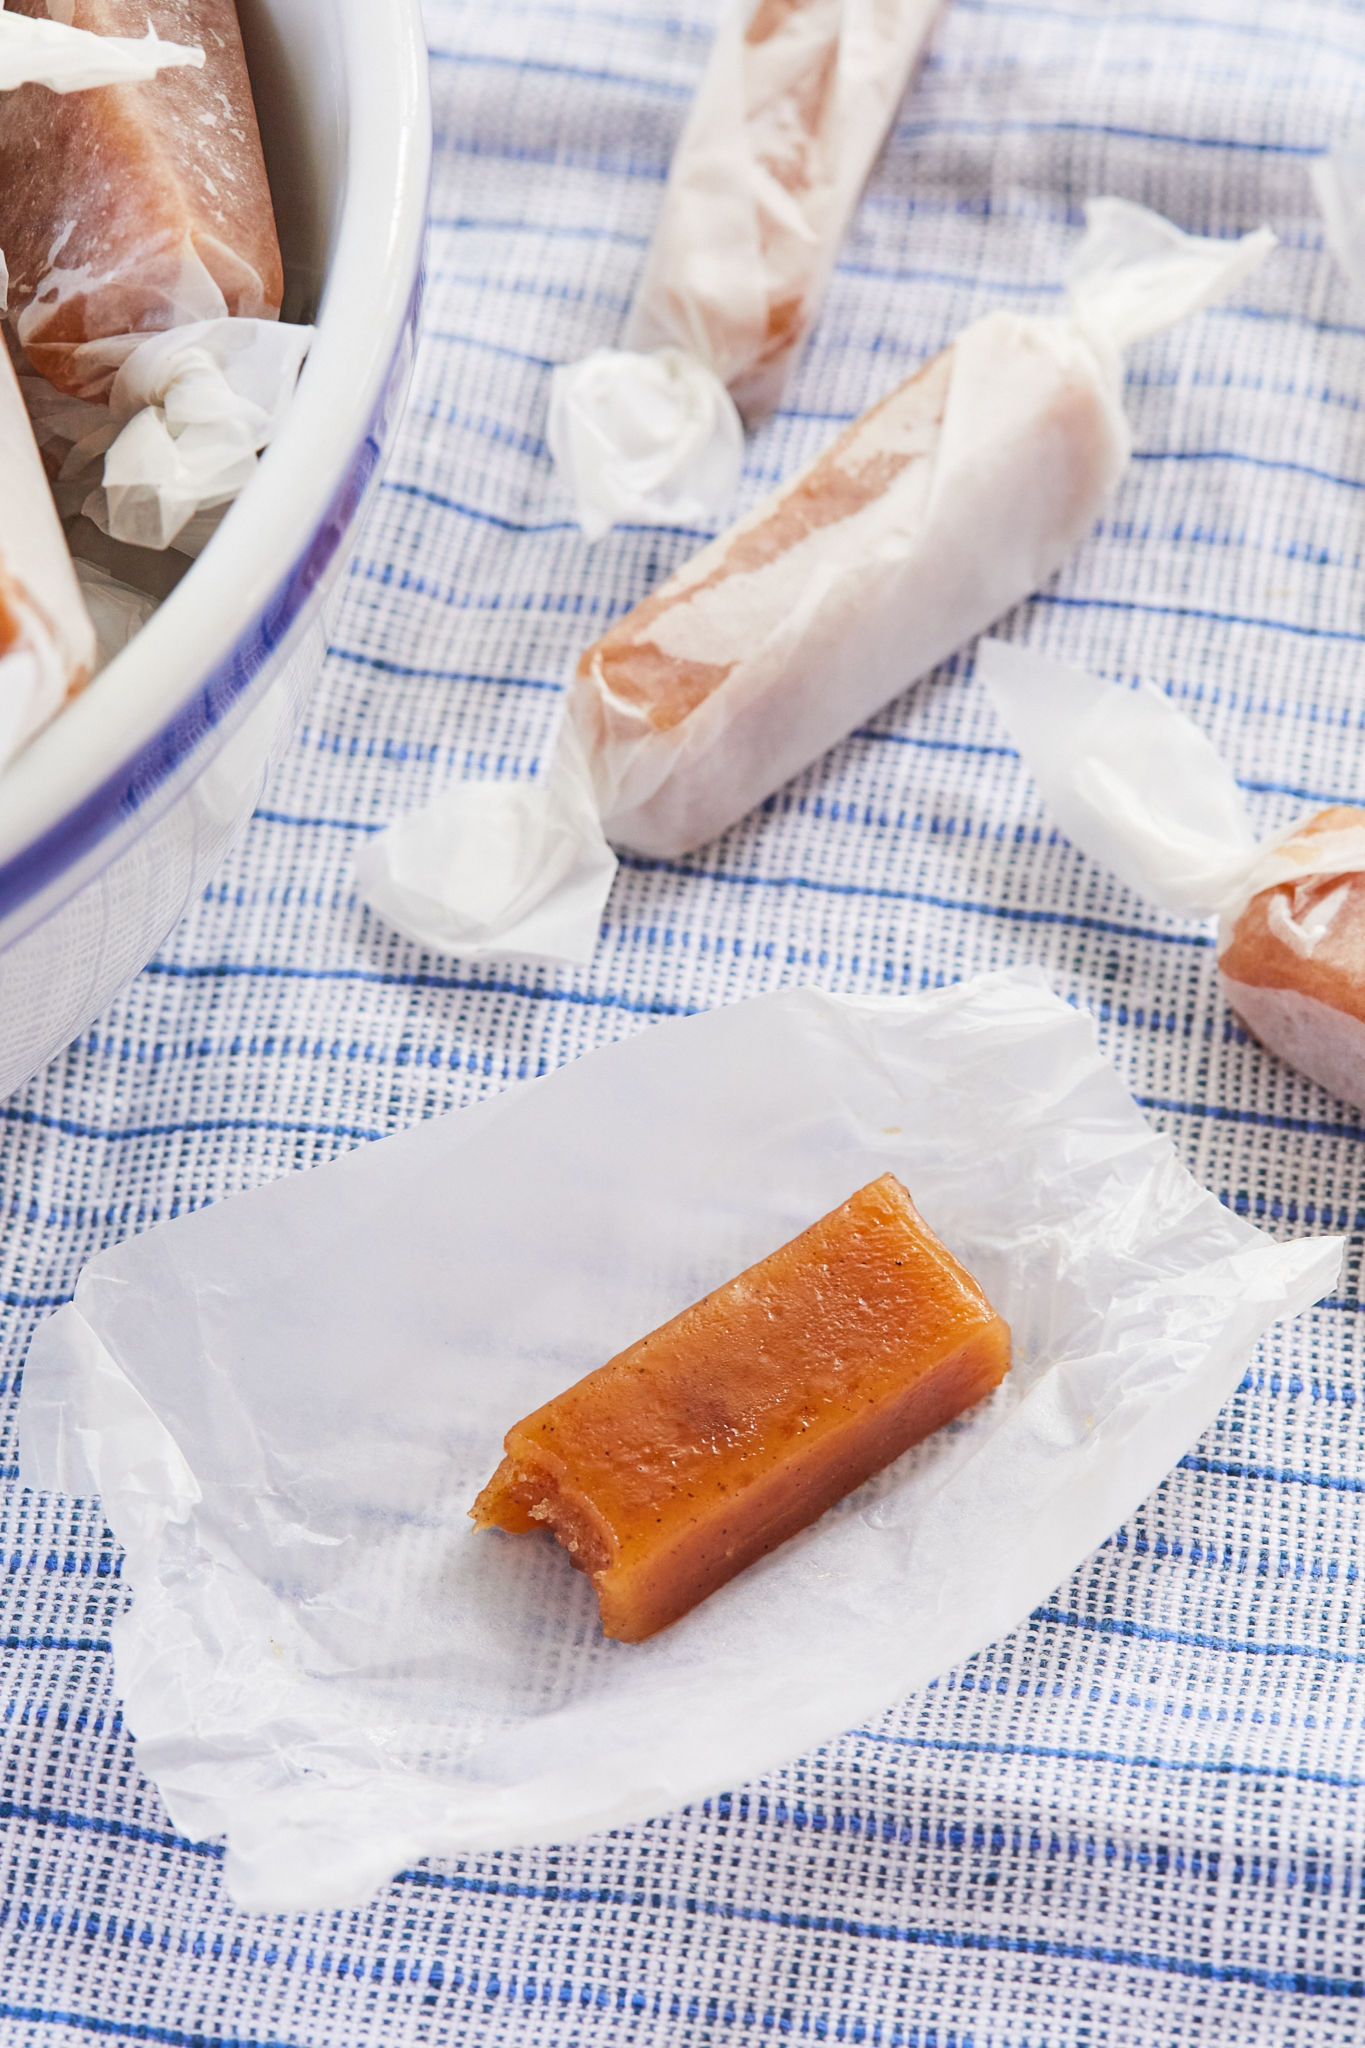
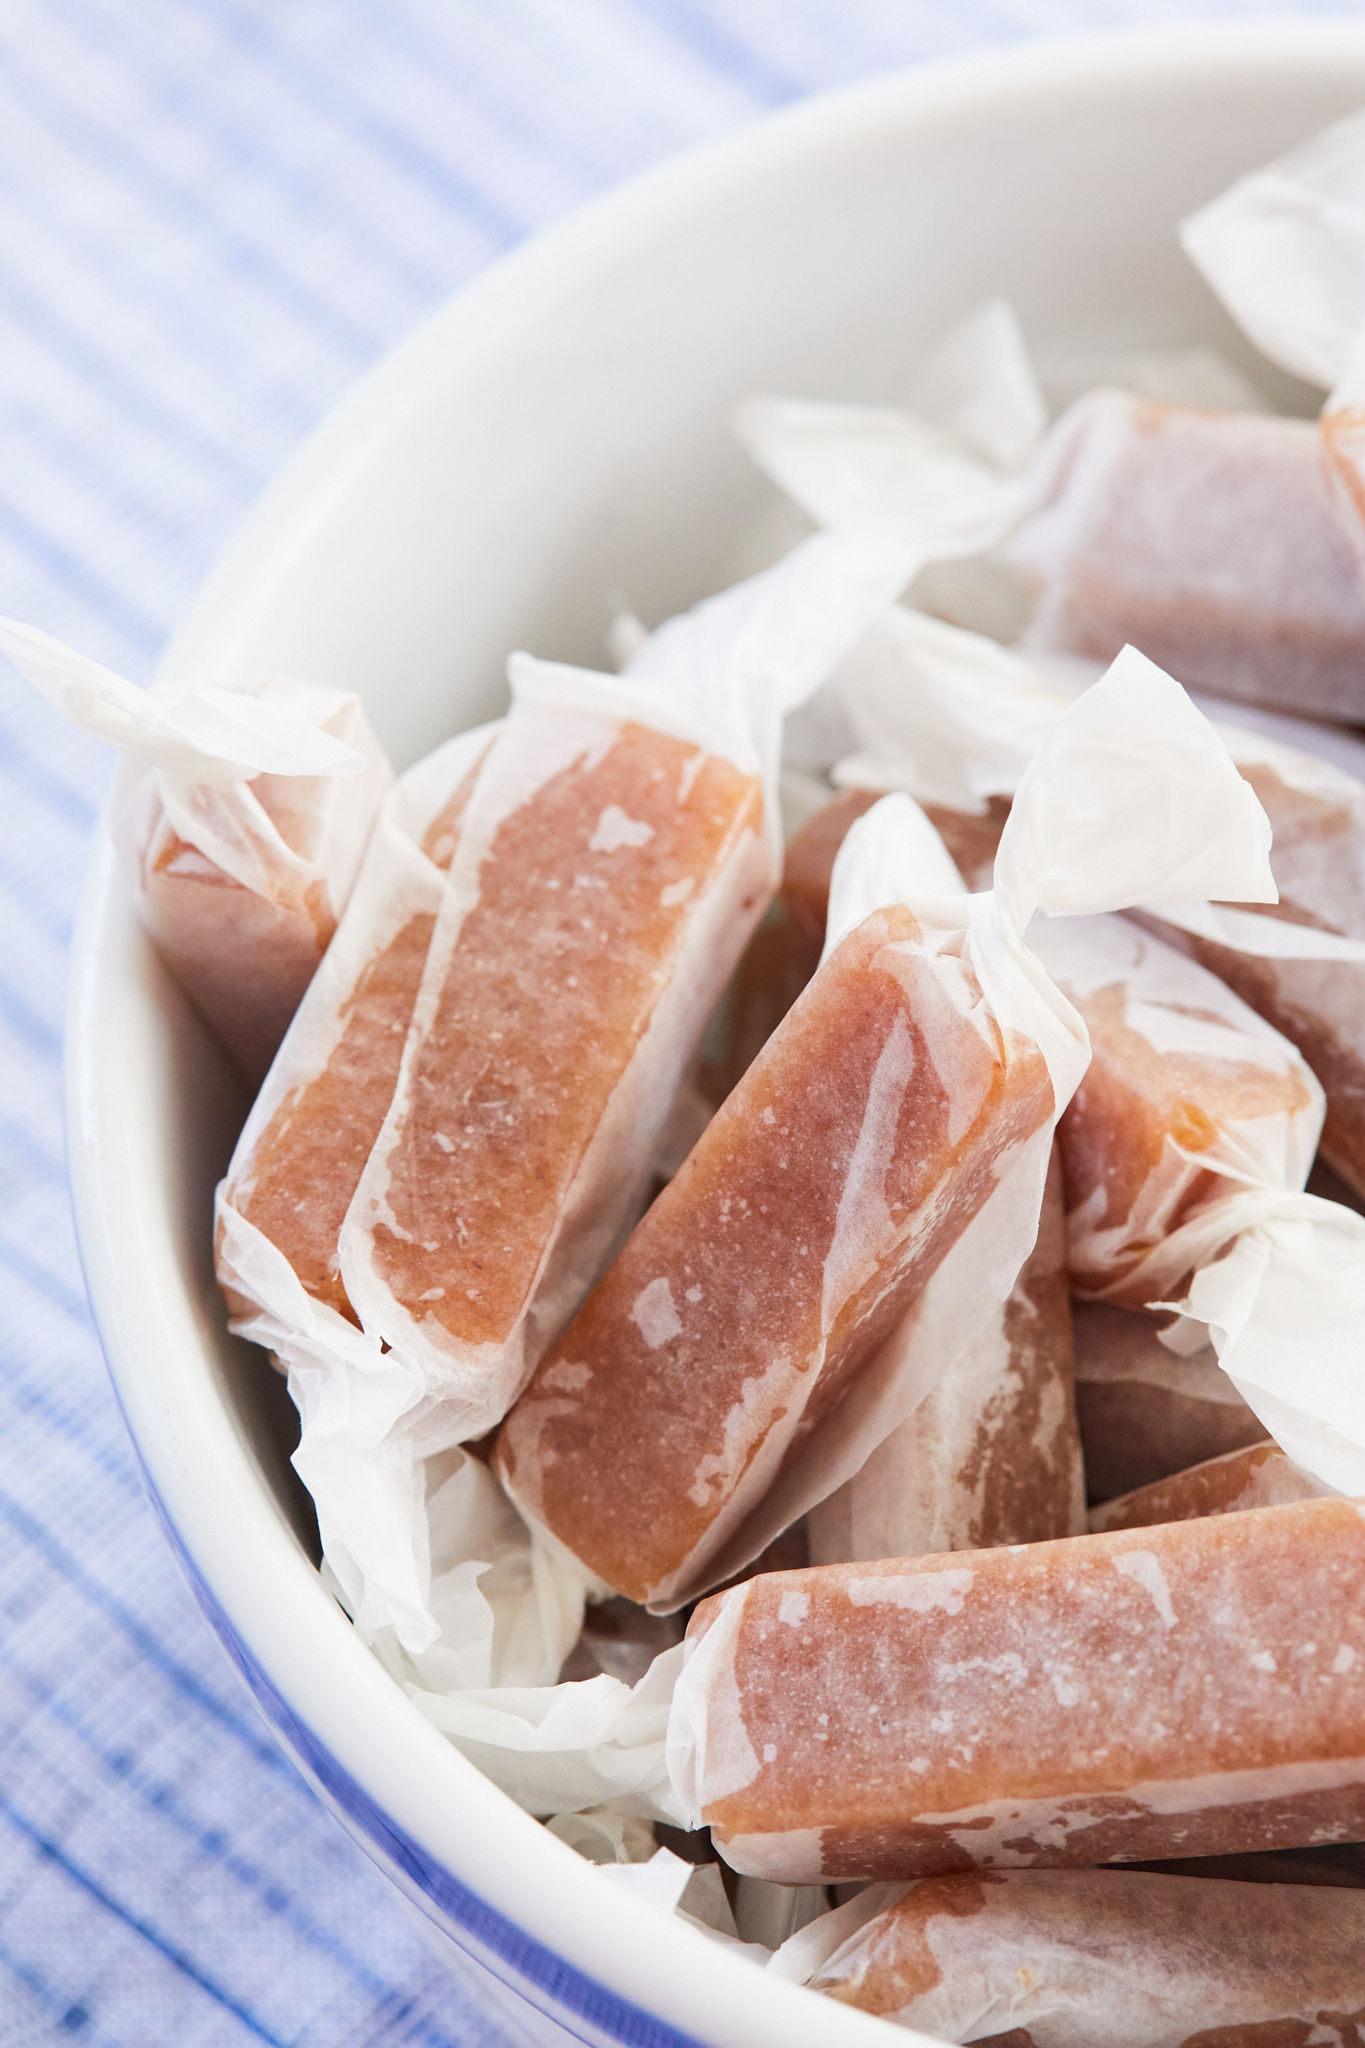
- Cut & Wrap: Once firm, cut won a cutting board into bite-sized pieces and wrap each piece in wax paper or candy wrappers.

FULL (PRINTABLE) RECIPE BELOW!
Gemma’s Pro Chef Tips
- Choose Quality Cider: Use my Homemade Apple Cider or a good quality store-bought cider.
- Don’t Hold Back on Spices: Don’t be shy with the salt and cinnamon—they give the caramels their amazing flavor!
- Skim for Clarity: To make beautiful, clear caramel, skim any impurities that float to the surface while simmering the apple cider.
- Use a parchment paper sling: leave some parchment hanging over the edges when lining the pan. Once the caramel is set, simply grab the edges of the parchment to lift the whole slab out for easy cutting and wrapping.
- Thermometer Alternative: No thermometer? Have a bowl of very cold ice water ready. Drop a tiny spoonful of caramel into it—if you can form a firm, chewy ball, it’s ready.
- For an extra burst of flavor and texture: sprinkle flaky salt over the caramel just after pouring it into the pan—before it sets. This adds a beautiful finishing touch that pops in every bite.
- Use a sharp, well-oiled knife to cut: This prevents sticking and ensures clean, smooth edges.
Make Ahead and Storage Instructions
- Make Ahead: These caramels can be made ahead and stored at room temperature, making them perfect for holiday prep or gift-giving.
- Room Temperature Storage: Store wrapped caramels in an airtight container at room temperature for up to 3 weeks.
- Optional Refrigeration: If you prefer a chewier caramel, you can put them in the fridge, but they keep beautifully without refrigeration as well.
- Freezing: I do not recommend doing so as the texture will change.
FAQs
Can I use apple juice instead of apple cider?
Yes, you can use apple juice, but since it’s usually sweeter and less complex than cider, you might want to reduce other sugars slightly or choose a less sweet juice to keep the balance right.
How do I know when the caramel is done?
Use a candy thermometer and cook until it reaches 250°F (125°C). Without a thermometer, drop a small spoonful into cold water—if it forms a firm, chewy ball, it’s ready.
Can I make the caramels chewier?
Yes! Cook the caramel a little longer to reach a higher temperature for a firmer, chewier texture.

More Caramels Recipes
- Salted Caramel Candies
- Salted Pumpkin Caramels
- Homemade CaramelCandy (with Clotted Cream)
- Old Fashioned Salted Caramel Fudge
- Perfected Millionaire’s Shortbread (Caramel Squares)
IMPORTANT NOTE: This recipe was improved and updated on 8/13/2025, to include explanations and substitutes of key ingredients, make-ahead and storage instructions, answers to the most frequently asked questions, and Pro Chef Tips.
Apple Cider Caramels Recipe


Ingredients
- 4 cups (32 oz/900 ml) apple cider (Homemade or store-bought)
- 1 stick (4 oz/115 g) butter , cubed
- 1 cup (8 oz/225 g) granulated sugar
- ½ cup (3 oz/85 g) dark brown sugar
- ⅓ cup (2 ½ fl oz/71 ml) heavy cream
- ½ teaspoon ground cinnamon
- 2 teaspoons flaky sea salt
Instructions
- Butter and line an 8-inch baking pan with parchment. Set it aside.
- Simmer the apple cider in a medium saucepan over medium heat until it is reduced to a dark, thick syrup, roughly ⅔ cup (5 fl oz/150 ml) in volume. This takes about 35 to 40 minutes on the stove. As it reduces, skim away any scrum/foam that floats to the top to ensure perfect looking caramels.
- Once you are finished reducing the apple cider, remove it from the heat and pour it into a clean medium saucepan and add in the butter, sugars, heavy cream, cinnamon, and salt.
- Return the saucepan to medium-low heat with a candy thermometer attached to the side, and let it simmer JUST until the thermometer reads 250°F (125°C) and no longer. Keep a close eye on it because if it goes over this temperature your caramels will be hard to eat.
- Immediately remove caramel from heat and pour it into the prepared pan. Let it sit until cool and firm—about 3 hours or overnight.
- Once firm cut into bite-size pieces and wrap them in wax paper or candy wrappers. Store at room temperature for up to 3 weeks.
Recipe Notes
- Choose Quality Cider: Use my Homemade Apple Cider or a good quality store-bought cider.
- Don’t Hold Back on Spices: Don’t be shy with the salt and cinnamon—they give the caramels their amazing flavor!
- Skim for Clarity: To make beautiful, clear caramel, skim any impurities that float to the surface while simmering the apple cider.
- Use a parchment paper sling: leave some parchment hanging over the edges when lining the pan. Once the caramel is set, simply grab the edges of the parchment to lift the whole slab out for easy cutting and wrapping.
- Thermometer Alternative: No thermometer? Have a bowl of very cold ice water ready. Drop a tiny spoonful of caramel into it—if you can form a firm, chewy ball, it’s ready.
- For an extra burst of flavor and texture: sprinkle flaky salt over the caramel just after pouring it into the pan—before it sets. This adds a beautiful finishing touch that pops in every bite.
- Use a sharp, well-oiled knife to cut: This prevents sticking and ensures clean, smooth edges.


Hi Gemma, I would love to try this but I feel more comfortable trying out your recipes when I watch you make them ???? please make a video, & thanks for always replying
Hi Gemma,
This will be my first attempt at candy and I was wondering if I can use regular sea salt instead of flaky sea salt? I have really enjoyed so many of your recipes; thank you for doing what you do with such heart. Happy holidays to you , Kevin and Georgie… stay safe.
Gemma, this recipe is excellent! I used a local fresh cider from one of our orchards and, just as you said, the apple flavor & perfume are amazing. Definitely will be part of my Christmas giving this year! Thank you so much!
Can you use light brown sugar instead of dark brown sugar?
I have been simmering my apple cider (store bought) for an hour and it is just evaporating. It is not wven thickening to a syrup. Does this mean I was sold plain apple juice with a “cider” name to get me to buy it? I’m so sad! Will the liquid even work?
Hi Gemma – can I use bottled boiled cider and skip step 2? I “got a deal” on boiled cider and have no idea what I will be doing with these several bottles.
Could you use all brown sugar in this recipe and would it affect the structure of the candy at all or would I have to cook it longer?
Hi Gemma, can you freeze caramels and if so what is the best way. Thanks Sheila
Does elevation affect the temperature for this recipe? We are at 6500 feet. So excited to try these put!
When cooling the caramels. Do you refrigerate it at first. Or just it cool on the counter?