This post may contain affiliate links. Please see my full disclosure for details.
Hi Bold Bakers!
Since I received my pizza oven from Italy, I have been doing a lot of bread making. Something that you have requested a lot is a great recipe for soft pretzels. I tried a few for you and I found this was the best. One huge thing for me is that it is a No-Knead Dough, so you get a great result with little work.
What is a No-Knead Dough?? It is a dough that you don’t need a machine for. You mix the dough by hand and you let the dough proof and ferment overnight. You get great flavor and texture from the fermenting that I personally have not been able to achieve on a machine. It is my favorite method for bread making because it takes the guess work out of creating amazing doughs.
I have made many No-Knead Doughs on Bigger Bolder Baking, like my amazing No Knead Cinnamon Rolls and No Knead Brioche Dough.
This is another recipe where I used my Alfa Pizza Wood-Fired Oven just like my Chocolate Dulce de Leche Empanadas. The results are so lovely and you can’t beat the feeling of making breads/doughs outdoors! So let’s get baking!
As a bread baker I am obsessed with bread making. If you are a little weary of failing when it comes to dough, don’t be. This method of making doughs will make you feel like a professional once you see the results.
Watch The Recipe Video!
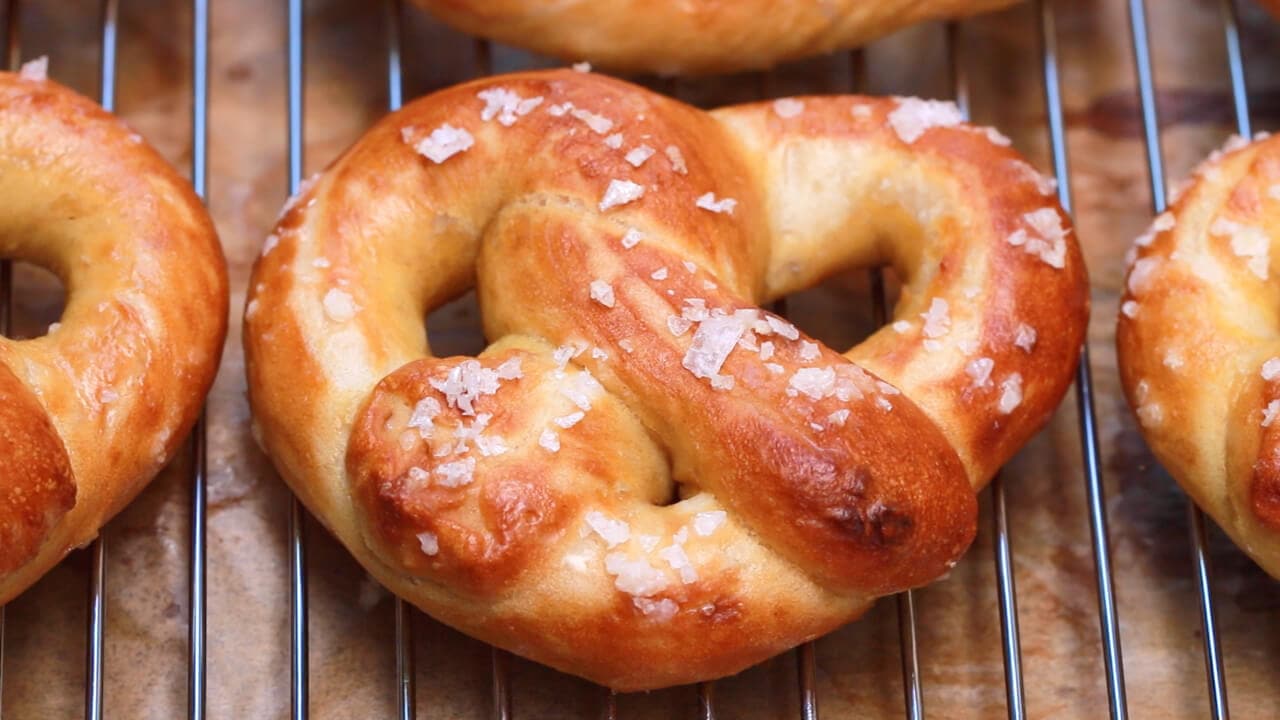
Homemade Soft Pretzels (No Knead, No Machine Recipe)
Ingredients
- 3 cups (42Og/ 15oz) strong flour/ bread flour
- 1 ½ tsp salt
- ¼ tsp yeast (I used active dried yeast)
- 1 tbsp sugar
- 10 ½ ounces water
- To poach the pretzels : 6 cups (1 1/2 litre) water
- 6 tsp (2 level tablespoons) baking soda
- egg wash
- salt
- melted butter , to brush pretzels
Instructions
- In a large bowl add in the flour.
- Put yeast on one side of the bowl and salt and sugar on the side of the bowl.If you add the salt on top of the yeast it will deactivate that yeast and your dough will not rise.
- Add in water and mix to form a dough. That's it, your dough is done!
- Wrap the bowl tight with film wrap and lay a bowl over it. Put it in a dry place at room temp and leave overnight. A minimum of 12 hours, but up to 18 hours and let time do its magic. I do 18 hours 🙂
- The next day your dough will smell boozy and bubbling. It is pretty incredible.
- Turn out onto a floured surface and divide into 9 balls and let it and relax for 2 minutes
- To shape: take each piece of dough and begin rolling them on the counter. Bang the dough on the counter like I do in the video and they will just naturally get longer and longer. Keep going until you reach 24 inches (60 cm). Twist the ends of the dough and press onto the the opposite sides of the pretzel.
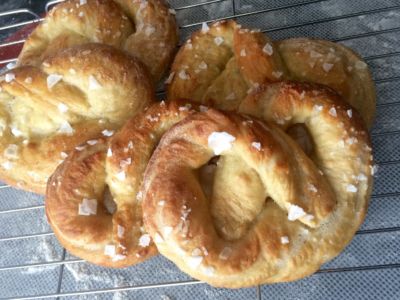
- Put straight into boiling water with baking soda and poach for JUST 30 seconds, then place on a baking tray. This boiling step is the secret to firm skin and adds that definite pretzel flavor.
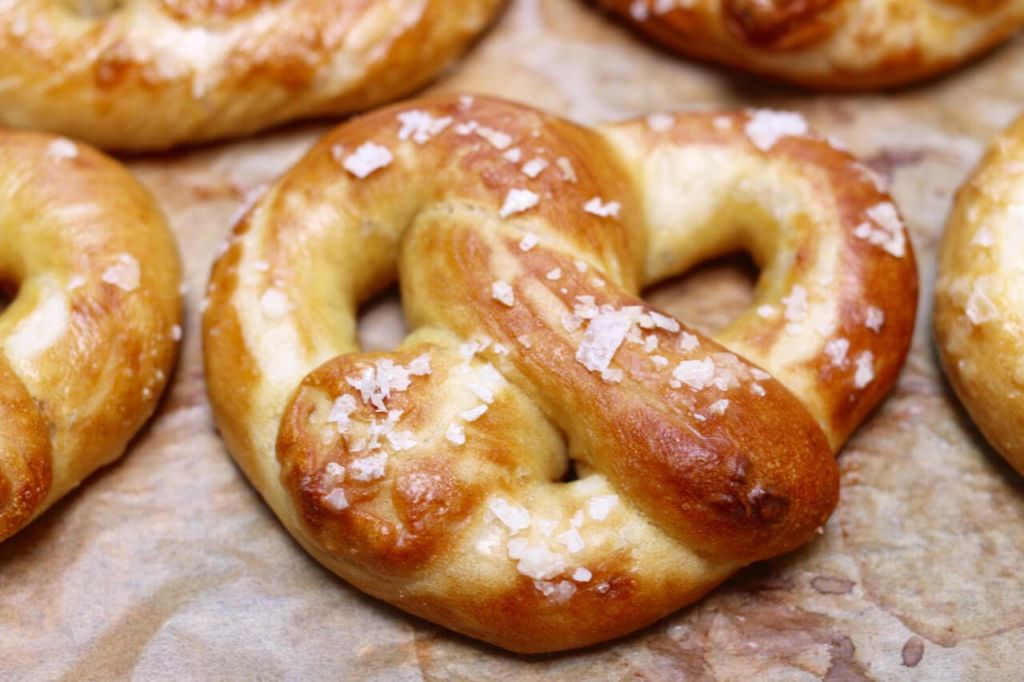
- Brush with egg wash and sprinkle with sea salt
- Bake 450oF (225oC) for 15 minutes, or until golden brown.
- Serve immediately and enjoy!!!!
Recipe Notes
WW PlusPoints: 4
Some fun variations for this dough:
Pretzel knots
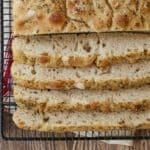
A fun variation for your pretzel dough is to make some pretzel knots. Rather then shape like a pretzels knot the dough like you would a pice of string. I sprinkled mine with fresh rosemary and served with mustard sauce.
Cinnamon Pretzels
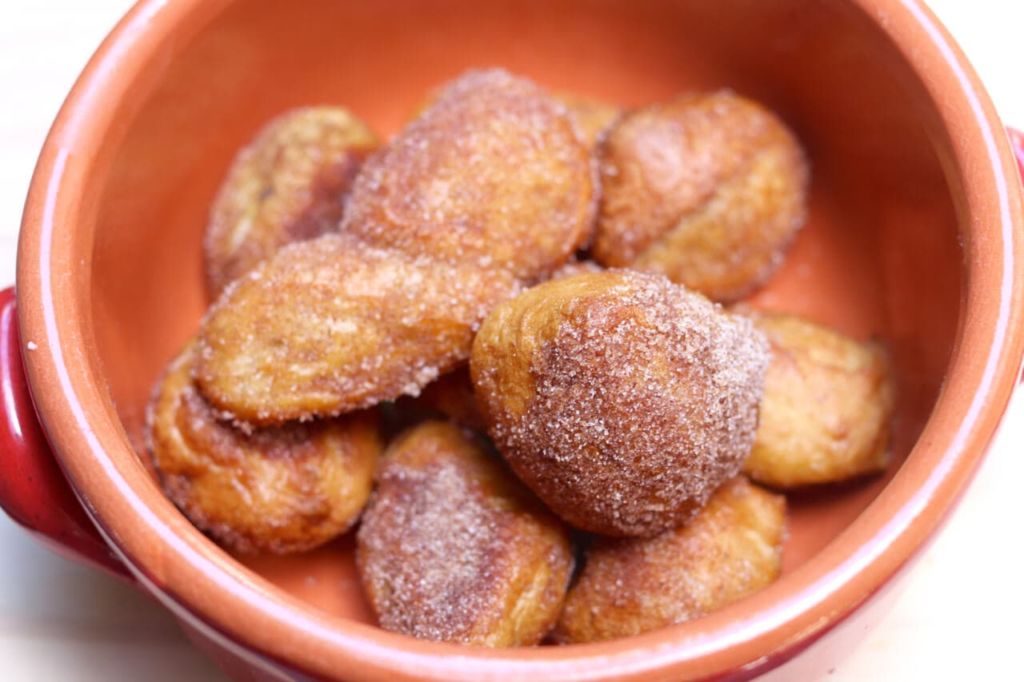
I love these little cinnamon treats. I just cut the dough into small pieces and once baked I brushed with butter and tossed them in cinnamon sugar with a little pinch of salt. The reason there are only a few in the bowl is because I ate them while taking photos, lol.
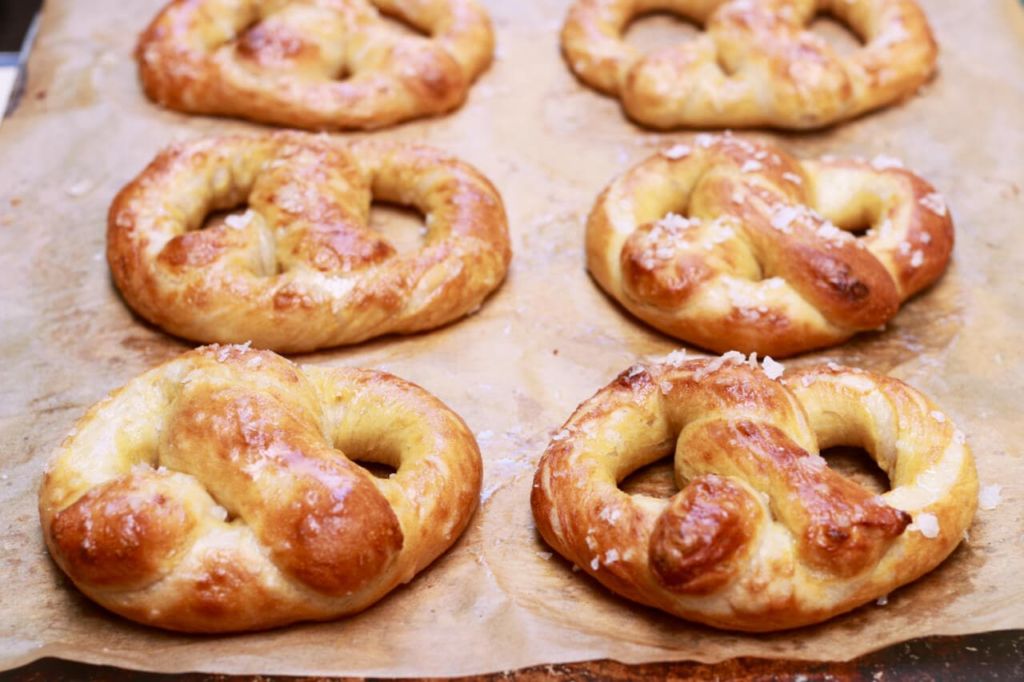



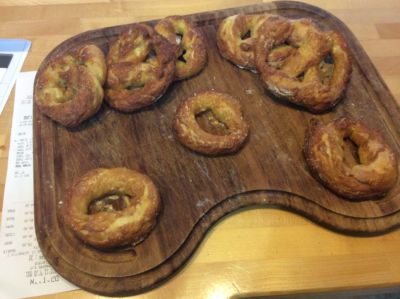
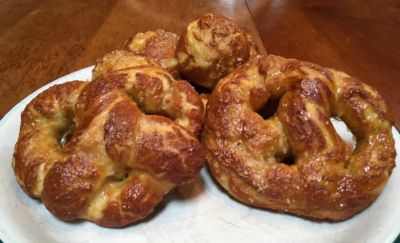
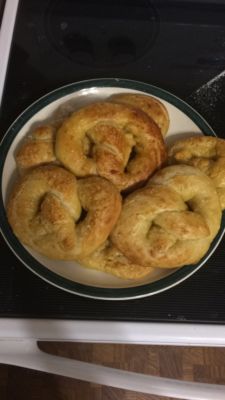
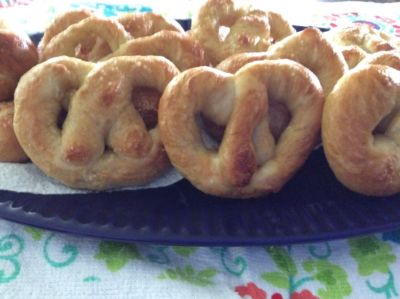


I made these yesterday after proofing the dough for 16 hours and they turned out perfectly. My husband says they taste just like the ones you buy. Will definitely be making this again. Thank yo so much for such an easy to follow recipe. I only came across your page after finding you on YouTube last week looking for an easy dough recipe. I’m a subscriber now. Thank you so much.
I have some recommendations for this recipe for people who have issues with the texture. I made these twice and the first time I really didn’t like the texture, they tasted good at first but after a few bites it did taste a bit off. The second time I made it however it was fantastic. I didn’t really make changes to the recipe I just was careful with some things. 1) I used instant yeast instead of active dry. 2) I added the water slowly instead of all at once watching the texture develop in my dough as I mixed… Read more »
Really wanted to like this recipe but it was just way too wet. I’m an experienced baker so my guess is that it’s the flour difference between there and here (South Texas) but even with adding an additional CUP of flour it was still sticky and hard to roll. I think I’ll be going back to my old recipe but maybe incorporating the overnight rise to see if I like that better. Thanks for the idea anyway!
Hi Gemma! This recipe looks great and I made it a few years ago, and as the flour here in the UK is different it didn’t turn out right but I want to try it again. Will probably use strong white flour instead of plain flour this time round. Was wondering if I could use instant yeast as that’s more of a staple here and if so how much would I use?
Hi Gemma! I know this is one of your older recipes but I just worked up the courage to make them today. It was so much fun. They are so, so good! That boozy fermented flavor is absolutely addicting. And making these really reinforces how the development of gluten impacts the bread. The dough was also extremely easy to work with. Almost like play dough. (PS…. I’ve got a double batch fermenting on my counter already.)
I made these a few times now. They always come out great. Today, however, I misread and mis-remembered the recipe and used 6 tablespoons of baking soda! Yeah, I know there is a big difference, but I was tired from having done dialysis and just wasn’t paying that much attention. So, my suggestion is to change the recipe to 2 tablespoons instead of 6 teaspoons to avoid other silly miscommunications for future bakers, especially novices.
If You go by the mentioned amount of water, the dough turns out way tooo sticky. Very hard to work with. I managed somehow, they turned out great tastewise though I had to bake them for 30 mins not 15. The second time I added water slowly and mixed and saw how much I needed and when it was the right consistency, I didn’t add more. For some reason, the water needed was alomst 2/3rd of what was mentioned. Those came out purrrrfect. They didn’t even last 15 mins as the moment they came out of the oven everyone pounced… Read more »
Hi there! I have recently made your sourdough recipe and was wondering if you have made these with starter instead of yeast. If so how much would you add? And would do anything differently from there?
Excellent recipe. What else can I use this dough for?
What can I use in place of egg wash please??