This post may contain affiliate links. Please see my full disclosure for details.
Hi Bold Bakers!
We all know and love the rich Italian classic version of Tiramisu. I’ve even revolutionized this recipe and morphed it into a 10-Minute, sometimes life saving dessert (at least a sweet craving destroyer), with my Easy 10-Minute Tiramisu recipe. I didn’t stop there, though, and made it with fresh tangy berries in my 10-Minute Berry Tiramisu — but I’ve never made one quite like this.
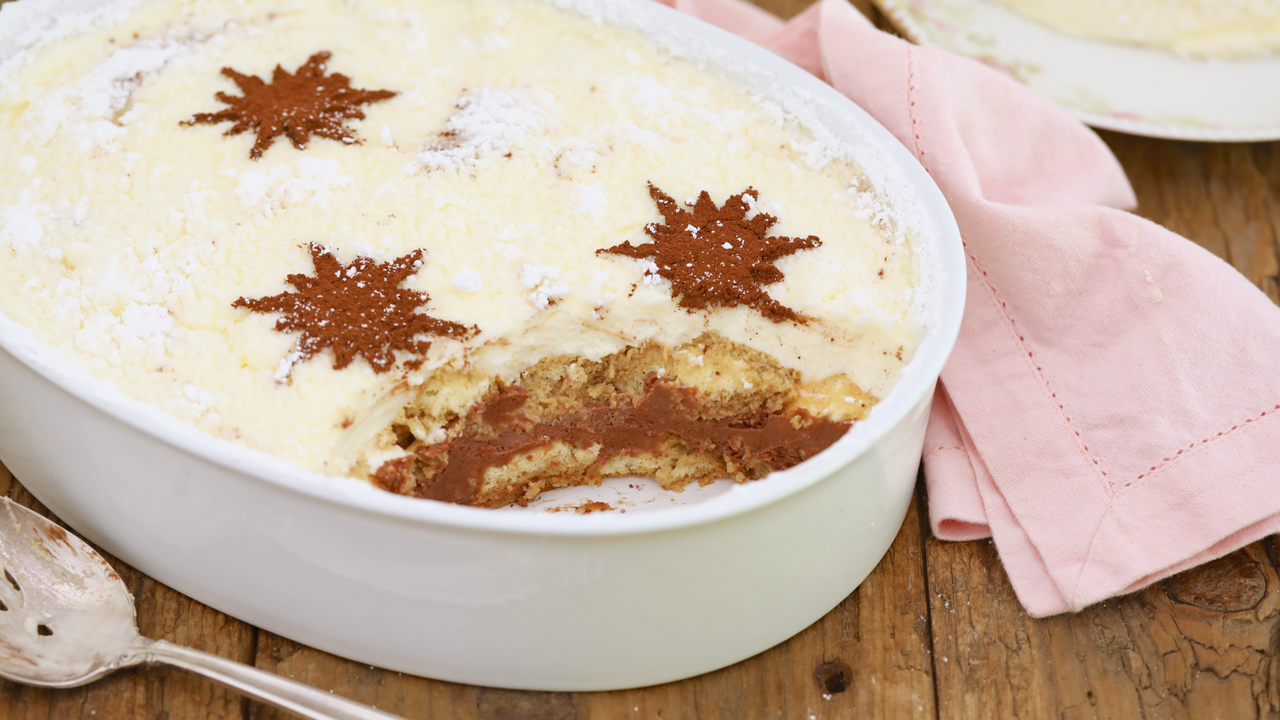
Get ready for this big, bold 10-Minute CHOCOLATE Tiramisu. Made with my Homemade Ladyfingers, Homemade Mascarpone, and with the new addition of chocolate, this recipe gives you a third impeccable Tiramisu option! After giving it a go, the only thing left for you will be to sweat through the decision on which one to make in the future.
Should My Ladyfingers Be Crunchy or Soft?
No matter what tiramisu flavor you’re making, you’re going to need to start with ladyfingers. While you can get the store bought, there is nothing like a homemade ladyfinger. This is why I created a whole Bold Baking Basics recipe and video dedicated to this staple.
My homemade lady fingers are crisp on the outside and sponge-like in the center. Whether homemade or store-bought, it’s best to use ladyfingers that are a bit stale, though, as this allows them to better soak up the flavors of the tiramisu with out becoming too soft or lacking in texture.
[If you want to make Ladyfingers without eggs you have to get my recipe for Egg-Free Ladyfingers!]
How To Melt Chocolate
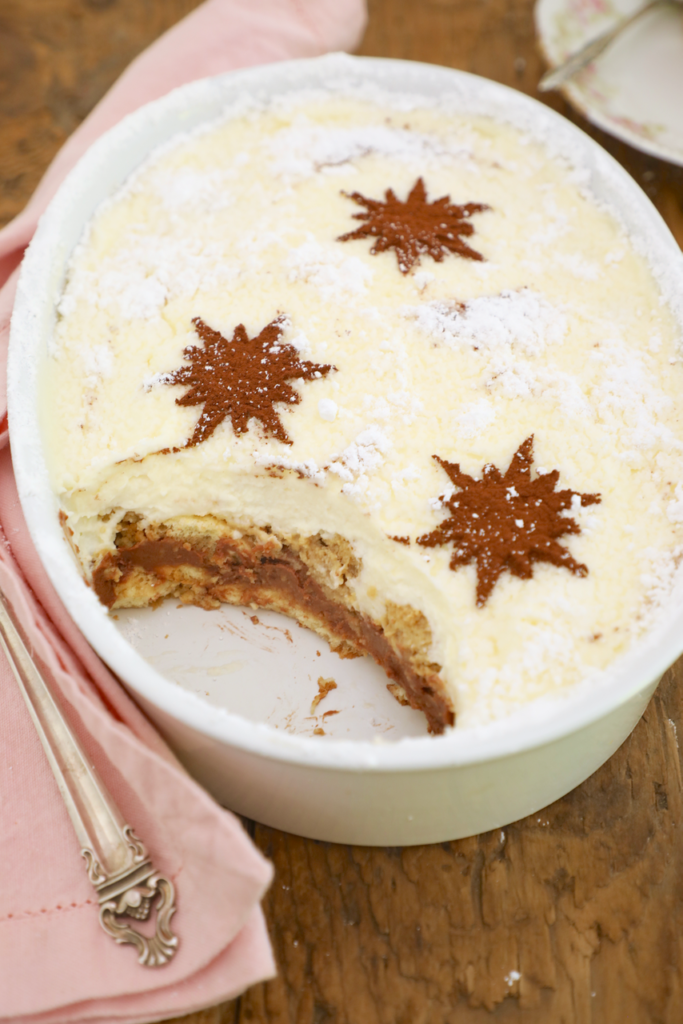
So the star of this tiramisu is chocolate. In true Big and Bold form, I’ve decided to make this chocolate tiramisu have a layer of chocolate mascarpone cream AND a layer of classic mascarpone cream.
There are a few reasons I decided to use both chocolate and traditional tiramisu fillings, the most obvious reason being flavor. The use of dark chocolate cream amongst the classic creates a really beautiful contrast in the color of the tiramisu — and since we eat with our eyes first, I love how impressive the final chocolate tiramisu look.
The other reason, of course, is taste. Transforming the flavor of the tiramisu to chocolate is as easy as melting good quality semi-sweet chocolate in the microwave, then swiftly whisking it into my classic 10-Minute Tiramisu mix. This is literally only 1 extra step that adds off-the-chart flavor. You can melt the chocolate in a double boiler or in the microwave like I do, as this saves time and dirties fewer dishes.
Do You Have To Use Coffee In This Tiramisu Recipe
While I find the combination of coffee and chocolate are really complimentary, you can make this recipe coffee-free if you’d like! Instead of dipping the ladyfingers in coffee, you can dip them in a mixture of hot water, cocoa powder, and a bit of sugar (see notes on recipe).
This will add the same effect to the texture of the tiramisu and replace the flavor of the coffee with chocolate.
How Many Layers Does Tiramisu Have?
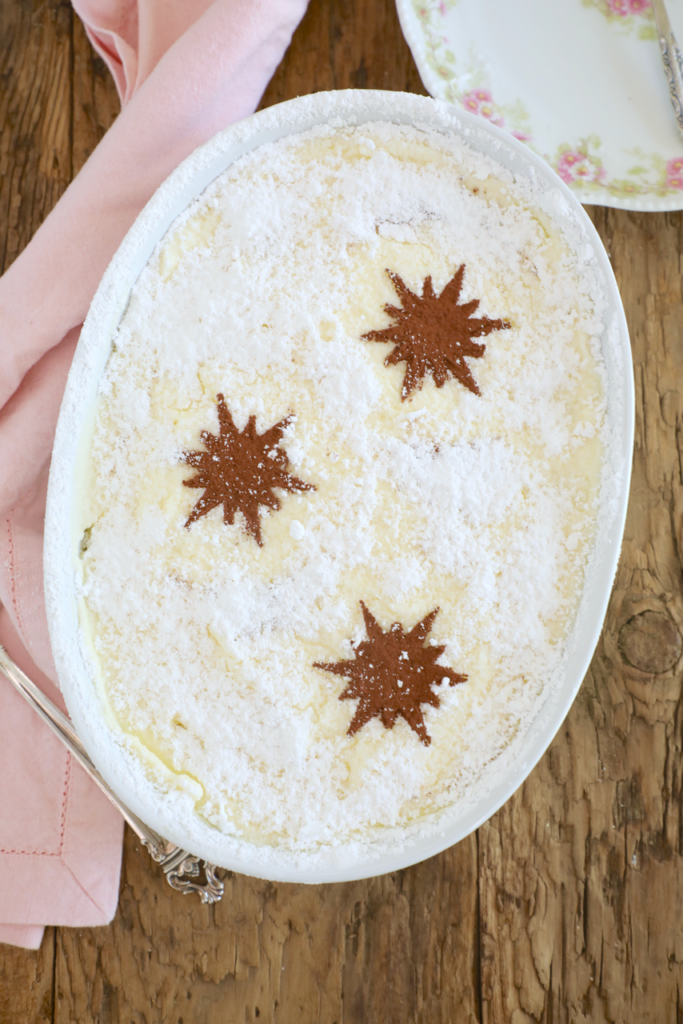
You can get creative and do fewer, or more, layers depending on the size and shape of the dish you want to make your chocolate tiramisu in. I find that roughly a 8 x 8 inch dish is deep enough to have 2 layers of ladyfingers. However it’s your call!
What’s the best pan or serving dish to use for tiramisu?
Because the chocolate tiramisu is so over the top as far as flavor and look, I really like to make mine in a large deep dish. My dish is around 7 x 12 inches and allows me to generously layer up both flavors of mascarpone cream.
To decorate, I dust cocoa powder over a stencil to create beautiful stars on top. This makes the 10-minute chocolate tiramisu look really professional with minimal effort. This is such a celebratory dish, from birthdays to holidays, so the next time you need a killer dessert in a snap, you have got to try this chocolate tiramisu!
Everything You Need For Tiramisu!
Follow Bigger Bolder Baking on Pinterest for more recipes and ideas!
Watch The Recipe Video!
10 Minute Chocolate Tiramisu
Ingredients
- 1/2 cup (3oz/85g) bittersweet chocolate, roughly chopped
- 2 cups (16floz/454ml) heavy whipping cream
- 1 1/2 cups (12oz/340g) mascarpone cheese, at room temperature
- 1/2 cup (4oz/115g) sugar
- 1 teaspoon vanilla extract
- 2 cups (16floz/450ml) espresso*, or strong coffee, at room temperature
- 30 ladyfingers (homemade or store-bought)
- cocoa powder, for garnish
Instructions
- Melt the chocolate in a microwave or over a double boiler. Once melted, set aside to cool slightly.
- While the chocolate is cooling beat the mascarpone, sugar, and vanilla until smooth.
- Add in then cream and continue to whip to stiff peaks.
- Divide the mix in 1/2 between 2 bowls, then set 1 bowl aside (This will become the plain filling and the other will become the chocolate filling)
- Swiftly add the melted, cooled chocolate to 1/2 of the mascarpone mix, beating vigorously with a whisk to ensure the chocolate does not seize up. Whisk until all of the chocolate has been incorporated and the mixture is even in color.
- Dip ladyfingers in coffee, then place in a 7 x 12 inch pan to make the first layer. Don't let them soak as the will fall apart, just a quick dunk in the coffee is enough.
- Spread the chocolate mascarpone mixture on top of first layer of ladyfingers. Repeat process with second layer of ladyfingers and top with the regular mascarpone mixture.
- Dust the top of dessert with powdered sugar using a sieve. I lay a stencil on top and dusted with cocoa powder to create stars.
- Refrigerate for about 4-6 hours (it gets even better in the fridge and is a perfect make-ahead dessert). Store in the fridge for 24 hours.



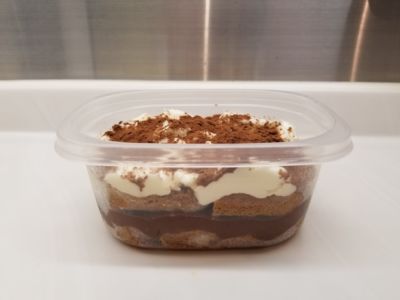
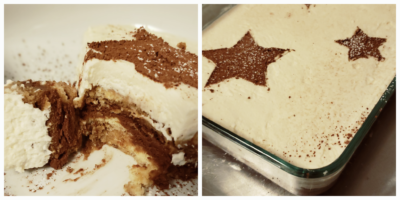

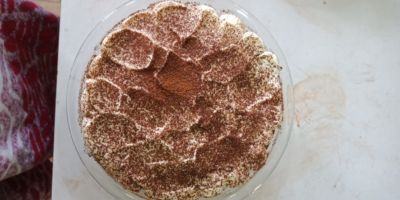
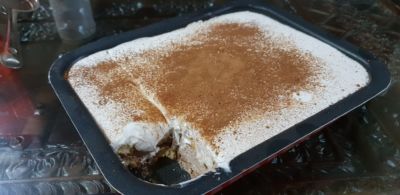


So easy and delicious! Definitely a crowd pleaser.
Hi David. Subtitles appear in Youtube when it’s turned on. We don’t have the inhouse capability as we work really with a very small team at the moment. I’ve noted your suggestion, and we’ll see what we can do about it in the future.
U make it luk so easy
Thanks Gemma for this wonderfully simple n yummy recipe 🙂 made this during the current Covid 19 flu season, so many things were in short supply at the supermarket – substituted Greek yogurt for cream, sponge cake for lady’s fingers and omitted vanilla essence (out of stock), but the cake still turned out awesome! Was a tad more sour due to the yogurt, but the tanginess disappeared on the third day n the other flavors such as coffee became richer. Kept well for five days refrigerated 🙂
I made it yesterday, we had it today for a friends lunch and we all loved it!
Best tiramisu. Made it for a valentines dinner party – everyone loved it. Thank you Gemma
Hello Gemma,
I want to know if I can use nutella Instead of melted chocolate? Will it affect the texture?
Thank you 😊
Just made this for dinner party tonight. Didn’t use coffee onlt the cocoa, sugar & hot water mix.
Absolute hit with all.
Definite keeper this one.. Already planning my next occasion to make it. Yummo.
I made this using a SMORES coffee flavoring for the coffee. It was a HIT! Thank you for teaching me to be creative in my baking!
I dip my fingers in a mixture of coffee and toffee!