This post may contain affiliate links. Please see my full disclosure for details.
Hi Bold Bakers!
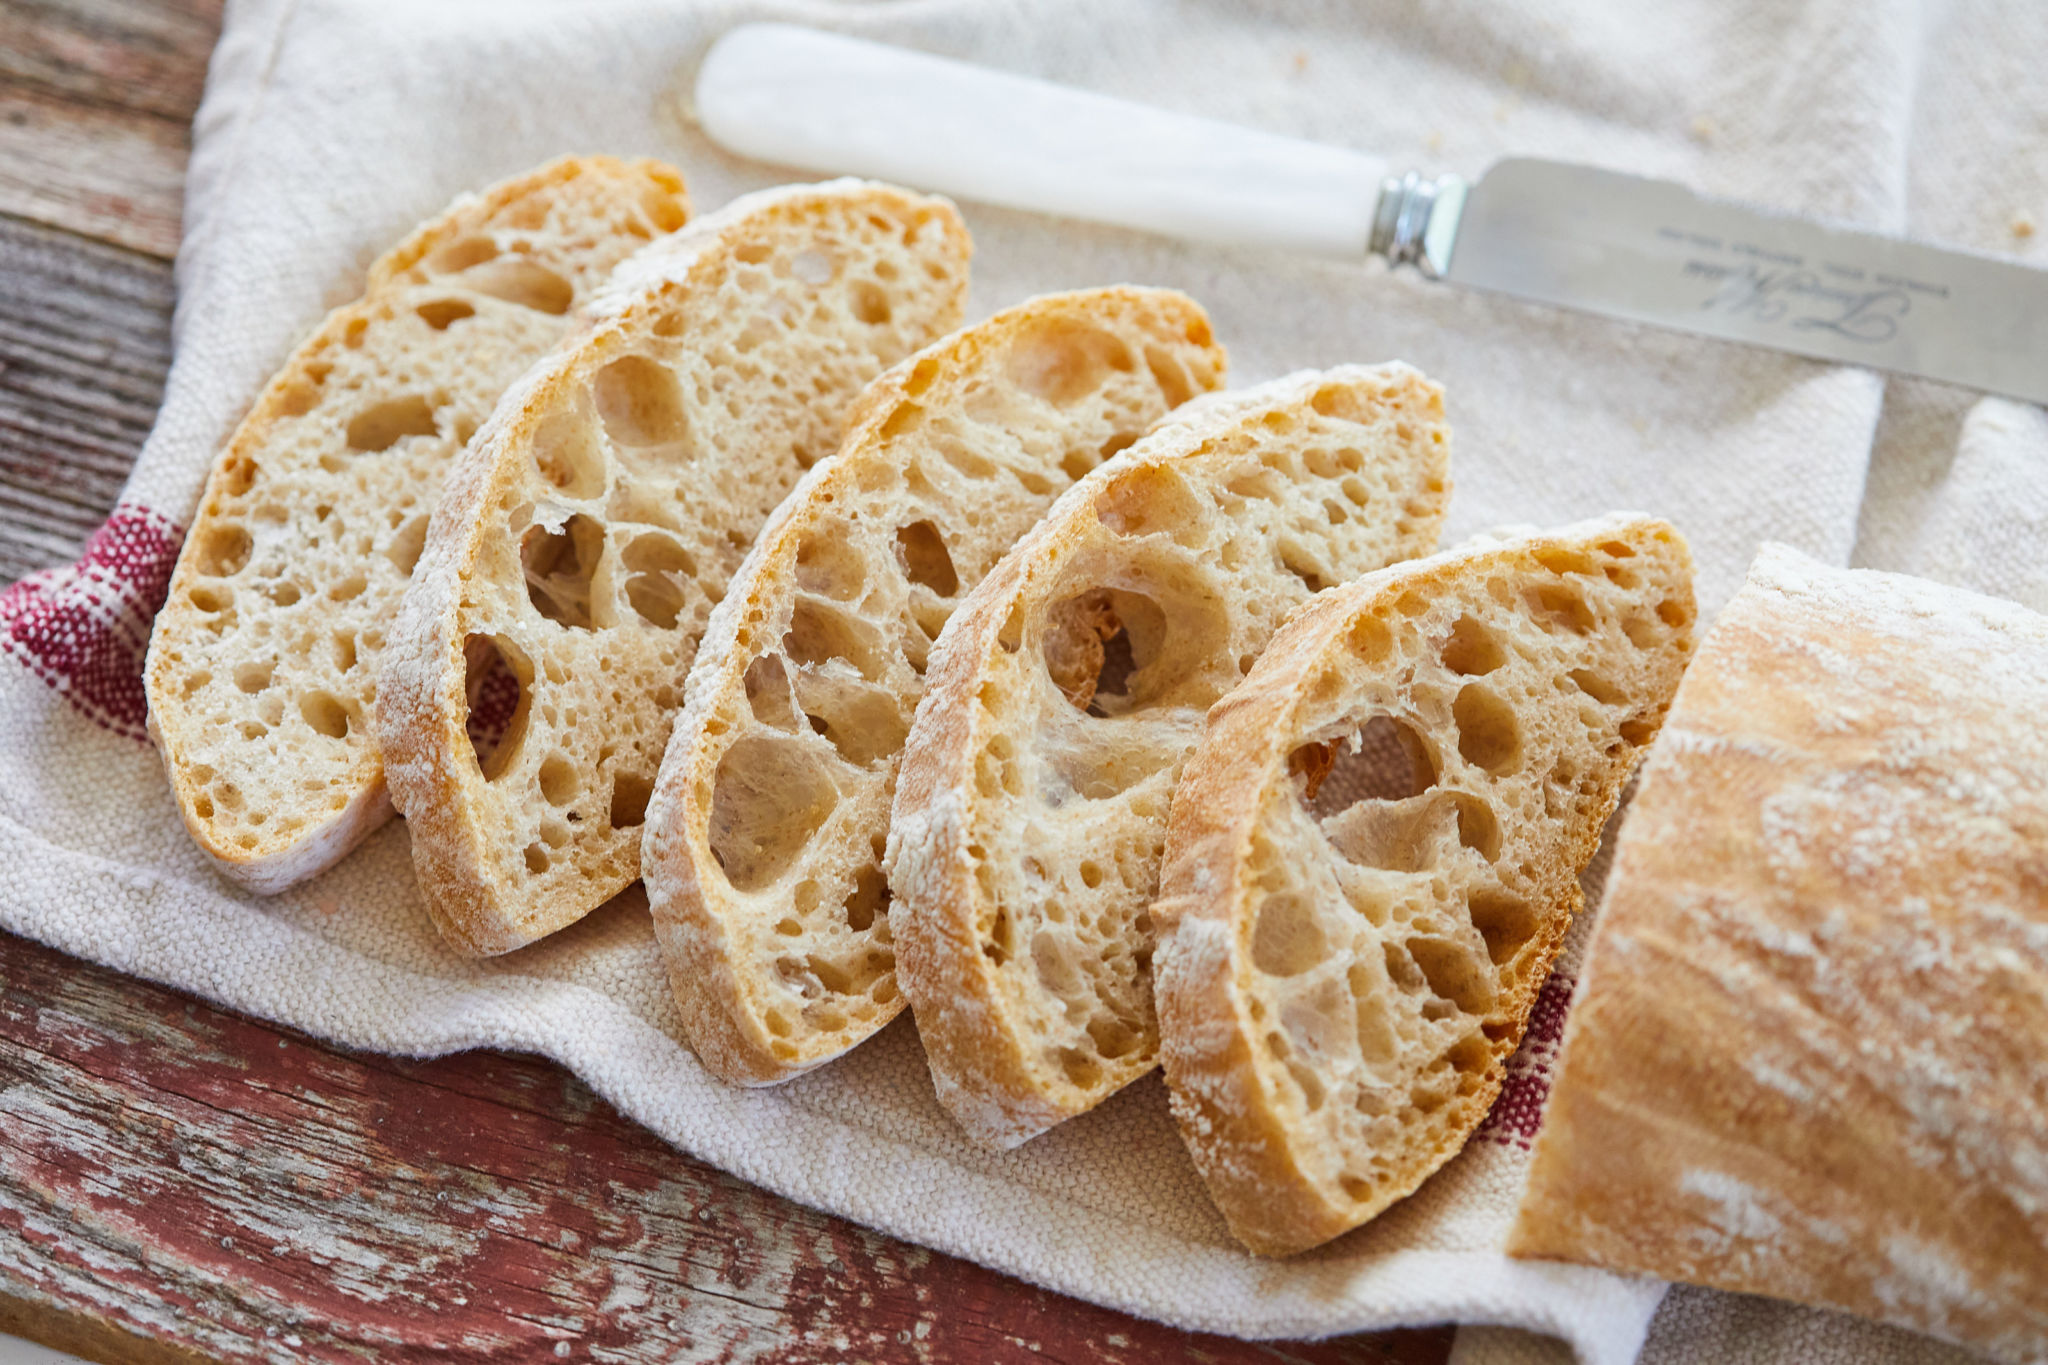
This ciabatta bread recipe is amazingly simple—there’s no kneading, and you don’t need a fancy stand mixer to make it—and it tastes like it just was baked fresh at your favorite bakery!
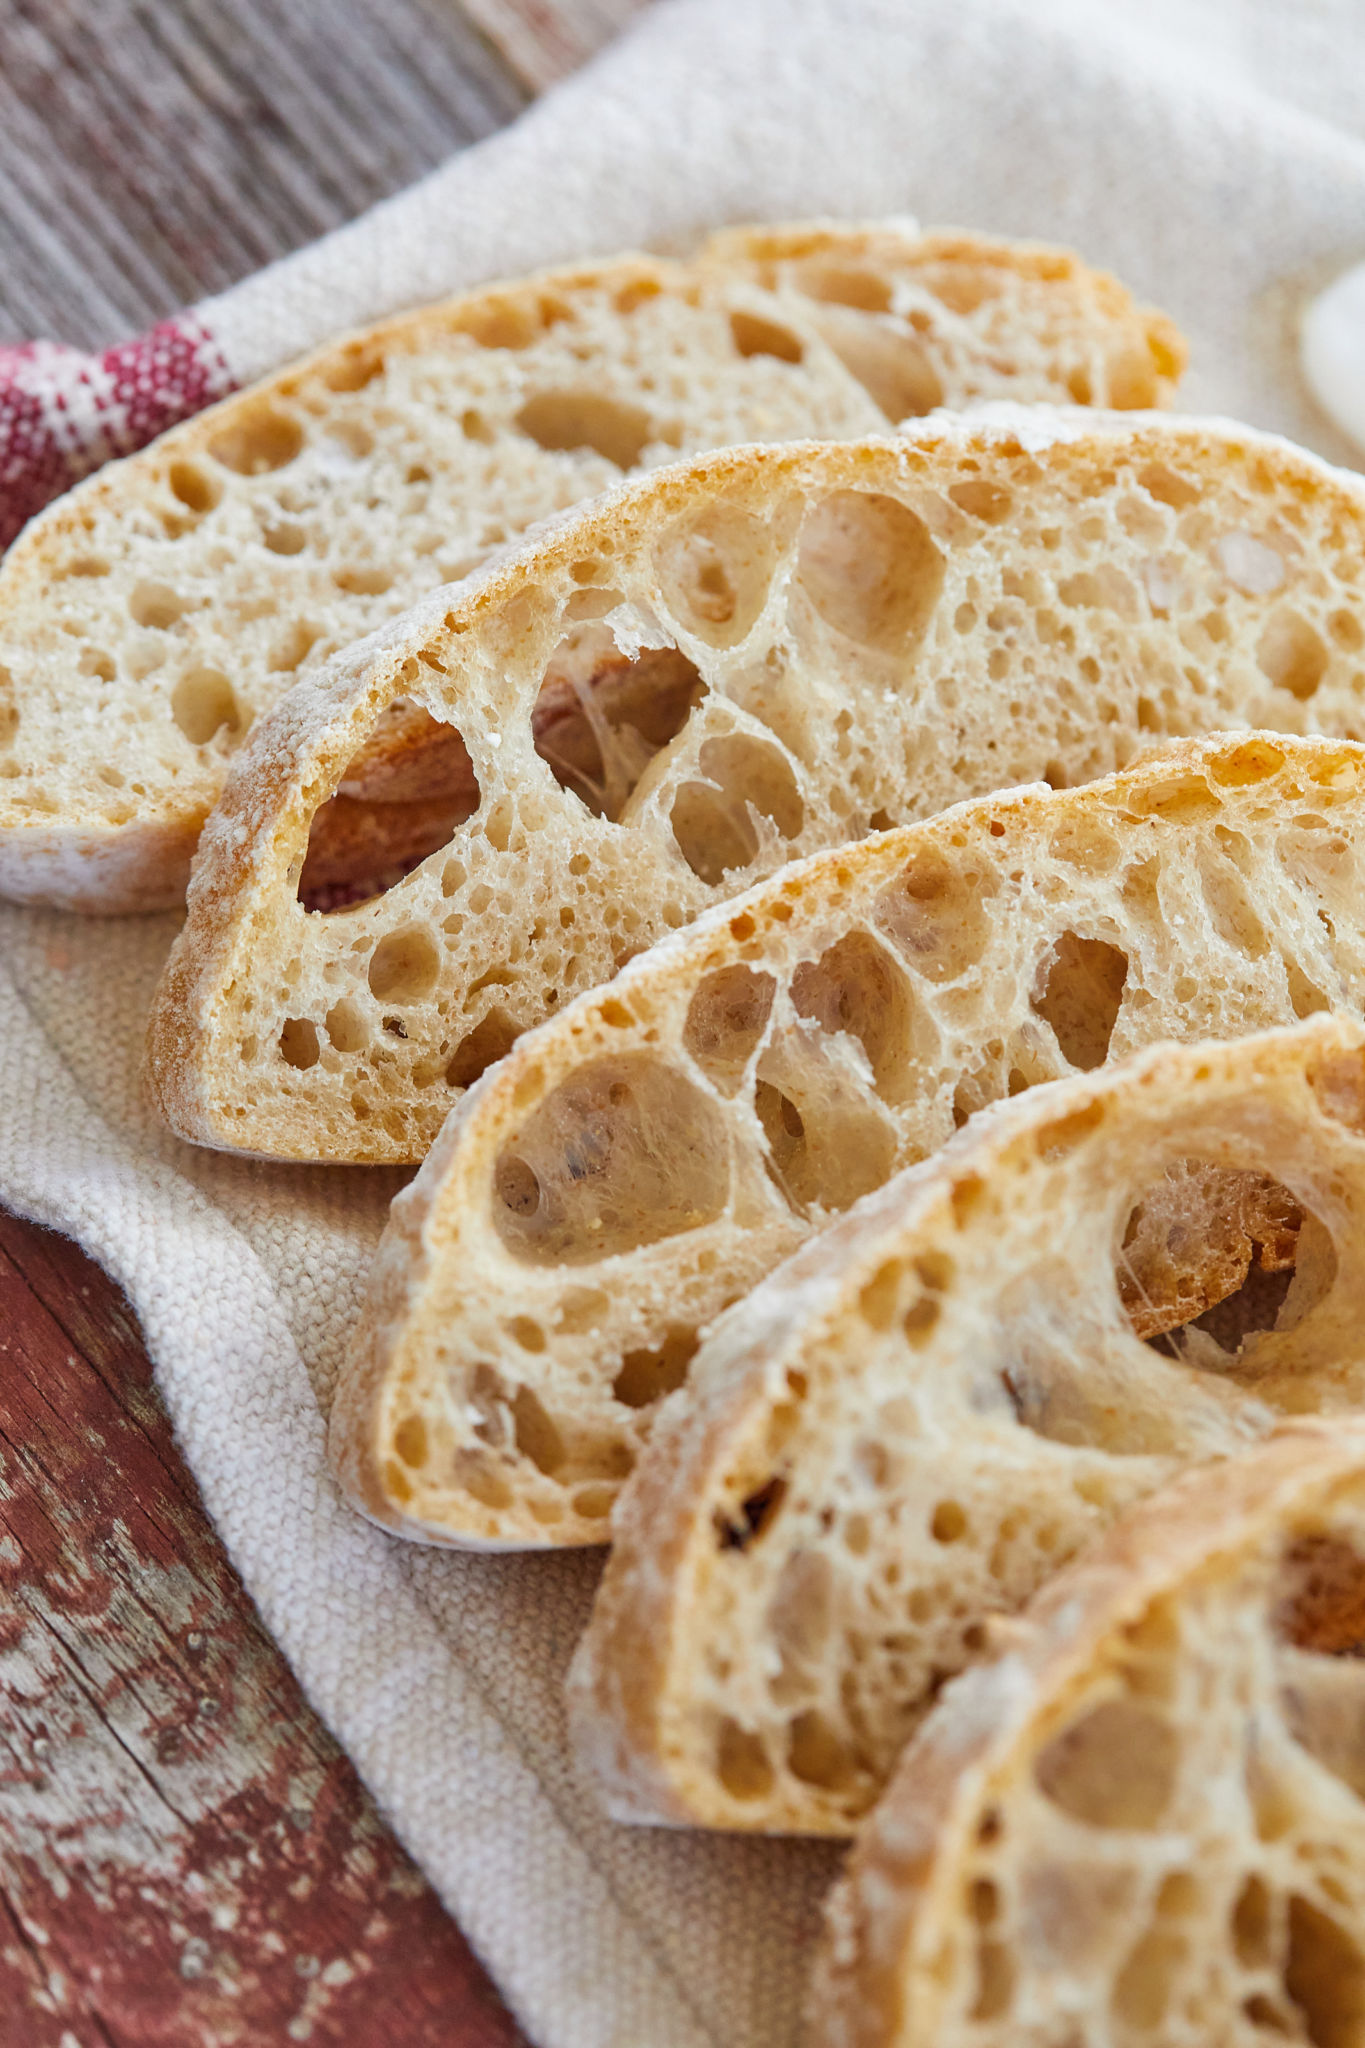
I used to think ciabatta had to be made using my stand mixer because of the amount of liquid the recipes need, and it still took forever for the dough to form in the mixer. My homemade ciabatta bread recipe is WAAAY easier, and the results are amazing!! The ciabatta dough ferments overnight, which means that there are loads of bubbles and, since this recipe calls for bread flour, you get a perfect chew.
Check out my other no-knead bread recipes, too, like my bubbly focaccia pizza dough, cinnamon raisin bread, or whole wheat bread!
What Is Ciabatta Bread?
Ciabatta bread is an Italian bread, not unlike a French baguette. Ciabatta is wonderfully chewy with a great crust — I love using ciabatta for sandwiches or garlic bread!
This recipe is fairly hands-off too, so it’s an excellent bread for first-time bread bakers!
What You Need To Make Ciabatta Bread
- Measuring cups and spoons
- Mixing bowls
- Cling wrap and a kitchen towel
- 2 large baking sheets
How To Make Ciabatta Bread
This dough does need to ferment overnight, so you get all those lovely air bubbles, so be sure to start this the day before you plan to bake! Here is how you make bakery-style ciabatta bread:
- In a large bowl, mix the flours, salt, and yeast.
- In another jug, mix the water and oil. Add the wet ingredie3nts to the dry and mix to form a wet dough. Scrape the dough down and cover with cling wrap and a kitchen towel.
- Allow the dough to ferment at room temperature for about 18 hours.
- The next day, line one baking sheet with a clean kitchen towel and dust it very liberally with flour. Line a second baking sheet with parchment paper.
- Uncover and knock back the dough, then roll it into a ball.
- Divide the dough into two pieces and place them side by side on the floured towel. Cover the loaves with the kitchen towel and let it proof for 2 hours.
- Preheat your oven to 425°F (210°C). When the dough has risen, turn over each loaf and stretch it out to 16 inches. Then, carefully place it on the parchment-lined baking sheet. (Check out the video for a step-by-step guide on shaping the loaves!)
- Bake in the preheated oven for 35-40 minutes until the bread turns golden brown.
Gemma’s Pro Chef Tips For Making Ciabatta Bread
- Use up any leftover ciabatta by making it into garlic bread!
- You can store the raw dough in the fridge for up to 2 days to let the flavor and texture develop.
- Have any sourdough discard? Add it into the dough for extra flavor and more elastic dough.
- The bread freezes lovely. Slice it before you freeze so you can grab however much you want when you want some delicious toast!
- You can use all-purpose flour for this recipe if you don’t have bread flour, but your bread won’t be as chewy.
- Ciabatta is a very wet dough, so be sure to generously dust your kitchen towel with flour so it can be easily removed after proofing!
How Do I Store Ciabatta Bread?
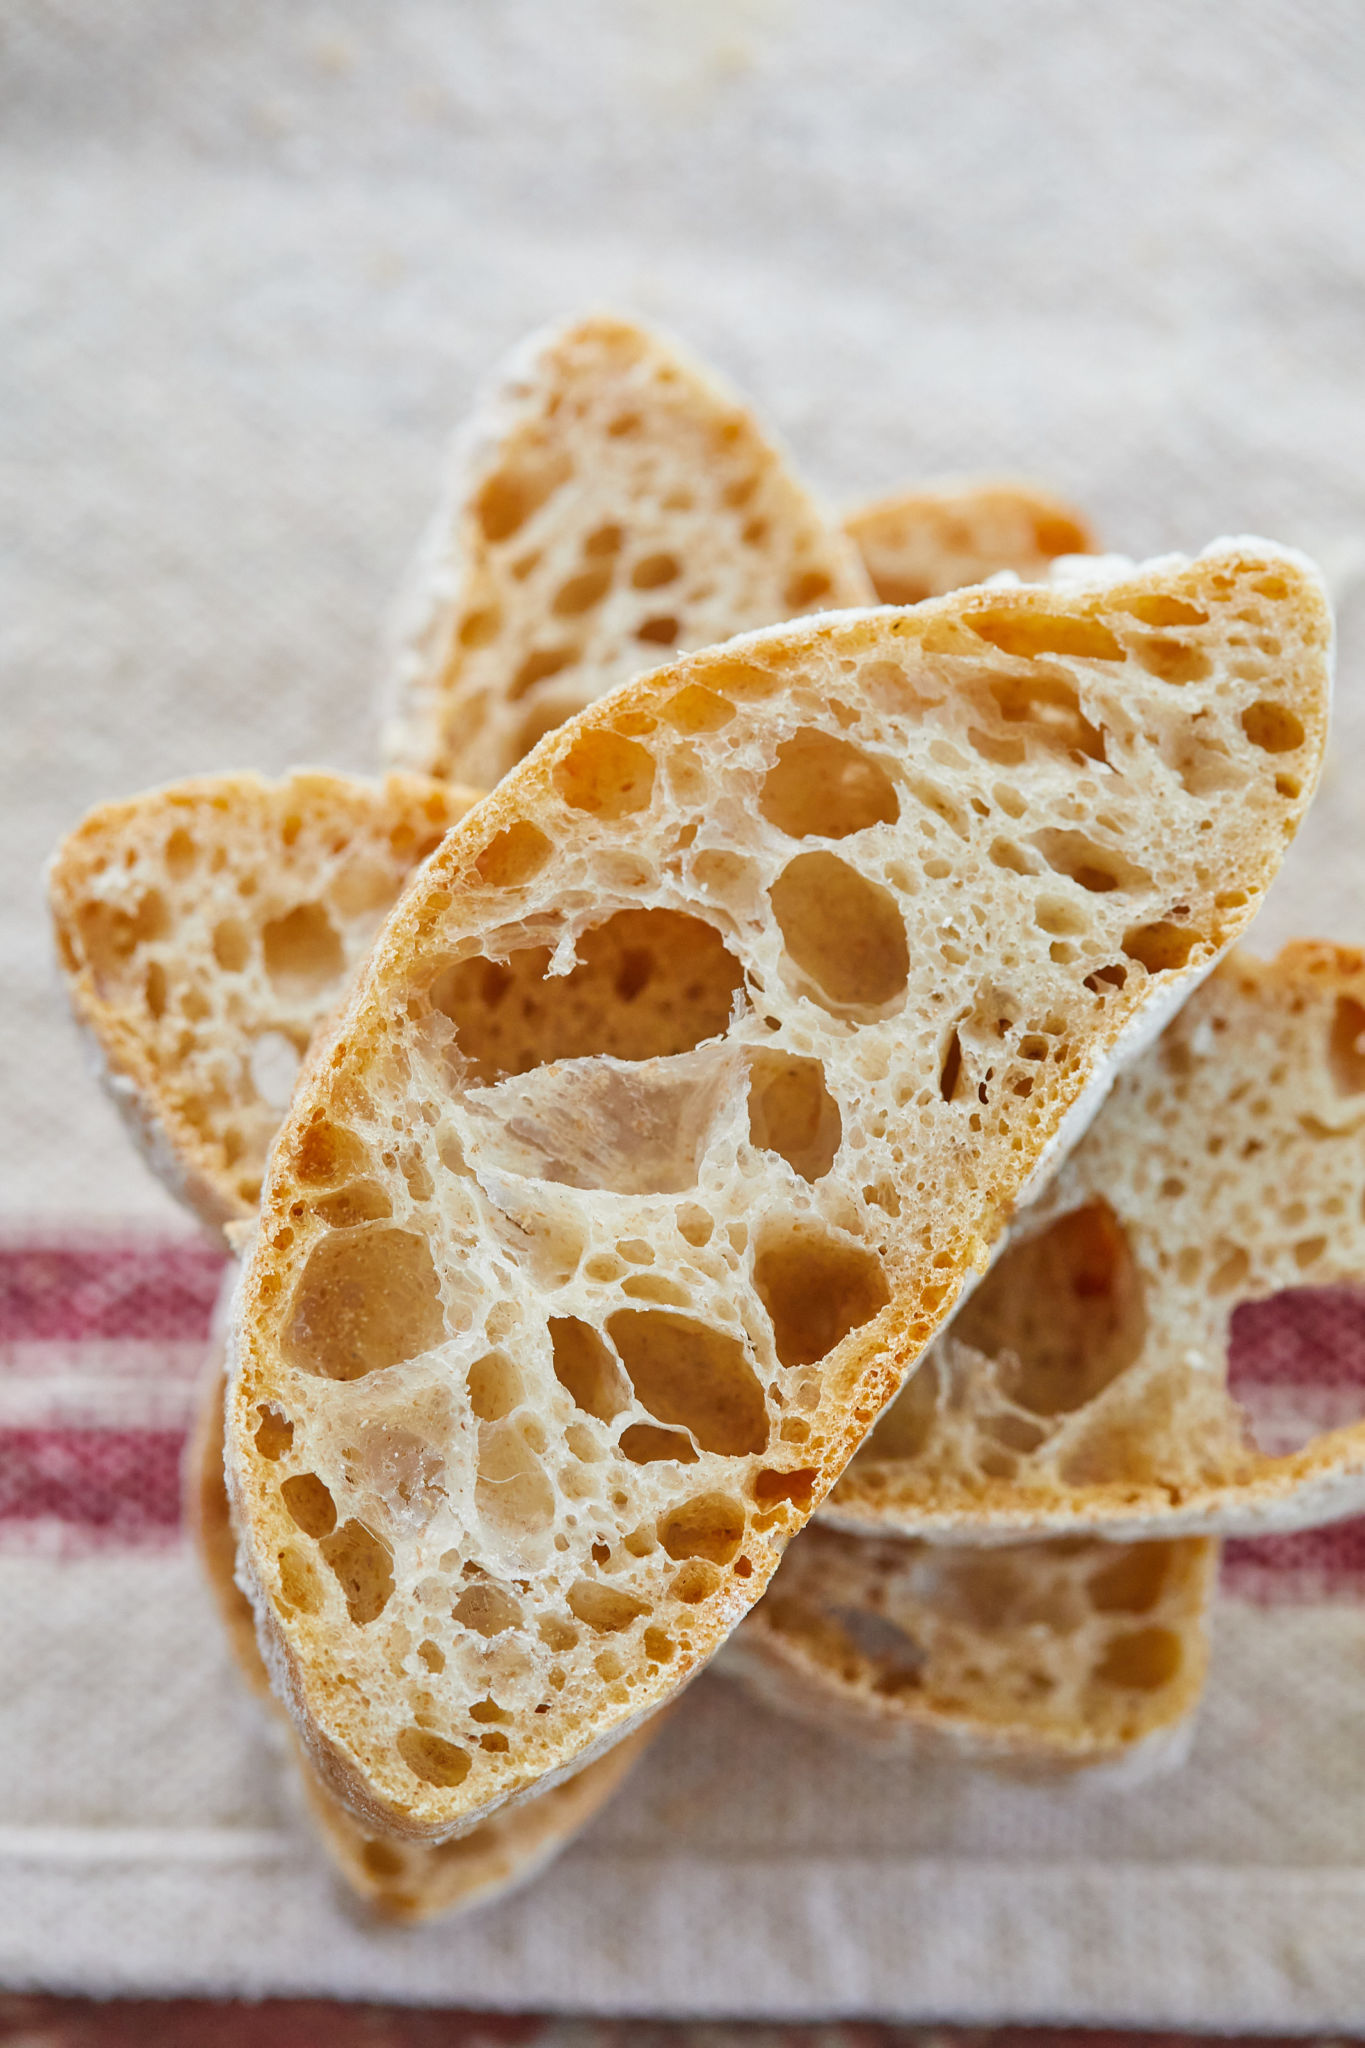
Leftover ciabatta bread can be stored in an airtight container for up to 3 days, but I recommend freezing the second loaf you make. Slice it before you freeze so you can grab slices when you want!
Make More Bread!
- Sourdough Starter Guide
- Perfectly Crusty Sourdough Loaf For Beginners
- No-Knead Whole Wheat Bread
- White Sandwich Bread
- Hearty No-Yeast Bread
And don’t forget to buy my Bigger Bolder Baking Cookbook!
Full (and printable) recipe below!
Watch The Recipe Video!
Bakery-Style Ciabatta (No-Knead Ciabatta Recipe)
Ingredients
- 3 ½ cups (17 ½oz/496g) white bread flour*
- ½ cup (2 ½ oz/71g) whole wheat flour
- 1 ½ teaspoon salt
- ¼ teaspoon instant yeast
- 2 cups (16floz/450ml) lukewarm water
- 1 tablespoon olive oil
Instructions
The Day Before:
- In a large bowl mix together the flours, salt, and yeast.
- In a separate jug mix together the water and oil.
- Add the wet into the dry ingredients and mix to form a wet dough. Scrape down the bowl and cover with a shower cap or cling wrap and a kitchen towel. Leave to ferment at room temperature for about 18 hours. Over this time flavor and texture will develop.
The Next Day:
- Prepare 2 large baking sheets: Line one baking sheet with a clean kitchen towel and dust liberally with flour. Line the other with parchment paper. Set aside.
- Uncover and knock back the dough and roll into a ball.
- Divide the dough into two pieces and place side by side on the floured towel. Cover with the kitchen towel and allow to proof for 2 hours.
- Preheat the oven to 425°F (210°C).
- Once bubbles have formed and the dough has risen turn over each loaf and stretch it out to 16 inches as you turn it then carefully place it on your parchment-lined baking sheet. (see video above for step by step).
- Bake for 35-40 minutes until golden brown.
- Allow the bread to cool completely before cutting. Enjoy fresh with butter. Any leftovers toast up great for homemade garlic bread.

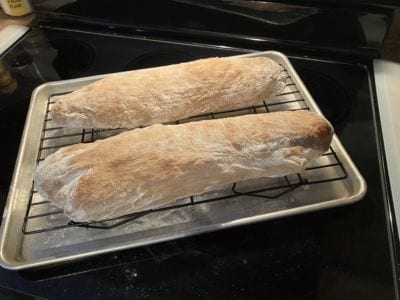
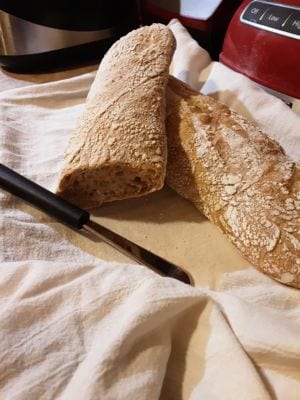
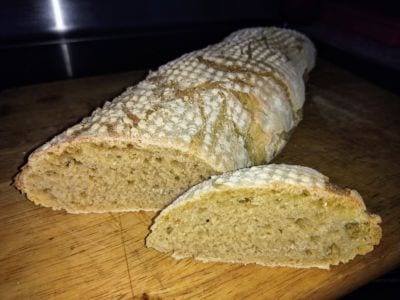
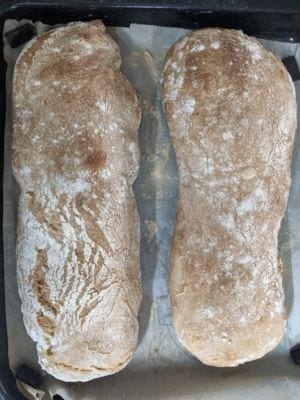


Thank you so much for this recipe, Gemma!! I’ve been looking for new things to try and this was perfect. I found the recipe straightforward and easy and the bread turned out amazing. My family gave rave reviews. My father said it tasted like it came from a bakery and requested that I make this bread from now on. I’m super excited that it turned out so well. Thank you!!
my dough always sticks to the towel, no matter how much flour i put on it…can i just put it on parchment? my dough will be ready to remove from proof in about 3 hrs.. 6/27 11 am pst…thank you
This bread is absolutely amazing! I have already made it twice. Such a crowd pleaser, and no-one could believe how simple it is to make!
I made this using regular flour. I must admit I was worried with the small amount of yeast used but I persevered and followed the recipe. This was the best bread we‘be had in months. It tasted like sourdough without all of the drama! I am going to make some more right now! Thanks for a great recipe
Gemma, the recipe sounds really good and I would definitely try it soon and tell you how it turned out. I got very excited to prepare it as soon as I saw the awesome bubbles in your Instagram post😍
Best,
Simona
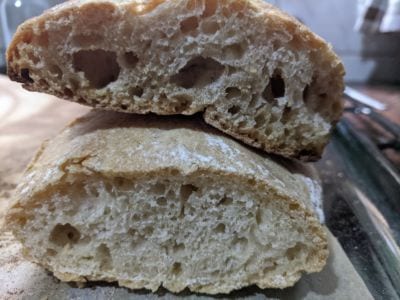
I must have tried 20 ciabatta recipes, some more involved and more time consuming than this. BUT this recipe is the only one that gave me a loaf with true ciabatta taste and “holes” in the dough. I have already deleted the other 19 recipes.
Absolutely gorgeous this recipe and a success !! Thank you 🙂
Second attempt for this recipe . Quite successful. Family loved the bread.. day 2 of the bread i used it for may panzanella..
Gemma…after mixing everything, i waited 1 hour & put it into the fridge…after over 12hrs it has barely risen…is that how it is suppose to be? first time i have ever put the dough in the fridge..hioping you get back to me soon, don’t know what to do. thank you
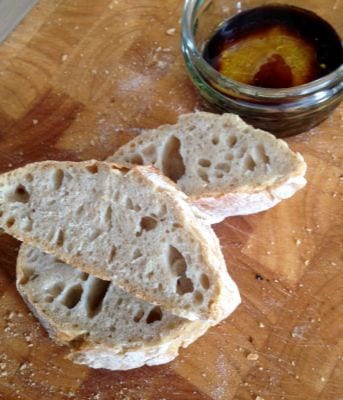
My first two loaves are warm from the oven. I added Rosemary to one and saving that for something special tomorrow. Already tested 3 slices of the other with my Greek Olive Oil and Balsamic Vinegar. Delicious!! Thanks Gemma