This post may contain affiliate links. Please see my full disclosure for details.
Hi Bold Bakers!
When it comes to my baking, I am all about technique. But life is too short for some kitchen tasks, and tempering chocolate is one of them. Rather than do it over a bain-marie, I make tempered chocolate quickly in the microwave. It’s easier, and you get the same result. Be sure to watch my video below for the method, and read about the process below.
Why does chocolate need to be tempered?
Tempering chocolate is done mainly for chocolate making or creating chocolate decorations. You know that kind of chalky, dusty color you can get on chocolate? Tempering will stop that from happening. Tempering yields a silky smooth product that gives chocolate a glossy sheen and a nice bite. Tempering also makes chocolate more pliable and makes it easier to manipulate chocolate into decorative shapes and edible art.
Here’s the science:
Chocolate is made up of various crystals. If they are not aligned correctly, chocolate will not have that nice, glossy snap when it sets, and instead, it will streak and “bloom,” developing a white, sandpaper-like exterior made of cocoa butter. Tempering chocolate by heating, stirring, and cooling it aligns the chocolate crystals so the chocolate sets up correctly when it hardens. Traditionally, one step involved melting chocolate over a double boiler, which takes time and runs the risk of moisture (which is chocolate kryptonite) getting on the chocolate.
But my microwave method is easy, and you will have perfectly tempered chocolate every time.
Here’s how to temper chocolate in the microwave:
You will need: 12 ounces of dark chocolate (use a good-quality bar and not chips, have chips have added ingredients that keep them from melting easily) a spatula, a glass bowl, microwave, and a good, accurate thermometer with a range as low as 70°F (21°C). A good thermometer is key since you have to end up in a very specific temperature range.
First, chop the chocolate into small pieces. Divide the chocolate into two batches: put three-quarters of the chocolate in one bowl and the other one-quarter of the chocolate in another.
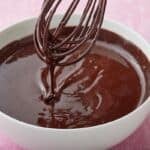
Put the bowl with the larger amount of chocolate into the microwave, and melt on high in 20 to 30-second bursts, stirring gently, until the chocolate is melted and glossy and between 114 to 118° F (57°C-59° C). You may need to microwave in 5-second bursts toward the end. The goal is to hit the temperature “sweet spot” and not burn or overheat the chocolate.
The temperature range is different for milk and white chocolate. Milk chocolate should be melted to between 108 and 113° F (42°C-45°c); White chocolate’s range is 105 to 110° F (40°C-43°C). White chocolate can burn very easily, so be extra careful.
Next, begin “seeding” the melted chocolate by adding the reserved (one-quarter of the total amount) chocolate pieces a bit at a time while stirring gently. The seeding and stirring will realign the chocolate crystals into temper. Stir and seed until the temperature of the chocolate is 88 to 89° F (31°C-32°C) and the seeding pieces are fully melted. Milk and white chocolate should cool to 85 to 86° F(29°C-30°C). Done!
Your chocolate is now in temper. Work with the chocolate in its tempered range. If it starts cooling too much, microwave it at half power to bring it back up.
I used FOOD52.com as a reference for this method. If you would like to read their full article on Microwave Tempered Chocolate, click here.

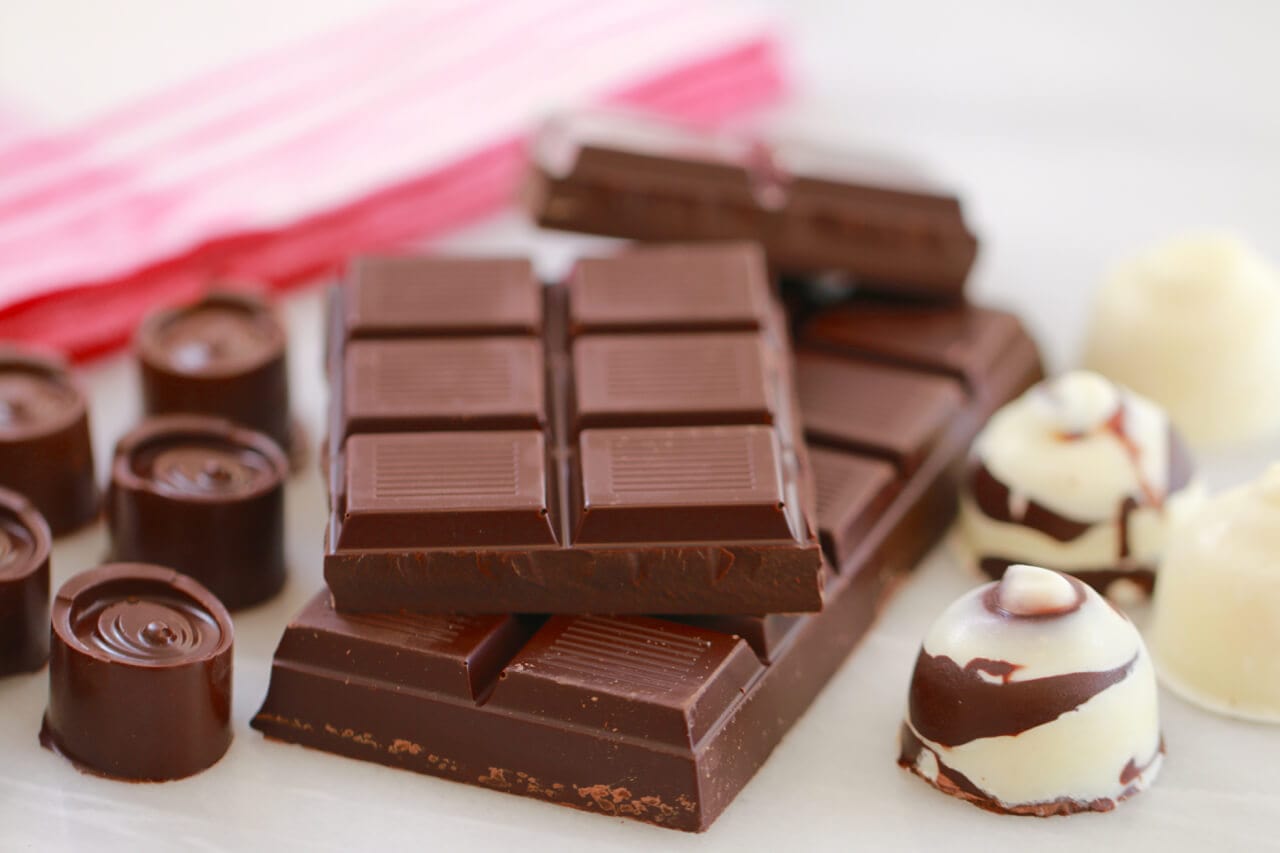
You can make homemade chocolate bars and chocolate truffles just like these with tempered chocolate.

Recreate some of your favorite chocolate treats like I did here. I made Rolos!

Get More Articles!


Watch The Recipe Video!
About Us
Meet Gemma

About Us
Meet Gemma
Hi Bold Bakers! I’m Gemma Stafford, a professional chef originally from Ireland, best-selling cookbook author, and the creator of Bigger Bolder Baking and the Bold Baking Network. I want to help you bake with confidence anytime, anywhere with my trusted and tested recipes and baking tips. You may have seen one of my 1000+ videos on YouTube, Instagram, Facebook, or TikTok or as a guest judge on Nailed It! on Netflix or the Best Baker in America on Food Network. No matter your skills, my Bold Baking Team & I want to be your #1 authority for everything baking.

Ok, let me just start by saying THANK YOU!! I have been trying to temper chocolate for.montha on end and have only managed to do it with your guidence. All the other ones was telling me to heat it up to 88f other wise it will ruin, so I have really struggled thinking it was me as I just couldn’t get it to melt more than a paste. Realising the mistake after reading your simple blog was mind blowing, chocolate will not be wasted no more, honestly I’m so happy once I heard that snap I went crazy and had… Read more »
Can you use this method when making your peanut butter cup recipe or chocolate caramel recipe? Thank you in advance..
Hello from Donegal! I had to temper chocolate today but I don’t have a double-boiler, so I followed your microwave instructions and it worked! My chocolate-dipped pretzel sticks came out perfect, so thanks for saving Christmas!
Would love to see the written instructions on how to temper chocolate in the microwave. Love your recipes and instructions.
Hi chef, could this recipe work for coating any kind of dessert? Thank you..
Hi Gemma
With tempering does the same rule apply, when you use cocoa powder and cream and heat in a saucepan so create like a shiny chocolate layer ?
thanks
Kalpesh.
hey gemma i LOVE your work its amazing i want to temeper some chocolate to make a chocolate heart. would it be better to use cooking chocolate or can i just use a regual tesco brand chocolate bar. and also if i do milk chocolate can i put glitter in it or will it just ruin the temper
Hi Gemma could you help me please what chocolate should I be using for tempered choc I have tried the callebaut ( it had only to tear drops) someone said it needs to be 3 I have also tried the tesco cheap one I spending so much money trying to get this right I just want yo give up x thank you.
Colleen
I’ve watched your videos for years and they have really helped me. I was just wondering if there was a way to temper chocolate without a thermometer as the one I have isn’t very accurate. Also, if I was going to make peanut butter cups, would I need to temper he chocolate? It’s father’s day soon and he really likes them. Thanks. ❤️
Hi Gemma,
can you pour tempered chocolate all over a cake as if it were a glaze?