This post may contain affiliate links. Please see my full disclosure for details.
Hi Bold Bakers!
With the Holidays around the corner and festive pies appearing on every table, I wanted to make sure that all my Bold Bakers are confident with their pie-making skills. I have spent some time putting together a top list of 7 Tips & Tools for Baking the Best Pies! So, whether you are making The Perfect Apple Pie, or maybe a classic Pumpkin Pie, these tips will help you ‘sleigh’ it this Holiday season (pun intended).
Pie Crust Recipe
First off, great pie starts with a great crust and I have thee go-to recipe for you on How to Make Pie Crusts (and also a Gluten-Free Pie Crust!). Over on that post, I also address the most common pie crust Do’s and Dont’s like, ‘Why is my pie crust shrinking?’ or ‘How do you bake a pie from frozen?’ Now for the pie tips that I promised you…
1) Keep Butter Cold from Beginning to End!
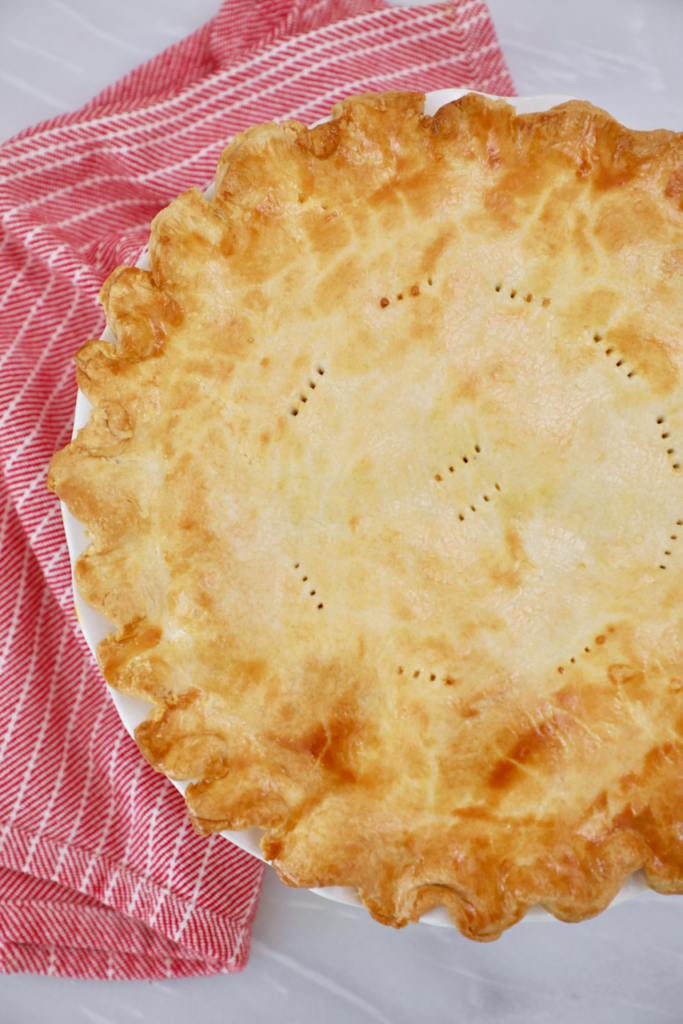
Butter must stay cold at every step of the pastry making process. You know those lovely flakey, layers that you want in your pastry? That comes down to cold butter. But butter is slippery — it wants to melt at every opportunity it gets so work fast and handle your dough as little as possible.
One way to zip through pastry making with little to no handling from warm fingers is by using a Sweet Creations Pastry Blender to rub in your butter. This metal tool is inexpensive and really great for making light work of incorporating the butter into the flour.
Chill dough immediately after mixing because the gluten needs to relax AND so the flour can absorb all the liquid. A rule of thumb is just to chill your pie crust at every step. Chilling can prevent the pastry from shrinking in the oven. If you’re worried your dough is getting too warm at any stage, you can always pause and give it a quick cool-down in the fridge or freezer.
2) Use as Little Flour as Possible When Rolling out the Dough
Pastry can absorb extra flour during the rolling process, which will also make it tough and heavier. Lightly dust your surface with flour. I like to roll my pastry on a Sweet Creations Pastry Mat. It makes it really easy to roll out your pastry because it has a non-stick backing to keep it in place, it has a crust size guide AND it easily releases your dough eliminating the need for too much flour.
3) What Pie Pan is Best?
Two pie pans that are very popular are metal pans and ceramic/stoneware dishes. Let me explain why…
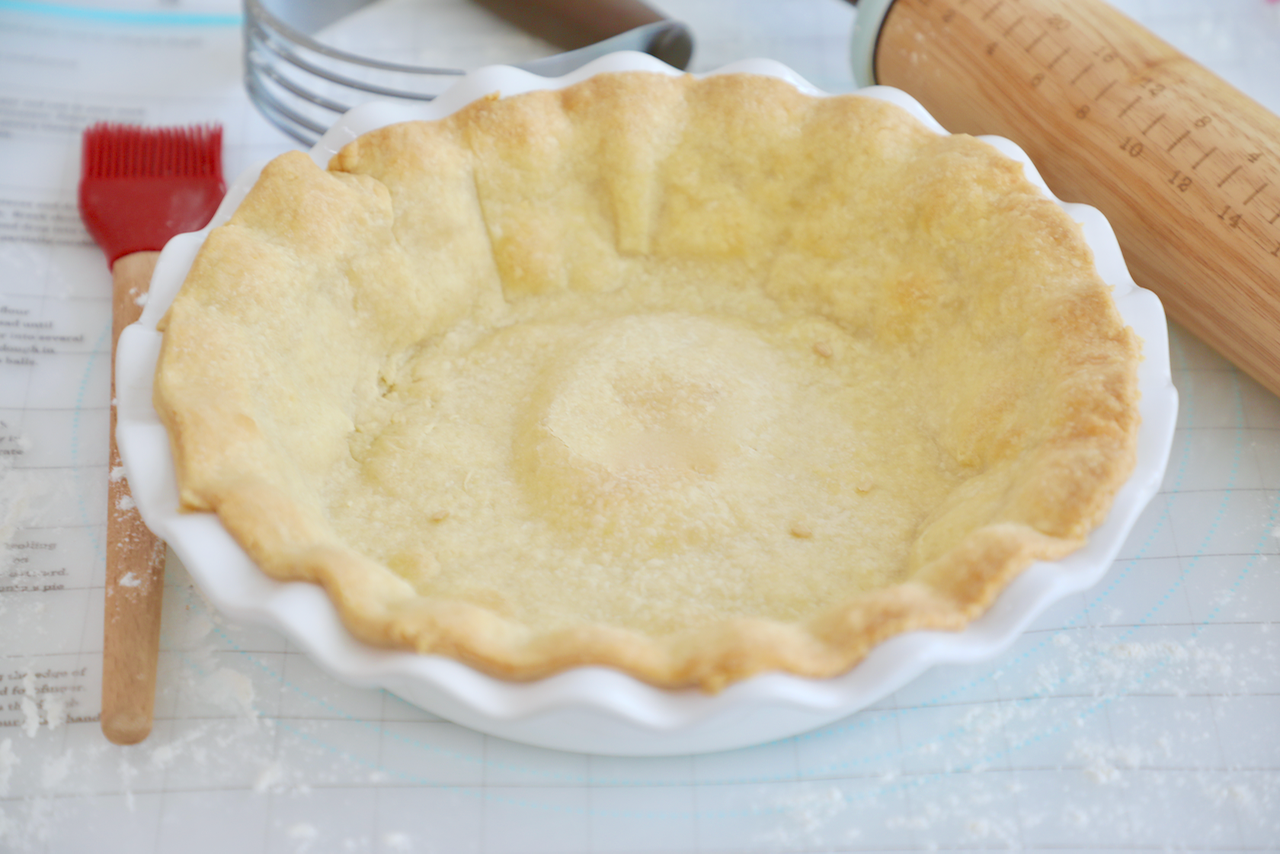
Stoneware dishes are beautiful and well insulated, making them a top choice in the presentation department. They can go straight from the oven to the table to be served out of. They also tend to be a bit deeper than standard glass and metal dishes which can be helpful for some recipes if you have a lot of filling. For Stoneware I recommend the GoodCook Oven to Table Stoneware 9 Inch Pie Dish.
Metal pans conduct heat exceptionally well and are generally thinner than ceramic making them champs in the browning department. Metal pans can also be safely transferred from the fridge or freezer to the oven with no risk of shattering. For metal, I recommend the Good Cookie 9 Inch Pie Pan.
Both pie pans are excellent options.
4) Allow a Little Overhang to Avoid Your Pastry Shrinking
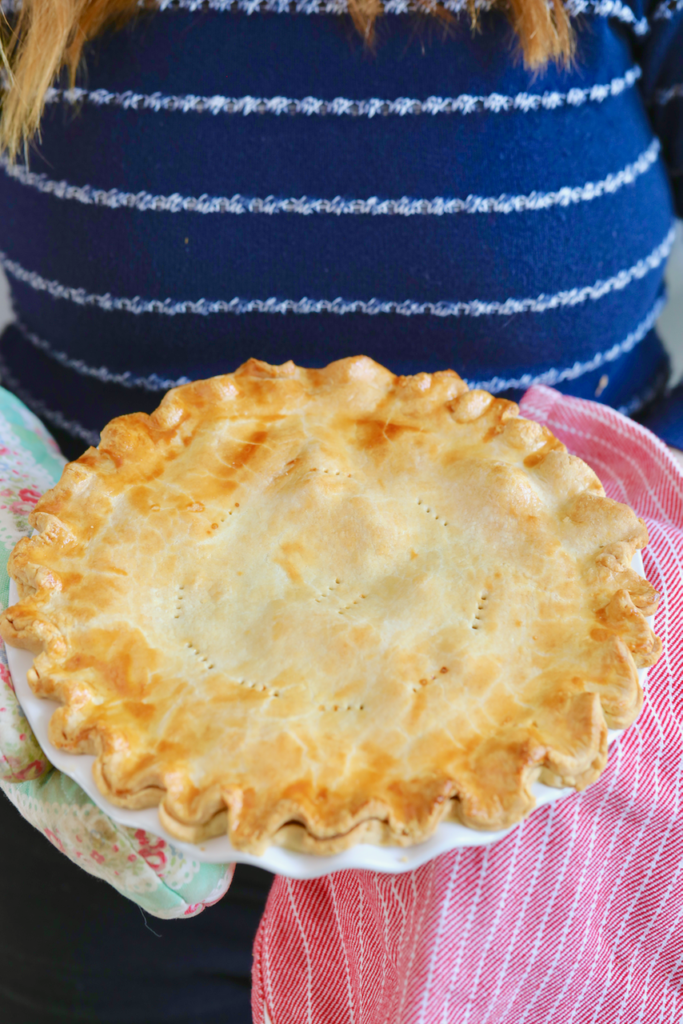
Roll out your pastry bigger than the diameter of the dish so you will have extra pastry to work with INCASE your dough shrinks during baking. Leave the extra pastry hanging over the rim of the pie pan. You can trim it neatly with a sharp knife after it’s cooked. I use my Sweet Creations Rolling Pin with a measuring guide to roll my pastry as you can set the thickness that you can AND it will be the same thickness all over.
5) Do you Need to Blind Bake the Crust?
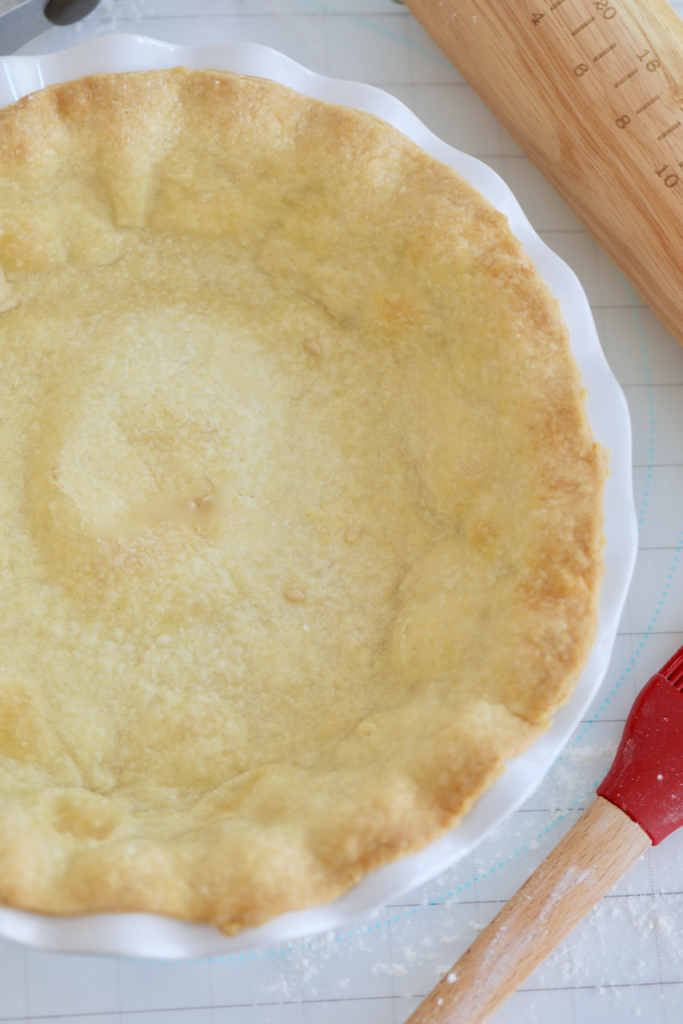
Do you need to par-bake or full-bake your pastry before adding the filling? Some pies need a little extra prebaked love so they don’t get soggy. This is also called ‘Blind Baking.”
Place the dough in a pie dish, line it with a large piece of parchment and fill with dry beans or raw rice to stop the dough from puffing up. Bake at 350°F (180°C) until the dough looks matte instead of wet, about 20 minutes. If you need your pastry fully baked then remove the parchment paper and weights and bake for a further 10-15 minutes or until the bottom of the crust is just lightly golden.
NOTE: Save the rice/beans to be used over and over in your future pies.
6) Bake Pies on the Lowest Oven Rack on a Preheated Sheet Pan or Pizza Stone
Another way to stop a soggy bottom is by preheating your oven with a baking sheet or pizza stone on the bottom rack. Bake the pie directly on this seriously hot surface; it will offer the bottom some extra heat and produce a beautifully browned crust that will stand up to your filling.
7) Protect Your Pie





how long can you store these pie shell
And what is the best way to store them
Thanks for you sharing your videos
Made the Carmel sauce and put it on an apple pie with your crust.
The only pie crust out of five that was homemade.
My sisters cheated. 😊
Delicious!
Thank you so much for sharing the tools for best pies. I will make the best pies.
This will give the best treat on christmas holidays!
Regards
Chef Bakers
Thank you so much for giving us for best pies tips. I will make the best pies
Does the recipe for pie pastry (2 1/2 cups flour) make 2 pastry crusts or just one.
Where do you get good items
Hi Gemma, I have been cooking and baking for probably 50 years – ahh! – but pies have always been a challenge for me. I have metal, glass, and stone pie dishes. One concern I have from your tutorial is going from chilling the rolled out pastry in a glass or stoneware pie dish in the fridge to a hot oven. I would think it could break the dish – thoughts? My grandmother always “greased” her pie dishes but would never divulge why. Now I know the answer – thank you. A question about putting the pie on a preheated… Read more »
Why do you butter your pie pan?
Can you tell me how many my
ls are in your tablespoon measure and how many mls in your cup measure.
Hi Gemma,do we need to grease the metal or stoneware pie pan? For baking, it will be just using the bottom heat and place at the lowest rack right? Just checking as you mentioned most bake is only using bottom heat setting and not both top and bottom. So when do we use top and bottom setting may i ask?