This post may contain affiliate links. Please see my full disclosure for details.
Hi Bold Bakers!
WHY YOU’LL LOVE THIS Q&A: After years of gathering up so much information, we created some documents that will help you make ice cream, cookies, cakes, cheesecakes, pastries, scones, and more! In this comprehensive Sourdough Q&A post, we have your sourdough questions answered. Ask us anything that’s missing in the comments and we’ll answer!
Following 20 years as a pastry chef and an avid bread baker, I have learned a lot about sourdough bread making. We have millions of fans around the world who also have the same passion for this amazing fermented dough. Myself and my team of sourdough experts created a comprehensive sourdough guide with hundreds of your questions and answers that we have received and created the internet’s MOST detailed and thorough Sourdough Q&A.
Table of Content
- Sourdough Q&A: Sourdough Bread and Sourdough Starter Basics
- Sourdough Q&A: How to Create a Sourdough Starter
- Sourdough Q&A: How to Maintain Sourdough Starter
- Sourdough Q&A: How to Use Sourdough Starter
- Sourdough Q&A: Sourdough Starter Troubleshooting
- Sourdough Q&A: How to Make Sourdough Bread Dough
- Sourdough Q&A: Fermentation, Shaping, and Proofing of Sourdough Bread
- Sourdough Q&A: How to Bake Sourdough Bread
- Sourdough Q&A: How to Store Sourdough Bread
- Sourdough Q&A: Sourdough Bread Troubleshooting
- Sourdough Q&A: Sourdough Recipes for All
Sourdough bread making involves the following stages: creating the starter, feeding the starter, checking starter readiness, mixing, autolyse, adding salt, bulk fermentation, shaping, final proofing, preheating the oven, baking uncovered and baking covered, and cooling.
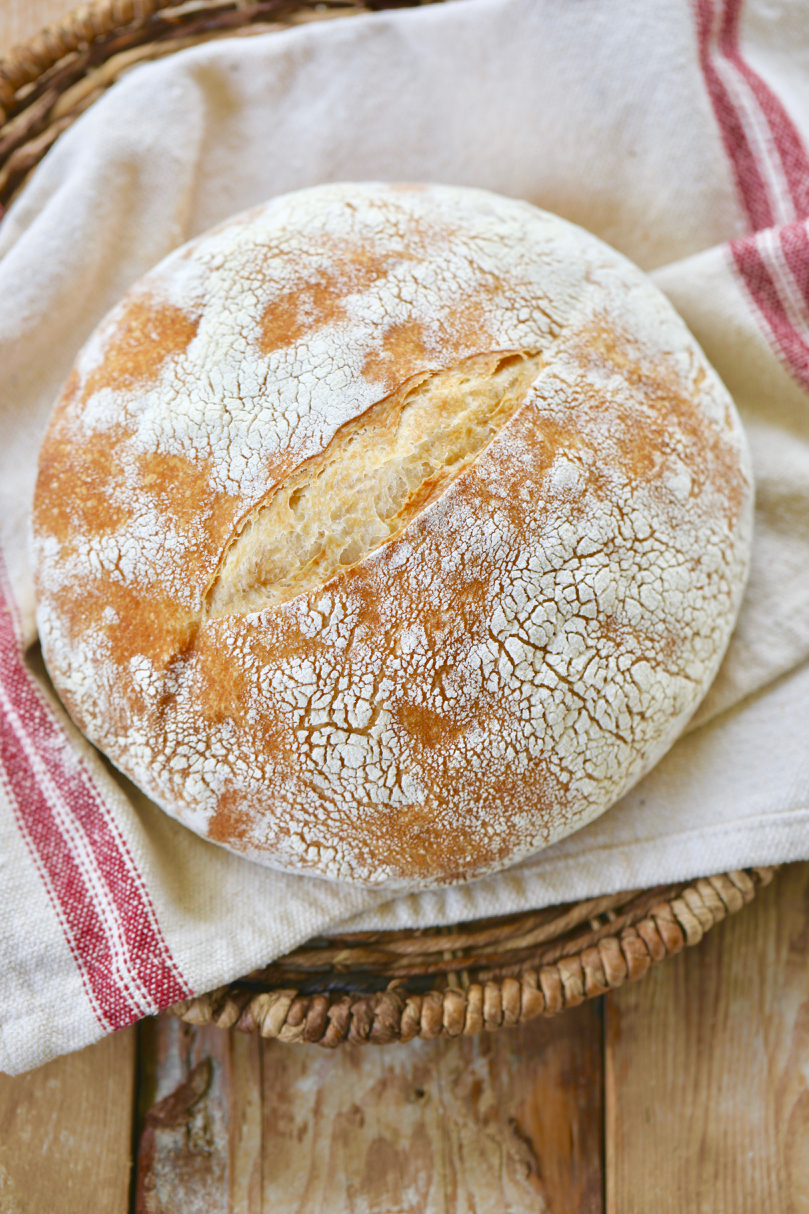
Perfectly Crusty Sourdough Bread For Beginners
Sourdough Q&A: Sourdough Bread and Sourdough Starter Basics
Q: What is sourdough bread?
A: Instead of using commercial yeast, sourdough bread is leavened using naturally occurring yeast from the atmosphere (also known as a sourdough starter).
Q: How would you describe sourdough bread? What does sourdough bread taste like?
A: Sourdough bread has a distinct and unique flavor profile compared to bread made with commercial yeast. Here are some characteristics of the taste of sourdough bread:
- Sourdough bread has a mild to pronounced tangy or sour taste and a complex flavor of earthiness, subtle sweetness, and nutty aroma.
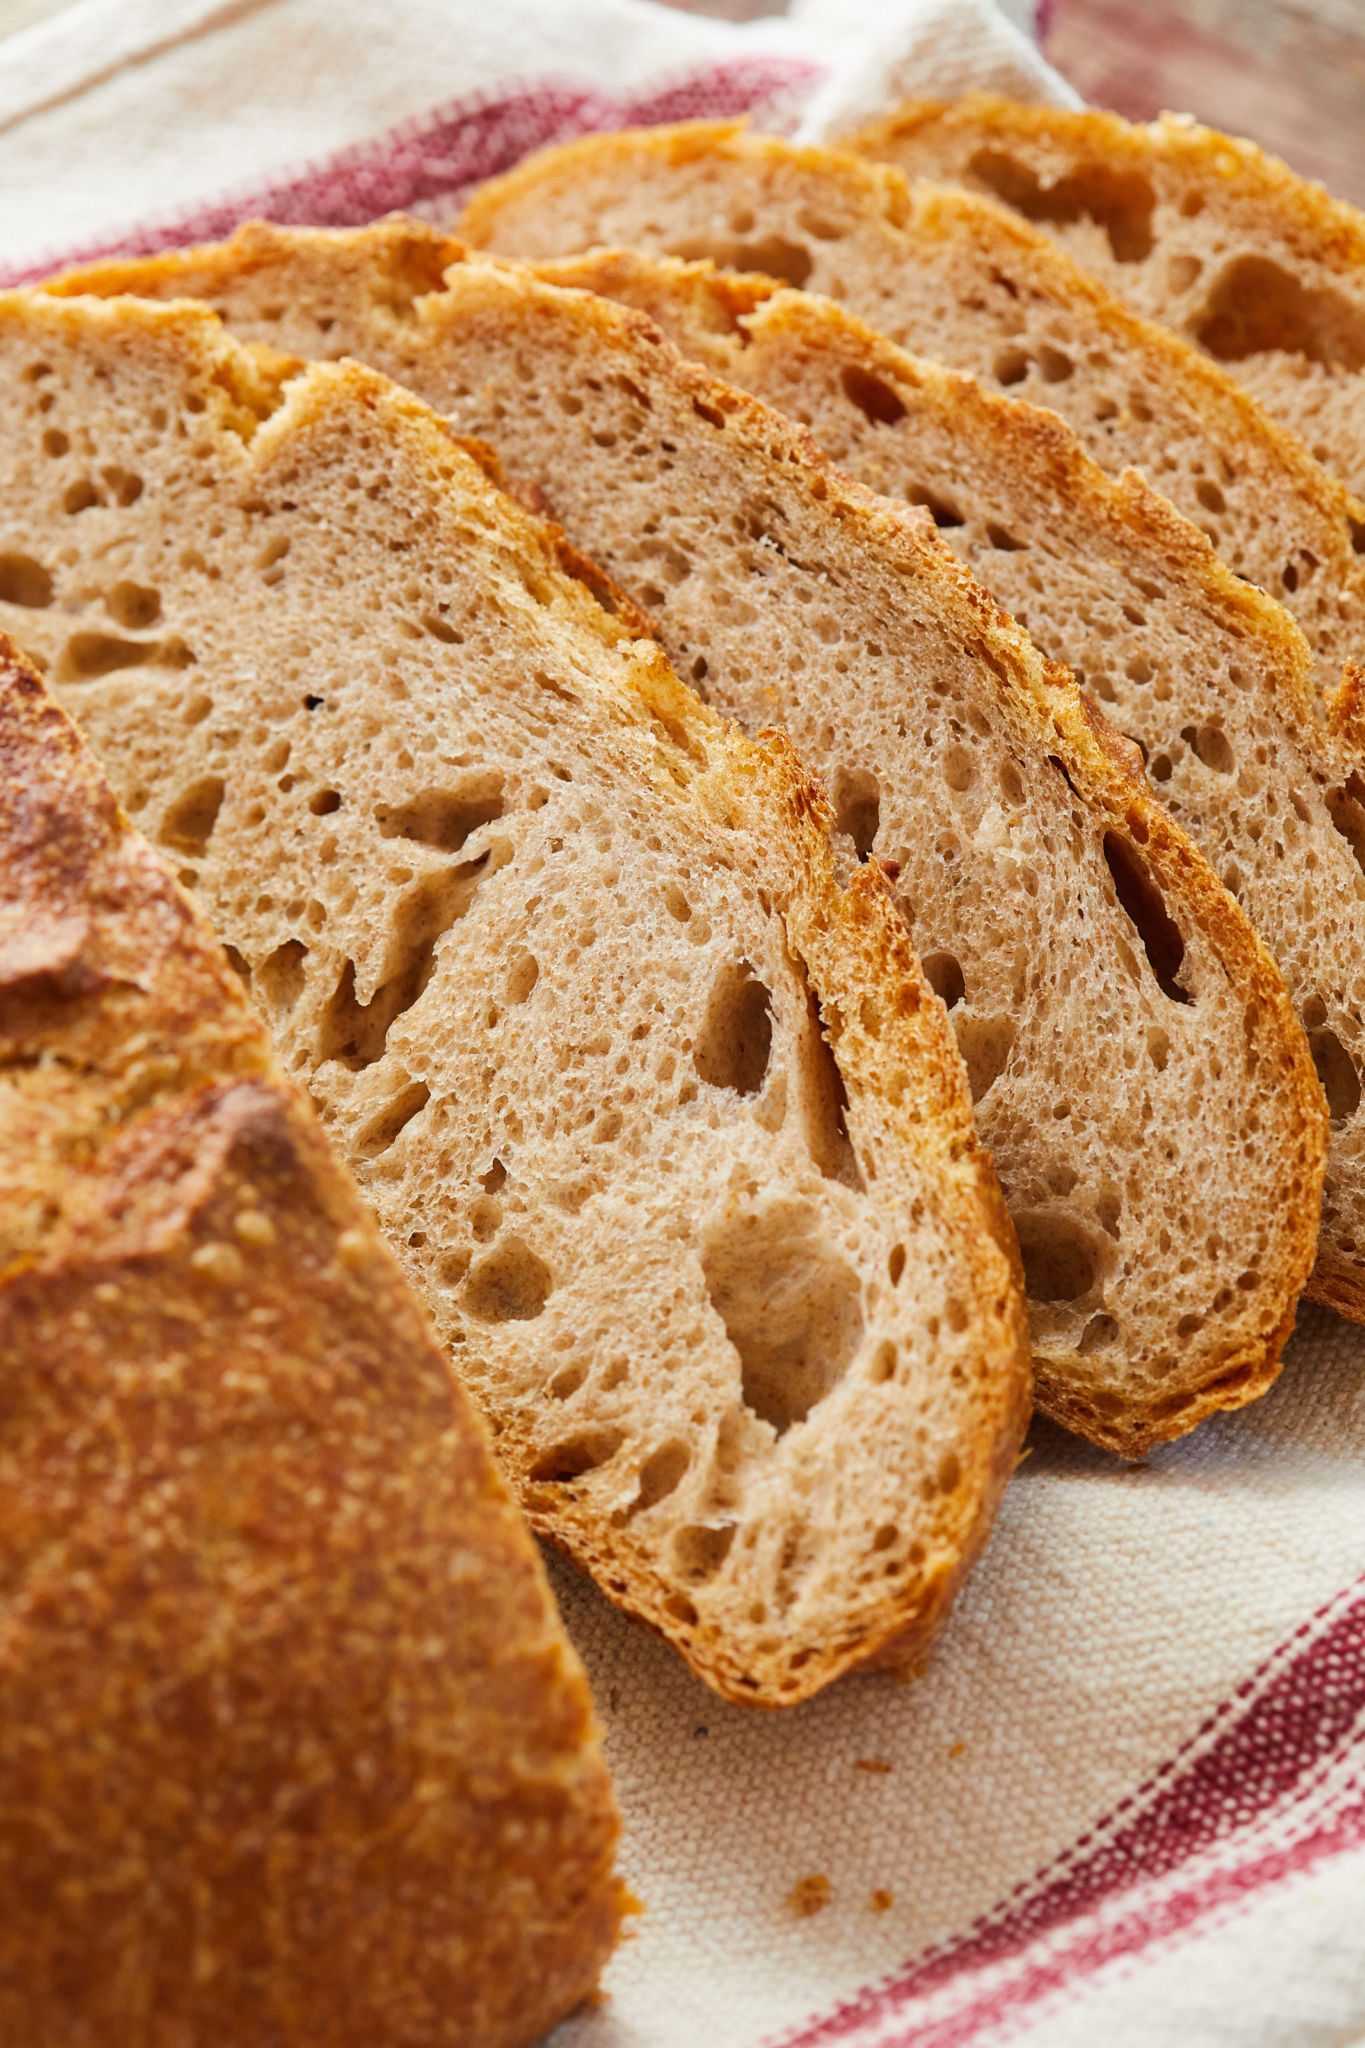
- Typically, sourdough bread has a chewy and slightly crispy crust, and an open crumb structure with irregular and uneven air pockets.
- If whole-grain flours are used, sourdough bread also offers additional depth and a hearty taste.
Q: What’s a sourdough starter?
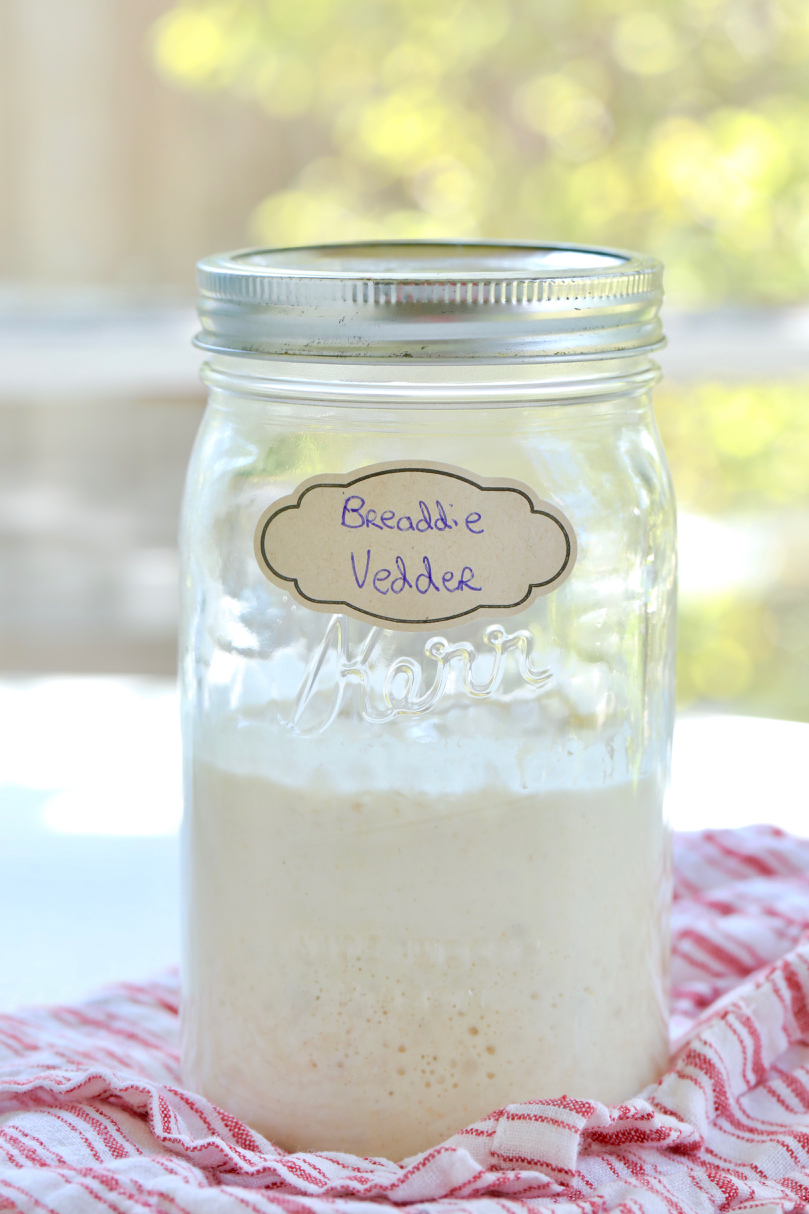
A: A sourdough starter is a live culture made by fermenting flour and water. It is used to leaven bread dough, and you can find all about it, including how to make it and use it, in the last sourdough starter guide you’ll ever need.
Q: What is sourdough starter discard?
A: “Sourdough discard” refers to a portion of sourdough starter that is removed or set aside during the regular feeding process.
But you don’t have to throw it away. Keep reading for tips on what to do with sourdough discard.
Q: What are the differences among sourdough starter, pre-ferment, and levain?
A: Both a starter and a levain fall under the same category as a preferment.
- Sourdough starter is the fermented mixture of equal parts flour and water that is used to leaven sourdough bread. It is fed and maintained separately from any specific bread recipe.
- A preferment is a general term that includes levain, poolish and biga. It is a small portion of the flour and water from a bread recipe mixed with leavening (either active sourdough starter or commercial yeast) that is left to ferment for a number of hours before it is mixed with the remaining flour, water and other ingredients in the bread recipe. This step creates a loaf with a stronger structure and deeper flavor.
- Levain is a sourdough preferment made with a portion of active sourdough starter mixed with some flour and water from the bread recipe. (Whereas polish and biga are preferments made only with commercial yeast.) To do a levain preferment, you need to get an active starter per the instructions in my Sourdough Starter Guide and then go from there.
Q: What’s hydration in sourdough baking?
A: Hydration in sourdough refers to the ratio of water to flour in the dough, expressed as a percentage.
- The hydration level affects the dough’s texture, crumb structure, and overall baking process.
- You can calculate the hydration of your bread recipe by dividing the weight of water by the weight of flour and multiplying by 100 to get a percentage.
- The ideal hydration for sourdough bread is between 70%-90%. A lower percentage will yield dough that is easier to handle and shape, but will result in a more compact loaf. A higher percentage takes more skill and technique as the dough is softer and stickier, but will ferment and develop gluten faster and result in a lighter, more airy loaf, with greater chew and a thinner, crisper crust.
- It is always most reliable to find a tested recipe, but the hydration in any recipe can be adjusted by holding back or adding in water.
- Different flours with the same hydration percentages can result in very different loaves. For example, whole wheat flour absorbs more liquid than white flour and can result in a denser loaf. If you wish to make whole wheat sourdough, look for a recipe with 85%-90% hydration.
Q: What is autolyse and what does it do for sourdough?
A: Autolyse is mixing some or all of the flour and water in your recipe together and letting it rest for a period of time before adding your starter and other ingredients. It is optional but it allows the flour to hydrate, therefore improving the gluten formation. It contributes to a more elastic and well-structured final dough, especially when working with whole grain flour.
Q: Is sourdough bread gluten-free?
A: Sourdough bread is not gluten free. However, the fermentation process decreases some of the gluten in the bread and the naturally occurring bacteria in sourdough might make this bread more easily digestible for some of those with mild gluten sensitivity.
Q: What are the health benefits of sourdough bread? Why is sourdough bread good for you?
A: Sourdough bread offers several potential health benefits, particularly when compared to conventional bread made with commercial yeast:
- Digestibility:
The sourdough fermentation process breaks down gluten and phytic acid to some extent. This allows vitamins, minerals and antioxidants in wheat flour to be more easily absorbed by the body and also makes it easier to digest.
- Probiotics:
Sourdough fermentation involves wild yeast and lactic acid bacteria, contributing to the development of probiotics supporting gut health.
- Blood Sugar Regulation:
The lactic acid produced during sourdough fermentation may help lower the bread’s glycemic index, potentially leading to more stable blood sugar levels.
Sourdough Starter Guide
Sourdough Q&A: How to Create a Sourdough Starter
Q: How to make a sourdough starter?
A: Most simply put, mix equal parts flour and water in a clean jar, cover with a cheesecloth or loose-fitting lid. After 2 days, the yeast in the environment will find the natural microorganisms in the flour and together they will begin to cause the mixture to ferment and bubble. At this point, you will discard a portion of the mixture and mix in equal parts flour and water. Repeat this daily for about 5 days and you will have a starter. Please go to my Sourdough Starter Guide for more detailed instructions and explanations.
Q: What kind of container is best for sourdough starter?
A: I prefer a sturdy glass mason jar, but any non-reactive container would work.
Q: What flour is best for a sourdough starter?
A: A starter can be made with all-purpose, whole wheat or rye flour, or a combination of them. They will ferment at slightly different rates (rye being the most vigorous) and produce some different flavors (all-purpose being the mildest), but they will all work. If you use all-purpose flour, be sure to use unbleached flour as the chemicals used in the bleaching process can inhibit fermentation.
Q: Can I use all-purpose flour for my sourdough starter?
A: Yes, you can use all-purpose flour for a sourdough starter but be sure to use unbleached flour as the chemicals in bleached flour can inhibit fermentation. Also, be aware that it might be slower to develop compared to using whole-grain flours.
Q: Can I use rye in my starter and sourdough bread?
A: Yes. A starter made with rye flour will be much more vigorous when compared to wheat flour due to its higher amylase content.
- This can be beneficial if you are looking to make a starter more quickly. Keep in mind that rye flour is pricier than wheat flour and can be less readily available for long-term maintenance.
- Baking sourdough bread using wheat flour with a rye starter will result in a loaf with a mildly sour flavor and a denser crumb when compared to a loaf baked with a wheat flour starter.
- If you want to use rye flour in addition to your rye starter in your loaf, use no more than ¼ of the total flour in the recipe. Rye flour has far less gluten than wheat flour and will not develop through autolyzing (wetting the flour) or kneading, and will result in a flat and dense loaf if more rye than that is used.
Q: Can I use gluten-free flour to make the starter?
A: Yes, you can use gluten-free flour to create a sourdough starter. You can use any gluten-free whole-grain flour of your choice. Some recommendations are rice, buckwheat, teff, sorghum, millet or a gluten-free flour blend.
- The gluten-free sourdough starter feeds off of non-wheat flour and starches if any (corn, tapioca, arrowroot, etc). The specific enzyme systems of the flour or flour blend will determine how fast the sugars and then gas are generated.
- Since there is no gluten, you will instead get weaker starch foams that tend to deflate and prevent the bread from rising. The resulting loaf can be quite dense (such as 100% rye bread) unless you add dough-strengthening ingredients to your gluten-free dough such as xanthan gum or tapioca flour. Many gluten-free bakers have baked beautiful loaves and these recipes can be found on their blogs. We strongly suggest researching some of these tested recipes if you are interested in gluten-free sourdough bread.
Q: How to feed a sourdough starter?
A: Feeding the starter involves discarding a portion of the mixture and replenishing it with equal parts fresh flour and water on a regular schedule.
This step sustains and strengthens the starter by providing fresh nutrients for the yeast and bacteria. Regular feeding encourages a healthy, active culture.
Q: How much exactly should I feed a starter for a recipe?
A: This depends on how much active sourdough starter a bread recipe calls for.
- For example, if you need to use and keep 150g starter in the bottle and you feed it at the ratio of (remaining ) starter: water: flour =1:1:1, then it should be 50g starter, 50 water and 50g flour. But note that there ‘s always some sticking to the fork that you use so factor extra 5g-10g in, then I suggest you do 55g on each of the three.
- After using 55g of the starter from the mother, you can discard or store the rest in a separate container in the fridge, which can be used as STARTER DISCARD in pancakes, cookies, cakes, and many more recipes on biggerbolderbaking.com.
Q: Why do I have to discard some starter?
A: When maintaining a sourdough starter, it’s common to discard a portion of it before adding fresh flour and water to refresh and feed the remaining starter. This step helps maintain the overall balance of the starter and prevents it from growing too large.
Q: How do I know that my starter is active?
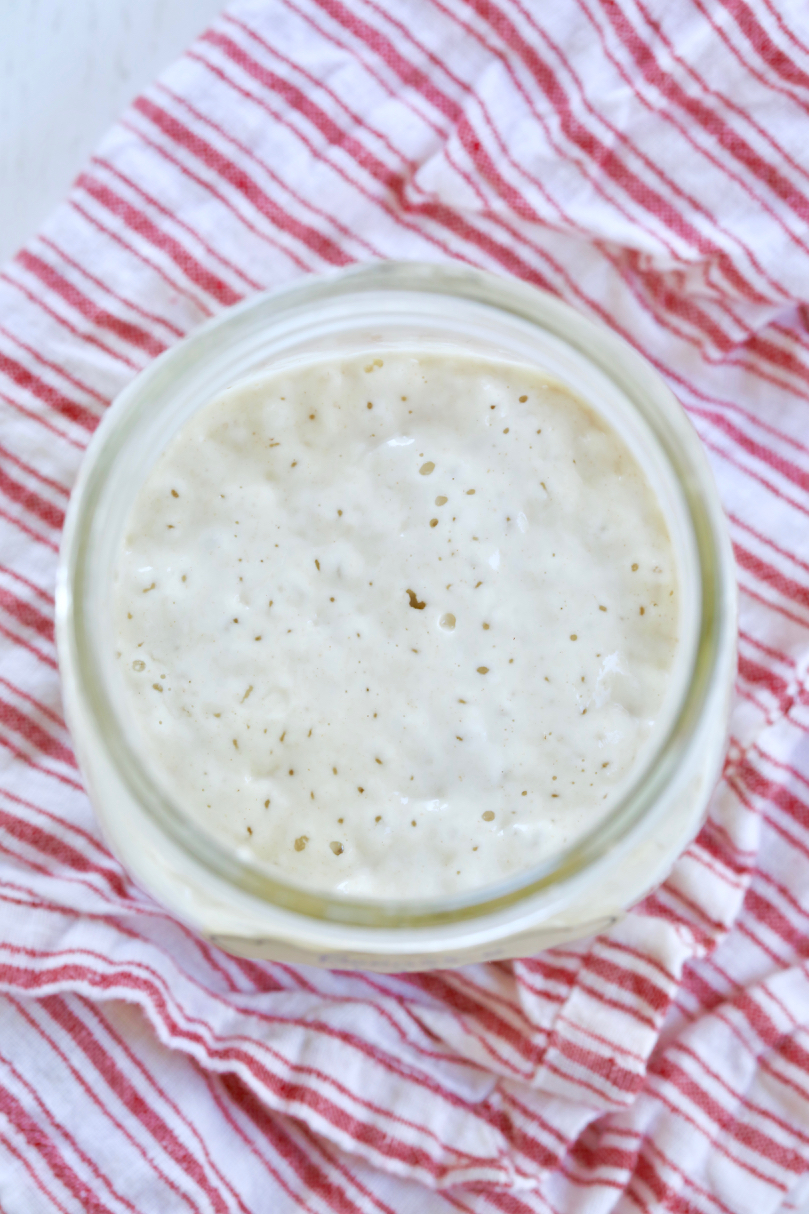
A: A starter is active once it can rise and fall on a regular schedule, looks bubbly and spongy, has at least doubled in size and smells sour and boozy.
You can also test a starter’s readiness by using the float test: drop a teaspoon of starter into a glass of water. If it floats then it’s ready.
Sourdough Starter Guide
Sourdough Q&A: How to Maintain Sourdough Starter
Q: What’s the best way to maintain a sourdough starter? (How often should I feed my starter?)
A: If you bake often, keep your sourdough starter at room temperature and twice a day discard a portion, then feed it.
If you don’t bake often, you can store it in the fridge to preserve its strength and feed it once per week for the best result.
- When ready to bake, drain off the dark liquid hooch, then combine an equal portion of starter, flour and warm water (about 113°F/45°C). Leave at room temperature and then every 12 hours, discard a portion and feed the remaining starter for around 1-3 days until it is active and bubbling before using. Be sure to make enough starter to have some leftover to store for your next loaf. For more detailed information, refer to my Sourdough Starter Guide,
Q: How long can a sourdough starter stay in the fridge without being fed?
A: Sourdough starter is actually quite difficult to kill. Though many bakers recommend refrigerating starter for no longer than two months, you can still revive it even if it has been refrigerated for 6 months or more. As long as you don’t see any mold on the starter or on the jar, it should be fine. Remember, the dark liquid hooch isn’t mold – just pour it off and start to feed a portion (discard some) or all of the remaining starter with flour and water. It may take 3-5 days of discarding and feeding to bring it to its peak.
Q: What does refrigeration do to sourdough starter and sourdough?
A: Refrigeration will not stop starter growing or dough proofing, it will slow down the process and develop a better texture and a more profound flavor profile..
- The wild yeast in the starter has a longer time to feed on sugar from flour, to produce more carbon dioxide so bread has air pockets or open crumb.
- With every burst of carbon dioxide that the starter releases into an air bubble, protein and water molecules move about and have another chance to connect and form more gluten, for a chewier result.
- At the same time, the acid from starter produces more bacteria for a more developed tangy flavor .
- The starter has more time to pre-digest flour which MAY alleviate wheat/gluten allergies.
Q: How to dehydrate sourdough starter to preserve it?
A: Dehydrating sourdough starter is a practical method for preserving it for longer periods.
To dehydrate sourdough starter for preservation, ensure it’s active and spread it thinly on parchment paper. Dehydrate in a low-temperature dehydrator (95°F/35°C to 110°F/43°C, for 6-12 hours) or oven (150°F/65°C, for 4 to 8 hours) with the door slightly ajar until brittle. Break it into pieces and store in an airtight container in a cool, dark place.
Q: How to rehydrate a dry sourdough starter to use it?
A: Rehydrating sourdough starter allows you to bring it back to an active state for baking.
To rehydrate a dry sourdough starter for baking, measure the desired amount and mix it with an equal part of lukewarm water. Stir until dissolved, add an equal amount of flour, and mix to create a thick consistency. Let it sit at room temperature, feed it with equal parts flour and water every 12 hours until it’s active, about 1-3 days, before using in your recipe.
Q: Can I freeze sourdough starter and how should I do it?
A: Yes, a starter will keep for up to 1 year in the freezer. For best results, begin with an active, bubbly starter. It is best to freeze small portions in an ice cube tray or silicone cup-lined muffin tin for easy defrosting later. Once frozen, transfer the cubes to an airtight container.
Q: How do I defrost and revive a frozen starter?
A: Defrost the starter in a clean jar at room temperature, then feed a desired amount of that starter with equal parts flour and water. For any leftover, discard or keep discard in another container in the fridge for later use.
After the first 12 hours, feed again without discarding. After that, every 12 hours, discard a portion and feed. It can take a few days to start seeing bubbles.
Sourdough Q&A: How to Use Sourdough Starter
Q: How to use a sourdough starter?
A: First, your starter must be active and bubbly, and then it can be used according to the directions in your recipe. Always make sure that you have enough starter to both use for your recipe and also some left over for your next loaf.
Q: Can I use my sourdough starter straight from the fridge?
A: Only an active and bubbly starter should be used in a bread dough. Straight from the fridge, a starter is usually sluggish and in need of feeding. It won’t have enough active wild yeast to leaven the bread dough.

Sourdough Discard Crackers
Q: What to do with sourdough discard? Do you have sourdough discard recipes?
A: Sourdough discard is a wonderful ingredient that can add a lot of flavor dimension to baked goods.
Instead of throwing away your STARTER DISCARD, see how it can be used for delicious results in pancakes, cookies, cakes, and many more recipes on biggerbolderbaking.com.
Here are some delicious sourdough discard recipes to try: Sourdough Discard Crackers Recipe with Rosemary, Easy Sourdough Popovers Recipe, and Sourdough Chocolate Chip Cookies Recipe.
Sourdough Q&A: Sourdough Starter Troubleshooting
Q: What do I do if a dark liquid appears on my starter?
A: A dark liquid might appear on the surface and throughout the culture. It has a very boozy smell, similar to rubbing alcohol, but this does not mean the starter has gone bad. This liquid is called “hooch” and simply indicates that your starter needs to be fed. Remove it along with any discolored starter and then follow the normal starter feeding routine.
Q: When Does A Sourdough Starter Go Bad?
A: A starter should generally smell sweet and slightly sour, and it should look light in color as well. If you see spots of pink, green, or dark brown that go beyond the surface of the starter then that’s a sign of bad bacteria growth. In this case, the starter should be discarded.
Q: Why Doesn’t My Sourdough Starter Have Bubbles?
A: If there aren’t any bubbles left, it is most likely because your starter ran out of food (flour) and it should be fed more frequently. Should your feeding schedule be every 12 hours, perhaps an increase in feeding will help revive your starter so feed every 8-12 hours until normal activity resumes.
Q: Why isn’t my sourdough starter rising?
A: Starter is very hard to kill but some things may slow the growth.
- Be sure to use unbleached flour and filtered, non-chlorinated water, as some chemicals can inhibit yeast growth.
- You can try to use whole wheat or rye flour to give the starter a boost.
- Also, if your kitchen is very cold, try to find a warmer environment for the starter, ideally around 75°F (24°C).
Simplest Sourdough Pizza Crust (Perfectly Chewy)
Sourdough Q&A: How to Make Sourdough Bread Dough
Q: Can I use spelt flour in sourdough bread?
A: Yes, either whole grain or white spelt flour can be used to replace up to 50% of the wheat flour in any sourdough bread recipe.
- For whole wheat bread, swap out with whole grain spelt.
- For an all-purpose loaf, you can swap out either with whole grain or white spelt.
- I don’t recommend replacing more than half of your flour with spelt because like rye, it has a lower gluten content when compared to wheat flour and can result in a denser loaf with a lower rise. Also, spelt absorbs less water than wheat flour by 10-25%, so hold off on some of the water as you knead the dough. You will have to go by feel here, adding in water until a soft but not sticky texture is achieved. Try experimenting with spelt using my Sourdough Bread Recipe
Q: What does salt do for sourdough and how much salt is in sourdough?
A: Salt is incorporated into the dough after the initial mixing or autolyse phase.
Salt enhances flavor, regulates fermentation, and strengthens the gluten network. Adding it after autolyse prevents early inhibition of yeast activity.
Q: At what point can you add mix-ins to sourdough?
A: You can add inclusions at different stages in sourdough baking.
- During Mixing/Kneading:
- Some mix-ins, like nuts or seeds that are resilient to burning such as Chia seeds, poppy seeds, sunflower seeds, pumpkin seeds, hemp seeds, millet seeds, quinoa seeds, can be added during the initial mixing or kneading phase after the dough has formed.
- Incorporating them into the dough when it’s still in the early stages of development ensures even distribution throughout the bread.
- Adding mix-ins too early will affect gluten formation.
- During Bulk Fermentation:
- If you’re adding ingredients that might be more delicate or prone to breaking apart, like dried fruits, consider incorporating them during the bulk fermentation stage.
- Fold or gently knead the mix-ins into the dough during one of the stretch-and-fold sessions.
- Before Shaping:
- Mix-ins like cheese or herbs can be added right before shaping the dough.
- Sprinkle them over the surface of the dough and fold it in during the shaping process. This helps to preserve the integrity of more fragile ingredients.
- During Final Proofing:
- For certain mix-ins, like chocolate chips or chunks, you might choose to add them just before the final proofing stage.
- Gently fold them into the shaped dough during the final shaping or right before placing it in the proofing basket.
- Before Baking:
- Some mix-ins, especially those that might burn or become too crispy during baking, are better added right before putting the bread in the oven. These include certain seeds and nuts like sesame seeds, pine mites, pecans, walnuts, and cashews.
- Simply press them onto the surface of the shaped dough.
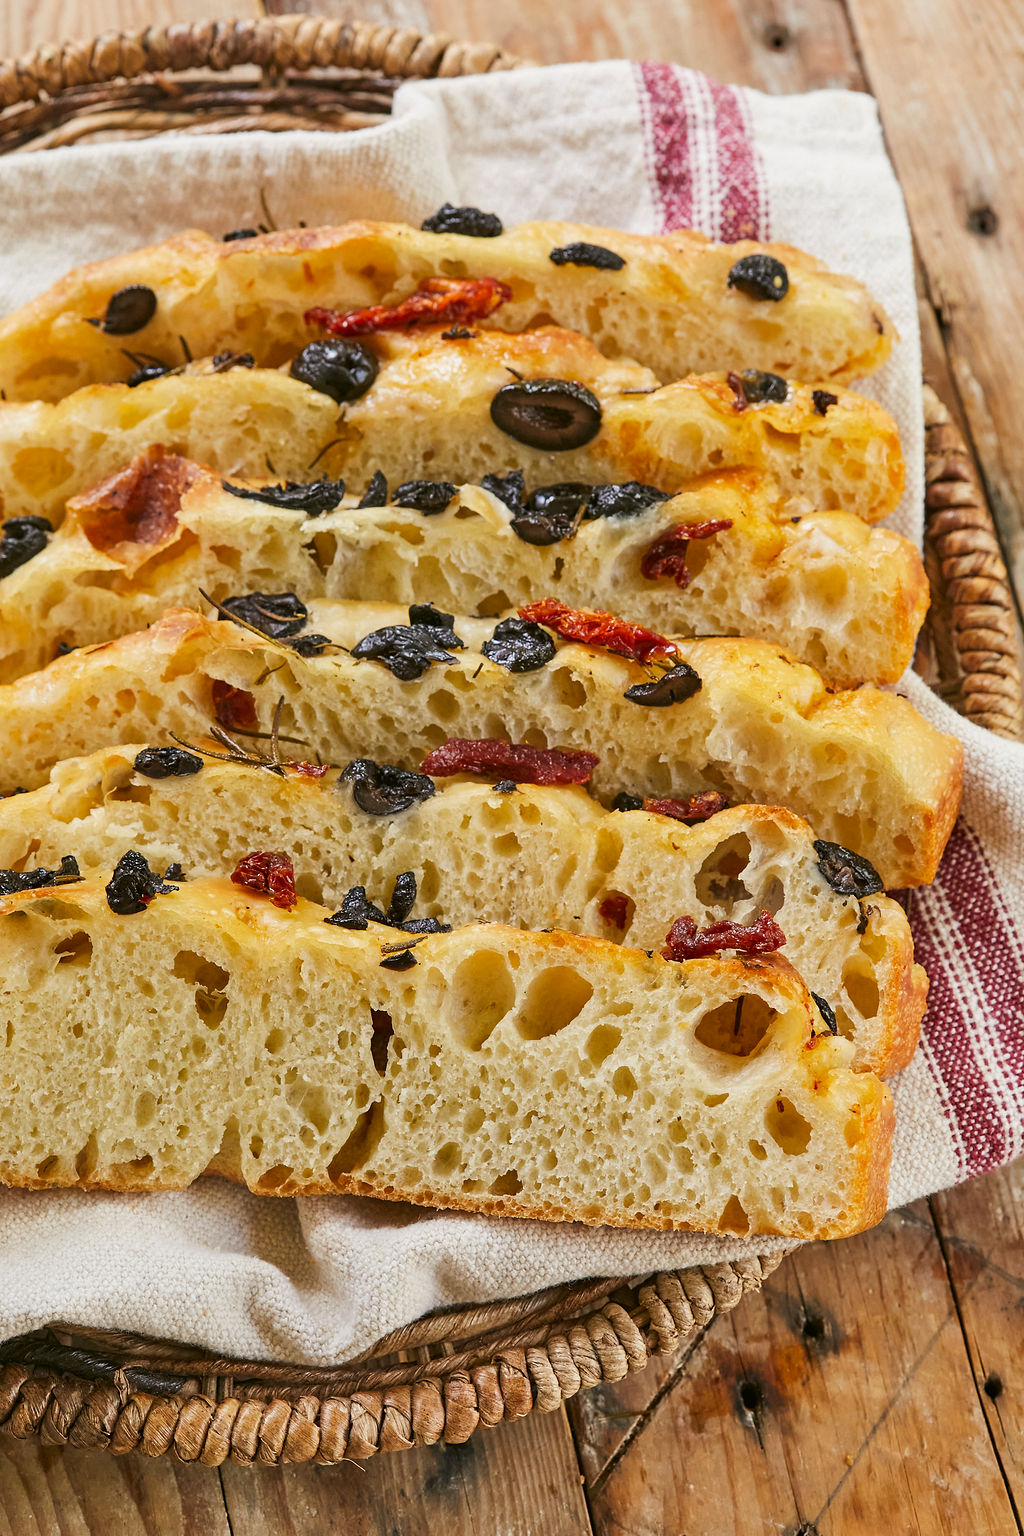
The Easiest Sourdough Focaccia
Sourdough Q&A: Fermentation, Shaping and Proofing of Sourdough Bread
Q: What is the difference between bulk fermentation and final proofing?
A: Both bulk fermentation and final proofing give the dough time to form gluten, allowing the gluten to relax and letting the dough rise.
- Bulk fermentation ( first fermentation or first rise) is the dough’s first resting period after yeast has been added, and before shaping.
- Proofing (aka final fermentation, final rise, second rise, or blooming) is the dough’s final rise that happens after shaping and just before baking.
Q: How long should you bulk ferment sourdough?
A: Bulk fermentation is the primary fermentation phase where the entire dough mass is first kneaded and then left to rise. This can take anywhere from 2 hours to 18 hours, and depending on the recipe, can take place somewhere warm or in the refrigerator.
Q: What does shaping do for sourdough?
A: Shaping involves forming the bulk-fermented dough into the desired loaf shape.
This shaping of sourdough creates tension on the surface, contributing to a well-shaped and structured final loaf. It also helps trap gas produced during fermentation, which contributes to the bread’s rise.
Q: How long does it take to final proof sourdough?
A: Sourdough final proof is the last fermentation stage where the shaped dough undergoes its last rise before baking.
- The dough rests, allowing it to achieve its final volume and texture. This stage enhances flavor and contributes to an airy crumb.
- Final proofing typically takes anywhere from 1 to 3 hours.
Whole Wheat Sourdough Bread
Sourdough Q&A: How to Bake Sourdough Bread
Q: Do you need to preheat the oven for sourdough?
A: Yes. Preheating the oven for a full 30 minutes (with a Dutch oven inside, if your recipe and method call for this) creates an evenly hot oven and provides sourdough bread with the initial burst of heat needed for optimal oven spring and crust formation.
Q: How to score sourdough bread?
A: Scoring entails making shallow cuts on the surface of the dough before baking. It helps control the expansion of the dough during baking, preventing irregular tearing and promoting an aesthetically pleasing loaf.
- Use a clean razor blade or very thin, sharp knife for scoring. The surface of your proofed loaf will be very elastic and the loaf delicate with gasses. You want to take care not to deflate the dough by attempting to score with a dull knife.
- To get a good pattern on the loaf, sprinkle well with rice flour before scoring, then dust off the loaf before baking.
Q: How to bake sourdough bread?
A: Baking bread in a lidded Dutch oven or covered with an ovenproof metal bowl in 2 steps is the best method. In the initial baking stage, keeping the bread covered creates a steamy environment that lets the crust develop slowly enough to allow the bread to rise to its full potential. Roughly halfway through baking, the lid or bowl is removed so the crust can further develop its golden-brown color and crispy texture.
Q: Should you use a cold or preheated Dutch oven when baking sourdough bread?
A: You will get similar results with either a cold or preheated Dutch oven, but some find that a preheated Dutch oven will give you a slightly better oven spring and a more golden, crackly crust. This may be dependent on the shape and make of your particular Dutch oven and it is worth experimenting to see which works best for you.
Q: What tools can I use to create steam for sourdough in a home oven?
A: You can use a Dutch oven, a large metal bowl with a baking tray, or a cake pan and water.
- Dutch Oven:
- Skip the proofing bowl and allow the dough to proof in the actual dutch oven. Make sure to line it with parchment or dust with flour beforehand.
- Once risen and not as dense, bake your sourdough with the lid on for roughly 25-30 minutes. Remove the lid and continue to bake in the pot for the remaining time.
- Large Ovensafe Metal Bowl:
- Place a large metal oven-proof bowl directly over the dough immediately as it goes into the oven. This bowl will create steam around your loaf.
- Carefully remove the metal bowl after 30 minutes and bake as normal for the remaining time. (Tip: An 18/10 stainless steel pot with stainless steel handles will work well for this.)
- Cake Pan with Water:
- Slide your dough onto your preheated tray or preferably a thick pizza stone or cast iron pan.
- Place a cake pan or shallow baking tray in the oven with hot water to create steam for the bread giving it a nice color and chewier crust. Carefully remove the cake pan of water after 30 minutes and bake as normal for the remaining time.
Q: What’s an oven-safe stainless steel bowl? (IMPORTANT NOTE!)
A: When choosing an OVENSAFE stainless cookware, we recommend opting for 304 or 400 grade 18/10 stainless steel with no plastic or wooden handles. 316 has a lower melting point and is less safe for oven use.
- The “ply” of cookware means that the stainless steel has been layered with more conductive metals and the number associated with ply indicates how many layers have been cladded together. “5-ply” is more heat resistant to heat and safer than “3-ply”.
- Most oven-safe stainless steel can withstand high temperatures in the oven but doesn’t go above 500°F/260°C.
- Additionally, whether your stainless steel kitchen equipment, cookware, or bakeware is OVENSAFE also depends on their thickness and how its materials are layered. So, it’s best to confirm your stainless steel bowl’s oven compatibility with its manufacturer.
Q: How long should you let sourdough cool before slicing?
A: Cooling is crucial for the final texture and flavor development of sourdough. It prevents the crust from becoming too tough or soggy and allows the crumb to set properly.
Allow sourdough to cool down completely (about 4 hours) on a wire rack before cutting.
Sourdough Q&A: How to Store Sourdough Bread
A: Proper storage is crucial to maintaining the freshness and quality of your sourdough bread. Here’s a guide on how to store sourdough bread for optimal taste and texture:
- Cool Completely: Allow your sourdough bread to cool completely on a wire rack after baking. This helps set the crumb and prevents condensation inside the bread, which can lead to sogginess.
- Wrap in Paper or Cloth: Once the bread has cooled, wrap it in a clean kitchen towel, cloth, or paper bag. This helps maintain a good crust texture while preventing the bread from drying out too quickly.
-
- If you use plastic, leave the bag partially open to allow some air circulation to prevent mold or soginess.
- Store at Room Temperature:
-
- Sourdough bread is best stored at room temperature. If consumed within a few days, keeping it on the kitchen counter is sufficient.
- Avoid direct sunlight and heat, as they can accelerate staling.
- Store in the Refrigerator (for Longer Storage):
-
- Refrigeration slows down the staling process but can also lead to a firmer crust. Wrap the bread in paper bag and then place all this in a plastic bag before refrigerating.
- Store in the Freezer (for Extended Storage):
-
- Slice the bread and place it in a freezer bag. This allows you to thaw and use individual slices as needed.
- Thawing Frozen Bread:
When ready to use frozen sourdough bread, thaw a whole loaf at room temperature or warm frozen slices in a toaster. Avoid microwaving, as it can make the bread rubbery.
- Refresh Stale Bread:
If your sourdough bread becomes stale, you can refresh it by spritzing the crust with water and placing it in an oven preheated to 350°F (180°C) for a few minutes. This helps revive the crust and improve the overall texture.
Sourdough Q&A: Sourdough Bread Troubleshooting
Q: How to make sourdough bread taste more sour?
A: Making sourdough taste more sour involves manipulating the fermentation process to encourage the production of lactic acid and acetic acid, which contribute to the sour flavor. Here are several tips to achieve a more pronounced sourdough taste:
- Use Whole Grain Flours in the Starter and the Main Dough:
Incorporate whole-grain flour into your sourdough recipe. Whole grains contain more nutrients that encourage the growth of lactic acid bacteria.
- Lower Feeding Ratio:
Reduce the feeding ratio of your starter to create a more acidic environment. For instance, instead of feeding it with equal parts flour and water, you can use a higher ratio of flour to water.
- Extended Fermentation at a Lower Temperature:
-
- Ferment your dough at a lower temperature. Cooler temperatures slow down fermentation, providing more time for acid development. However, be cautious not to go too low, as extremely cold temperatures (lower than 39°F/4°C) can hinder yeast activity.
- Start your bulk fermentation at a temperature no warmer than 78°F/26°C for 2 hours or so to get it going. Then transfer it to a cooler spot or in the fridge at a temperature no lower than 39°F/4*C for around 18 to 24 hours.
- Increase Ripe Starter:
-
- Use a more ripe, well-fed starter in your sourdough recipe. A starter that has been allowed to fully mature and reach its peak before use will contribute more acidity to the final bread.
Q: How to get a better oven spring in sourdough?
A: Achieving a good oven spring in sourdough bread involves creating the right conditions for the dough to expand rapidly during the initial stages of baking:
- Healthy and Active Starter:
Ensure that your sourdough starter is healthy and active. A vigorous starter contributes to better fermentation and gas production, promoting oven spring.
- Proper Fermentation:
Allow the dough ample time to undergo proper bulk fermentation (anywhere from a few hours to overnight, depending on the recipe). This phase contributes to flavor development and the production of gasses which is crucial for an airy, well-risen loaf.
- Appropriate Dough Hydration:
Adjust the hydration level of your dough based on your flour type and environmental conditions. A moderately hydrated dough is often easier to handle and encourages good oven spring. A low to medium hydration of 60% to 70% is recommended for beginners.
- Optimal Gluten Development:
Ensure that the gluten in your dough is adequately developed. This can be achieved through effective kneading or folding during bulk fermentation. Gluten will also develop with enough time when fermenting dough overnight.
- Preheat Your Oven:
Preheat your oven thoroughly before baking. A hot oven provides the initial burst of heat needed for optimal dough expansion.
- Score the Dough:
Score the top of your shaped dough just before baking. Proper scoring helps control the expansion of the dough during baking, preventing it from tearing irregularly.
- Steam the Oven:
Introduce steam into the oven during the initial stages of baking to keep the crust flexible, allowing for better expansion.
- Bake at High Temperature:
Start baking at a high temperature (e.g., 450°F or 232°C) to encourage rapid lift.
- Handle the Dough Gently:
Don’t put too much tension on your dough to avoid degassing it excessively.
- Allow Proper Rest Before Baking:
After shaping, give the dough around 10-20 minutes to rest before placing it in the hot oven. This helps the dough relax and allows for better expansion during baking.
Sourdough English Muffins
Q: How do I get more open crumb for sourdough bread, such as my Sourdough English Muffins?
A: To achieve even more opening crumb, you can add lamination once and coil folds 2-3 times, with 1 hour resting in between each fold.
- Lamination: in this recipe, after mixing all ingredients, let it sit at room temperature for 1 hour. Wet your work surface and your hands, gently stretch the dough into a large rectangular without breaking it. Then do the “envelope fold”: fold 1/3 of the dough over it self from one side and fold the other end over the first fold. Then roll it up from the short side and cover and let it rest for 1 hour.
- Coil folds: A coil fold is a bit like doing 2 upside down envelope folds. Wet your hands to keep the dough from sticking, then lift up the middle third of the dough. Tuck one end of the dough under the middle that you have lifted. Then pick up the folded two thirds of the dough and tuck the final third under the folded dough. Turn the dough 180° and repeat on the other ends. This is considered one coil fold.
- Proofing: After the lamination and coil folds, let the dough sit at cool room temperature for around 12-16 hours. The next day, continue per the recipe.
Q: Why didn’t my sourdough rise? Why did my sourdough bread turn out gummy?
A: Several factors can contribute to a lack of rise in your sourdough bread:
- Inactive Starter:
Ensure that your starter is consistently doubling in size within a few hours after feeding.
- Insufficient Feeding:
An unfed starter may lack the strength to leaven the bread. Make sure your starter is at its peak activity when incorporated into the dough.
- Underdeveloped Gluten:
Insufficient gluten development can lead to a weak structure that can’t hold the gas produced during fermentation. Knead or fold the dough adequately during bulk fermentation to strengthen the gluten.
- Incorrect Dough Hydration:
Too much or too little water in your dough can affect its texture and rise. Adjust the hydration based on factors such as flour type and environmental conditions.
- Inadequate Bulk Fermentation:
Insufficient bulk fermentation would not allow enough time to develop flavor and structure. Extend the bulk fermentation time as needed.
- Over Fermentation:
On the other hand, over fermentation can result in exhausted yeast, leading to a lack of rise.
- Improper Proofing Conditions:
If the final proofing conditions are too warm or too cool, it can affect the yeast activity. Find a suitable, consistent temperature of around 75°F (24°C) for proofing and adjust the time accordingly.
- Poor Scoring:
Inadequate or improper scoring can restrict the dough’s expansion during baking. Make sure your cuts are deep enough and have the right pattern to allow controlled expansion.
- Lack of Steam in the Oven:
Steam is crucial for creating a flexible crust that allows for good oven spring. Use a covered pot, Dutch oven, or introduce steam into the oven with a pan of hot water during the initial baking phase.
- Incorrect Oven Temperature:
Baking at too low or too high a temperature can affect the rise. Start with a high temperature for the initial oven spring, then lower it as needed.
- Environmental Factors:
Room temperature, humidity, and other environmental factors can influence the fermentation process. Be mindful of these conditions and make adjustments to your process as needed.
Q: How to convert a commercial yeast bread recipe to a sourdough bread recipe? How to replace commercial yeast with sourdough starter?
A: Here’s a general guide to help you adapt a commercial bread recipe to sourdough:
- Adjusting ingredients:
- Here comes the Bakers’ percentage, where each ingredient in a formula is expressed as a percentage of the flour weight, and the flour weight is always expressed as 100%.
- You can use 12%-15% fed starter to replace commercial yeast and take that amount of flour and water contained in your starter out of the recipe’s original requirement. Continue making the dough with the remaining ingredients.
- Adjusting Fermentation:
- Extend the bulk fermentation time to allow the sourdough starter to fully ferment and develop the desired flavors. This typically takes longer than with commercial yeast.
- Incorporate an autolyse step: allow the flour and water to rest before adding the sourdough starter and other ingredients. This enhances gluten development.
- A longer, cooler fermentation for sourdough often yields better flavor.
- Allow the dough to rise for a longer time for the final proofing until it has visibly increased in size and passes the poke test.
- Adjusting Procedure:
- Gentle handling of sourdough will preserve the gas produced during the slower fermentation.
- Score the dough just before baking to control expansion during baking because sourdough bread tends to be wetter and more extensible.
- Consider using a covered pot or Dutch oven during the initial baking phase to create a steamy environment, which aids oven spring and crust development.
Sourdough Banana Bread
Sourdough Q&A: Sourdough Recipes for All:
- Perfectly Crusty Sourdough Bread
- The Simplest Sourdough Pizza Crust
- Whole Wheat Sourdough Bread
- Homemade Sourdough English Muffins
- The Easiest Sourdough Focaccia
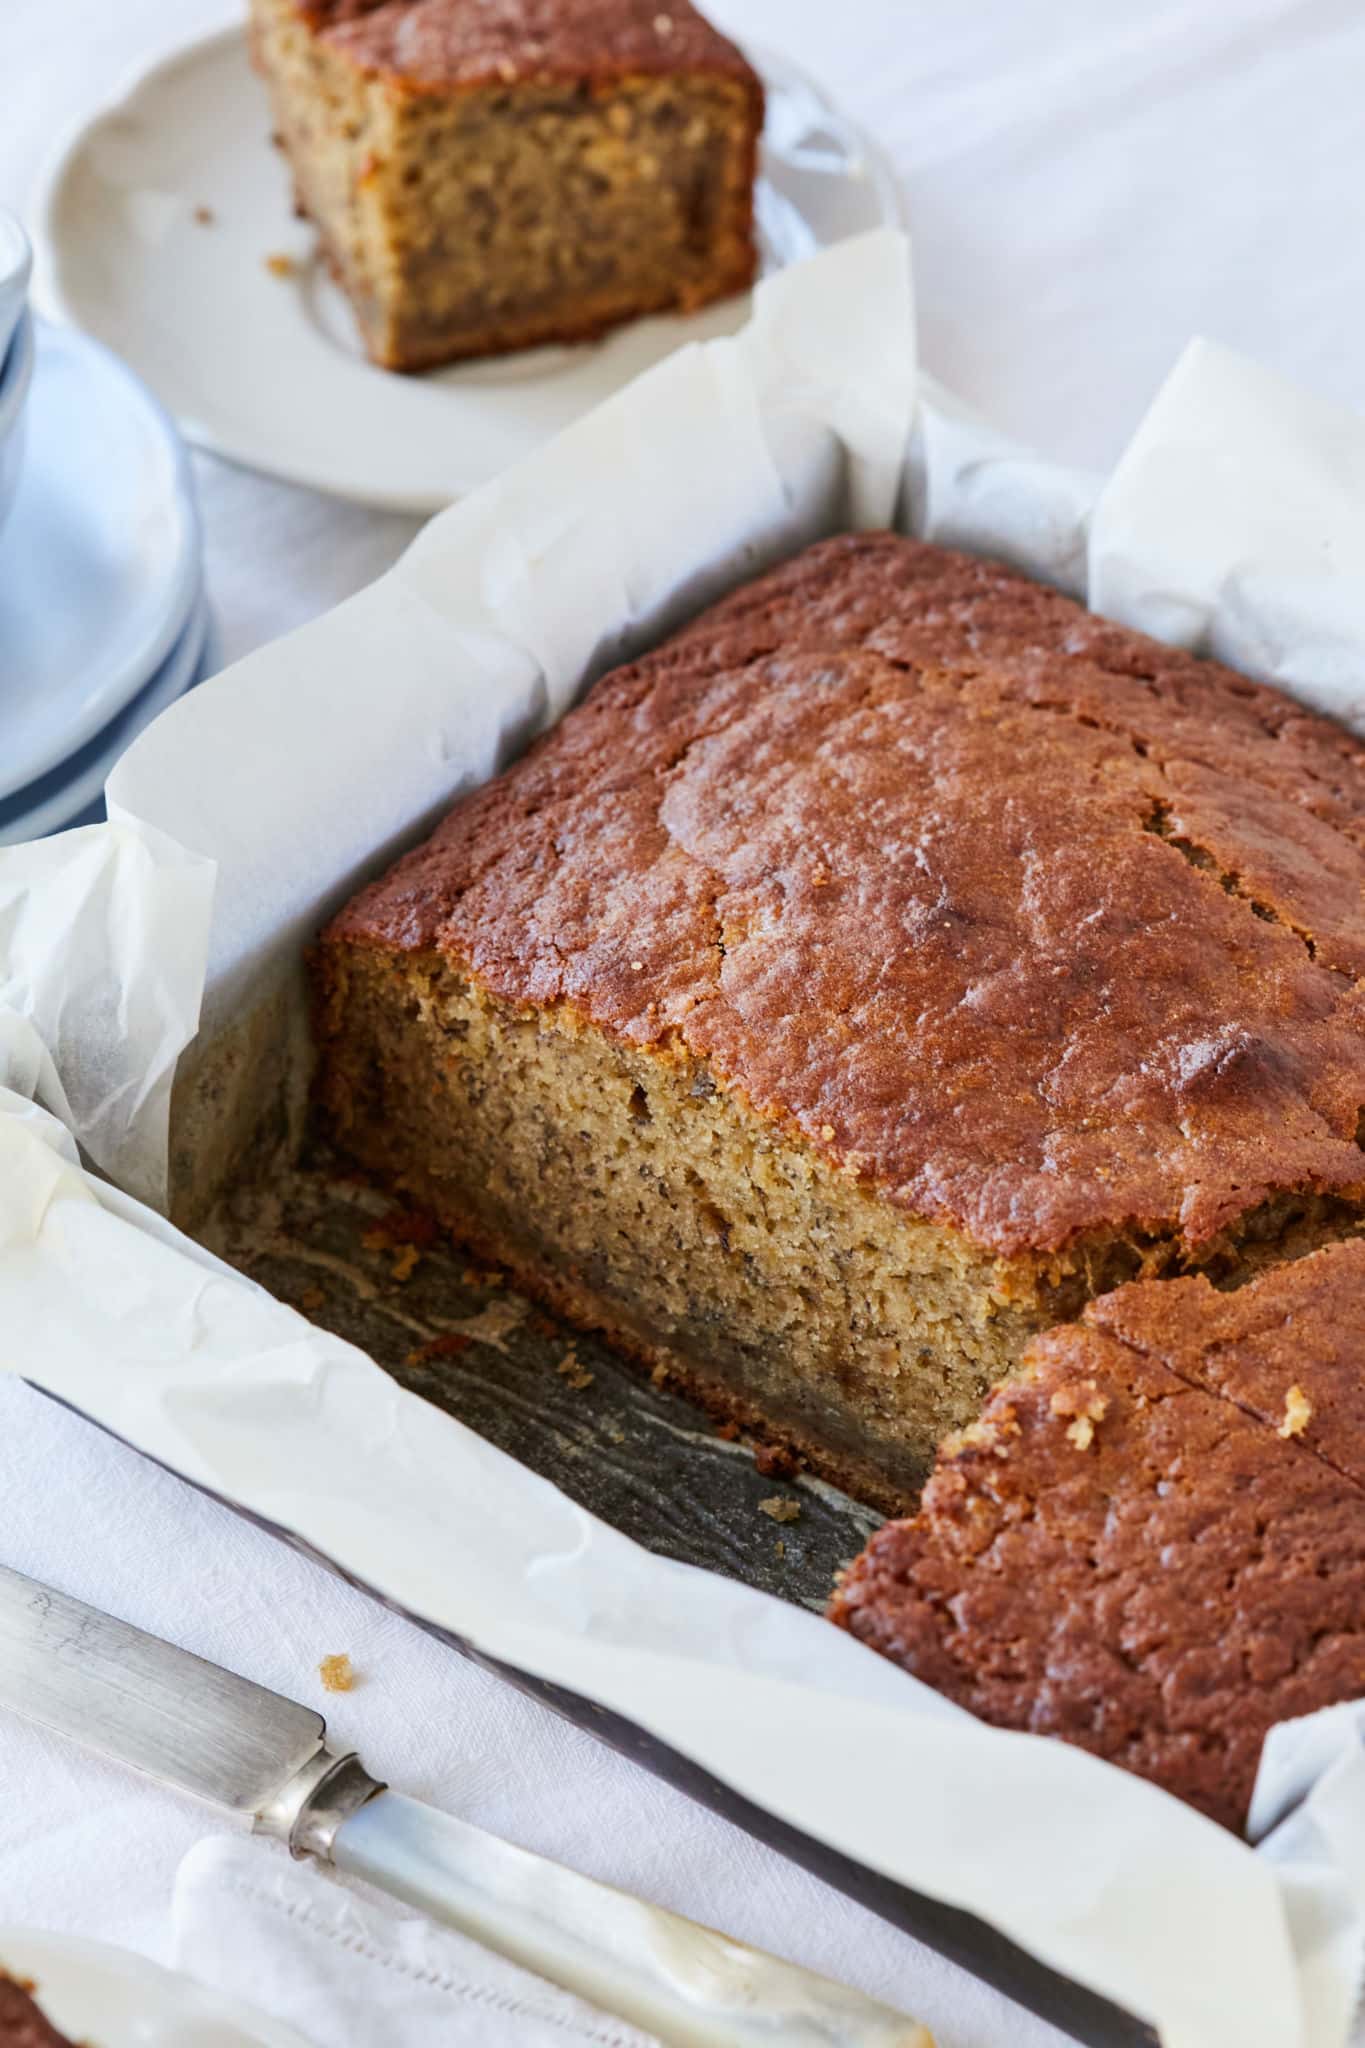
- Sourdough Banana Bread
- Sourdough Discard Crackers
- Easy Sourdough Popovers
- Sourdough Chocolate Chip Cookies





I have a Lodge cast iron pot for baking my sourdough. Is there any benefit to using the convection on my oven when I’m cooking in that kind of pot? I can’t find a definitive answer here. Worth noting, I personally do *not* like an extra crunchy crust, so I’m leaning toward not using convection if it “helps create a crispier crust” (what I’ve read elsewhere).