This post may contain affiliate links. Please see my full disclosure for details.
Hi Bold Bakers!
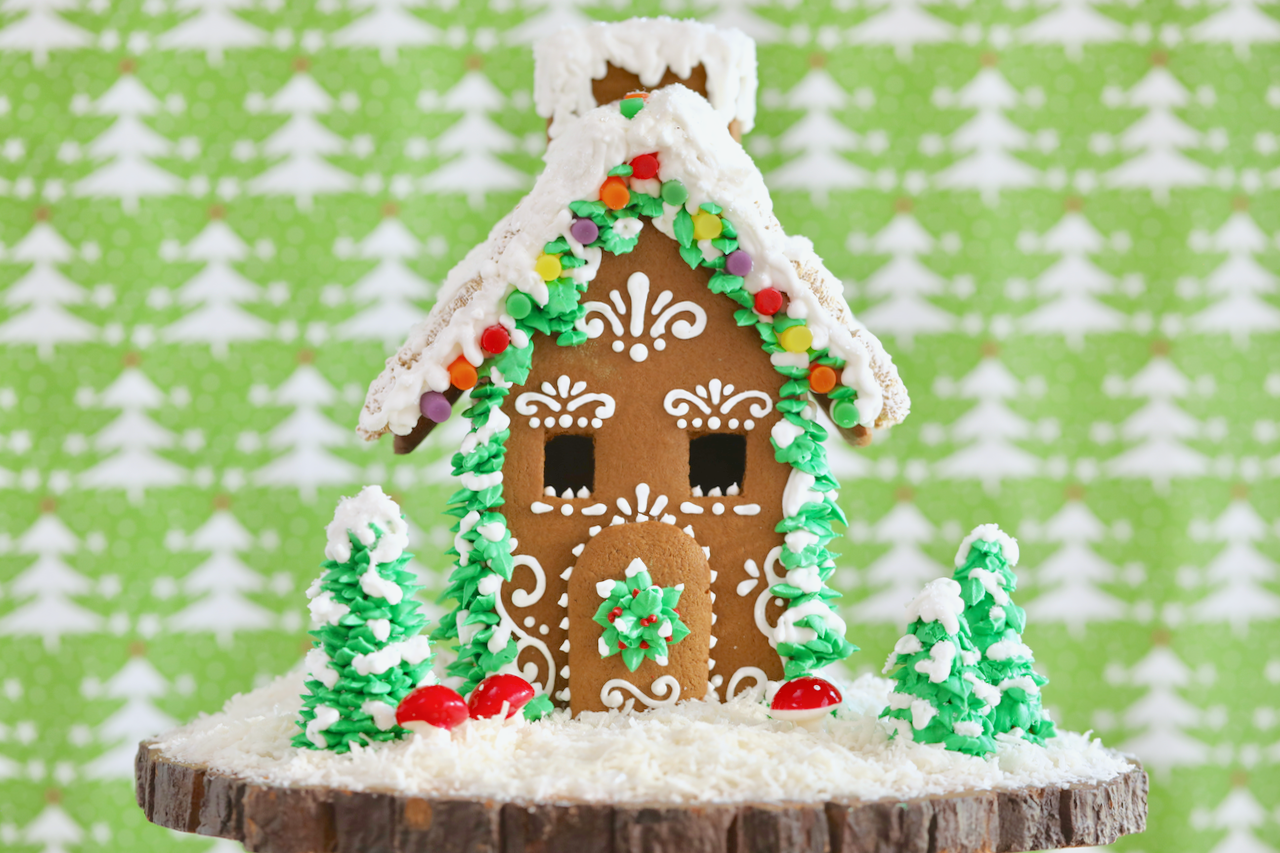
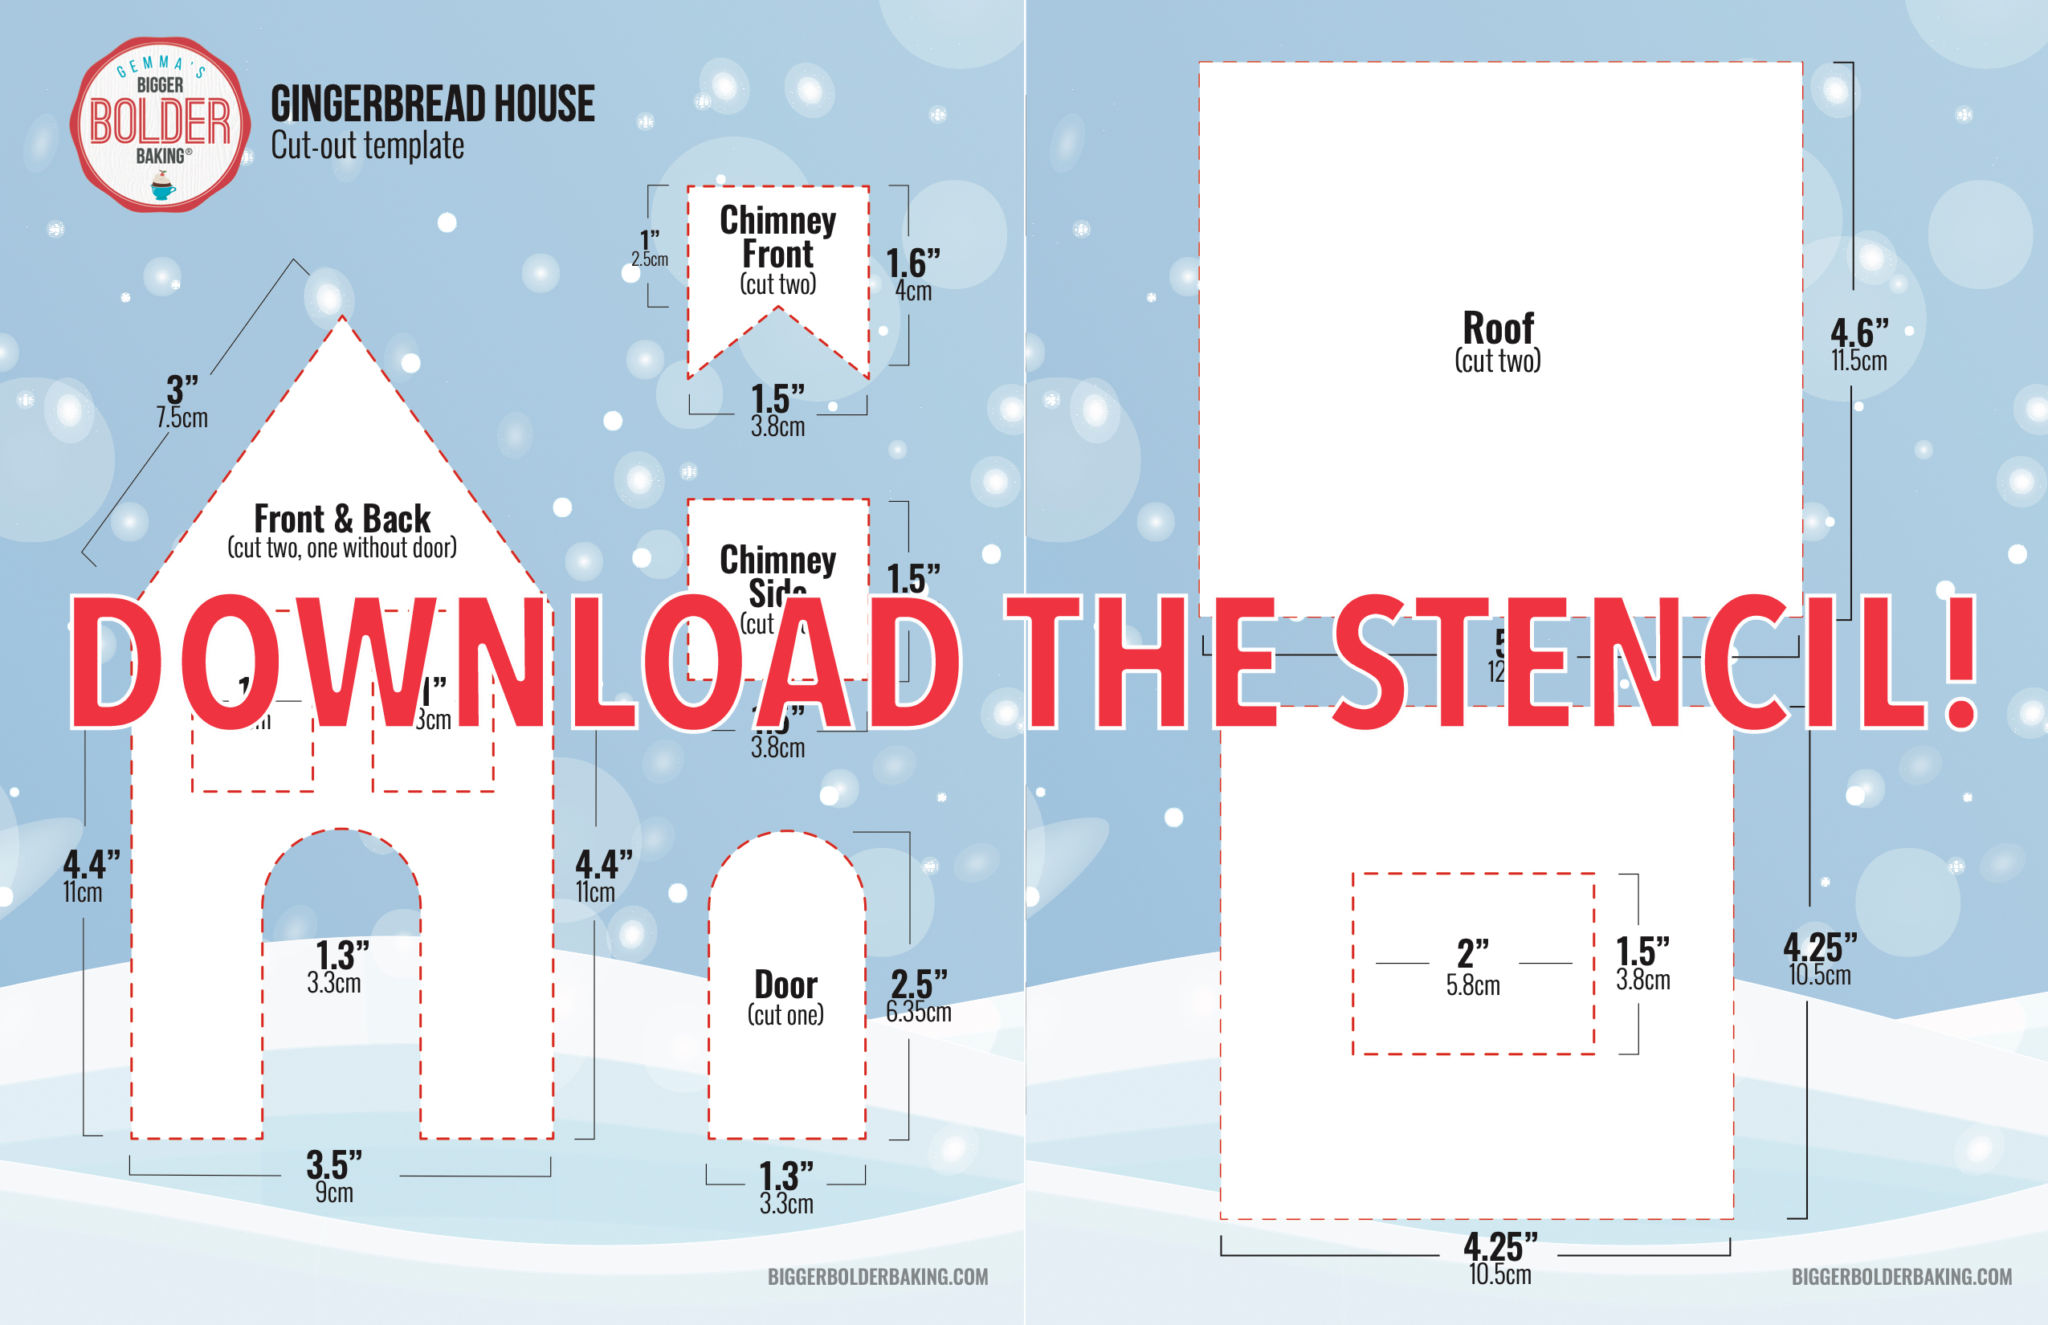
A gingerbread house can make for a fun family activity and such a gorgeous centerpiece for your holiday table, but I do know they can be intimidating to make from scratch rather than buying a kit from the store. Because of that, I have created a template so you can make your very own Bigger Bolder Baking gingerbread house at home.
It’s my Ultimate Homemade Gingerbread House Kit: easy to put together, easy to decorate, but still really impressive!
The Best Gingerbread House Frosting Glue Recipe
My Easy Royal Icing recipe dries like cement making it the perfect glue to hold together a gingerbread house long after Christmas.
How to Keep Gingerbread House Pieces From Spreading
Great question, so this can happen a little — but don’t freak out, because you will still be able to assemble your house.
To still be able to work with those cookies, my Easy Royal Icing will be your best friend to fill in cracks or little holes where maybe the cookies aren’t meeting flush. And remember once the house is fully assembled you will be filling in the gaps with ‘snow’ (more royal icing) and greenery which will cover a multitude of sins.
When to Eat a Gingerbread House
Unless you were going to make and eat it within 24 hours of making it, I think it’s best to keep this as a decorative centerpiece rather than a dessert. If you feel the need for gingerbread, just bake off some gingerbread men of the leftover Gingerbread Cookie Dough!
How Do I Store It?
Store it out of direct sunlight and a safe distance from a direct heat source like a fire or heating vent. This will help your house stand tall until January 1st!
How Long Will It Last?
Your gingerbread house will last intact for up to 8 weeks as long as you follow the above instructions.
Tips and Tricks to Making The Ultimate Homemade Gingerbread House Kit
- Use my Gingerbread Cookie Dough or any dough you prefer. Make sure it’s a crisp cookie so it will stand up.
- Chill the cookie dough before and after rolling to avoid spreading
- If you feel like your royal icing isn’t thick enough to hold together your gingerbread house then add some sifted icing sugar until you reach your desired texture
- Use this gingerbread house template to make a variety of different houses, like my Log Cabin Gingerbread House
- You could also use Sugar Cookie dough to make this gingerbread house
Don’t forget to follow Bigger Bolder Baking on Pinterest!
The Ultimate Homemade Gingerbread House Kit Recipe
Ingredients
- 1 batch gingerbread dough
- 1 batch royal icing (very stiff)
- Frosted Mini Wheats
- Mini gumdrop candies
- Green food coloring
- Red food coloring
- 3 Sugar Ice Cream Cones
- Shredded coconut
Instructions
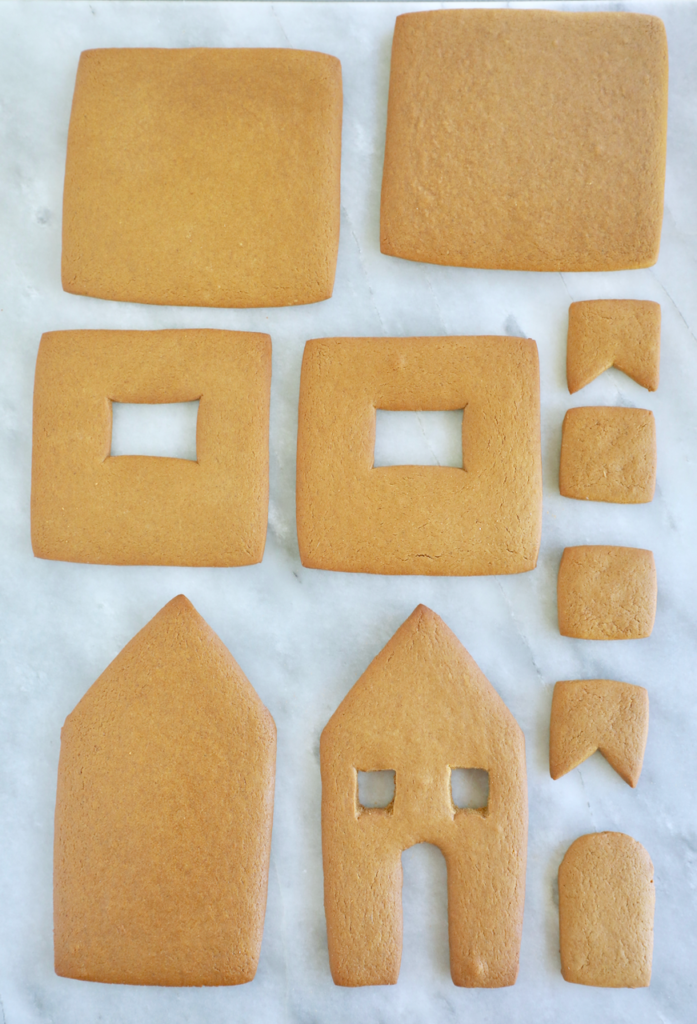
- To make the gingerbread house cookie: On a lightly floured surface, roll dough to 1/4 in. thickness. Cut out your cookies with a sharp knife and the gingerbread house stencil.
- Bake at 350°F (180°C) for roughly 15-18 minutes. Allow to fully cool before decorating.
- To preliminary decorate the gingerbread house: Fill a piping bag with plain royal icing and a #4 piping tip. Pipe decorative designs on the 4 side cookies. I chose to use a spiral design.
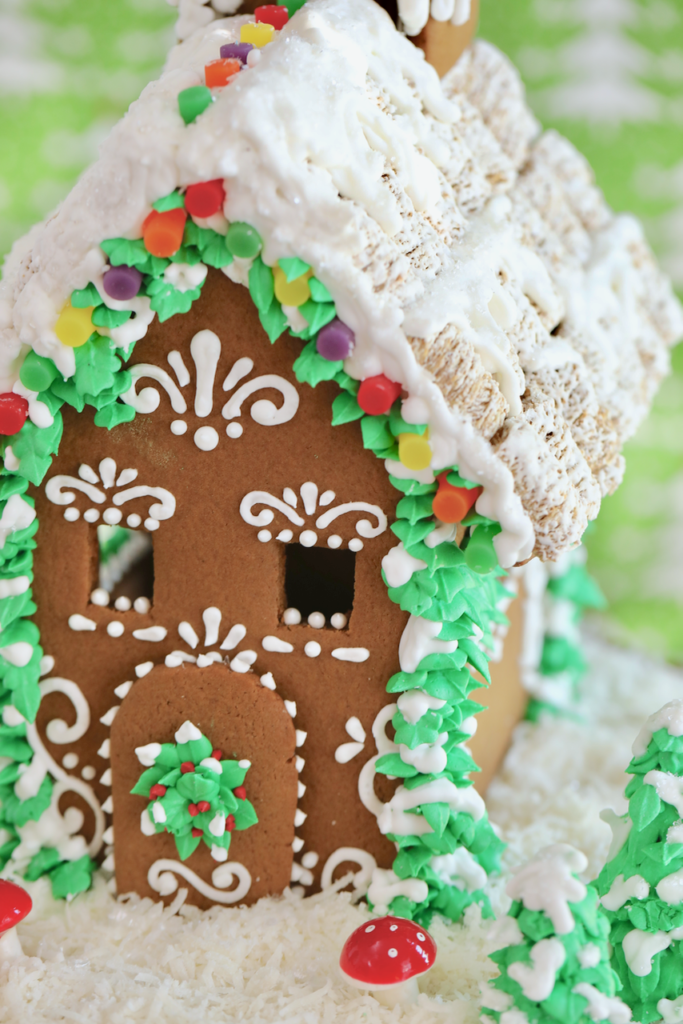
- Attach frosted mini wheats with royal icing on the 2 roof cookies for a tiled roof. Leave a blank space on the roof for the chimney.
- Allow the royal icing to fully dry at room temperature before assembling the house, about 1-2 hours.
- To assemble the gingerbread house: Start with the 2 side cookies of the house. Pipe icing on 1 edge of a cookie then line it up with the matching edge of the second cookie to create a 90° angle. Reinforce the attached edge by piping icing on the inside of the cookies at the 90° corner. Hold the 2 sides in place until the royal icing is dry enough to provide stability, about 2-3 minutes. Attach the bottom edges of the house with icing onto a cake board.
- Repeat with the remaining 2 side cookies until you have a 4 sided structure. Allow the frame to dry for roughly 1-2 hours just to make sure it will hold the roof once placed on.
- For the roof, pipe icing on the left top edges of the structure and attach the left side of the roof. Hold the roof in place until the icing is dry enough to attach the second side. Repeat with the right part of the roof. Reinforce the top of the roof with icing.
- Attach the chimney cookies on top of the roof. Follow the method used to build the sides of the house in step 6.
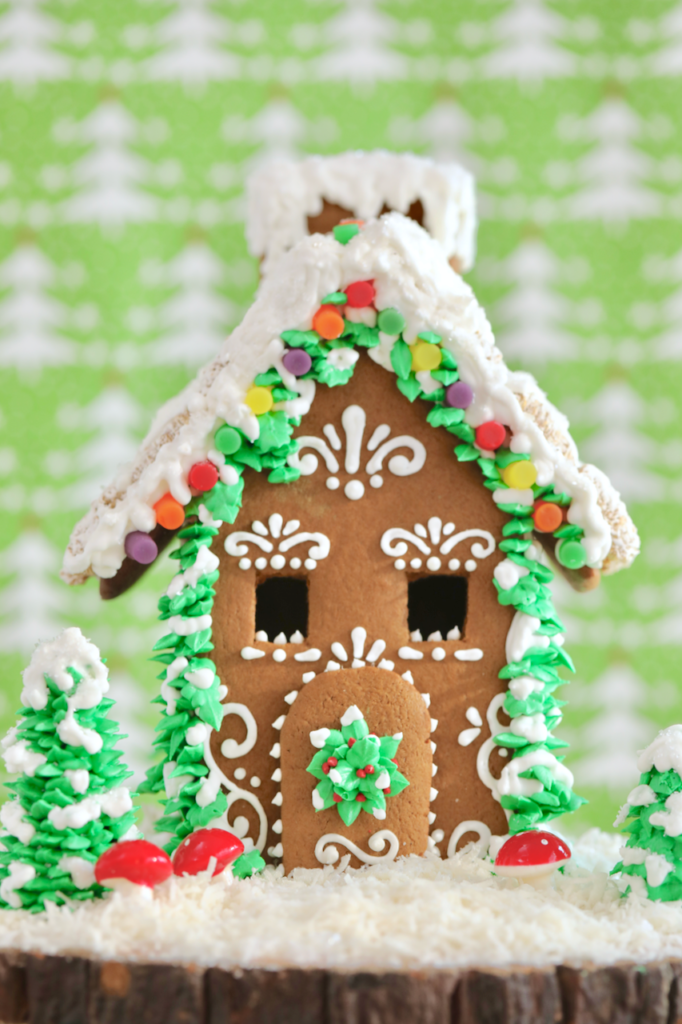
- To decorate the gingerbread house: Using icing, attach the gumdrop candies along the front roof edge and top edge of the house.
- To make vines, dye some icing with green food coloring and fill a piping bag with a #352 tip. Pipe leaf and vine designs on the 4 corners of the house, the windows, and the front roof edge.
- To make a tree, cut the ice cream cones crosswise about halfway with a serrated knife. Using the green icing and #352 tip, start from the bottom and pipe leaves along the side of the cone. Continue to pipe up in a circular pattern to completely cover the cone.
- Using the green royal, decorate the door cookie with a wreath design. Dye some icing with red food coloring and pipe holly berries on the wreath.
- Once the green icing is fully dry, add a snowy effect by piping plain icing on top of the leaves and vines.
- To finish the gingerbread landscape, sprinkle shredded coconut along the grounds of the house for snow.








Hello m back again , tried the ginger bread house .Instead of the ginger bread cookie dough I had some left over sugar cookie dough which I made the house with.the printable stencil was perfect. Sharing a pic of my creation.Go for it bold bakers you never know till you give it try.Gemma thanks for your lovely recipes n making baking look so simple.
Love,
Reshma