This post may contain affiliate links. Please see my full disclosure for details.
Hi Bold Bakers!
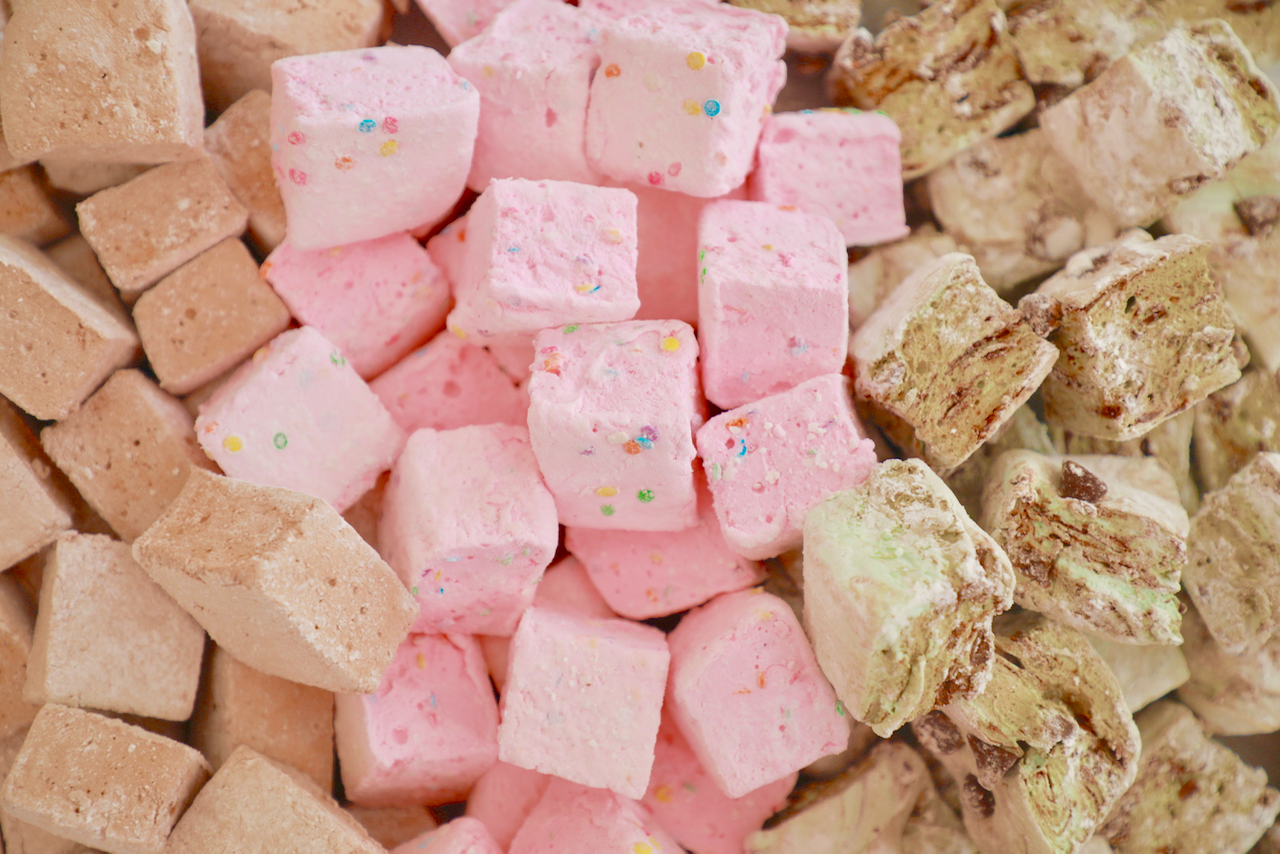
The only thing better than a light and fluffy Homemade Marshmallow is a Homemade Marshmallow in 3 super bold flavors!
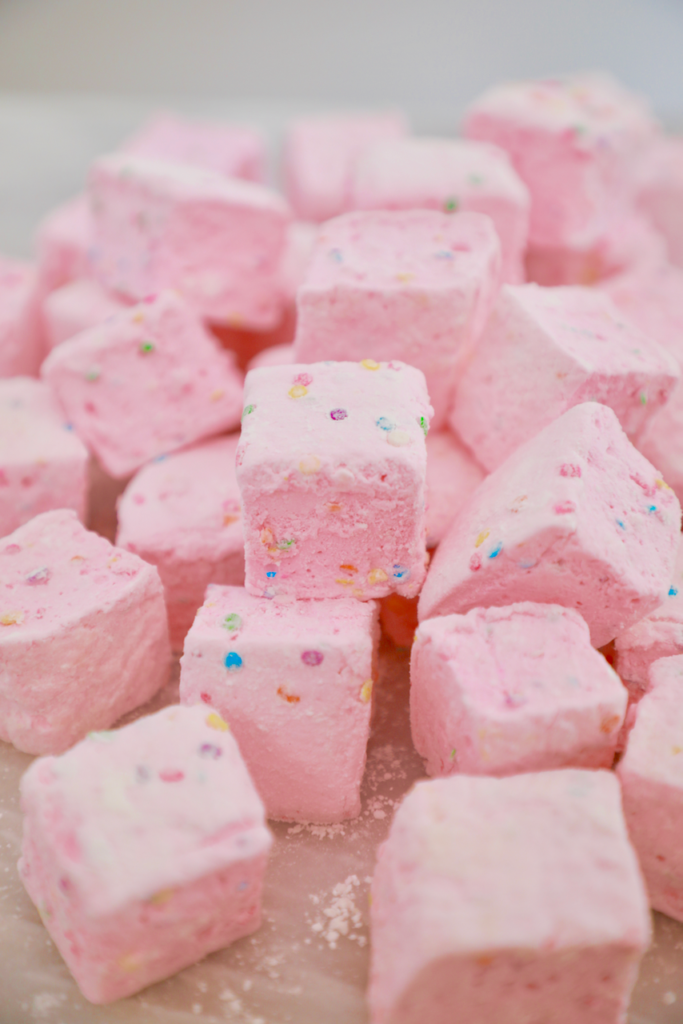
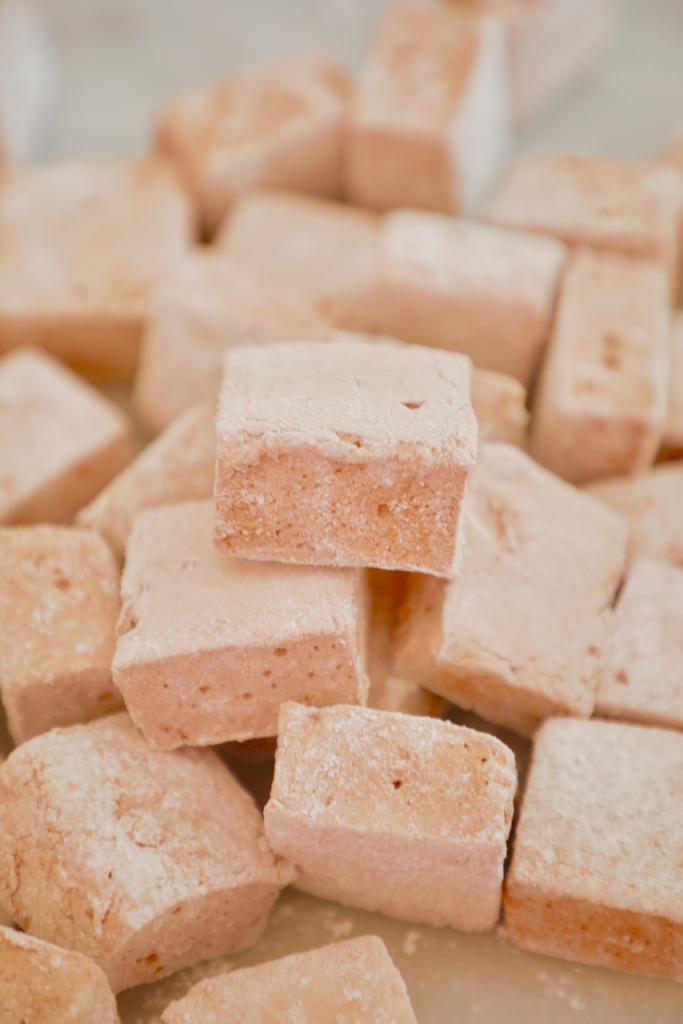
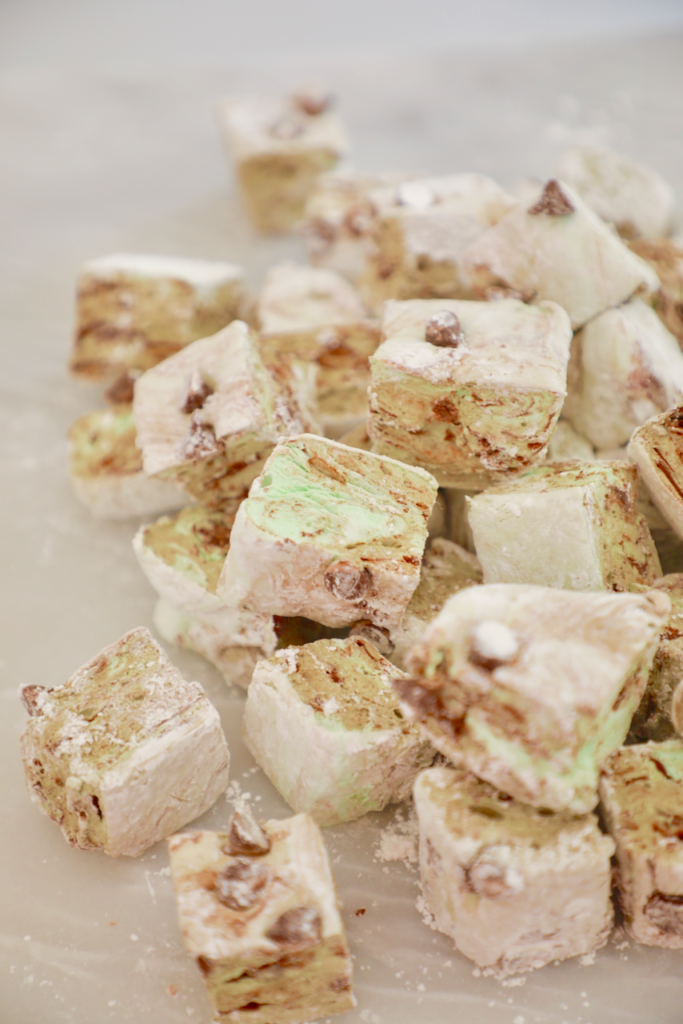
My Homemade Marshmallow Recipe with 3 Amazing Flavors is next level. Whether you fancy the birthday cake flavor in the video, or the chocolate and mint chocolate chip, these marshmallows are so easy to make that anyone can have the confidence to make their OWN marshmallows from now on! Fear homemade marshmallows no more: these are so much fun, great for getting the kids into the kitchen, and yummy beyond belief. If you’ve never made candy at home, this is a great place to start.
How To Make My Homemade Marshmallow Recipe
While candy making can be temperamental, this is one of the easiest things to make and a great way to get comfortable working with sugar.
Before you make the marshmallow liquid mixture, you start by blooming some gelatin. This just means combining gelatin with water. Once added, you should immediately start to see the mixture take on a gel like texture. This will give your marshmallows texture, fluff, and bounce!
Next you combine, sugar, water light corn syrup and salt in a sauce pan. These melt together and become a clear liquid that is then cooked to what is called “soft ball” stage (a candy thermometer will come in handy here!). This is a stage of caramel making that means the syrup is cooked but not caramelized. Cooking the mixture to this point is what will allow the marshmallows to be stretchy and chewy.
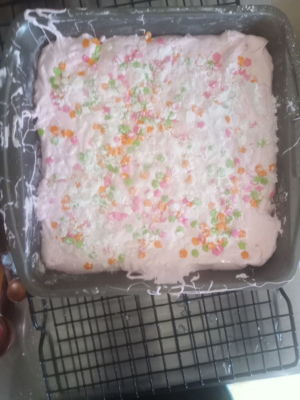
This process combined with the gelatin is what make the marshmallows “work” so to speak. After the candy is cooked to soft ball you quickly add the hot mixture to the gelatin mixture in your stand mixer and mix away for about 12-15 minutes. What you’re then left with is a super light and airy marshmallow fluff-like mixture. This is when I add in the flavors and colors before transferring to an 8 x 8 pan and allowing to set.
How To Keep Your Homemade Marshmallows From Sticking
This homemade marshmallow recipe is pretty fool-proof! After cooking the candy, it’s the mixer really doing all the work. The trick after mixing the marshmallows is to work quickly and be prepared.
The most important preparation to make is having a greased and powdered pan ready, along with a greased spatula to help transfer the marshmallows. The pan should be greased with flavorless oil, then dusted with a mixture of corn starch and powdered sugar. While most people thinks this powder just looks pretty, it is highly important to your marshmallows turning out.
I also like to grease and powder my pan before I even start the cooking process. After I transfer the marshmallow mix to the pan, I add another layer of powder on the top. The corn starch helps to dry out the homemade marshmallows and the sugar adds sweetness. After the marshmallows have set and formed a skin they can be cut into perfect little squares then dusted with even more powder to keep them from sticking to each other while being stored.
[ My Homemade Marshmallow Recipe deserves the Best-Ever Hot Chocolate! Get the recipe! ]
Can these be made without gelatin?
If you are steering clear of gelatin, you can substitute vegan gel — This is made from vegetable gum and comes highly recommended. It can be subbed 1:1. There are many available on line including this one from Dr. Oetker Vege-gel.
With regards to using agar agar, I hear from you that it doesn’t always yield the same results as gelatin so be warned.
Can You Make Marshmallows Without Corn syrup?
I know Corn Syrup is common in the U.S., but isn’t available in all countries. Don’t worry if you can’t find it because it can be replaced 1:1 with Cane Syrup, Golden Syrup or Brown Rice Syrup. Click the links to buy them directly online.
Can the sugar be reduced/substituted?
Sugar is what makes these marshmallows not only taste lovely and sweet, but have a fluffy stretchy texture. Sugar can not be substituted in this recipe as there is really nothing else that has this ability to be cooked and transformed into a light, fluffy, and chewy candy.
What Other Flavor Marshmallows Can You Make?
While Birthday Cake, Chocolate, and Mint Chocolate Chip are my personal favorite flavors, the truth is if you can dream it, you can do it. When it comes to flavoring this fluffy candy it’s super easy to add in whatever colors and extract you like! From almond to coconut to espresso, I encourage you guys to get creative and experiment with your favorite flavor combinations.
Great Ways To Use These Homemade Marshmallows!
Follow Bigger Bolder Baking on Pinterest for great ideas and recipes too!
Watch The Recipe Video!
Homemade Marshmallow Recipe With 3 Flavors
Ingredients
Marshmallows:
- 6 teaspoons unflavored powder gelatin
- 1 cup (8floz/225ml) warm water, divided
- 1 1/2 cups (12oz/ 340g) sugar
- 1 cup (10oz/283g) light corn syrup
- 1/4 teaspoon salt
Birthday Cake Marshmallows:
- 1/2 teaspoon vanilla extract
- 1/4 teaspoon almond extract
- 1/4 cup (¾ oz/21g) confetti sprinkles
- a few drops pink food coloring
Chocolate Marshmallows:
- 1/4 cup (1oz/28g) cocoa powder
Mint Chocolate Chip Marshmallows:
- 1/2 teaspoon mint extract or peppermint oil
- 1/2 cup (3oz/85g) chocolate chips
- green food coloring
for coating the marshmallows:
- 1/4 cup (35g/ 1 1/4oz) powdered sugar
- 1/4 cup (35g/ 1 1/4oz) cornstarch
Instructions
- Place the gelatin into the bowl of a stand mixer along with 1/2 cup of the water. This is called sponging. Have the whisk attachment standing by.
- In a small saucepan combine the remaining 1/2 cup water, granulated sugar, corn syrup and salt. Place over medium heat until the sugar has dissolved. Do not let it boil at this stage.
- Clip a candy thermometer onto the side of the pan and continue to cook until the mixture reaches 240°F, roughly 15 to 20 minutes, maybe more. You are aiming to reach soft ball stage on the thermometer. (I strongly recommend watching the video above for more detailed instruction)
- Once the mixture reaches this temperature, immediately remove from the heat.
- Turn the mixer on low speed and, while running, slowly pour the sugar syrup down the side of the bowl into the gelatin mixture. Once you have added all of the syrup, increase the speed to high. Continue to whip until the mixture becomes very thick and is lukewarm when you touch the bottom of the bowl, approximately 12 to 14 minutes.
For the Birthday Cake Marshmallows:
- Add the vanilla extract, almond extract, sprinkles and a tiny drop of food coloring during the last minute of whipping. While the mixture is whipping prepare the pans as follows.
For the Chocolate Marshmallows:
- Add the cocoa powder during the last minute of whipping. While the mixture is whipping prepare the pans as follows.
For the Mint Chocolate Chip Marshmallows:
- Add the mint extract, a tiny drop of green coloring and the chocolate chips during the last minute of whipping. Add the chips at the very last minute as the heat of the mixer can melt the chocolate. While the mixture is whipping prepare the pans as follows.
- Combine the confectioners' sugar and cornstarch in a small bowl. Lightly grease a 8 x 8-inch (or 7 x 11-inch) baking pan with flavorless oil. Sift the sugar and cornstarch mixture and move around to completely coat the bottom and sides of the pan. Return the remaining mixture to the bowl for later use.
- Grease a spatula, and even your hands, because believe me: this is sticky stuff
- When the marshmallow are ready, work QUICKLY and scrape the mixture into the prepared pan, using your spatula for spreading evenly into the pan. Dust the top with enough of the remaining sugar and cornstarch mixture to lightly cover. Reserve the rest for later. Allow the marshmallows to sit uncovered for at least 4 hours and up to overnight. They need to be exposed to the air to form a skin.
- After this time, turn the marshmallows out of the pan and allow the other side to be exposed to the air for another 4 hours.
- On a cutting board, cut the marshmallows into squares using a pizza wheel or lightly oiled knife. Once cut, lightly dust all sides of each marshmallow with the remaining sugar mixture, using additional if necessary. (This sugar mix will keep the marshmallows dry and stop them from sticking together)
- Store in an airtight container for up to 3 weeks.

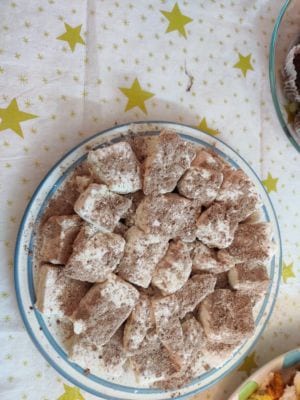
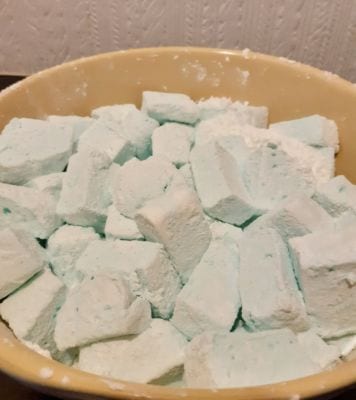
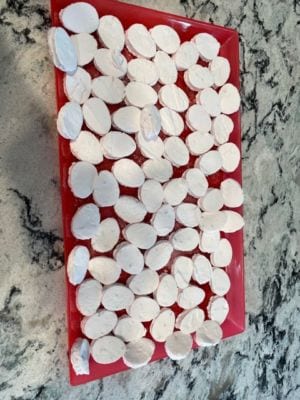


For the mint chip. If you put the chips in the freezer right up until you are ready to add them they don’t melt as quickly and you don’t get the chocolate smear through them.
This recipe had endless variations. I added some hazelnut extract to the cocoa marshmallows for a nutella-like version. I added vanilla and maple extracts to the base recipe for pancakes and syrup marshmallows for brunch. Love this recipe!
Can I glucose syrup instead of corn syrup?
I don’t have a stand mixer, is it hard if using only a hand mixer?
Hi there, when using agar agar no need to increase the water. As far as the rose water flavoring i would add this when whipping up the hot mix. Rosewater can be very strong i would just as a 1/4 of a teaspoon otherwise it can be too floral. Enjoy!
I use Kool-Aid for flavorings and it tasts great. Just add the packet of Kool-Aid to the bloom. The Fruit Punch flavor smell awesome and tastes great.
How much peanut butter would you use for peanut butter marshmallows
Can I dip these in chocolate or will the coating on the marshmallow not allow the chocolate to stick? Thank you.
Hi can you fold lemon curd through this mixture or add it to the mixture?
How easy would these come out of silicone molds? I have some cute shapes, but I’m always afraid of sticking – even with the flexible ones!