This post may contain affiliate links. Please see my full disclosure for details.
Hi Bold Bakers!
WHAT YOU GET: My Homemade Pear Butterscotch Pie is buttery, tart, and juicy — and it gives store-bought pies a run for their money. All of this pear pie’s components – pie crust, filling, and sauce — can be made right at home from scratch. Truly a labor of love, but so worth it!
Do you know what’s rolling around soon? The holidays! It’s time to warm up your kitchen with holiday recipes, aromatic spices, and heat from the oven. What better way to do that than to make a warm and beautiful fruit pie?
My homemade Butterscotch Pear Pie recipe tastes and looks decadent. With a flaky and buttery Pie Crust, ooey-gooey pear and apple filling, and rich Homemade Butterscotch Sauce, you’re in for a real treat. Who doesn’t want to come inside on a cold day and take a bite out of this amazing pie?
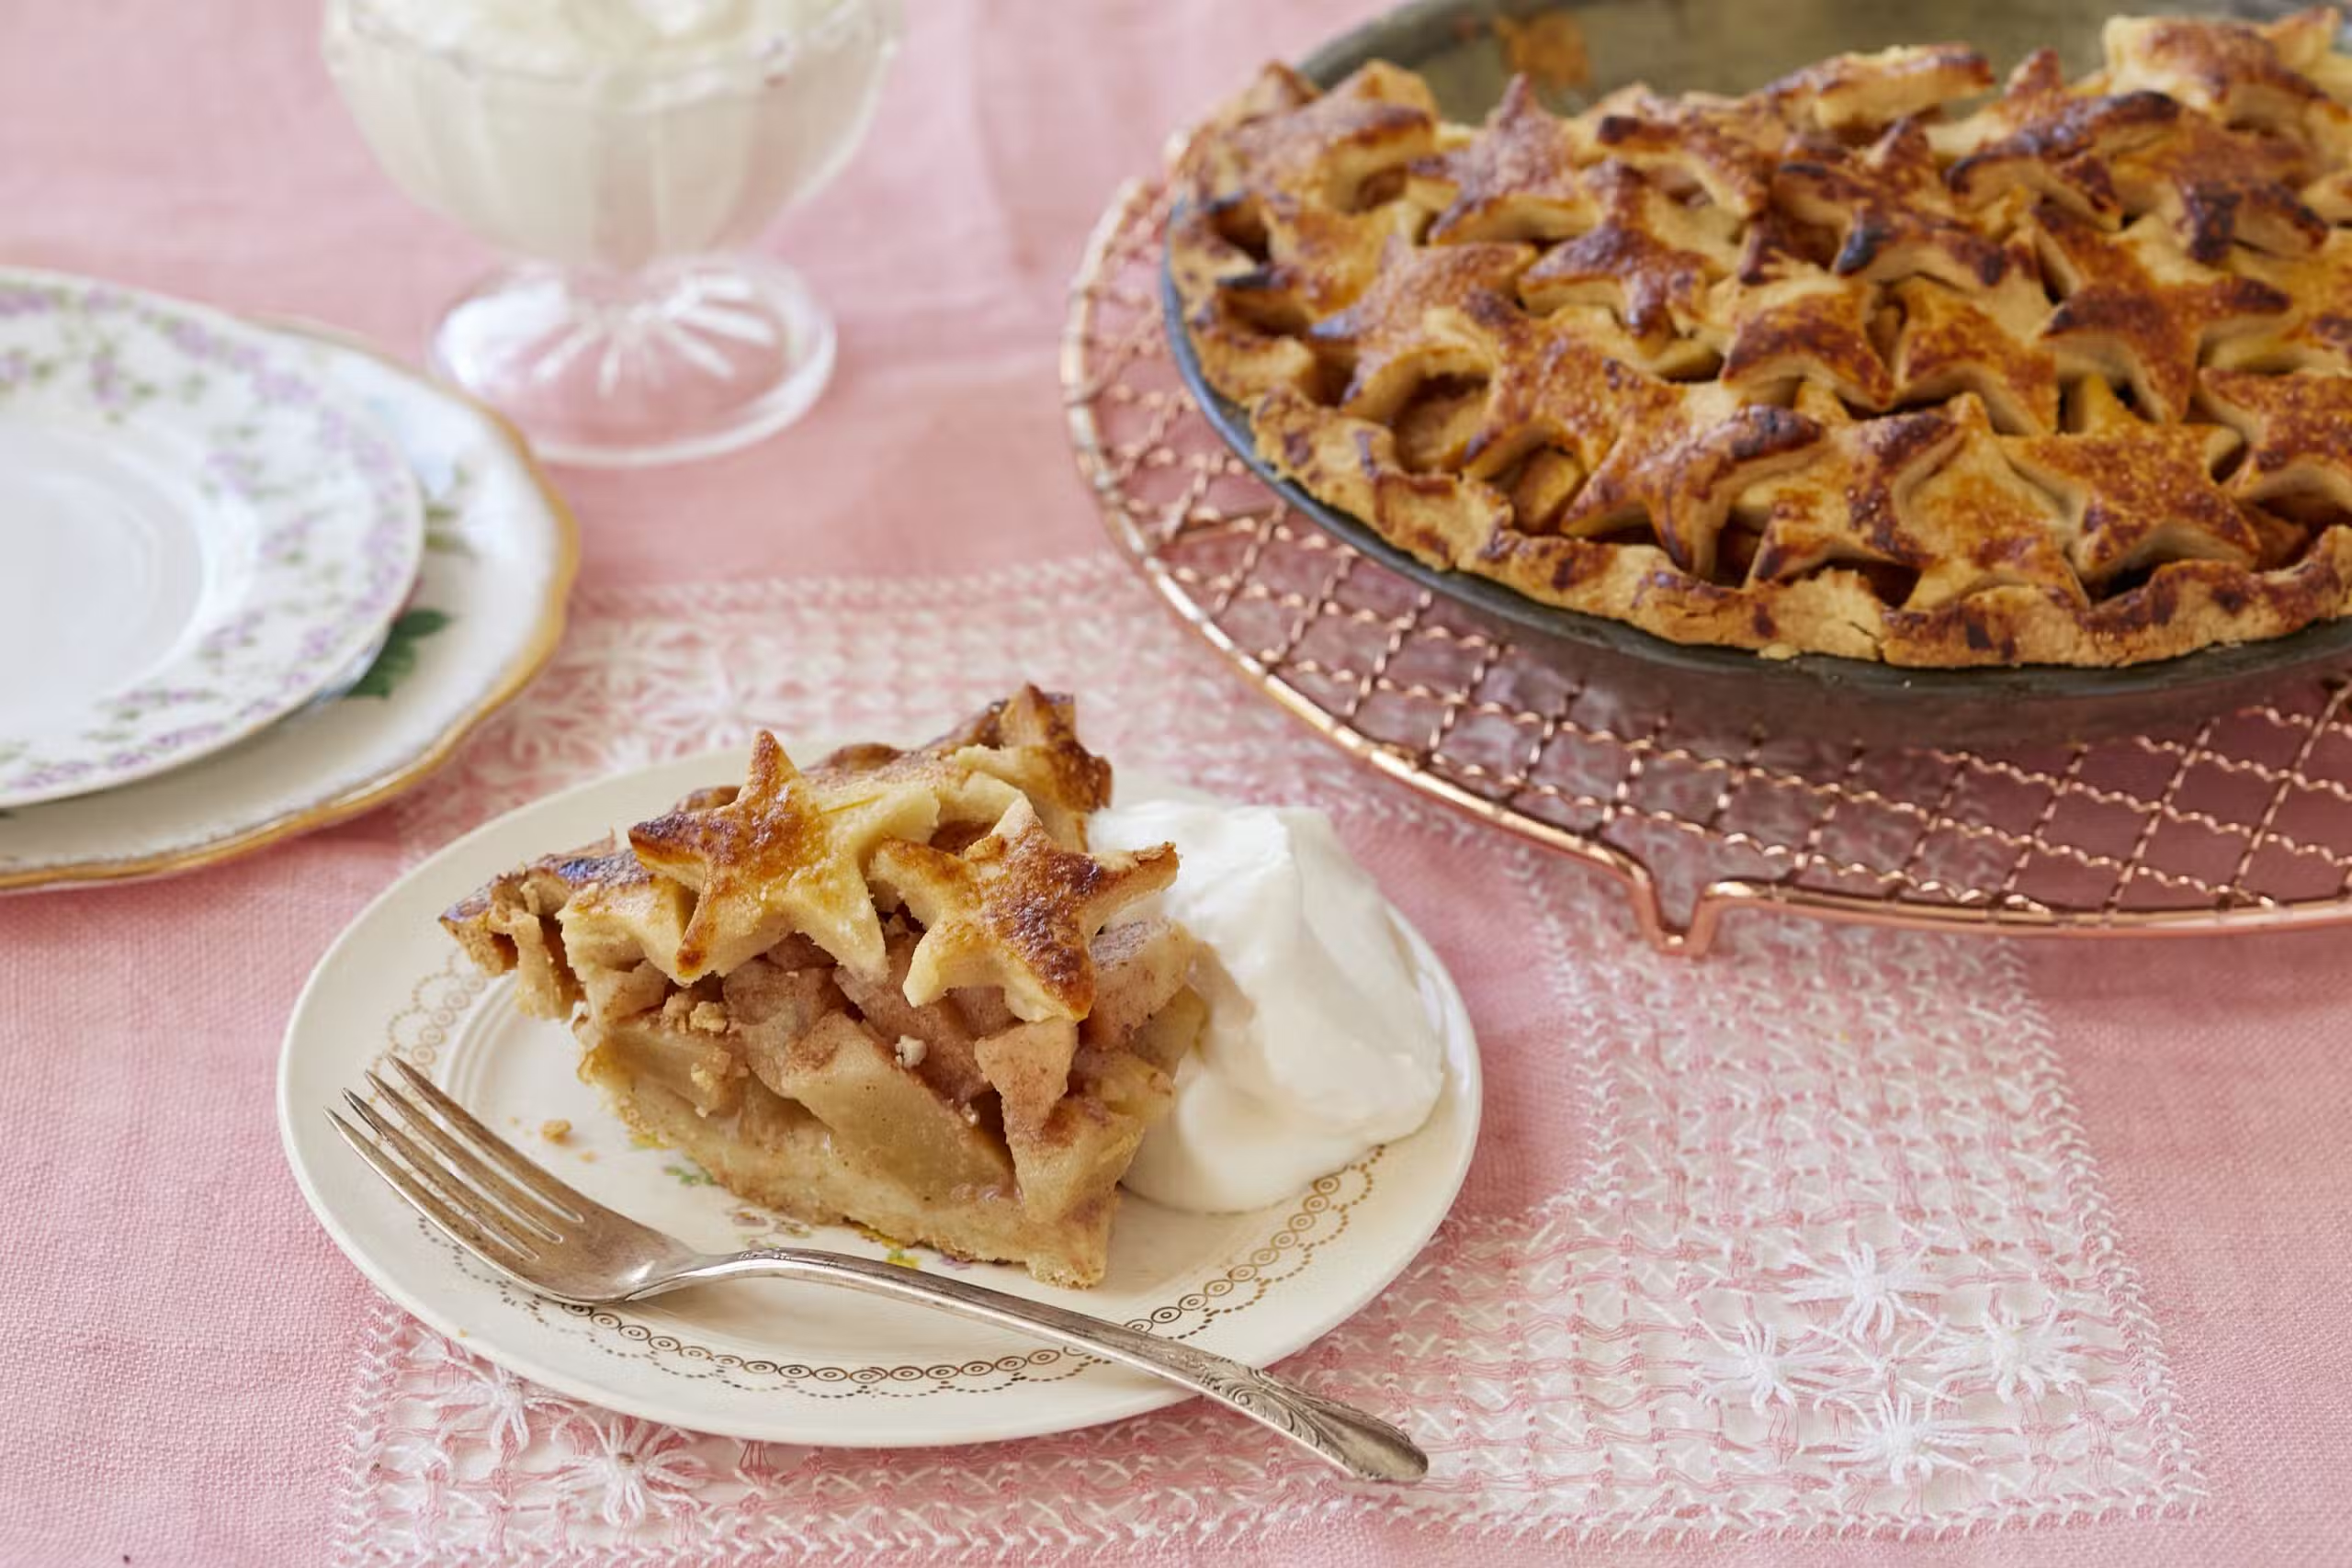
Feel free to also make this a family and friends activity by customizing your pie toppings. Cut out fun shapes using cookie cutters, or put your decorating skills to the test with impressive lattice patterns for an elegant look. Check out my Pie Design Techniques article to give you some ideas on how to decorate your Butterscotch Pear Pie!

What Are The Best Pears To Use For Pies?
Though any ripe but firm pears can be used in this Pear Butterscotch Pie recipe, I recommend checking out Anjou pears and Bosc pears. They are perfect for baking because they can withstand high temperatures and preserve their flavor. When baked low and slow in the oven, the pears become even tastier and develop a nice, soft texture.
Make sure to peel your pears before using them. The skin will grow too tough to eat once it’s heated.
The Secret To Homemade Pie Crust
One thing that every baker should learn how to make properly is a pie crust. Good thing I’ve perfected this with my flakiest buttery Pie Crust recipe of all time. It’s guaranteed a hundred times better than store-bought versions and will not only elevate your pie but also your basic baking skills. Store-bought versions usually contain shortening and unnatural ingredients, so it’s better to opt for a homemade version while making this recipe.
If you don’t want a soggy pie bottom or are just looking to gain new tips and tricks, check out my “How To Blind Bake A Pie Crust” article for more information.
If you happen to make more pie crusts for this recipe, you can freeze both baked and unbaked pie crusts. An unbaked crust will do well in the freezer for around 2 months, and a baked crust will freeze for about 4 months.
Tools To Make Butterscotch Pear Pie:
- Measuring cups and spoons
- Baking sheet
- Aluminum foil
- Mixing bowls
- Knife
- Grater
- Silicone spatula
- Rolling pin
- 9-inch (23 cm) pie tin
- Pastry brush
How Do You Know If Your Pie Is Done?
With fruit pies, it can be tough to know when it’s done cooking through. The best way to tell if your pie is done is by looking at the crust. Is it golden brown? You’re on the right track. Check also to see if your filling starts bubbling around the edges.
If your crust over browns before your filling starts to bubble, you can cover your pie with foil and let it bake in the oven like that for the remainder of the time.
How To Store Butterscotch Pear Pie
To store your leftover Pear Pie, loosely cover it at room temperature for up to 2 days. If it’s warmer where you live, you can pop it in the refrigerator. A benefit to keeping your pie covered with plastic wrap and storing it in the fridge is that it will keep the pie’s shape and ensure the crust stays crisp. You can always reheat slices as well in the microwave.
Gemma’s Pro Chef Tips For Making The Best Pear Butterscotch Pie:
- Be sure to use a firmer variety of pears like Bosc or Anjou. The pears should be firm but not underripe. It’s ok if they give a little.
- Pears, like all fruit, vary in size. If you have access to a kitchen scale, it’s best to weigh the fruit to make sure that you have the correct amount.
- Instead of a lattice crust, you can use a 1-inch (2½ cm) cookie cutter and top the pie with as many cutouts as possible.
- Don’t forget to bake your pie on an aluminum foil-lined baking sheet to make clean-up a lot easier.
- Try serving this with Salted Caramel Gelato and Homemade Whipped Cream!

Try More Tasty Pies Here:
Try These Recipes!


Pear Butterscotch Pie
Ingredients
- 8 ripe but firm pears (about 3½ lbs/1588 g)
- 1 Granny Smith apple, peeled and grated
- ⅓ cup (2 oz/57 g) dark brown sugar
- 3 tablespoons cornstarch
- 2 tablespoons lemon juice
- 2 teaspoons vanilla extract
- ¼ teaspoon salt
- 2 recipes Best Ever Pie Crust, chilled
- ¼ cup (2½ oz/71 g) plus ½ cup (5 oz/142 g) Homemade Butterscotch Sauce
- Egg wash
- 1 tablespoon granulated sugar
- Whipped cream, for serving, optional
Instructions
- Preheat the oven to 425°F (220°C) and line a baking sheet with aluminum foil. Set aside.
- Peel, core, and slice the pears ¼-inch (6-mm) thick and add to a large bowl as you go.
- Add the grated apple, brown sugar, cornstarch, lemon juice, vanilla extract, and salt to the pears and mix to combine. Set aside.
- On a floured surface, roll out one of the pie crusts to a ¼-inch (6-mm) thick circle and line a 9-inch (23-cm) pie tin with it. Trim the edges to hang about ½ inch (12 mm) over the sides.
- Fill the crust with the pear mixture and drizzle ¼ cup (2½ oz/71 g) butterscotch sauce over the pears.
- Roll out the second crust to a ¼-inch (6-mm) thick circle and slice the circle into 1-inch (2½-cm) wide strips. Lay half the strips in one direction, leaving a ½-inch (12-mm) gap between the strips. Weave the remaining strips through in the opposite direction.
- Trim any overhanging lattice strips to be even with the bottom crust and fold the bottom crust over the top edges of the lattice crust. Crimp firmly to seal, brush the crust with the egg wash and sprinkle with the granulated sugar.
- Place on the prepared baking sheet and bake for 20 minutes, then lower the temperature to 375°F (190°C) and bake for another 40-50 minutes, until the filling is bubbling. (If the crust starts to over brown before the filling is done, cover loosely with foil for the remainder of the baking time.)
- Let cool for at least 4 hours at room temperature to allow the filling to set.
- Just before serving, warm the remaining ½ cup (5 oz/142 g) butterscotch sauce and pour it into the gaps in the lattice crust or serve on the side, along with some whipped cream if desired.
- Store, loosely covered, at room temperature for up to 2 days.

