This post may contain affiliate links. Please see my full disclosure for details.
Hi Bold Bakers!
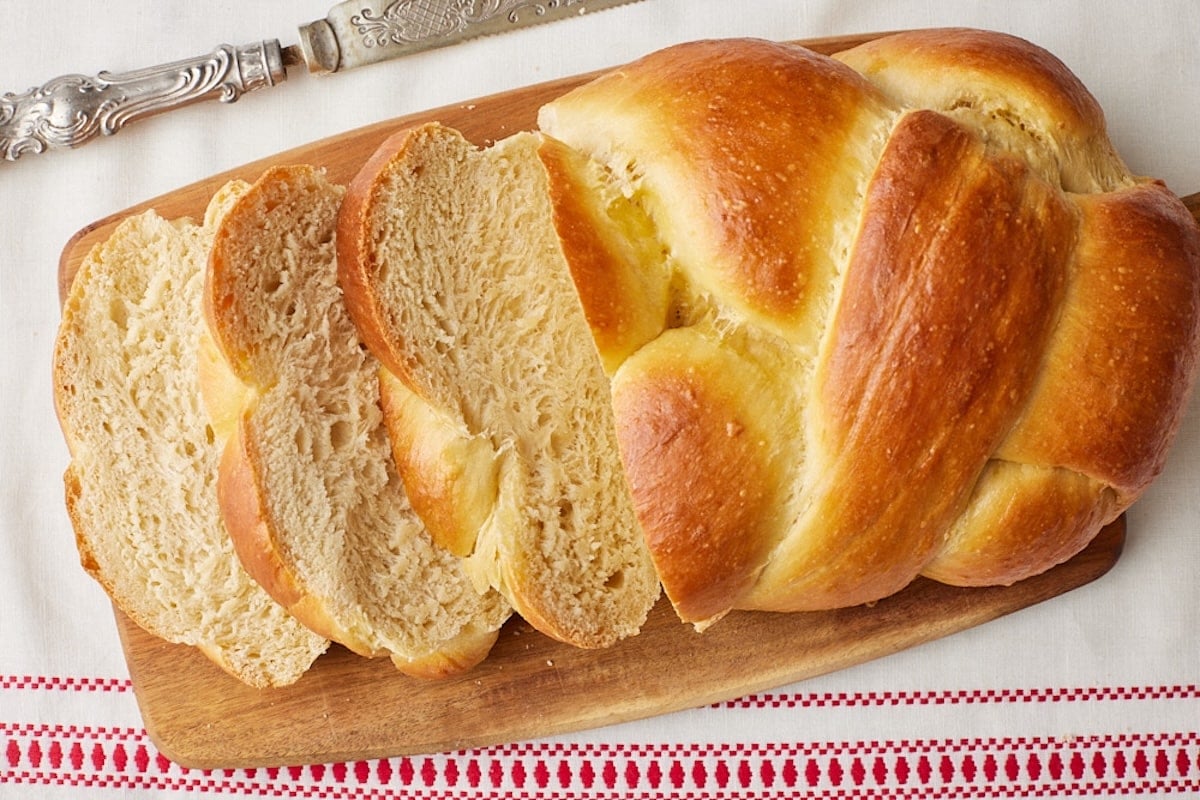
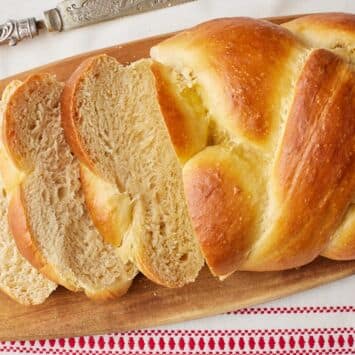
WHY YOU’LL LOVE THIS RECIPE: My easy Challah Bread Recipe yields a beautiful, soft, slightly sweet loaf with a golden crust and a fluffy crumb. My no-knead recipe is surprisingly simple to make, even if you’ve never braided bread before!
- Soft and flavorful: This enriched bread is lightly sweetened with honey and made with eggs and oil for a tender, flavorful loaf.
- No kneading required: No stand mixer needed either! Simply mix the dough, let it rise, braid, and bake. The long rise does the work for you!
- Beautifully braided: A simple three-strand braid gives this loaf its classic look without requiring any fancy shaping skills.
- Perfect for sharing: Challah is traditionally served at Shabbat and many Jewish holidays, and it makes a beautiful centerpiece for any special meal.
- Enjoy now or later: This loaf is delicious fresh from the oven, and it’s also outstanding to use for French toast the next day.
With Hanukkah approaching, I wanted to share a recipe for one of my favorite breads, challah. Challah is a traditional Jewish bread most closely associated with Shabbat (Sabbath) and Jewish holiday meals, and this beautiful loaf is easy to make and share during the holiday season and year-round. As a professional baker, I love recipes that look impressive but don’t require complicated techniques, and this challah is exactly that.
My top tip for this recipe is not to rush the rise. This no-knead dough needs plenty of time to develop its rich flavor and fluffy texture. Let it rise until it’s doubled in size and noticeably puffy. For more of my favorite bread recipes, check out my Brioche Bread Recipe, Authentic Irish Brown Bread, and Same Day Sourdough Bread.
Bold Bakers Loved This!
“So tasty, so beautiful. Everyone loved this challah bread, and I was proud of myself! Thank you, Gemma.”—Riva
This challah bread definitely had the best texture I’ve ever achieved in bread making! So easy and absolutely delicious. My kids loved it.”—Amy
“My first loaf, and it won’t be my last! Absolutely delicious.”—Nadia
Recipe Update: This recipe has been updated to make the challah pareve (free of dairy). We’ve replaced the milk and butter in the original recipe with water and vegetable oil. If you loved the original version, you can still make it with the same amount of milk and melted butter in place of the water and oil.
IMPORTANT NOTE: This recipe was improved and updated on 10/14/2026, to include NEW step-by-step photography, explanations and substitutes of key ingredients, clearer steps, make-ahead and storage instructions, history of challah bread, answers to the most frequently asked questions, and Pro Chef Tips.
Table of Contents
- What Is Challah Bread?
- Tools You Need
- Key Ingredients and Substitutes
- How to Make My Challah Bread Recipe
- Gemma’s Pro Chef Tips
- Make Ahead and Storage Instructions
- History of Challah Bread
- Challah Bread Recipe FAQs
- More Homemade Bread Recipes
What Is Challah Bread?
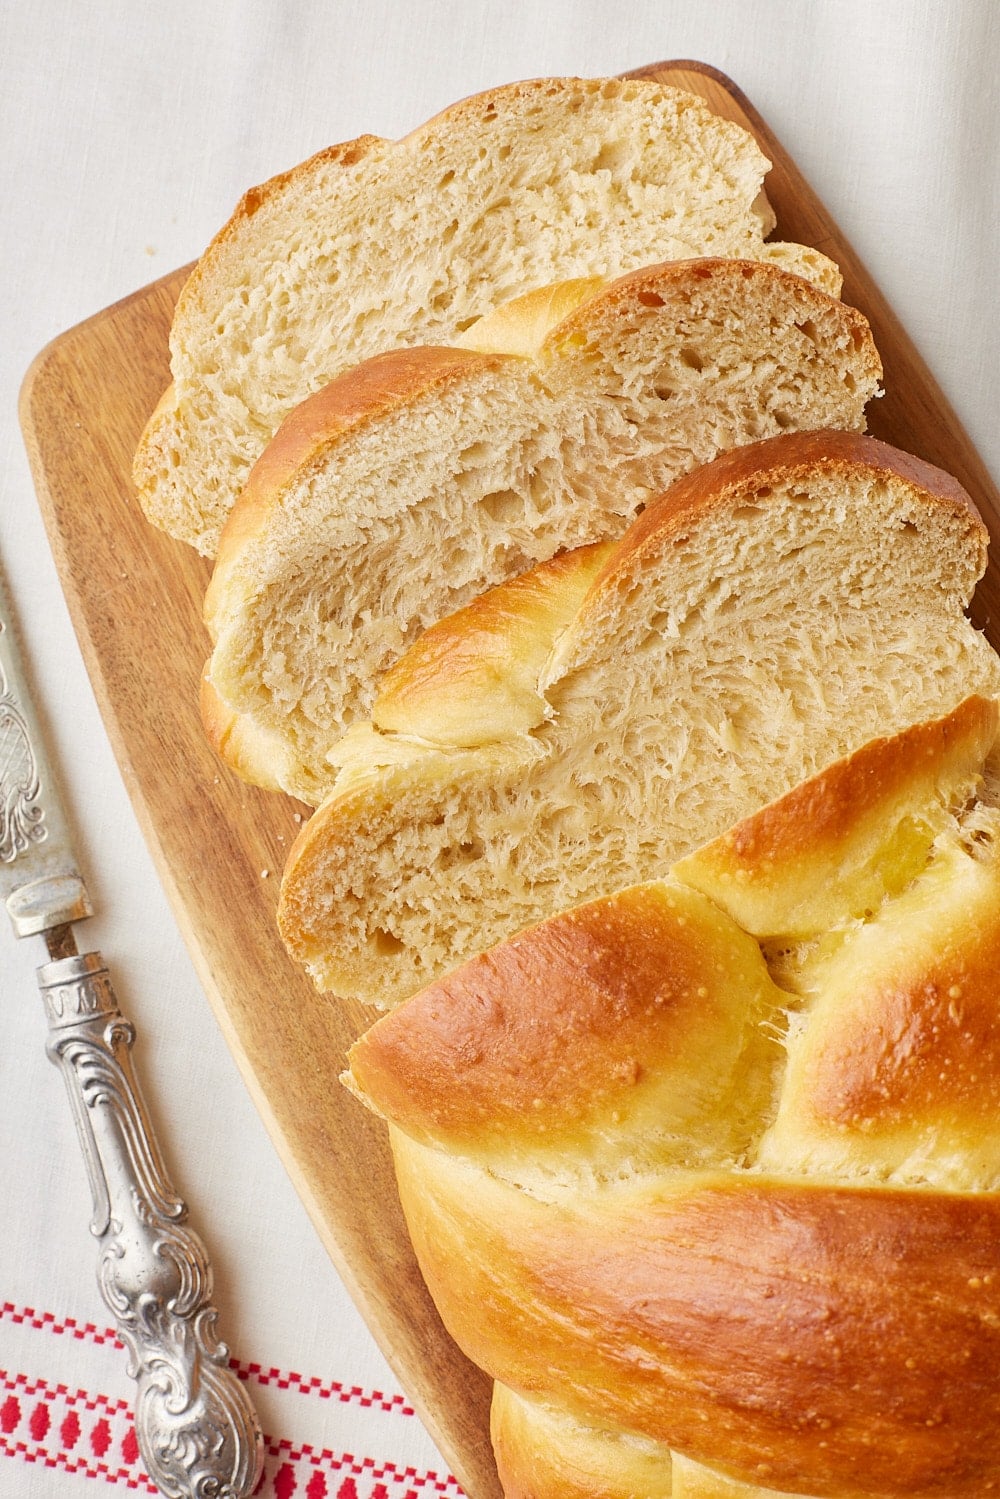
Challah, pronounced “ha-luh” with a silent “c,” is a traditional Jewish enriched bread that is soft, tender, and slightly sweet, often made with eggs and braided into a loaf. The word challah originally referred to a portion of dough set aside as an offering, and eventually it came to refer to the special bread served at Shabbat and holiday meals. Challah is especially known for its golden crust and fluffy, rich crumb, making it delicious fresh from the oven, toasted with butter or jam, or used for French toast.
Tools You Need
- Mixing bowls
- Measuring spoons
- Measuring cups
- Glass measuring jug
- Kitchen scale (optional)
- Whisk
- Saucepan or microwave-safe bowl
- Cling wrap
- Tea towel
- Parchment paper
- Knife or dough cutter
- Baking sheet
- Wire cooling rack
Key Ingredients for my Challah Bread Recipe
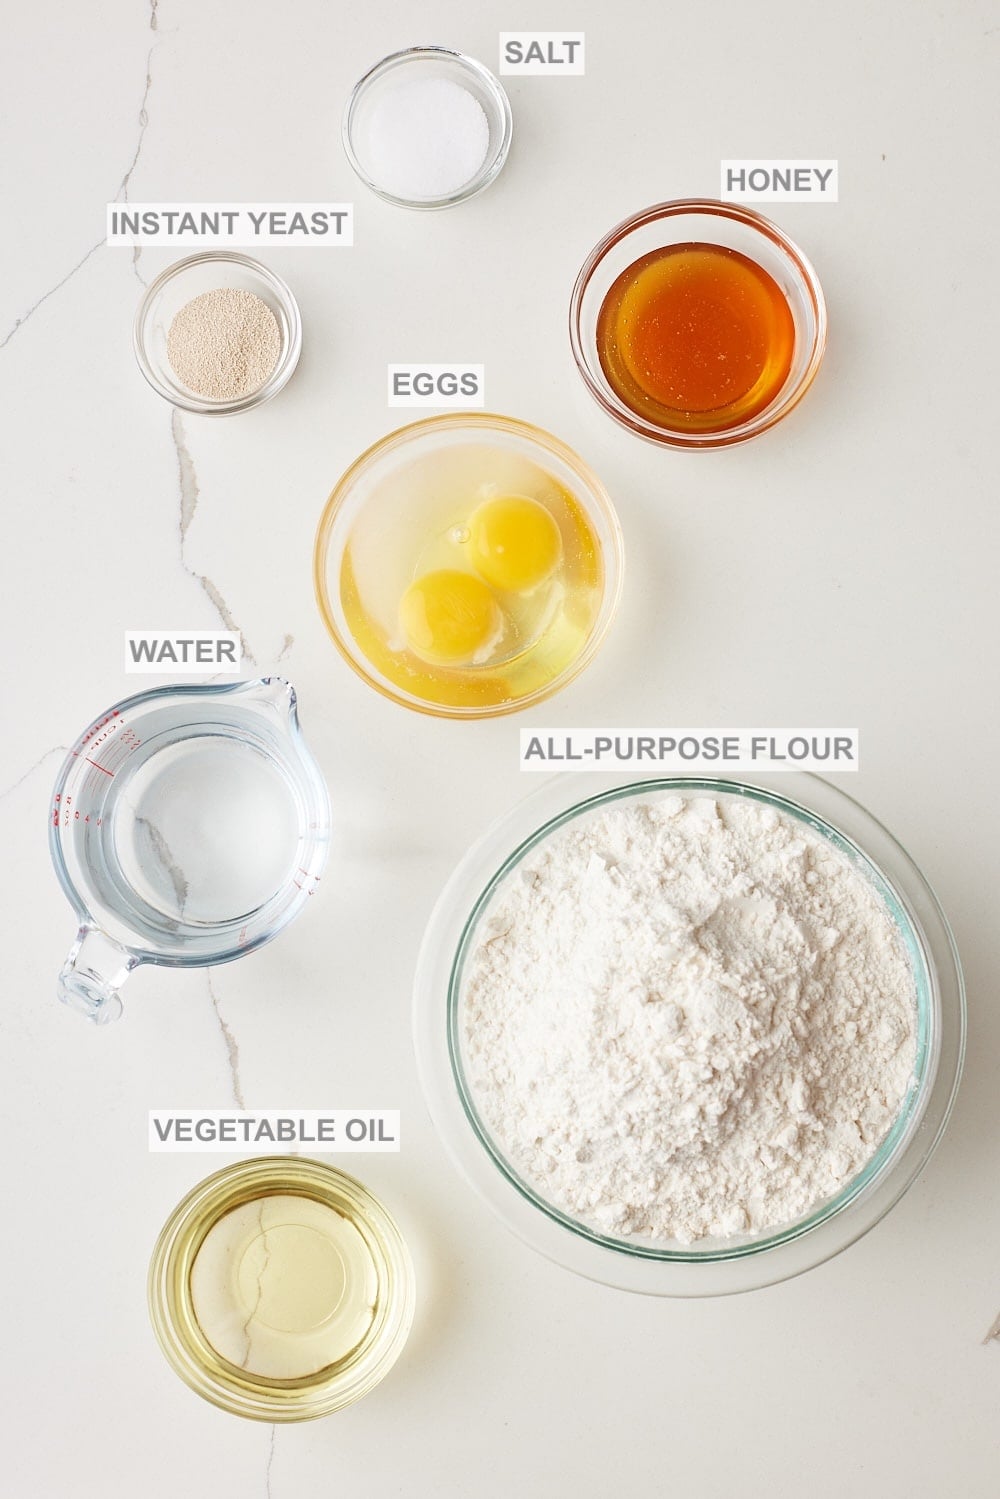
All-purpose flour
- All-purpose flour gives the bread structure.
- The gluten network gives the dough enough strength to rise and hold its braided shape.
Instant yeast
- Instant yeast makes the bread rise, contributing to challah’s classic fluffy texture.
- I always use instant yeast because you can mix it right in with the dry ingredients without sponging.
- If you can only find active dry yeast, you will need to use a little more.
- The ratio is ¾ teaspoon of instant yeast to 1 teaspoon of active dry yeast, so in this recipe, use 2 ⅔ teaspoons of active dry yeast.
Salt
- Salt enhances the challah’s flavor and brings out the honey’s sweetness.
Eggs
- Eggs contribute richness and tenderness in this no knead challah recipe.
- Importantly, eggs contribute to the bread’s classic golden color.
- Use room-temperature eggs so they mix in smoothly. Here’s how to warm eggs straight from the fridge.
Lukewarm water
- Lukewarm water activates the yeast.
- The water hydrates the flour and helps to form the gluten network.
- To make sure your water is lukewarm, take a small amount and dip your finger in—if it feels close to your body temperature or slightly warmer, it’s lukewarm.
Vegetable oil
- Vegetable oil helps make the bread tender and moist.
- Importantly, the vegetable oil helps keep the bread softer longer.
Honey
- Honey gives the no knead challah its subtle, floral sweetness.
- Additionally, honey contributes to the color in challah bread recipes and helps with the browning.
Egg wash
- Egg wash helps create a golden, glossy coat. Beat an egg with 1 tablespoon of water and brush it on the loaf before baking.
How to Make my Challah Bread Recipe
To Make the Challah Bread Dough
-
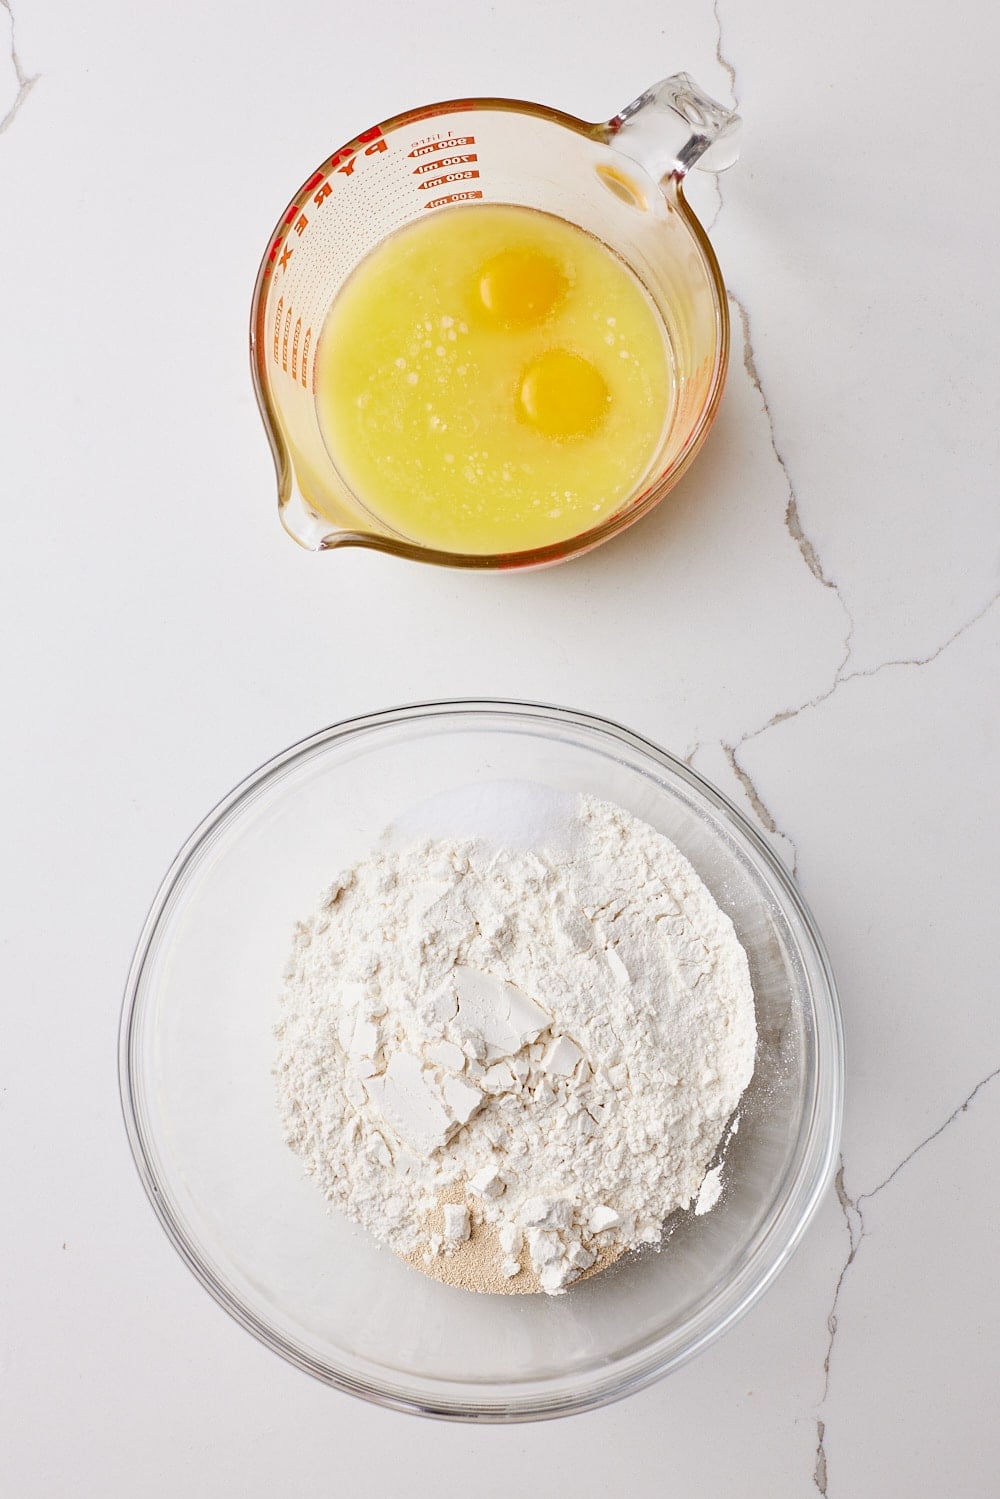
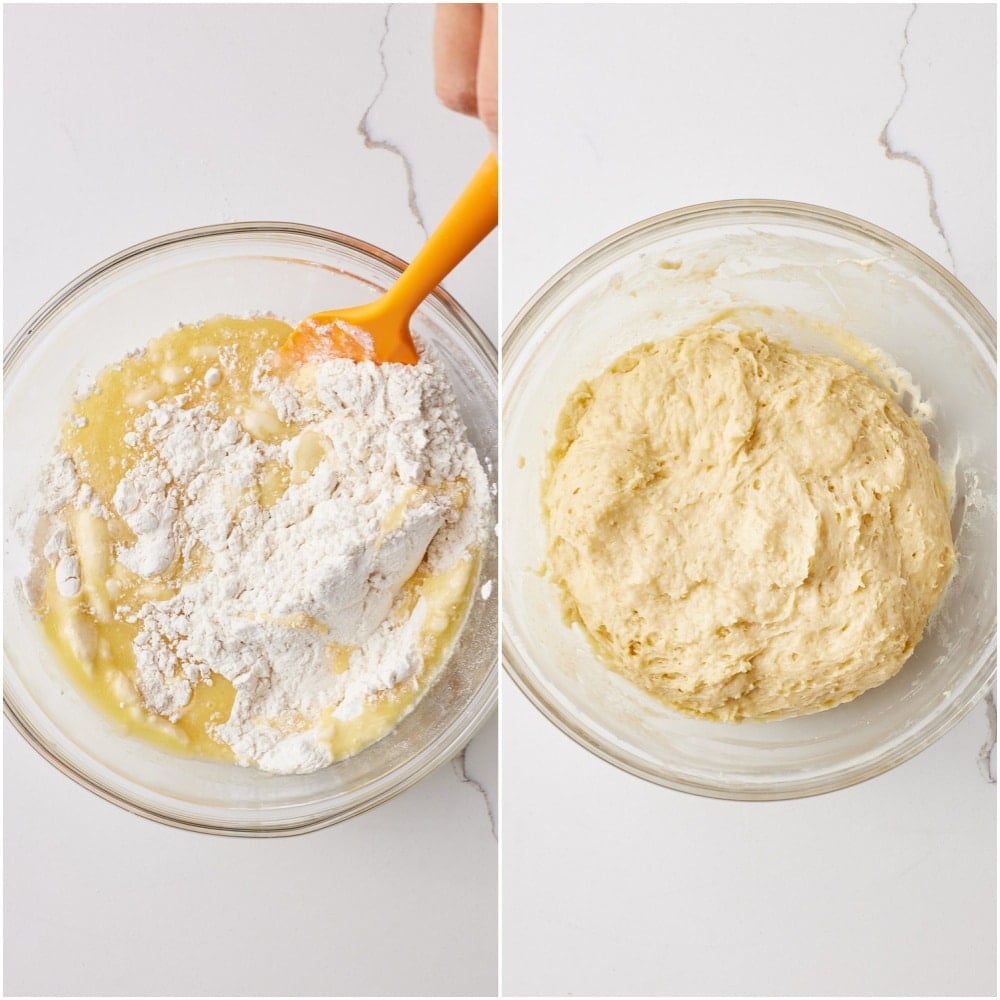
Mix the dry ingredients. In a large bowl, combine the flour, yeast, and salt. Set aside.
-
Whisk the wet ingredients. In a separate bowl, whisk together the eggs, water, oil, and honey.
-
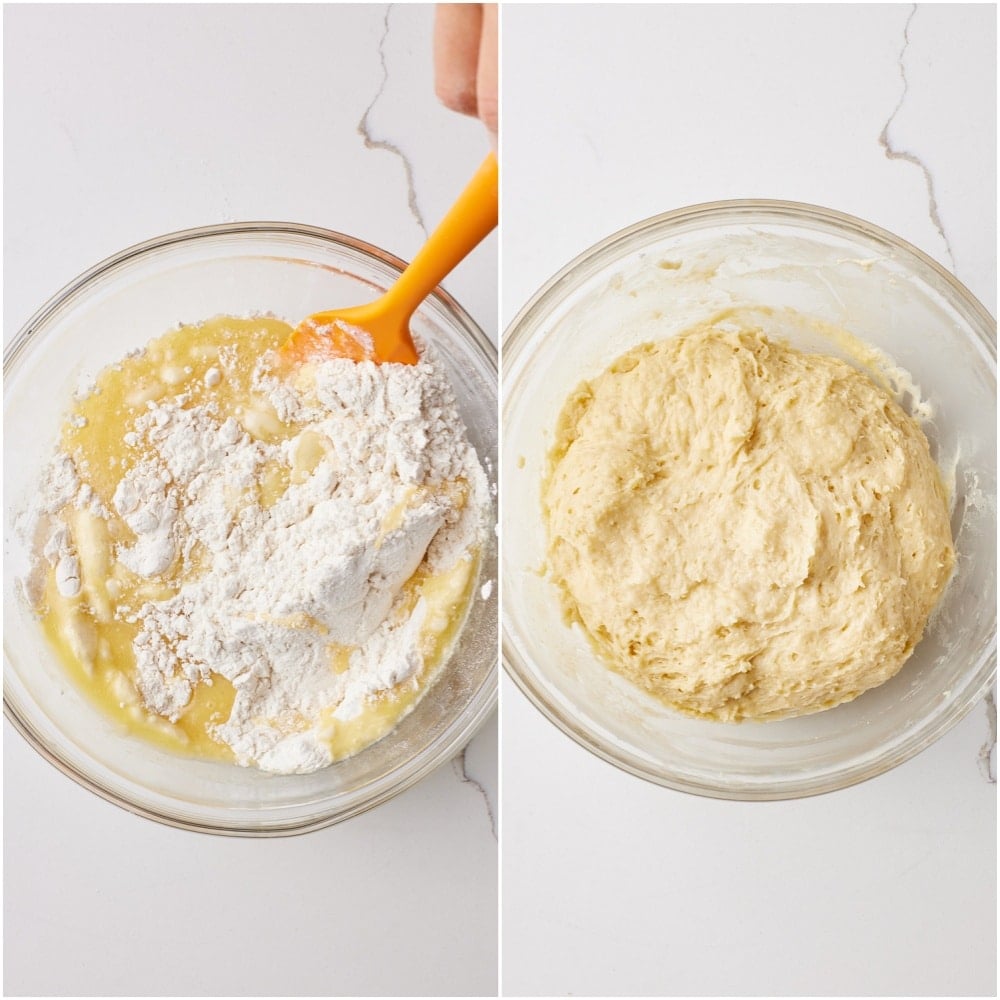
Combine the wet and dry ingredients. Add the wet ingredients into the dry ingredients and mix just until a dough forms. Do not overmix.
To Proof the Challah Bread Dough
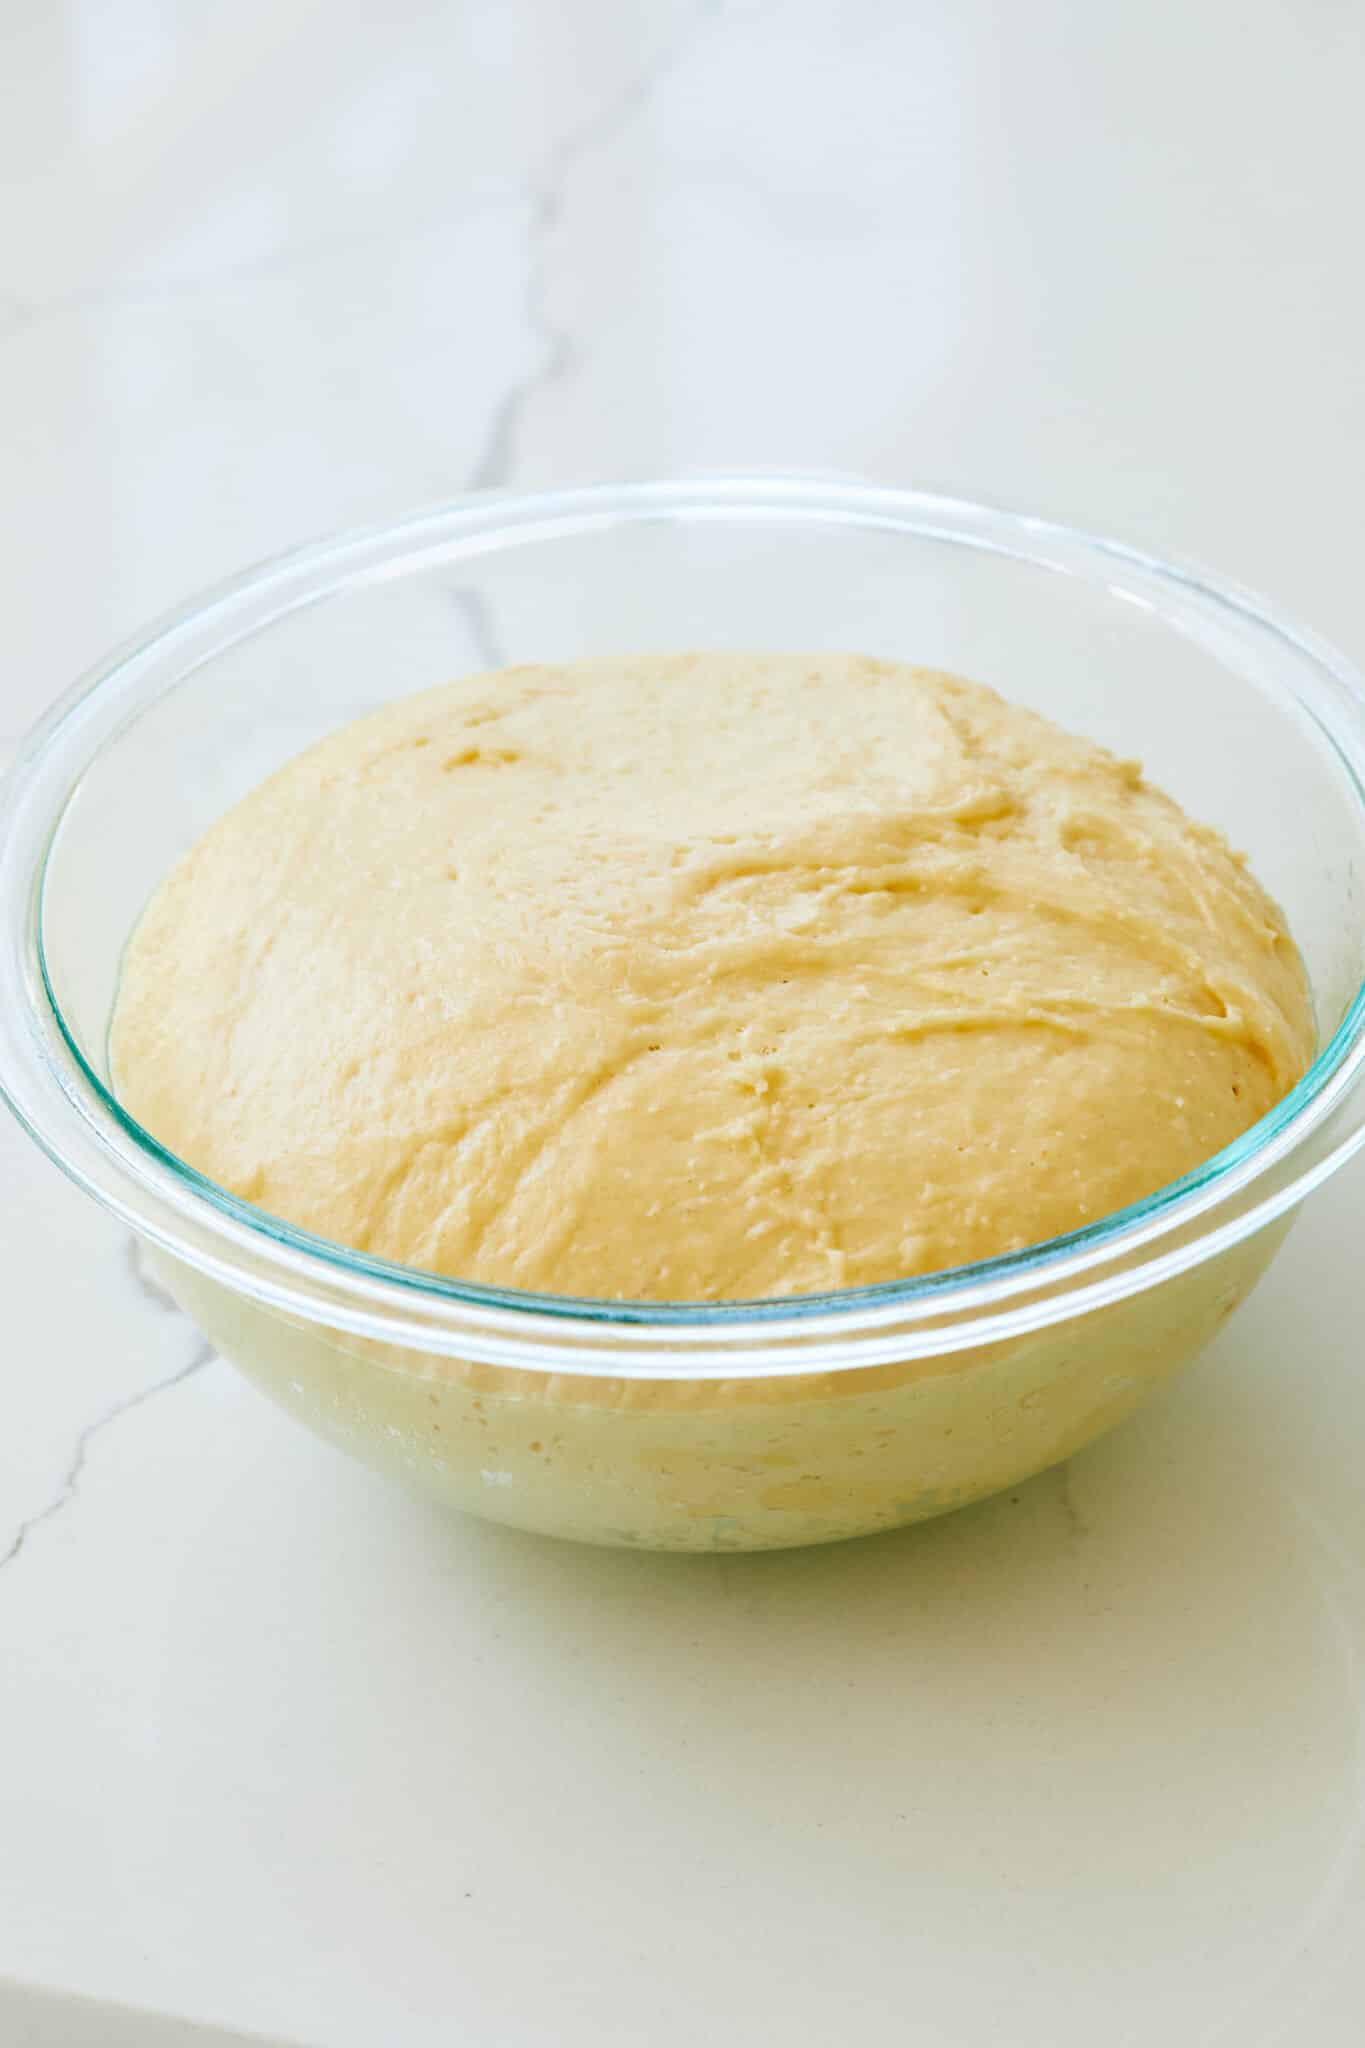
- Let dough rise. Cover the bowl with plastic wrap and a clean kitchen towel and let the dough rise, at room temperature, for a minimum of 4 hours, or until doubled in size. (At this point the dough can be refrigerated for up to two days.)
To Shape and Proof the Challah Bread
- Prepare pan. Line a baking sheet with parchment paper and set aside.
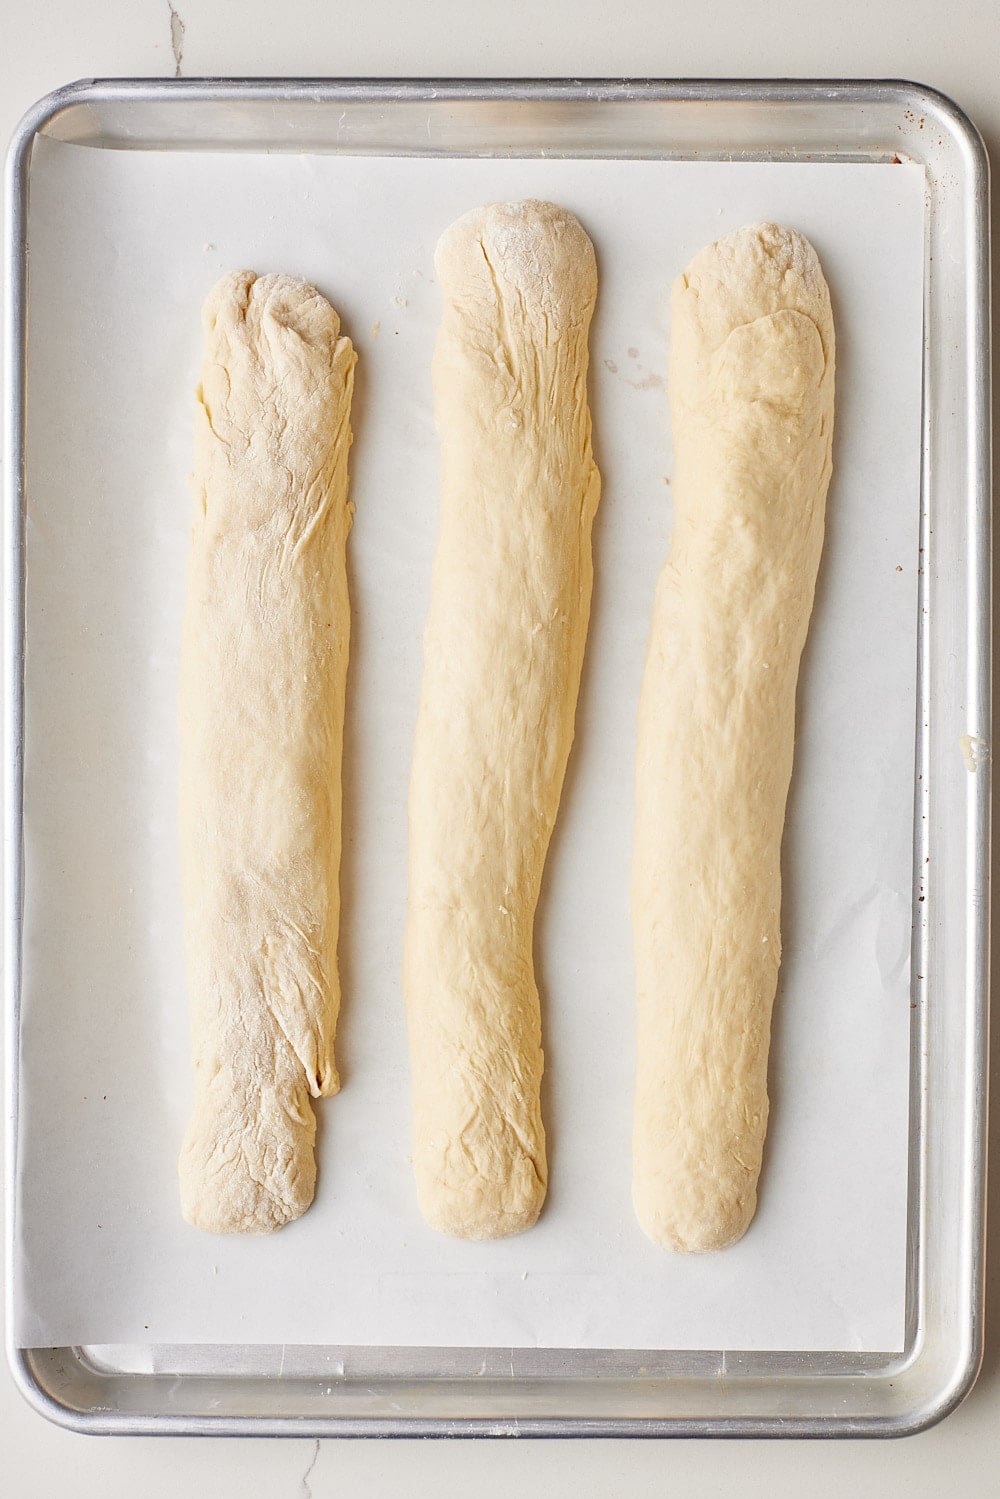
- Divide dough. Transfer the dough onto a lightly floured surface and divide it into 3 equal pieces. Gently roll each piece into a 14-inch (36 cm) rope and place them on your prepared tray.
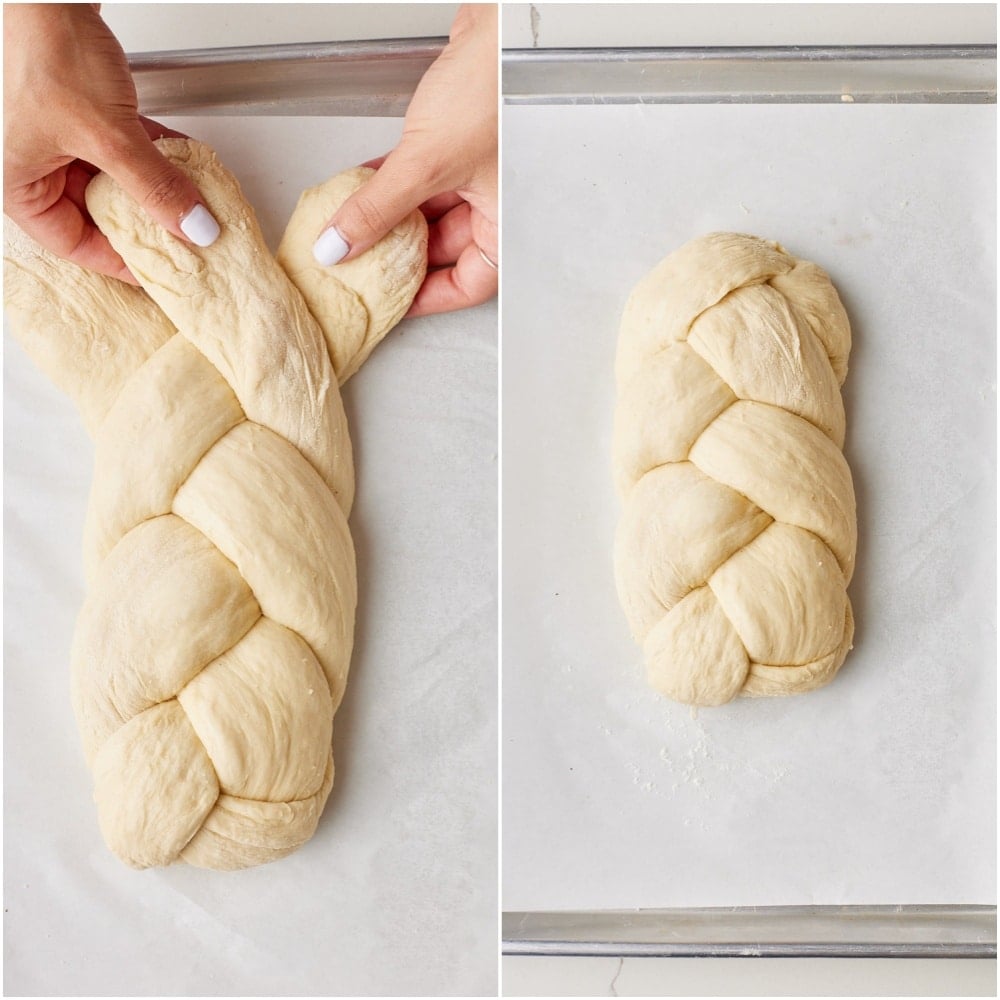
- Braid dough and let rise. Make a three-strand braid, then pinch and tuck the ends. Cover loosely with plastic wrap and a kitchen toweland allow it to rise a second time for about an hour.
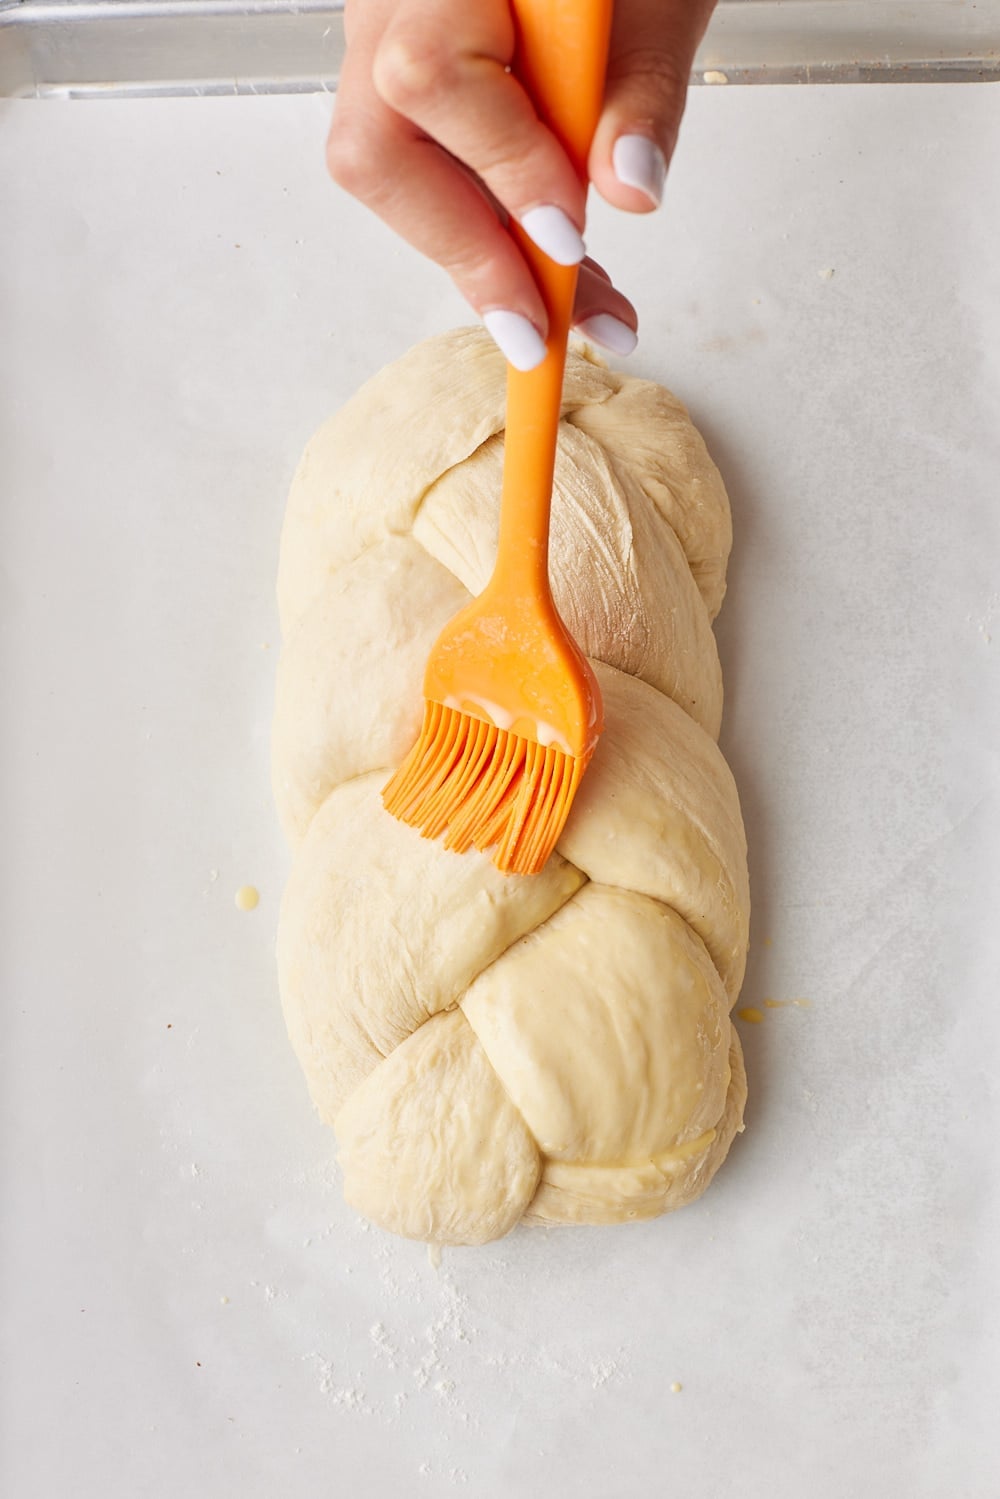
- Prepare to bake. Towards the end of the rising time, preheat the oven to 350°F (180°C) and carefully brush the braid with egg wash.
To Bake the Challah Bread
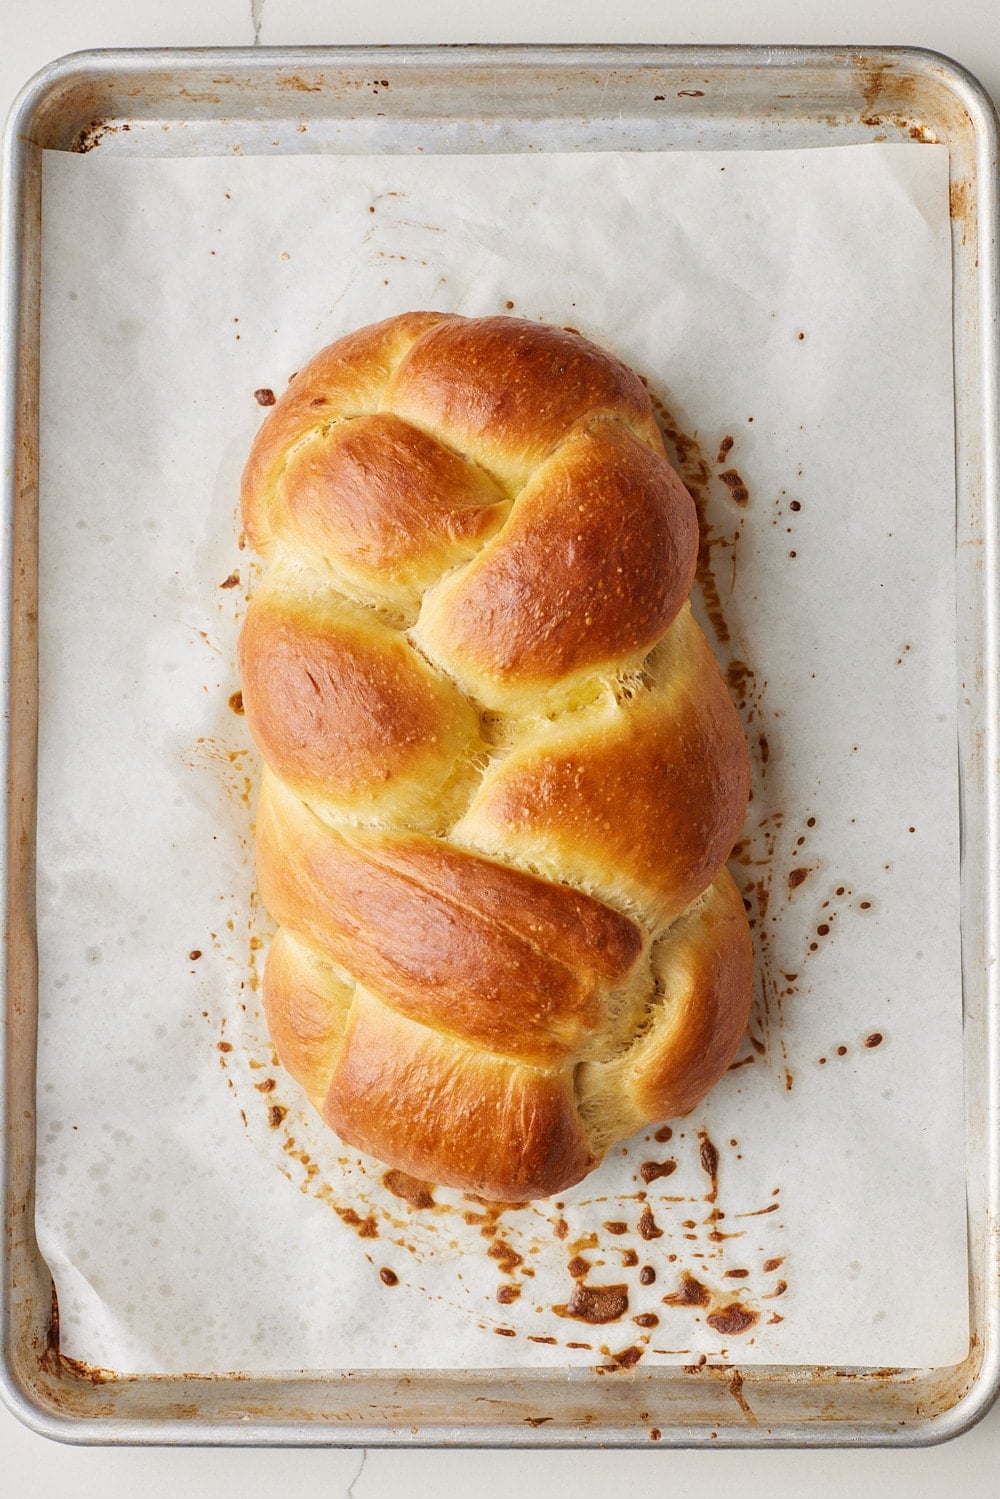
- Bake bread. Bake for 30 to 35 minutes or until deep golden brown.
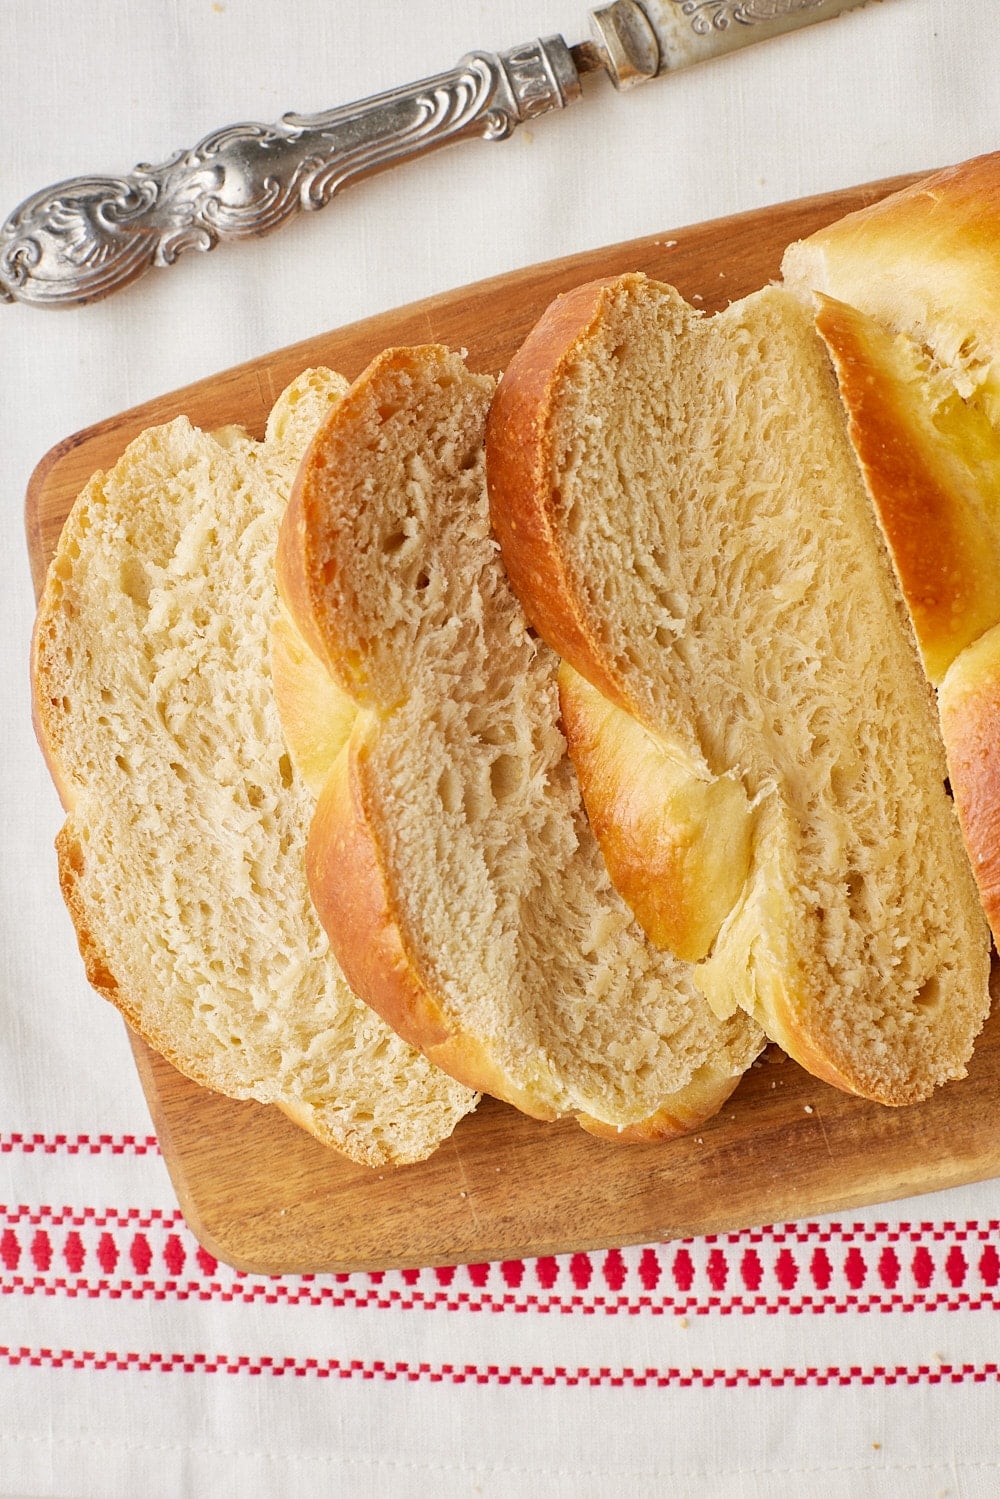
- Let cool. Transfer the loaf to a wire rack and let it cool completely before slicing.
To Serve and Store the Challah Bread
- Slice and serve. Enjoy warm with salted butter!
Gemma’s Pro Chef Tips
- Yeast note. If you are not using instant yeast, then sponge your yeast in the warm water for 5 minutes before adding to the dry ingredients.
- Egg-free note. You can make this bread without eggs, but it will not be a rich dough. Omit the eggs, and use a little vegetable oil in place of the egg wash.
- Don’t go overboard on the flour. You don’t want to add too much flour to the recipe or while braiding — this leads to a dense challah.
- Time is your best friend here! For the best challah bread recipe, be sure to allow plenty of time for your ‘dough to proof before baking to avoid flat, dense bread.
- Make one or two loaves. This dough can be separated and baked into 2 smaller loaves.
- Brush twice if you prefer. For a super glossy finish, brush your loaf with the egg wash twice. First when you have just finished braiding it, then again right before baking.
- Add some optional crunch. After brushing the loaf with egg wash, you can sprinkle on poppy seeds, sesame seeds, or both for a crunchy topping.
Make Ahead and Storage Instructions
Make-ahead tips
- You can make challah dough up to two days ahead of baking.
- After its first proof, cover the dough with cling wrap and place it in your refrigerator.
- When ready to bake, allow the dough to proof at room temperature until it has doubled in size. Bake off as normal.
- After its first proof, cover the dough with cling wrap and place it in your refrigerator.
How to store leftovers
- This bread is best enjoyed the day it’s baked but you can store leftovers in an airtight container at room temperature for up to three days.
- You can also store it well-wrapped in the fridge for up to three days, but note that it may lose some softness.
- For longer storage, completely cool the bread, wrap it well, place in a freezer-safe container or bag and freeze for up to 8 weeks.
- Thaw frozen challah at room temperature for a few hours or warm gently in the oven before slicing.
History of Challah Bread
- The braided challah we recognize today developed among Jewish communities in Central and Eastern Europe in the 15th century. Different communities developed their own recipes and shapes, and the classic braided egg-enriched loaf became especially associated with Ashkenazi Jewish traditions.
- Challah is most closely associated with Shabbat (Sabbath) and Jewish holiday meals. The shape and ingredients In this Jewish Challah Bread Recipe can also change with the holiday. For Rosh Hashanah (Jewish New Year), for example, round and often sweet challah, sometimes made with raisins, is traditional.
FAQs
What does pareve mean, and what makes this challah loaf pareve?
- Pareve (also spelled parve) is a term in Jewish dietary law for foods that contain neither meat nor dairy.
- Eggs are considered pareve, so this challah is made with eggs, water, and vegetable oil rather than milk and butter.
- That makes the loaf itself pareve, meaning it can generally be served with either a meat or dairy meal.
What makes challah kosher?
- For people who observe kosher dietary laws, a Jewish bread recipe must use kosher ingredients and be prepared according to the rules of kashrut.
- Traditional challah is generally made without meat or dairy so it can be served with either a meat or dairy meal.
- My recipe uses water and vegetable oil instead of milk and butter, making the loaf pareve. If you keep kosher, you’ll also want to consider the kosher status of your individual ingredients and the equipment used to prepare the bread.
Why Is challah braided?
- Challah has different shapes depending on what is being observed. For example, for Rosh Hashanah (the Jewish New Year) loaves are round to symbolize the cycle and continuity of the year.
- This recipe is for a three-strand braid. One traditional explanation is that the three strands symbolize peace, truth, and justice.
How do I braid challah bread?
- If you’ve never made challah and have just admired this beautiful loaf at a bakery, a friend’s home, or on Instagram, don’t panic about the braiding! It’s simple.
- First, pinch the 3 ropes together at the top. Then take the left rope and bring it into the middle. Take the right rope and put it in the middle. And repeat.
- The best way to explain this is to think of it this way—the outside strands are fighting to be in the middle. When you are done, pinch the ends together.
How can I tell when my challah is done baking?
- The top of your challah should be golden brown. To test if your challah is done baking, turn it over and tap the bottom of the loaf. If it sounds hollow, it’s done.
Why did the braid of my challah bake apart?
- If your braid comes undone while baking, you may have under-proofed your dough.
- On the final rise, you want your loaf to be puffed up fully — it should be doubled in size from when you initially braided the challah.
What can I make with leftover challah?
- I like to make French toast with leftover challah!
- You can also use leftover challah to make bread pudding. You can also make breadcrumbs or croutons out of your leftover bread.
What to do if challah dough is too sticky?
- If your dough is too sticky, I suggest adding a bit of flour, a little at a time, until your dough comes together.
- Remember, you can add flour, but you can’t take flour back!
More Homemade Bread Recipes
- Simple White Irish Soda Bread
- Japanese Milk Bread
- No-Knead Sandwich Bread
- Seeded Bread Recipe
- No-Knead Ciabatta
IMPORTANT NOTE: This recipe was improved and updated on 10/14/2026, to include NEW step-by-step photography, explanations and substitutes of key ingredients, clearer steps, make-ahead and storage instructions, history of challah bread, answers to the most frequently asked questions, and Pro Chef Tips.
Try These Recipes!


No Knead Challah

Ingredients
- 4 cups (1 lb 4 oz/568 g) all-purpose flour
- 2 teaspoons instant yeast
- 2 teaspoons salt
- 2 large eggs , at room temperature
- ¾ cup plus 2 tablespoons (7 fl oz/200 ml) water , lukewarm
- ⅓ cup plus 1 tablespoon (3 fl oz/95 ml) vegetable oil
- ¼ cup (2 ½ oz/75 g) honey
- Egg wash
Instructions
To Make the Challah Bread Dough
- In a large bowl, combine the flour, yeast, and salt. Set aside.
- In a separate bowl, whisk together the eggs, water, oil and honey.
- Add the wet ingredients into the dry ingredients and mix just until a dough forms. Do not overmix.
To Proof the Challah Bread Dough
- Cover the bowl with plastic wrap and a clean kitchen towel and let the dough rise, at room temperature, for a minimum of 4 hours, or until doubled in size. (At this point the dough can be refrigerated for up to 2 days.)
To Shape and Proof the Challah Bread
- Line a baking sheet with parchment paper and set aside.
- Transfer the dough onto a lightly floured surface and divide it into 3 equal pieces. Gently roll each piece into a 14 inch (36 cm) rope and place them on your prepared tray.
- Make a three-strand braid, then pinch and tuck the ends. Cover loosely with plastic wrap and a kitchen towel and allow it to rise a second time for about an hour.
- Towards the end of the rising time, preheat the oven to 350°F (180°C) and carefully brush the braid with egg wash.
To Bake the Challah Bread
- Bake for 30 to 35 minutes or until deep golden brown.
- Transfer the loaf to a wire rack and let it cool completely before slicing.
To Serve and Store the Challah Bread
- Enjoy warm with salted butter! This bread is best enjoyed the day it's baked but you can store leftovers in an air-tight container for up to 3 days.
Recipe Notes
- Yeast note. If you are not using instant yeast, then sponge your yeast in the warm water for 5 minutes before adding to the dry ingredients.
- Egg-free note. You can make this bread without eggs, but it will not be a rich dough. Omit the eggs, and use a little vegetable oil in place of the egg wash.
- Don’t go overboard on the flour. You don’t want to add too much flour to the recipe or while braiding — this leads to a dense challah.
- Time is your best friend here! For the best challah bread recipe, be sure to allow plenty of time for your 'dough to proof before baking to avoid flat, dense bread.
- Make one or two loaves. This dough can be separated and baked into 2 smaller loaves.
- Brush twice if you prefer. For a super glossy finish, brush your loaf with the egg wash twice. First when you have just finished braiding it, then again right before baking.
- Add some optional crunch. After brushing the loaf with egg wash, you can sprinkle on poppy seeds, sesame seeds, or both for a crunchy topping.







My first loaf and it won’t be the last. The only thing hard about this recipe is the wait to have a nice warm piece.
Challah is bread on which prayers are made on Friday evening, it is called Kiddush. Jews do not mix dairy and meat in the same meal, and on Friday night the meal is always meat, so your stunning recipe is not kosher for a meat meal. If we convert the milk and butter into vegan products, we can prepare and serve this challah on Friday evening in a Jewish home
Hi Gemma! I was blown away by this recipe – so easy and absolutely delicious. Definitely the best texture I have ever achieved in bread making! I made it for my kids after school one day and it was totally demolished within a few minutes!
Not traditional challah, no dairy is allowed for religious reasons.
I have been making challah for several years and have been looking for a recipe to replace my current “10 minute knead by hand” one. Yours fits the bill. it is so easy and delish. I was a tad concerned that it was so sticky, but I let it rise for 4 hours then popped it in the fridge overnight. Took it out in the morning, braided it while it was still cold and let it rise again for a couple of hours and baked it. I am serving it with fish until I can work out the substitutions for… Read more »
Not a kosher recipe because you cannot mix meat and milk. Can you use substitutes for the butter and milk?
I have made other recipes before but they were never this sticky. I am in Florida and it s an extremely humid day so I wonder if that was the issue. I added more flour but it was not great. I am going to make it anyway. I will let you know how it turns out.
Is it possible to turn this into a loaf bread? Would you still need to braid it? Would it take one or two loaf pans. Seems like a great sandwich bread
hi, allergic to honey, would sugar be the same amount?
Hi Gemma
This recipe does look good and I dying to try it once Passover is over.
Are you familar with adding saffron to the dough? Can you share the process of soaking the threads in hot or boiling water? How long must they soak and can I reuse the threads after straining the liquid? Does the saffron need to be crushed before adding the water? Many thanks!