This post may contain affiliate links. Please see my full disclosure for details.
Hi Bold Bakers!
WHY YOU’LL LOVE THIS RECIPE: This Perfect Homemade Pie Crust Recipe is the best ever I have come across in all of my years of working as a pastry chef. Freshly made with good quality ingredients, this flaky, buttery, and delicious crust provides the ideal complement to the pie filling, enhancing the overall flavor and texture of the pie. Moreover, it carries fond memories with family, allows for personalization, and provides a sense of accomplishment and connection to tradition. Nailing a Perfect Homemade Pie Crust Recipe can be a labor of love, and the results are often highly satisfying.
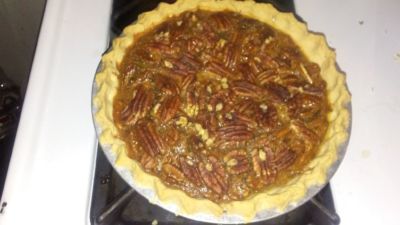
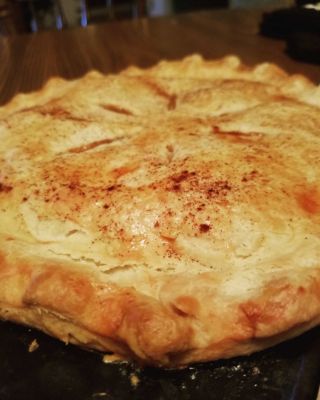
Fall is when we tend to make a lot of pies, this master Bigger Bolder Baking pie crust recipe is easy to recreate at home (also see my step-by-step video for guidance) so you don’t have to buy store-bought pie crusts in the supermarkets anymore. In no time will you have the right crust for pies like The Perfect Classic Apple Pie Recipe, Pumpkin Pie, and Best Ever Pecan Pie. You can even learn how to decorate pies like a pro with my 5 Easy & Impressive Pie Design Techniques.
IMPORTANT NOTE: This recipe is updated and improved on 10/24/2023, to include new step-by-step photography, explanations of key ingredients, answers to the most commonly asked questions, and more Pro Chef Tips.
Table of Contents
- What is a Perfect Homemade Pie Crust Recipe?
- Tools You Need for a Perfect Homemade Pie Crust Recipe
- Key Ingredients for a Perfect Homemade Pie Crust Recipe and Why
- How to Make a Perfect Homemade Pie Crust Recipe
- How to Store a Perfect Homemade Pie Crust Recipe
- Can I Make a Perfect Homemade Pie Crust Recipe in Advance?
- Why Does My Pie Crust Shrink?
- How to Blind Bake a Pie Crust to Keep it From Getting Soggy?
- FAQs
- Gemma’s Pro Chef Tips
- More Pie Crust Recipes
What is a Perfect Homemade Pie Crust Recipe?

A perfect Homemade Pie Crust Recipe produces a versatile pie crust that is renowned for its exquisite taste and texture, making it an ideal complement to a wide range of sweet and savory pies.
It’s important to note that achieving the perfect pie crust may take some practice, but the delightful results are undoubtedly worth the effort.
- The key to a perfect pie dough lies in gentle handling, maintaining a cold environment, and avoiding excessive manipulation.
- Additionally, experimenting with different fats, like using all butter, a combination of butter and shortening, or lard, can enhance the flavor and texture of your crust.
Tools You Need for a Perfect Homemade Pie Crust Recipe
Key Ingredients for a Perfect Homemade Pie Crust Recipe and Why

-
All-purpose flour
- All-purpose flour has protein content around 9-11% which is perfect for forming the needed amount of gluten to hold shape and handle moisture without being chewy.
-
Powdered sugar
- Powdered sugar sweetens the pie dough and is optional for a savory pie crust.
- When incorporated into a pie crust, it can create a smoother and more delicate texture compared to granulated sugar. This can lead to a more tender and crumbly crust.
- Make your own using my recipe for How to Make Powdered Sugar.
-
Salt
- Salt enhances the flavors.
-
Butter
- Butter is around 80% milk fat and 20% water. Hence butter provides a high percentage of fat and a low percentage of water to form a crumbly texture instead of chewy gluten.
- Butter also deeply enriches the flavor.
-
Egg yolk
- Egg yolks bind ingredients because they are one type of surfactant and contain an emulsifier called lecithin which can lower the surface tension between fat and water. As a result, this averages the two densities to bring the two together into a homogenous mixture at the same density. “Whisking” is the centripetal force to make this happen.
- Egg yolks enrich the flavor.
-
Cold water
- Cold water helps maintain the fat’s solid state which melts in a hot oven, creating small pockets of steam. These steam pockets contribute to the flakiness of the crust.
- Using cold water slows down the development of gluten, resulting in a more tender and delicate crust.
- Cold water also makes the dough less sticky and easier to handle.
How to Make a Perfect Homemade Pie Crust Recipe

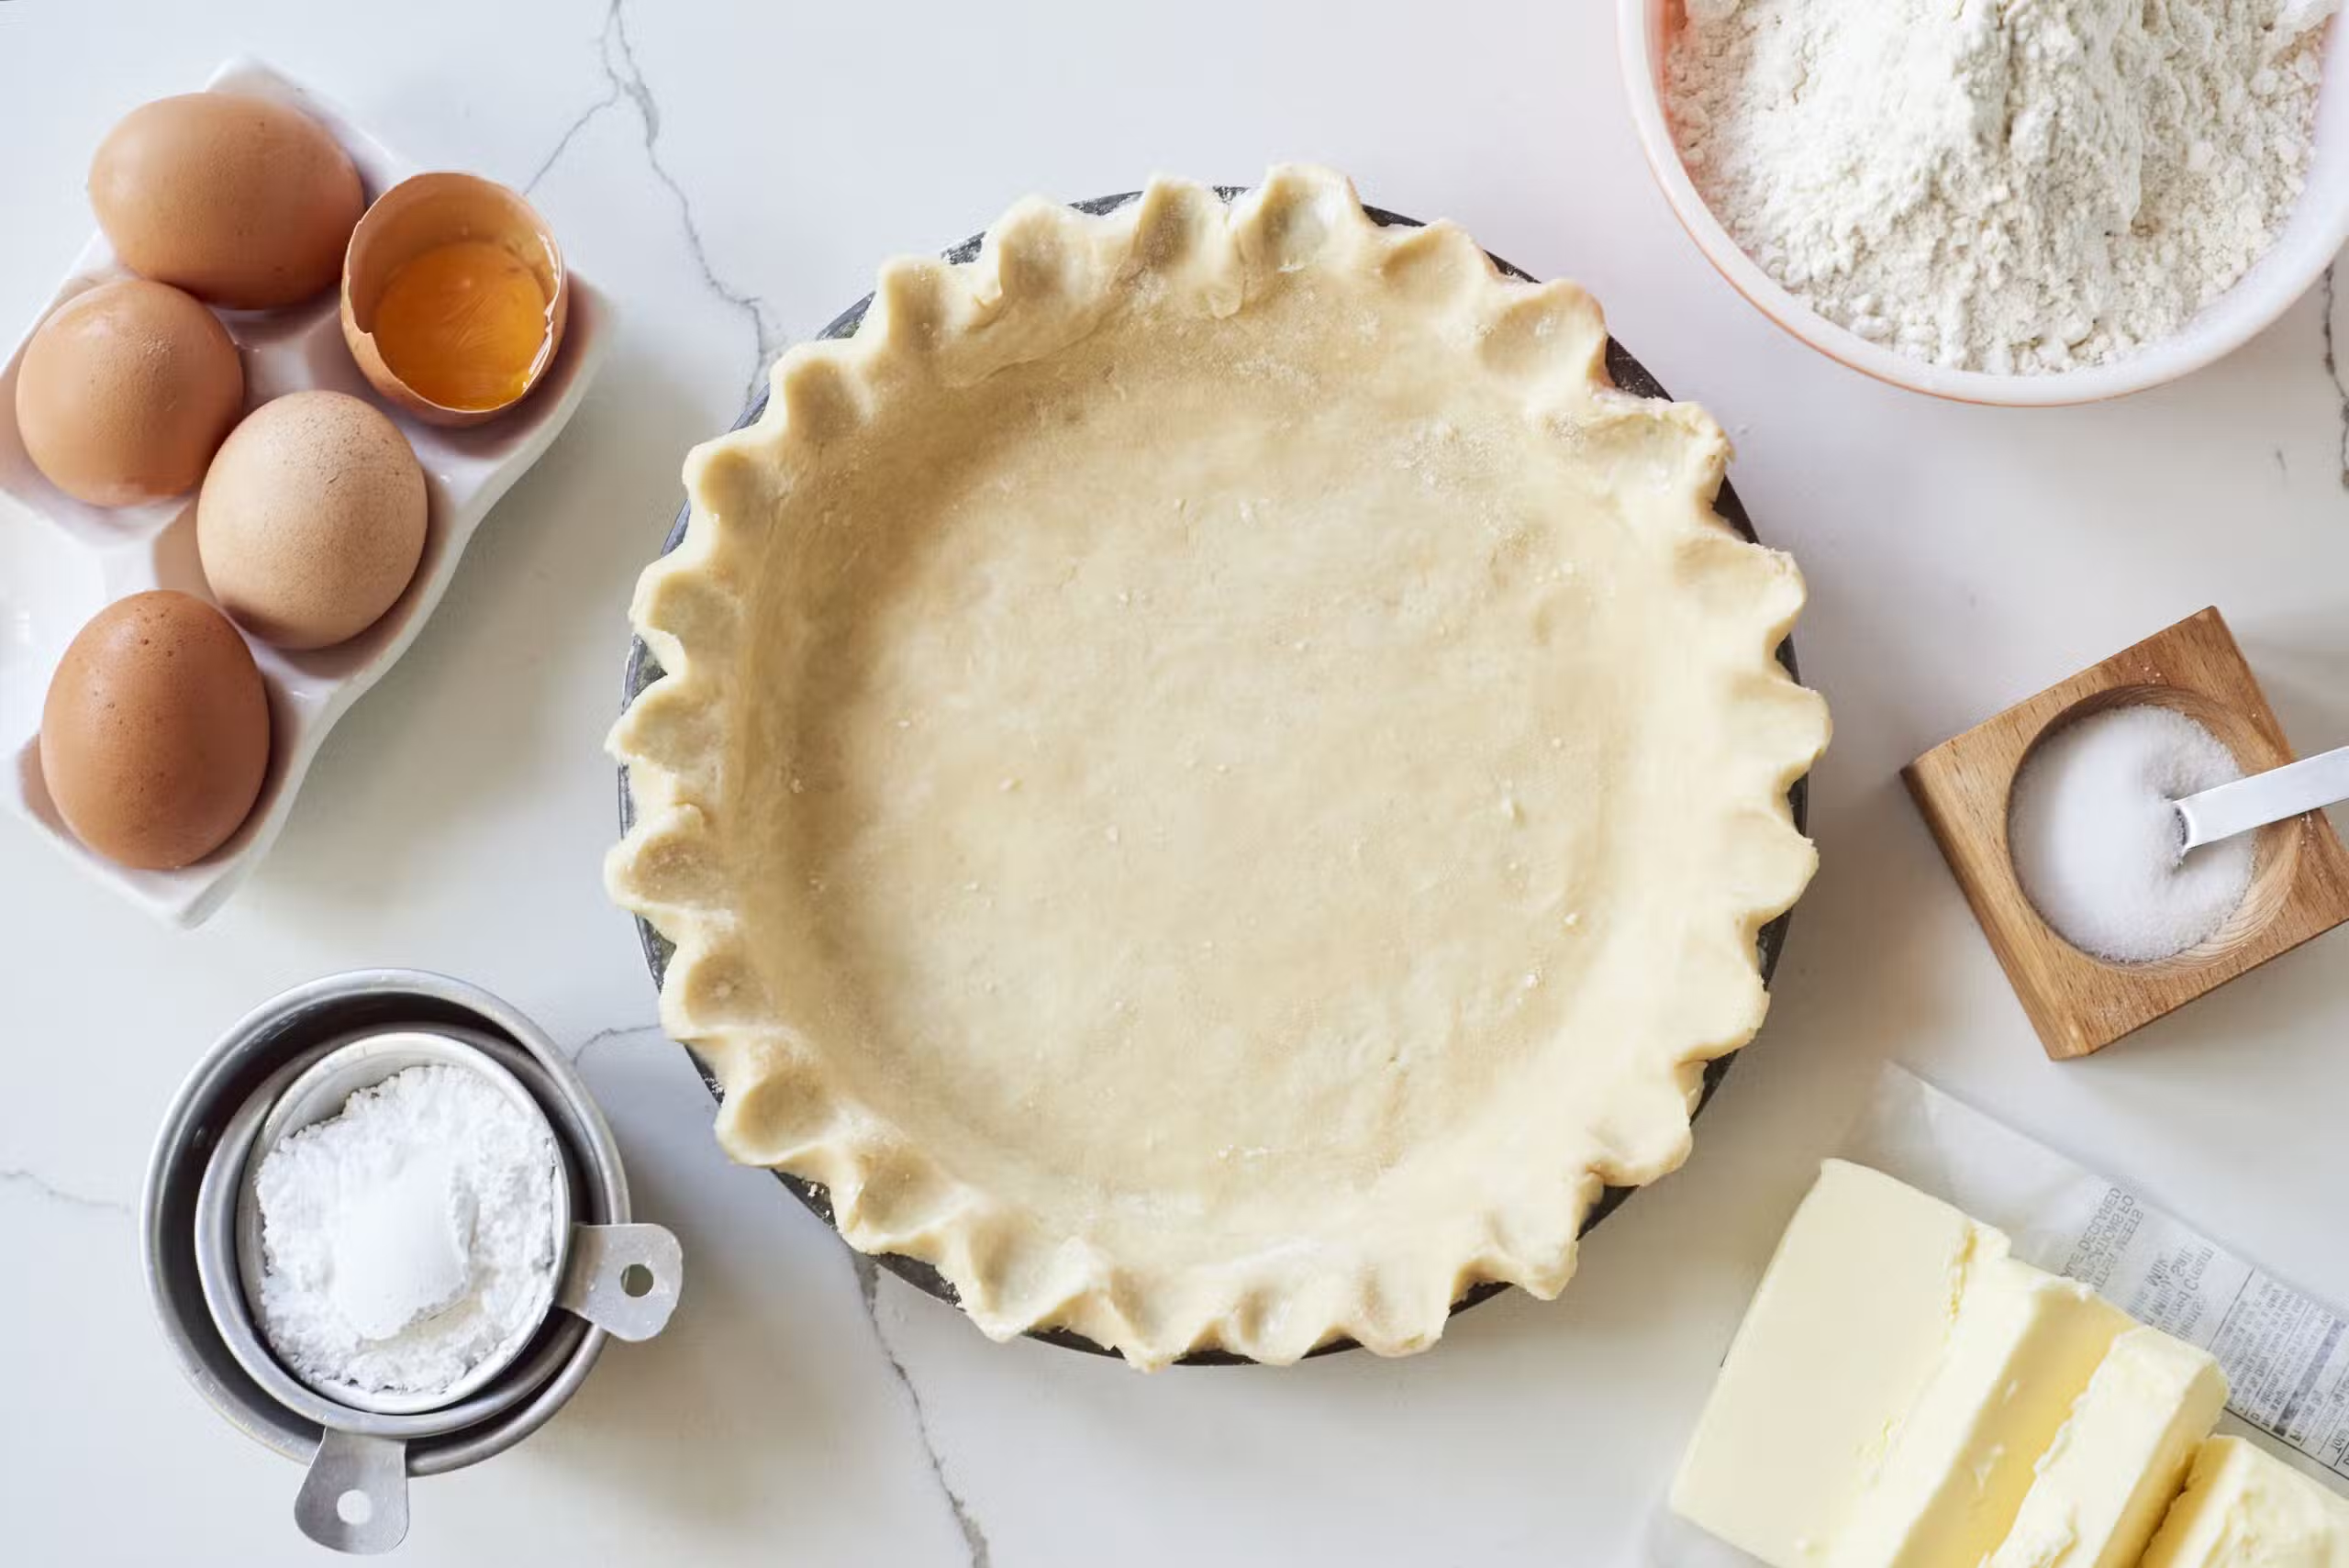
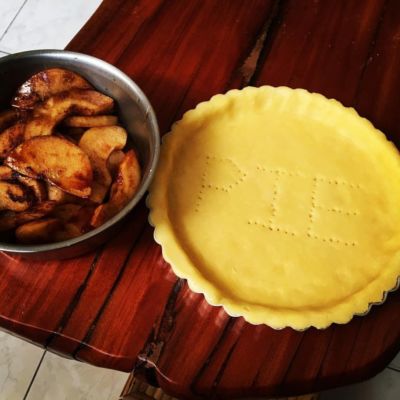
- Mix dry ingredients including flour, butter, powdered sugar, and salt in a bowl. Then rub in cold, cubed butter using your fingers or in a food processor until the mixture resembles coarse breadcrumb.
- Mix wet ingredients including the egg yolk and water in a separate jug, then add to the dry mixture.
- Forming the dough by pulling it together to incorporate any dry pieces or pulsing in the food processor until a dough forms.
- Chill the pie crust well wrapped in plastic wrap for 30 minutes to allow the gluten to relax before rolling.
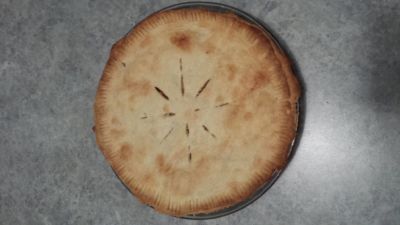
- Roll out pie dough on a floured surface to ¼ inch thick to fit your tin or pie dish. You can crimp the edge by forming a V with your thumb and index finger.
- Bake pie crust at 180°C/350°F depending on how you are using it, as per the recipe. For par-baking a crust, check out my article How To Blind Bake A Pie Crust.
How to Store a Perfect Homemade Pie Crust
Can I Make a Perfect Homemade Pie Crust Recipe in Advance?
Yes, you can make a Perfect Homemade Pie Crust Recipe in advance, assemble it in the pie pan, and then follow the storing instructions above.
Why Does My Homemade Pie Crust Shrink?
- Too much water in your crust which evaporates during baking causes it to shrink. The solution is to just add the minimum amount of water that you need to pull your dough together into a ball, lash in water if needed.
- Carefully line your dish pushing the pastry into the edges. Leave excess dough on the edges. Leave it rough as you will discard after baking. Pierce (dock) the pastry base with a fork. Brush with egg white to form a seal and freeze until solid.
- You can blind bake the crust without filling from frozen at 400°F for roughly 10-15 minutes to have the bottom sealed then continue on with the filling.
How to Blind Bake a Perfect Homemade Pie Crust Recipe to Keep it From Getting Soggy?
Blind baking is often used for pies with wetter filling having a tendency to wind up with a soggy bottom, such as Quiche, Apple Pie, and Pumpkin Pie. Blind baking a pie crust is also necessary when it will be filled with an unbaked filling, in which case the crust must be fully baked like fruit tarts or a Chocolate Pudding Pie.
Here’s how to blind-bake your pie crust:
- Roll out your pastry to its desired thickness and place in a pie dish.
- Line it with a large piece of parchment and fill it with dry beans, raw rice, lentils, or pie weights to stop the dough from rising up as it bakes.
- Bake at 350°F (180°C) until the dough looks matte instead of wet, about 20 minutes.
- If you need your pastry fully baked then remove the parchment paper and weights and bake for a further 10-15 minutes or until the bottom of the crust is just lightly golden, which will give you a crisper pastry in the end.
FAQs
-
How do I make a flaky pie crust?
- To achieve a flaky crust, using cold ingredients helps maintain the fat’s solid state that will melt in a hot oven, creating air pockets to create flakiness.
- In the meanwhile, a cold environment slows down the development of gluten, making the dough less sticky and easier to handle. This avoids overmixing the dough, resulting in a more tender and delicate crust.
- Lastly, allow the gluten to rest and chill before rolling to avoid toughening the pie dough or any shrinkage.
-
Can I use whole wheat flour for a pie crust?
- Yes, you can use whole wheat flour, but it will result in a denser, nuttier crust.
-
Can I make a gluten-free pie crust?
- Yes, you can use gluten-free flours in this Perfect Homemade Pie Crust, or check out The Flakiest Gluten-Free Pie Crust!
-
Can I make a dairy-free pie crust?
- You can replace dairy-based ingredients with suitable alternatives, such as vegetable shortening, coconut oil, or dairy-free margarine for butter.
-
Can I use whole wheat flour for a healthier perfect homemade pie crust recipe ?
- Yes, whole wheat flour can add fiber and a nutty flavor to your crust.
- I suggest whole wheat/grain: AP flour in 1:1 or 1: 2 ratio, so you won’t wind up with a dense result. Because whole wheat (or grain) has bran which weighs down protein a lot to make it difficult to rise.
-
What’s the difference between using butter vs. shortening in pie crusts?
- Butter offers rich flavor and great flakiness but can be trickier to work with, while shortening provides neutrality and ease of handling with excellent flakiness.
- I’ll be honest with you, growing up in Ireland we never used shortening. It’s not really used for anything over there unless it’s a commercial production, because it’s made from oil and therefore cheaper (and lower quality).
- I know a lot of people swear by it here in the states, but I’m going to make this argument: Butter is fat made from cows and the best choice for quality and taste!
-
Why do some people use alcohol in homemade pie crusts?
- Hard spirits (vodka, whiskeys etc) tend to be 40 to 60% alcohol (most down around 40) with 40 to 60% being water. Substituting alcohol for water means less evaporation during baking hence less chance of crust shrinking.
- Alcohol does not contribute to forming a gluten network as water does, so it makes it easier to roll the crust without toughening it.
-
What is the purpose of adding vinegar or lemon juice to a crust?
- A small amount of vinegar or lemon juice can help tenderize the crust by inhibiting gluten formation and tenderizing the gluten, contributing to a softer and flakier texture.
-
Can I make a pie crust without a food processor or pastry cutter?
- Yes, you can use a fork or your hands to blend the fat into the flour.
-
How do I achieve a golden-brown crust?
- Brushing the crust with an egg wash or milk before baking can help achieve a golden-brown color.
Gemma’s Pro Chef Tips
- Add liquid bit by bit. All flour absorbs water differently, so you might need less or more. You don’t want wet pastry.
- Leaving the egg out — Replace the egg with 2 tablespoons of cold water. Egg makes it richer but if you don’t eat eggs, use water.
- Don’t freak out — If you think your pastry is too dry, keep on bringing it together with your fingers. Take care not to add too much liquid.
- Refrigerate before rolling — Wrap up and place in the fridge for a minimum of 30 minutes. This will help the gluten relax and it will be easier to roll.
- Freeze the pie crust — Freeze for up to 8 weeks. Roll out your pie crust and place it in the tin. When ready to use take out of the freezer and bake directly from frozen. If you are using it for a pie that normally needs to be baked blind just bake it as is, with no pie weights or beans. Just bake the crust from frozen, eliminating the task of blind baking ever again. Yay!!!
- Using for savory — Leave out the sugar and this pie works great for savory pies also, like pot pie.
- For a double-crust pie such as The Perfect Classic Apple Pie Recipe, Delectable Caramel Apple Pie, or Apple Cheddar Pie, simply double this recipe to make two crusts.

More Pie Crust Recipes
- 5-Minute No-Roll PieCrust (No Equipment)
- Buttermilk Pie Crust
- Flaky Sour Cream Pie Crust Recipe
- Pâte Sucrée Recipe (French Sweet Shortcrust Pastry)
- How to Make A Cookie Pie Crust
IMPORTANT NOTE: This recipe is updated and improved on 10/24/2023, to include new step-by-step photography, explanations of key ingredients, answers to the most commonly asked questions, and more Pro Chef Tips.
Try These Recipes!


Watch The Recipe Video!
How to Make a Perfect Homemade Pie Crust Recipe Every Time!
Ingredients
- 1 ⅓ cups (6 ½ oz/185 g) all-purpose flour
- 1 tablespoon powdered sugar
- ⅛ teaspoon salt
- 7 tablespoons (3 ½ oz/100 g) cold butter, cubed
- 1 large egg yolk*
- 2- 3 tablespoons cold water
Instructions
- In a large bowl add in the flour, sugar and salt and mix together.
- Add the cold, cubed butter and rub in with your fingers until it resembles coarse breadcrumbs. (You can also do this in the food processor and that works very well and less handling of the dough).
- Mix together the egg yolk and water and add to the dry ingredients.
- Mix until your dough just comes together. Pull the dough together with your hand to incorporate any dry pieces of dough. (Be careful not to hastily add more liquid as this will not yield the best results)
- Wrap the pastry in cling wrap and refrigerate for a minimum of 30 minutes to allow the gluten to relax before rolling. Just note the dough will get a little wetter once it relaxes also so factor that in.
- Store your pastry for up to 2 days in the fridge or freeze for up to 8 weeks.
- When ready to use, roll on a floured surface to fit your tin or pie dish. A good thickness is ¼ inch. Bake per the instructions of the pie recipe you are using it for.


Gemma,
So, if I wanted to make chicken pot pie, would this be the same recipe, minus the sugar? I realize I’d have to make a double batch for the top and bottom crust, would this one work?
Thanks.
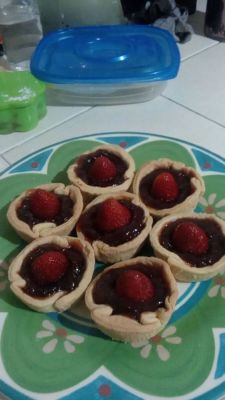
Amazing recipe!!! So good and flaky. This is THE recipe for pie crust you don’t need to use any other. Works totally great with salted butter( I didn’t have any other) . I made strawberry pie and apple pie and they both turned out delish! Thanks you so much Gemma. During this pandemic you are a absolute life saver when it comes to making quick and easy food!♡♡
Hi Gemma! Just wanted to say, I absolutely LOVE your recipes! I’ve been using your recipes for a couple of years, but I really started baking much more this lockdown. Your recipes have never failed me. I’ve made this pie crust recipe many times in mini tart shells, and later filled it with your 10-minute chocolate pudding. Everyone in my family loves it!(Though my mom doesn’t seem to like me taking over her kitchen xD) Thank you Gemma! I’m 15 and I’m from India.
Hey Gemma,
Is it important to add icing sugar? Is there a substitute?
Love your recipes. Can this be doubled, and if so do the measurements stay the same x2? Thanks!
Hi Gemma,
THANK-YOU! Thank-you for this wonderful recipe. For the first time, I have made a buttery and flaky pie crust, thanks to you, instead of the usual airplane steel or boot leather that I end up making! It is so easy and it came out so perfect! Thanks for showing the by-hand method, as I don’t have a food processor to use. A million thanks!!!
I made empanada with this crust and it was a hit …. thanks so much Gemma
This pie crust was just great. Did it without a food processor, and used it to make mini pies with cherry filling. It made 8 mini pies.
I don’t eat eggs, what can be a substitute for eggs wash? And please share proper measures in grams.. And I don’t want my pie to b soggy,, what can be done? Please reply earliest.. I want to bake today evening..
Hi Gemma! Since I don’t have a food processor, Can I use a blender instead to mix the dough?