This post may contain affiliate links. Please see my full disclosure for details.
Hi Bold Bakers!
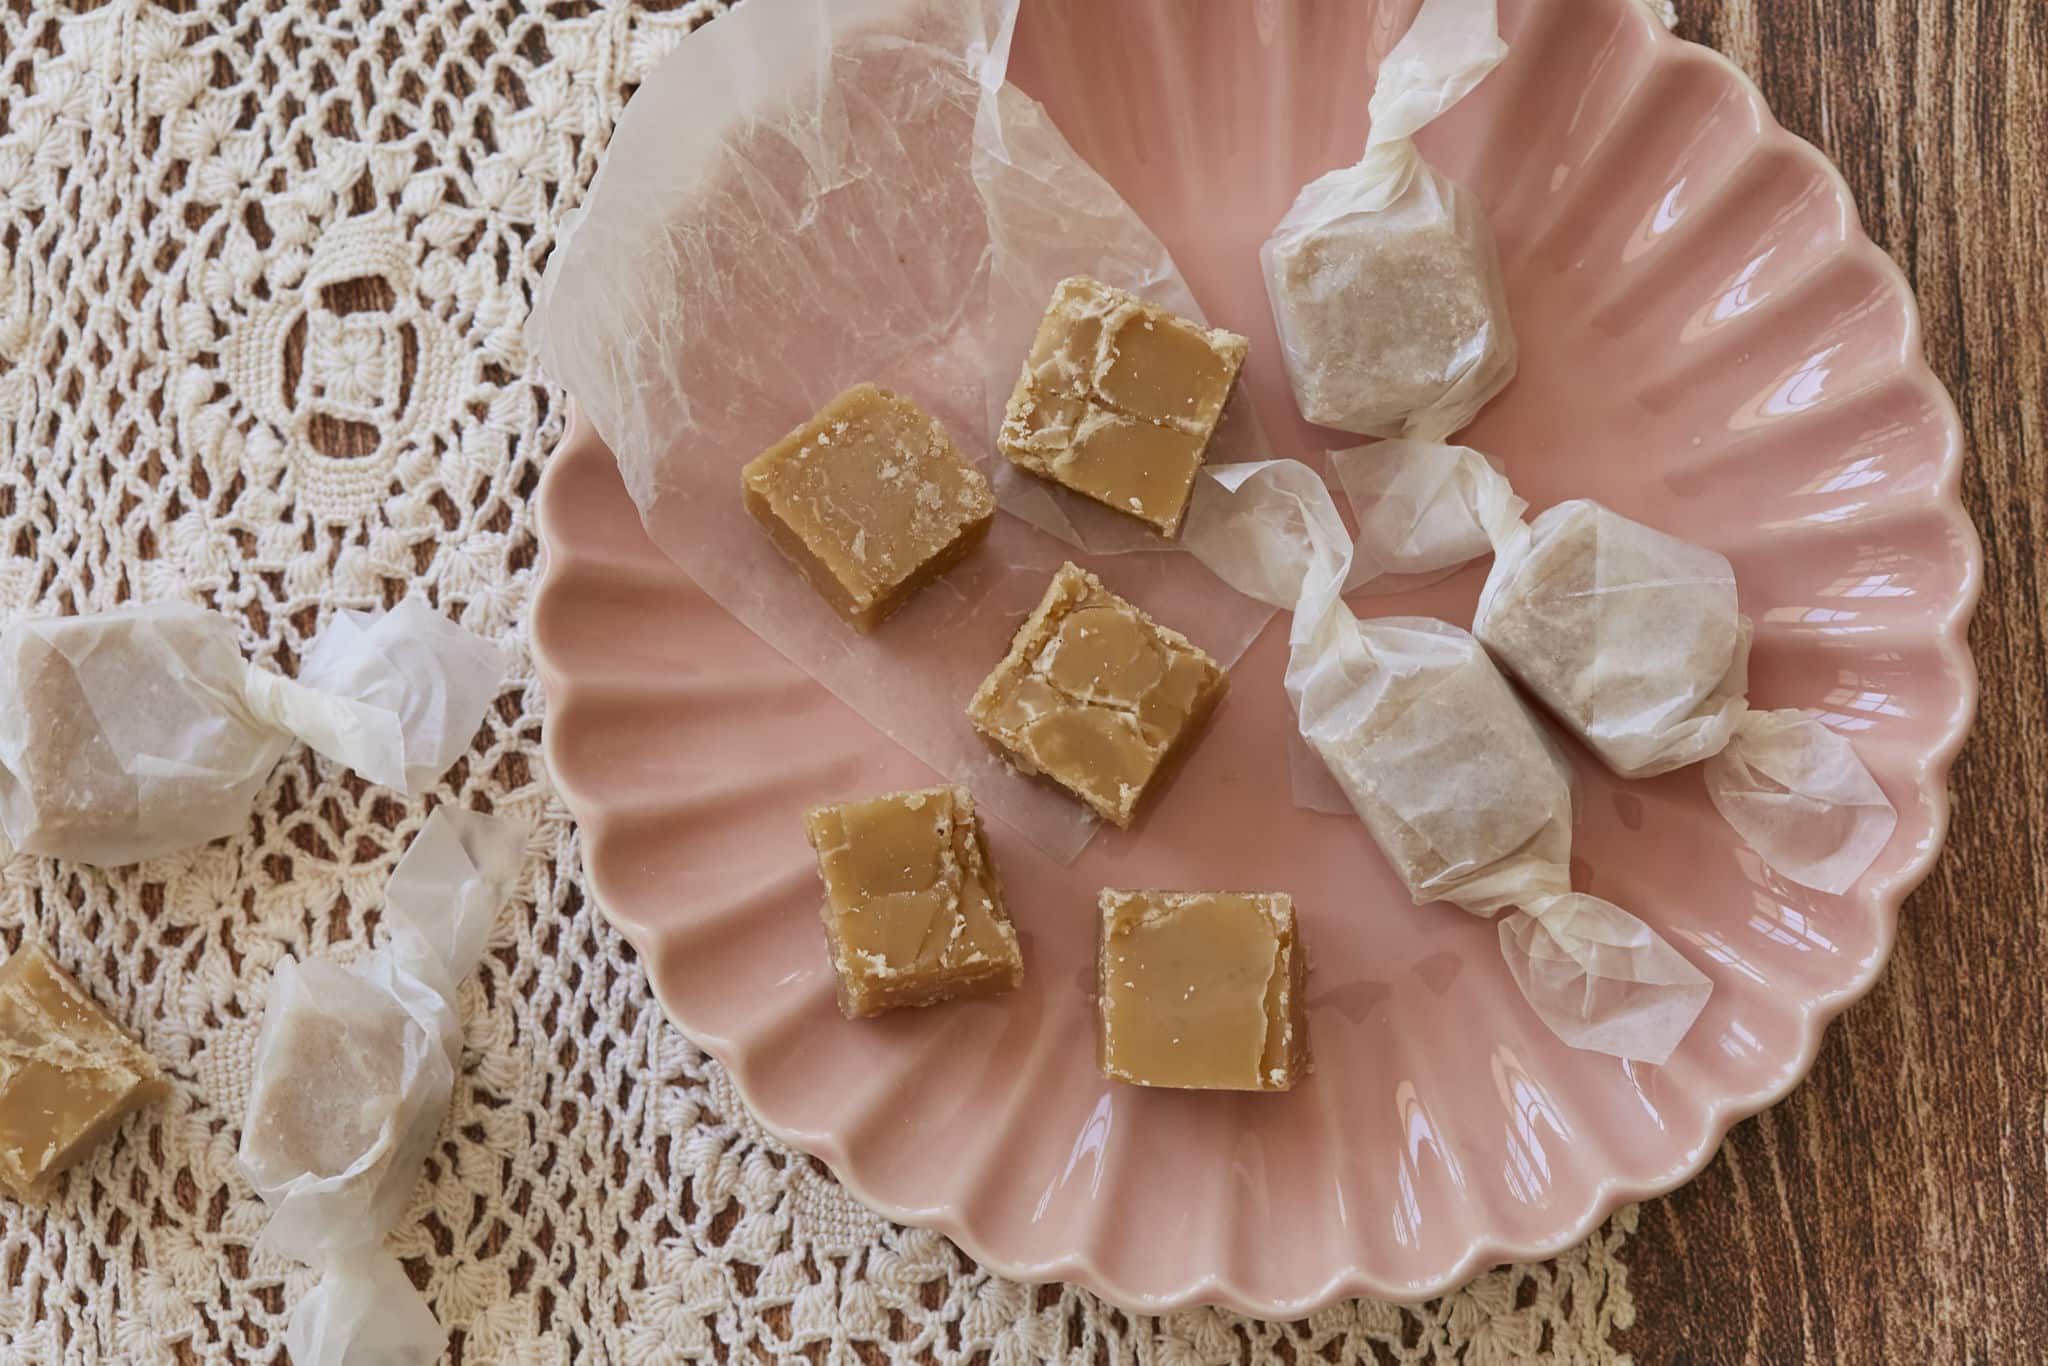
WHAT YOU GET: Old school, classic Pure Maple Candy’s iconic flavor is that of pure maple syrup — because that’s all it is! There’s no candy that’s more simple.
Pure Maple Candy is a staple in the northeast of the states and Canada, but this old-school candy is a bit hard to describe to people who have never had it before.
Explaining the flavor is easy — picture maple syrup. That’s what this candy tastes like because Homemade Maple Candy is made with just maple syrup, excluding butter that is used to rim your saucepan and a couple of drops of vegetable oil, which is optional.
The texture is a bit more unexcepted, as most of us are familiar with maple syrup as a liquid. Maple candies are a bit more firm than fudge, with an almost sandy-like texture because of all the sugar crystals that melt perfectly in your mouth.
Give this easy candy recipe a shot! I love having these candies around to serve (and impress!) my guests; if you wrap them in pretty paper, they make a great gift.
And if you love everything maple, don’t miss my new cookbook, Bigger Bolder Baking Every Day!

Why Do You Butter Your Saucepan When Making Maple Candy?
While this candy recipe requires only maple syrup, I recommend buttering the rim of your saucepan with butter. In fact, this is somewhat common practice when you’re making any candy.
The reason why you want to butter your saucepan is to help prevent your maple syrup from boiling over. I typically butter just the rim of my saucepan, but some candy makers also butter the sides of their saucepan.
What Does Oil Do In Maple Candy?
If you’re a purist, feel free to omit the few drops of vegetable oil in this homemade maple candy recipe completely. However, if this is your first time, or you’d really like to avoid a mess, add a few drops of oil to your maple syrup as it starts to enter the hard ball stage when the maple syrup starts to foam. The oil helps prevent the foam from rising!
What Type Of Maple Syrup Should I Use For Maple Candy?
It is essential that you use pure maple syrup to make maple candy. It’s the only ingredient, so make sure you get a good quality one as well! I like to use dark maple syrup because I love the more robust maple flavor, but you can also use Golden Amber (Grade A) if you like something milder.
Do not use “pancake syrup!” It is not the same as maple syrup.

Tools You Need To Make Pure Maple Candy
- Measuring cups and spoons
- 9×5-inch (23×12 1/2-cm) loaf pan or silicone maple leaf candy molds
- High-sided saucepan
- Candy thermometer
- Wooden spoon
What Are The Stages Of Sugar In Candy Making?
There are 7 stages sugar goes through when you are cooking it for candy making: thread, softball, firm-ball, hard-ball, soft-crack, hard-crack, and caramel.
Temperature is incredibly important when making candy, and while there are ways to test what stage you are in, I do say you need a candy thermometer for this recipe.
To make Maple Syrup Candy, you will want your candy to be in the softball stage before you remove it from heat, which means your thermometer should read 235-245°F (112-116°C).
Gemma’s Pro Chef Tips For Making Homemade Maple Candy
- You will need a high-sided pot and a candy thermometer to make this.
- The few drops of vegetable oil will keep the maple syrup from bubbling over as it gets close to the softball stage. Purists may leave the oil out.
- For the very best results, you will need to boil this syrup 32-34°F above the boiling point of water where you are. You can find the boiling point of your particular location by boiling water and checking the temperature.
- Start pouring the syrup out of the pot right after it crystallizes. At that point, it will go from liquid to solid in a matter of seconds.
- If, for some reason, the candy does not set or crystalized too fast to pour, add a tablespoon of water, reheat the syrup to the soft ball stage, and try again. We melted and retried this recipe a few times before we got it just right!
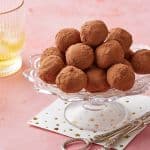
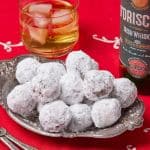
Try These Recipes!


Pure Maple Candy

Ingredients
- Butter, for the rim of the saucepan
- 2 cups (20 oz/566 g) pure maple syrup
- 2-3 drops vegetable oil (optional)
Instructions
- Line a 9x5-inch (23x12½-cm) loaf pan with parchment paper, leaving some paper overhanging off the sides. Or have silicone maple leaf candy molds standing by. Set aside.
- Butter the rim of a medium, high-sided, heavy-bottomed saucepan and attach a candy thermometer.
- Pour in the maple syrup and the oil (if using) and bring to a boil.
- Let the syrup boil for 5-10 minutes until it reaches the softball stage 235-245°F (112-116°C).
- Remove from the heat and do not touch or agitate the syrup. Let cool, undisturbed, until it reaches 200°F (94°C), about 5 minutes.
- Remove the thermometer and, with a wooden spoon, begin to stir the syrup. After about 1 minute, you will feel crystals beginning to form at the bottom of the pan, but the syrup will still be fairly clear.
- Immediately pour the syrup into the prepared pan or the molds.
- If you used a loaf pan, let the syrup cool for a few minutes until it is opaque and firm but still warm. Using the parchment, carefully lift it out of the pan and cut it into squares or pop them carefully out of the molds.
- Once completely cooled and hard, transfer to an airtight container for up to 2 weeks.


Is this similar to penuche?
Gemma Is this the same as Maple Sugar candy. Loved it growing up in New England.
What is the purpose of the butter around the rim? Will a non dairy alternative work just as well?