This post may contain affiliate links. Please see my full disclosure for details.
Hi Bold Bakers!
WHY YOU’LL LOVE THIS RECIPE: This Traditional Indian Roti Recipe is crafted with simplicity, authenticity, and love in mind, transporting you to the heart of Indian cuisine.
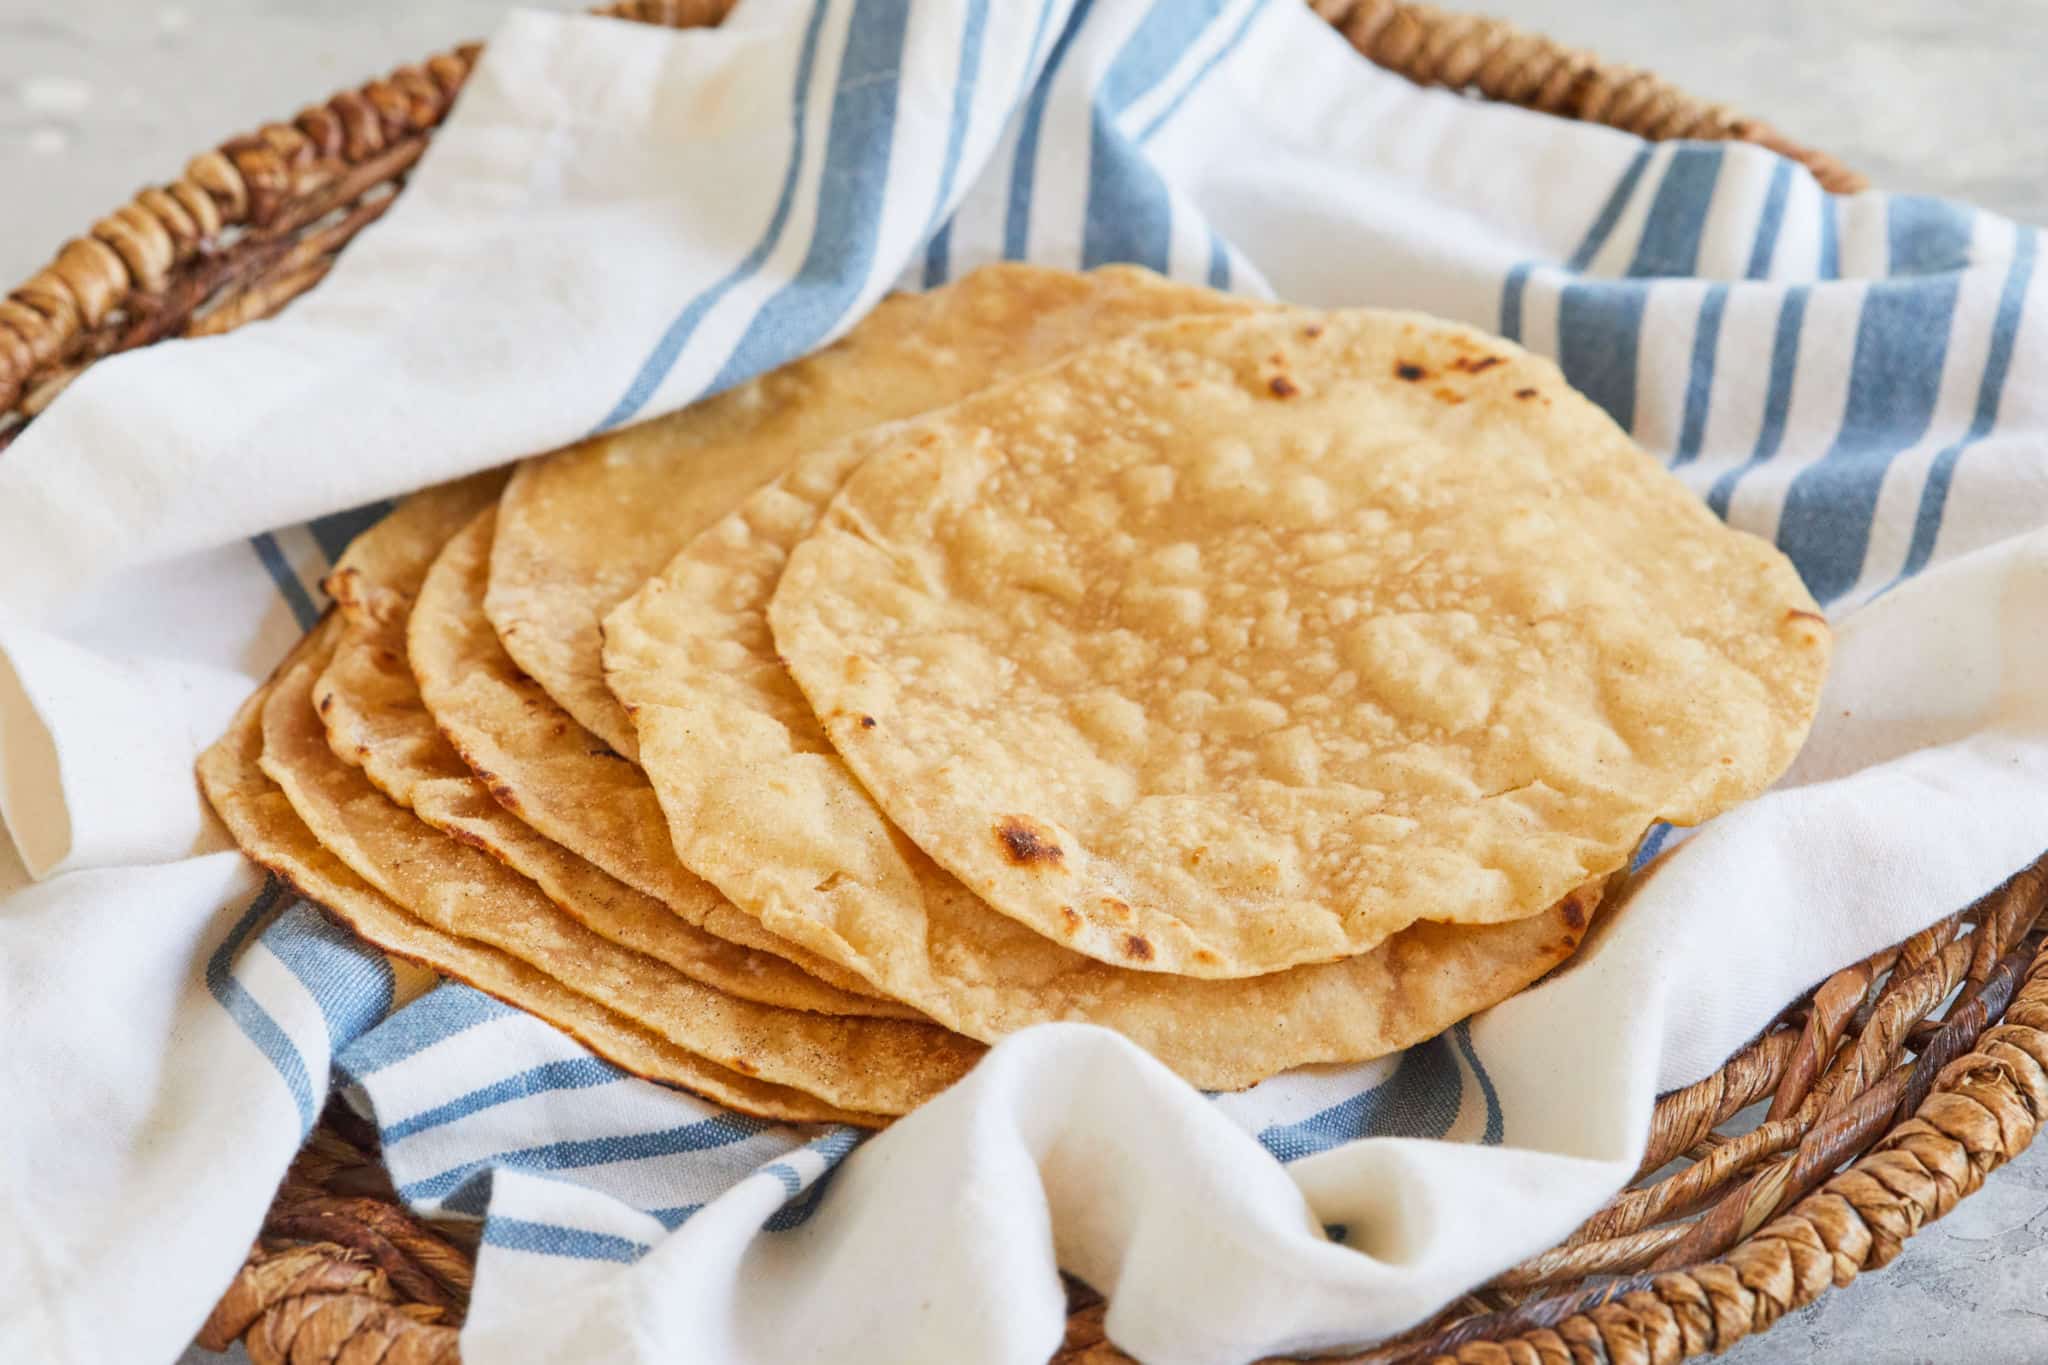
- This deceptively simple yet profoundly satisfying Indian whole wheat flatbread boasts a soft, pillowy texture and a subtle aroma that pairs effortlessly with a variety of dishes. From spicy curries to hearty stews, each golden-brown roti serves as the perfect canvas for soaking up the vibrant flavors of India.
- Our expert guidance shows you how to use ONLY 5 ingredients to master this beloved quintessential Indian staple. Lucky for me, my culinary assistant, Ami, grew up making roti — and out of all the Indian flatbreads, this whole wheat flatbread is her absolute FAVORITE which takes her right back home.
Ami said she has so many memories of being in the kitchen with her mom, kneading the soft dough, and trying to roll out perfect circles. (That makes me a little homesick for my mum.)
Ami’s mom’s circles of dough came out flawless every time, but she’d love to tell Ami which country her roti looked like! That was half the fun of making them — the other half was getting to eat them warm off the pan.
IMPORTANT NOTE: This recipe was improved and updated on 5/9/2024, to include a STEP-BY-STEP tutorial video, explanations of ingredients, answers to the most frequently asked questions, and Pro Chef Tips.
Table of Contents
- What is Indian Roti?
- Tools You Need for Making Traditional Indian Roti
- Key Ingredients and Why
- How to Make Traditional Indian Roti
- Can I Make Indian Roti in Advance and How to Store Indian Roti
- FAQs
- Gemma’s (and Ami’s) Pro Chef Tips
- More Indian Recipes

What is Indian Roti?
Indian Roti, which is also called chapati, is a traditional flatbread from India that is served alongside many meals at home or on the menu of most Indian restaurants.
- The mild, whole wheat flatbread goes so well with spicy foods or saucy veggies, helping to bring the heat down while also being the perfect vehicle to get those curries into your mouth.
- They’re also great dipped in dahl, a delicious, thick lentil stew, or even drizzled with a bit of honey and cinnamon.
Ami says that the best way to enjoy them though is to eat them hot off the pan with a little ghee — and she highly recommends making extra because no one can eat just one.
Tools You Need for Making Traditional Indian Roti
- Measuring cups and measuring spoons
- Mixing bowls
- Rolling pin (velan)
- Large skillet (tawa)
- Wire rack
- Pastry brush
- Cooking tongs
Key Ingredients and Why
-
Atta flour or white whole-wheat flour
- Atta flour, also known as chapati flour or whole wheat flour, is a type of flour commonly used in Indian cuisine, particularly for making traditional flatbreads like roti, chapati, and paratha.
- Same as semolina flour, atta flour is made from high-protein wheat durum wheat, which not only adds a nutty flavor and an earthy aroma. However, atta is finer than semolina flour so it produces smooth, pliable dough that is easy to roll out and cooks up into light, fluffy breads with a slightly chewy texture.
- In comparison, bread flour is made from higher-protein hard wheat varieties which are more elastic and less pliable than atta flour. If you choose to use bread flour, note to let the dough rest for a longer time until it doesn’t spring back upon rolling.
-
Salt
- Salt enhances the flavor of the roti and helps to strengthen the gluten structure, contributing to the bread’s texture.
-
Vegetable oil
- Vegetable oil adds moisture to the dough, making the roti softer and more pliable.
- It also contributes to the richness of the flavor and helps prevent the roti from becoming dry during cooking.
-
Water
- It hydrates the flour and activates the gluten, resulting in a cohesive, stretchy, and elastic texture.
- The amount of water used determines the consistency of the dough, ensuring Roti is soft but not sticky.
-
Butter or ghee (melted)
- When brushed onto the cooked flatbread, it provides a luscious, buttery taste and helps keep the roti soft and moist. Ghee, in particular, adds a distinct nutty aroma and flavor to the finished dish, enhancing its overall appeal.
- Alternatively, you can substitute avocado oil, olive oil, coconut oil, canola oil, or a neutral-flavored vegetable oil for butter or ghee.
How to Make Traditional Indian Roti
Make the Roti dough
-
Mix dry ingredients: In a medium mixing bowl, combine the flour and salt, then add the oil and rub into the flour until combined.
-
Add water gradually: Add 5 tablespoons of water and knead to form a dough. If the dough seems too firm or crumbly, add more water one teaspoon at a time until you achieve a soft but not sticky dough. Cover the dough with a damp cloth or damp paper towel and let rest for 15 minutes.
-
You can also make roti dough in a stand mixer.
Cook Roti
-
Preparation: When ready to cook, preheat a large skillet over medium heat. Place a wire rack next to the stove and keep a bowl with the melted butter or ghee and a pastry brush nearby.
- Make roti dough circles:
- Divide the dough into 8 equal portions. Roll each portion into a smooth ball and flatten it into a disc.
- Working with one disc at a time, on a floured surface, roll the dough into a thin, even circle, about 6 inches (15cm). While rolling, check often that the dough isn’t sticking and more flour accordingly.
- Cook roti:
-
Remove excess flour and place the rolled-out dough on the hot, dry skillet and cook for about a minute, until you see a few bubbles forming on the surface.
- With tongs, flip the roti and cook the other side for about 30 seconds.
- Carefully lift the skillet off the flame and with tongs, place the less cooked side of the roti directly on the flame until it starts to puff up (just a few seconds). Move the roti a bit over the flame so that one spot does not get too hot and burn.
- Using the tongs, flip the roti and cook the other side on the flame for another few seconds, then transfer the roti to the wire rack.
- Immediately brush the roti lightly with ghee or butter. Repeat with the remaining dough, stacking the rotis on top of each other to keep them warm and soft.
- Serve roti immediately.
-
Can I Make Indian Roti in Advance and How to Store Indian Roti
Yes, you can make Indian Roti in advance.
- Let roti cool to completely or to room temperature, store leftovers in an airtight container in the refrigerator for up to three days or freeze for up to 2 months.
- Reheat in the microwave or on a dry skillet over low heat.

How to cook Roti with no open flame or on an electric stove?
You can cook roti without an open flame or on an electric stove using a griddle or a cast iron skillet for the best result.
-
Cook the first side of the roti and flip:
- Once the skillet is hot, place a rolled-out roti onto it. Cook for about 30 seconds to 1 minute, or until you see signs of drying, then do the first flip.
-
Cook the second side and flip:
- Use a spatula to flip the roti over and cook the other side for another 30 seconds to 1 minute. You should start to see bubbles forming on the surface, then do the second flip.
-
Press with a Kitchen Towel:
- To ensure the roti puffs up, gently press down on it with a clean kitchen towel or folded paper towel while cooking. This helps to create steam inside the roti to allow it to puff all the way.
-
Check for Doneness:
- Continue cooking until both sides of the roti are cooked through and have golden brown spots. Ensure there are no raw doughy areas left.
FAQs
-
Can I make roti dough in advance?
- Yes, you can make roti dough in advance and store it in the refrigerator for up to a day. Just make sure to cover the dough tightly with plastic wrap to prevent it from drying out.
-
Can I freeze roti dough?
- Yes, you can freeze roti dough for later use.
- Simply wrap the dough tightly in plastic wrap and place it in an airtight container before freezing.
- When ready to use, thaw the dough in the fridge overnight before rolling it out and cooking as usual.
- Yes, you can freeze roti dough for later use.
-
Can I make roti without a rolling pin?
- Yes, you can make roti without a rolling pin by using your palms to flatten the dough into a thin, circular shape.
- Alternatively, you can use a wine bottle to roll or a flat-bottomed large bowl or plate to press the dough.

Gemma’s (And Ami’s!) Pro Chef Tips For Making Traditional Indian Roti
- If you can’t find atta or white whole wheat flour, you can try making this with regular whole wheat flour, whole wheat pastry flour, or even all-purpose flour. Each flour will give you slightly different results but will still be delicious.
- When cooking the rotis, you have to move quickly, so they don’t over-brown. You want soft, not crunchy rotis. Adjust your heat to lower or higher, depending on your stove.
- Sometimes the roti will only puff up part of the way or not at all — this is okay. Just continue with the cooking method and once the roti is on the open flame, move it around the flame so it doesn’t burn.
- If the roti doesn’t puff up, it is usually caused by uneven rolling – the rolling is a technique that just takes practice. Don’t give up!
- This recipe can be doubled or tripled for a larger crowd.
- For first-time roti makers, this is a nice shared project: one person does the rolling while the other does the cooking.
More Indian Recipes
- Kulfi Indian Ice Cream (No Machine)
- Indian Fruit Salad
- How To Make Indian Shrikhand
- Diwali Kaju Pista (Cashew Pistachio) Rolls
- Ice Cold Mango Lassi
IMPORTANT NOTE: This recipe was improved and updated on 5/9/2024, to include a STEP-BY-STEP tutorial video, explanations of ingredients, answers to the most frequently asked questions, and Pro Chef Tips.
Try These Recipes!


Watch The Recipe Video!
Traditional Indian Roti Recipe

Ingredients
- 1 cup (5oz/142g) atta flour or white whole wheat flour
- ¼ teaspoon salt
- 4 teaspoons vegetable oil
- 5-7 tablespoons water
- ¼ cup (2oz/57g) butter or ghee (melted)
Instructions
- In a medium mixing bowl, combine the flour and salt, then add the oil and rub into the flour until combined.
- Add 5 tablespoons of water and knead to form a dough. If the dough seems too firm or crumbly, add more water one teaspoon at a time until you achieve a soft but not sticky dough. Cover the dough and let rest for 15 minutes.
- When ready to cook, heat a large, handled skillet over medium heat. Place a wire rack next to the stove and keep a bowl with the melted butter or ghee and a pastry brush nearby.
- Divide the dough into 8 equal portions. Roll each portion into a ball and flatten it into a disc.
- Working with one disc at a time, on a floured surface, roll the dough into a thin, even circle, about 6 inches (15cm). While rolling, check often that the dough isn’t sticking and more flour accordingly.
- Place the rolled-out dough on the hot, dry skillet and cook for about a minute, until you see a few bubbles forming on the surface.
- With some tongs, flip the roti and cook the other side for about 30 seconds.
- Carefully lift the skillet off the flame and with tongs, place the less cooked side of the roti directly on the flame until it starts to puff up (just a few seconds). Move the roti a bit over the flame so that one spot does not get too hot and burn.
- Using the tongs, flip the roti and cook the other side on the flame for another few seconds, then transfer the roti to the wire rack.
- Immediately brush the roti lightly with ghee or butter. Repeat with the remaining dough, stacking the rotis on top of each other to keep them warm and soft.
- Serve immediately. Store leftovers in an airtight container in the refrigerator for up to three days or freeze for up to 2 months. Reheat in the microwave or on a dry skillet over low heat.
Recipe Notes
- If you can’t find atta or white whole wheat flour, you can try making this with regular whole wheat flour, whole wheat pastry flour, or even all-purpose flour. Each flour will give you slightly different results but will still be delicious.
- When cooking the rotis, you have to move quickly, so they don’t over-brown. You want soft, not crunchy rotis. Adjust your heat to lower or higher, depending on your stove.
- Sometimes the roti will only puff up part of the way or not at all — this is okay. Just continue with the cooking method and once the roti is on the open flame, move it around the flame so it doesn’t burn.
- If the roti doesn’t puff up, it is usually caused by uneven rolling – the rolling is a technique that just takes practice. Don’t give up!
- This recipe can be doubled or tripled for a larger crowd.
- For first-time roti makers, this is a nice shared project: one person does the rolling while the other does the cooking.


Hello Gemma, I’ve been following your blog for a couple of years now and have tried a few of your recipes! They work great 🙂 I noticed a lot of questions about making Roti without a gas stove. I’m Indian and wanted to offer some suggestions. If you don’t have an open flame, you could simply cook the roti a little longer on the skillet. The roti might not puff up but would taste almost the same. The difference would only be in the texture. If the roti does not come out soft, you could make a layered variation –… Read more »
Hi, Gemma…it’s so good to see our dishes on ur website… These rotis we make twice a day… U can skip oil if the flour is well grinded.. also if you don’t have an option of flame then just flip the roti on skillet n with light hand keep on pressing n rotating it with a clean kitchen towel …it will puff too..n will taste similar…just little crispy.
Hey Gemma,
Its so good to see this recipe for roti, because it is a traditional dish in my country (its not India) as well and I and my family eat it regularly. I make a lot your recipes and am a big fan of urs. I always comment as anonymous. Its nice to see an irish making rotis.
Lots of love:)
My first try and I know they aren’t perfect but…. Mine were made of half wheat and half AP flour. They were also cooked on an electric stove, in a Teflon type pan and not an open flame. (Hey, I go with what I got!) They got a little too “toasty” but they were still tasty with plenty of air pockets all over and puffed way up at the end. I will be trying this recipe again (to try to improve) – Thank you, Ami and Gemma.
Practice makes perfect … I’ve been making rotis for years & didn’t get it right . Finally after years of trying I PERFECTED IT. It even blows up on my non stick frying pan.i didn’t use this recipe though.
Hi Gemma, I’m an American living in India and I can make a decent roti. It takes practice. My first rotis years ago rolled into the shape of Australia but I improved! I like to keep them in a hot case before serving.
Can you make these with Spelt flour? (I have a bag of spelt flour that my boss gave me – don’t ask – LOL!).
my first time making them …….they were fluffy ,soft and really tasty …….you did a great job……..thanks so much.
How does puffing them up happen with an electric stove?
So you can’t make these if you don’t have a gas stove correct????? Or is there another way?? Thanks