This post may contain affiliate links. Please see my full disclosure for details.
Hi Bold Bakers!
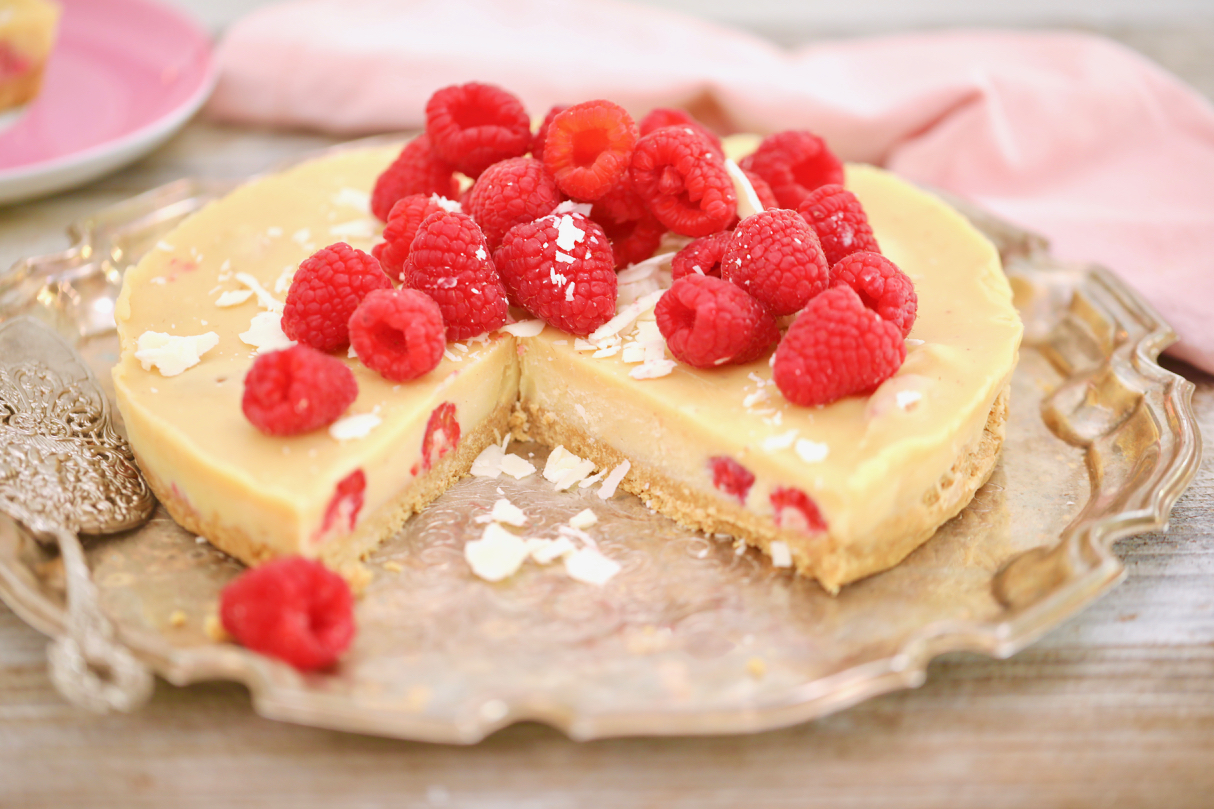
My favorite way to celebrate Valentine’s Day is obviously to make a gorgeous sweet treat! Sharing something beautiful and homemade is the nicest gesture I can think of. This year I decided to go for something even Bigger and Bolder than the typical chocolate truffles and heart shaped sweets. So, I created a recipe for a super sophisticated No-Bake White Chocolate and Raspberry Pie.
The flavors of white chocolate and raspberry are so complimentary that the combination alone really does all the work. Made with just a handful of ingredients, my White Chocolate and Raspberry Pie recipe is simple, yet impressive, and sure to show that special someone how much you care.
How to Make a Graham Cracker Crust for my No-Bake White Chocolate Raspberry Pie
Every good pie starts with the crust.
With that in mind, the no-bake white chocolate and raspberry filling needs an equally amazing no-bake crust. My Graham Cracker Crust recipe is the perfect ratio of Graham Cracker crumbs and rich butter. I love making this crust as it comes together in minutes in one bowl and requires no baking, just a quick trip to the fridge to set. After mixing the butter and Grahams I simply transfer the mix to my lined GoodCook 9 Inch Cake Pan and press it down into one even layer. As the proud ambassador for GoodCook, I can tell you this pan will make sure you’re fully equipped to make my White Chocolate Raspberry Pie at the perfect thickness with ease.
I chose to use a cake pan for this recipe instead of a pie shell to make this pie extra thick and Bold! By the time my white chocolate filling is done the crust is perfectly set.
What is White Chocolate?
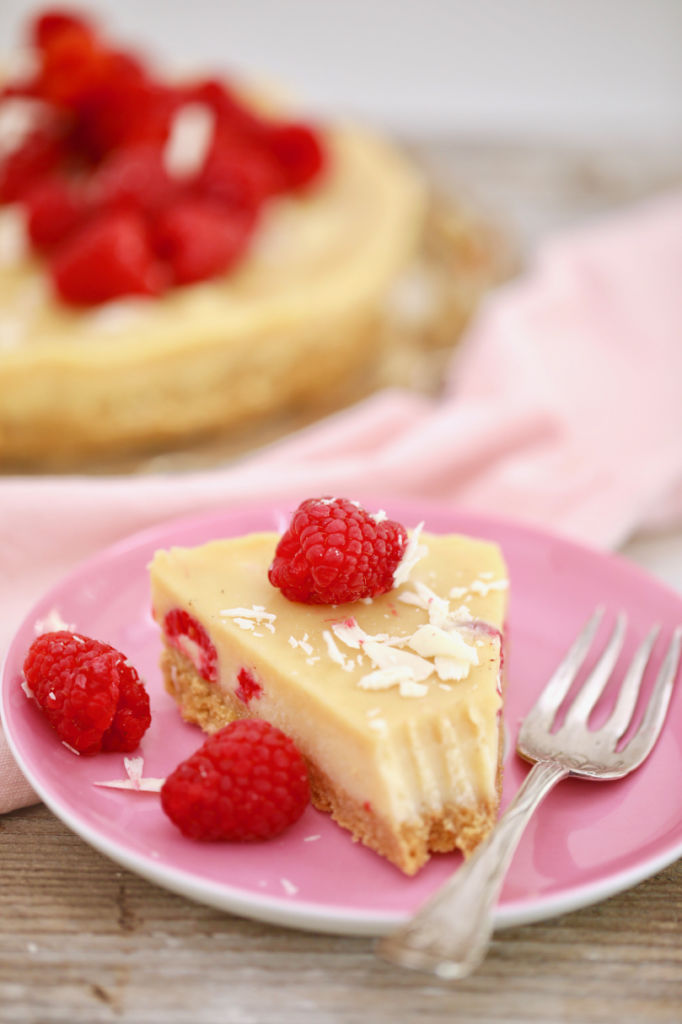
You might not know, but white chocolate isn’t actually chocolate!
Hear me out… it’s the cocoa butter removed from the cocoa bean that is then flavored and sweetened. White chocolate is extremely rich and creamy which acts as the perfect compliment to the tart fresh berries and the crunchy crust. I not only love the flavor of my White Chocolate Raspberry Pie recipe, but I love the look because it’s perfect for celebrating Valentine’s Day! You want to be sure to use a good quality bar of white chocolate here and not chips, as chips often have stabilizers that can prevent them from breaking down and completely melting.
What if I don’t like raspberries?
The balance of fresh fruit and creamy white chocolate is what really pulls the flavor of this pie together. If you don’t like raspberries and prefer strawberries, blueberries, or blackberries, you can use those instead. Although you can leave the fruit out altogether, I would not suggest it as the white chocolate is so rich it really comes alive when offset with a fresh flavor.
Watch The Recipe Video!
No-Bake White Chocolate Raspberry Pie
Ingredients
Graham Cracker Crust
- 2 cups (6 oz/170g) Graham cracker crumbs
- 3/4 cup (6 oz/170g) butter , melted
White Chocolate and Raspberry Filling
- 2 cups (12 oz/340g) white chocolate , chopped
- 1/2 cup (4 fl oz/115ml) cream
- 1/4 cup (2 oz/57g) butter
- 1/4 tsp vanilla paste
- 1 cup (5 oz/142g) fresh raspberries
- White chocolate shavings and extra raspberries for garnish
Instructions
- Butter and line a GoodCook 9 Inch Cake Pan with 2 layers of cling wrap,allowing extra to hang off the sides. This will ensure you can lift the pie out easily once set. Set aside.
- In a large bowl combine the Graham cracker crumbs and melted butter. Using a spatula stir until the Grahams are fully coated and have absorbed all the butter.
- Transfer the crust mixture to the prepared cake pan. Using the back of your spatula press the crumbs down into the pan until you have a compact even crust. Set in the fridge to firm up while you make the filling.
- In a large microwave-safe bowl combine the white chocolate, butter, andcream. Microwave in 30-second increments until fully melted, about 1 1/2 - 2 1/2 minutes. If you do not have a microwave you can do this over a bain marie. Once melted, whisk in the vanilla paste until smooth.
- Remove the prepared crust from the fridge and arrange the raspberries on top of the crust. Lay them on their sides so they are not sticking up.
- Gently pour the white chocolate filling over the raspberries. Then, Carefully transfer the pie to the fridge to set until firm, this will take a minimum of 8 hours but I like to leave it overnight.
- Once ready to serve, lift the pie out using the cling wrap. Gently peel the cling wrap back and place the tart on a serving platter. Garnish with more fresh raspberries and white chocolate shavings.
- To store, cover the pie in cling wrap and place in the fridge for up to 4 days. Before serving let it sit at room temperature for at least 30 minutes to take the chill off it. Slice and enjoy!
Get More No-Bake Recipes!
And don’t forget to follow Bigger Bolder Baking on Pinterest!

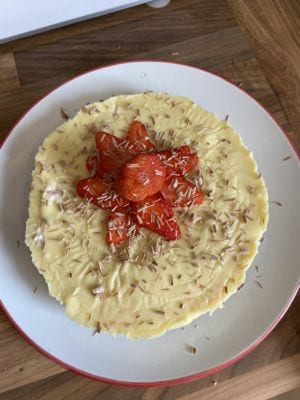


I made this recipe recently and the taste was phenomenal. However, the filling was a little too soft, and stuck to the plastic wrap. It still is solid, but you can almost mix it around as you eat it. That didn’t really make a difference, but it was also way too sweet, even with a mound of fruit on top. Do you have any ideas how to fix these problems? Thanks!
Hey Gemma,
I baked a lot of your recipes yesterday, and this one was the best. In the white chocolate filling, I also swirled in some of your Raspberry sauce for ice cream sundaes, you had showed before, and kept the ripples. It looked really pretty as well and tasted fantastic. Thanks again for this great recipe
Hi,
I cannot see the recipe?
Thanks!!
C
where do you get Vanilla paste? I’ve never heard of this before.
Could you use chocolate instead of white chocolate, or a mix of both white and “regular”?
Am hoping to make this soon but can not find good quality white chocolate or vanilla paste. Any suggestions on where to find? Thanks
Hi Gemma!
I do not have vanilla paste for use in this recipe but could I use pure vanilla extract instead? Would an equal amount of extract be used or do you suggest a different quantity?
Thank you for all the wonderful recipes! You have proven to me that baking does not have to be complicated to yield amazing results! I cannot wait to try this recipe.
Kat