This post may contain affiliate links. Please see my full disclosure for details.
Hi Bold Bakers!
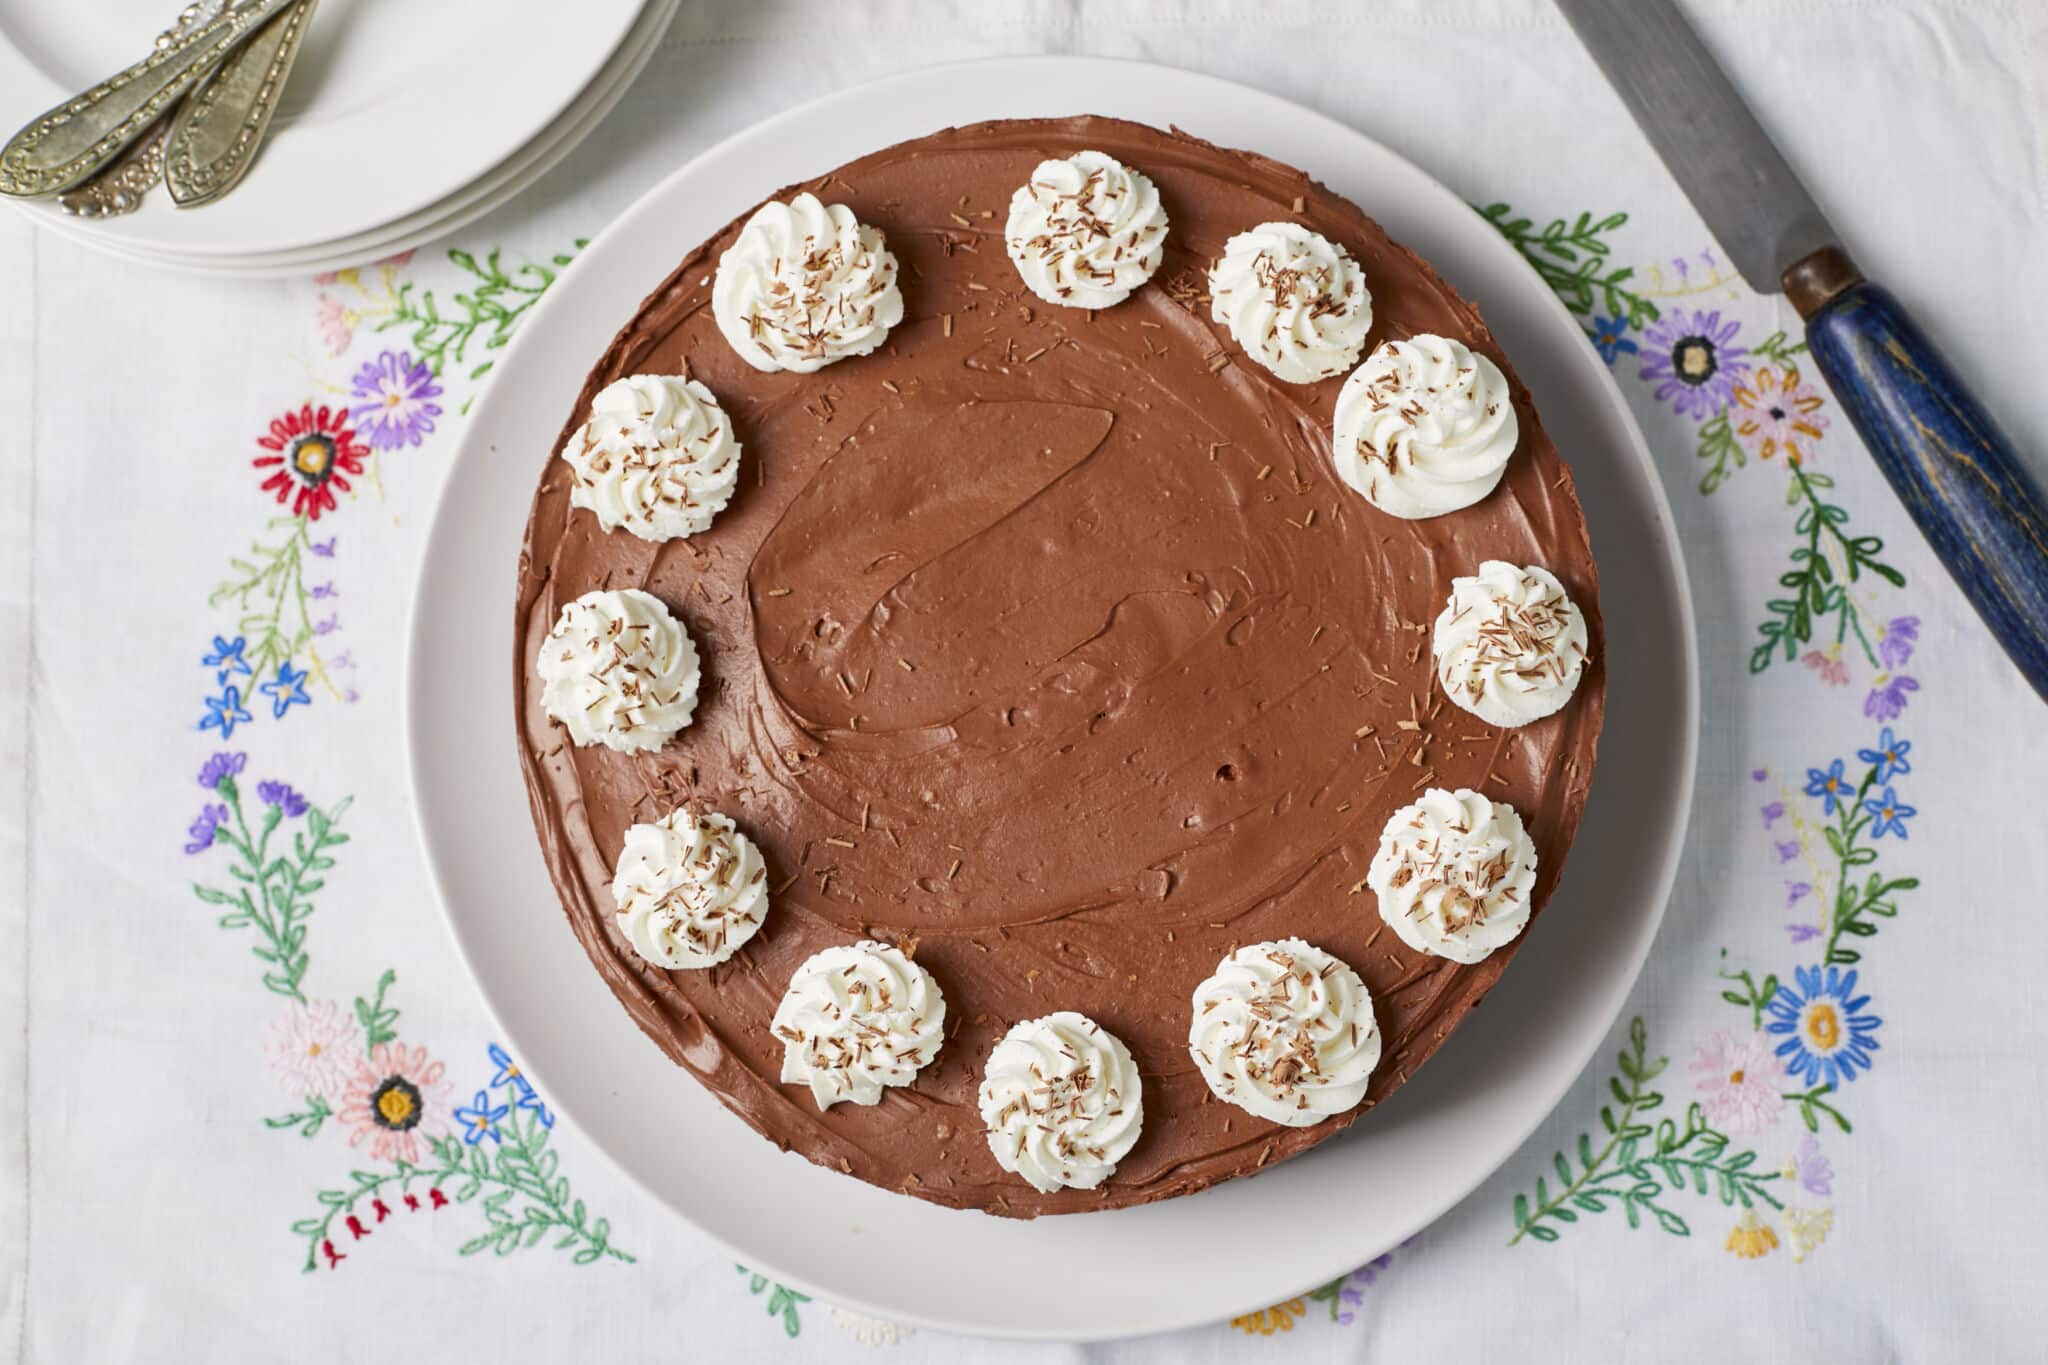
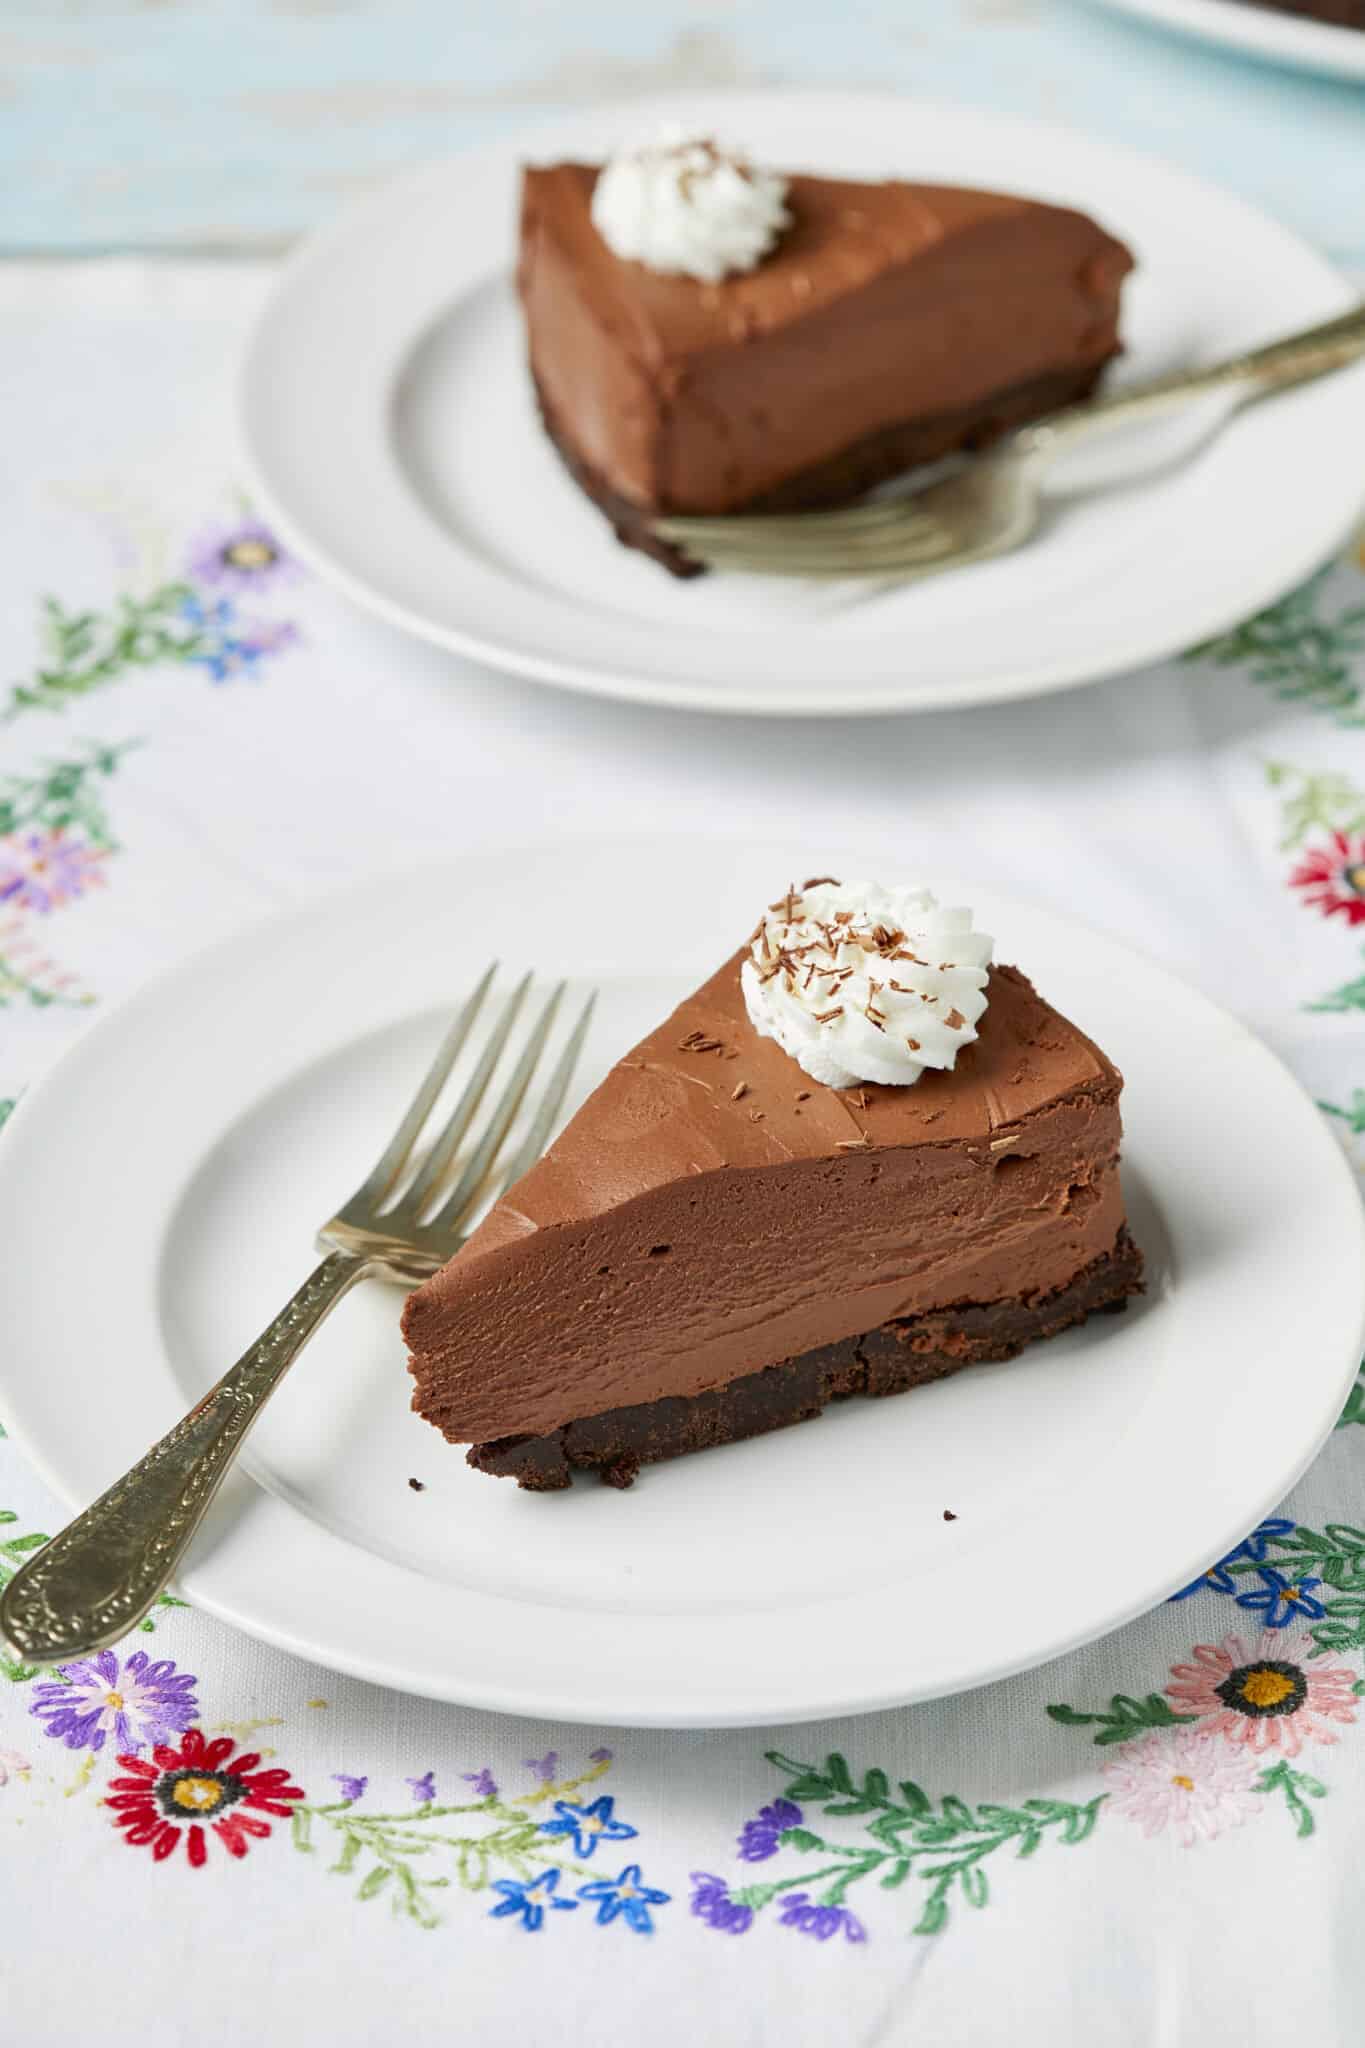
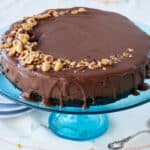
WHY YOU’LL LOVE THIS RECIPE: This Easy No-Bake Chocolate Cheesecake recipe, served cold, gives you an extremely rich, decadent, and smooth chocolate cheesecake filling alongside a sweet and slightly crumbly Oreo cookie crust in every slice.
With a variety of textures and chocolate flavors infused throughout the entire dessert and easy preparation, it’s no wonder it’s become one of my favorite desserts to make!
It also makes for a fun baking project because you can make key elements from scratch ahead of time, from the Oreo crust and butter to cream cheese and vanilla extract. Roll up your sleeves and get started!
Table Of Contents
- What is No-Bake Chocolate Cheesecake?
- Tools You Need
- Key Ingredients and Why
- How to Make No-Bake Chocolate Cheesecake
- How to Melt Chocolate
- Can I Make No-Bake Chocolate Cheesecake in Advance?
- How to Store Leftover No-Bake Chocolate Cheesecake
- FAQs
- Gemma’s Pro Chef Tips
- Enjoy More No-Bake Cheesecake Recipes
What is Easy No-Bake Chocolate Cheesecake?

The first cheesecakes were made over 4,000 years ago in Ancient Greece. But it wasn’t until a New York dairyman named William Lawrence accidentally invented cream cheese in 1872 that the dessert became the type of cheesecake we know, and grew popular in the United States.
Unlike a vanilla-y traditional cheesecake with a crumb crust made from digestive biscuits or graham crackers, I made a different variation, with a chocolate cheesecake filling and an Oreo cookie crust. Additionally, this cheesecake is not only egg-free but also “no-bake,” requiring only refrigeration to set!
Tools You Need
For the Cheesecake:
- Measuring cups and spoons
- Food processor
- 9-inch (23 cm) springform pan
- Silicone spatula
- Offset spatula
- Thin knife
For the Homemade Butter:
- Food processor, hand whisk or stand mixer
- Bowl
- Sieve
- Cheesecloth
For the Homemade Cream Cheese:
- Heavy-bottomed saucepan
- Spoon
- Cheesecloth
- Bowl
- Food processor
For the Vanilla Extract
Key Ingredients and Why
For No-Bake Chocolate Cheesecake :
Oreo Crust:
-
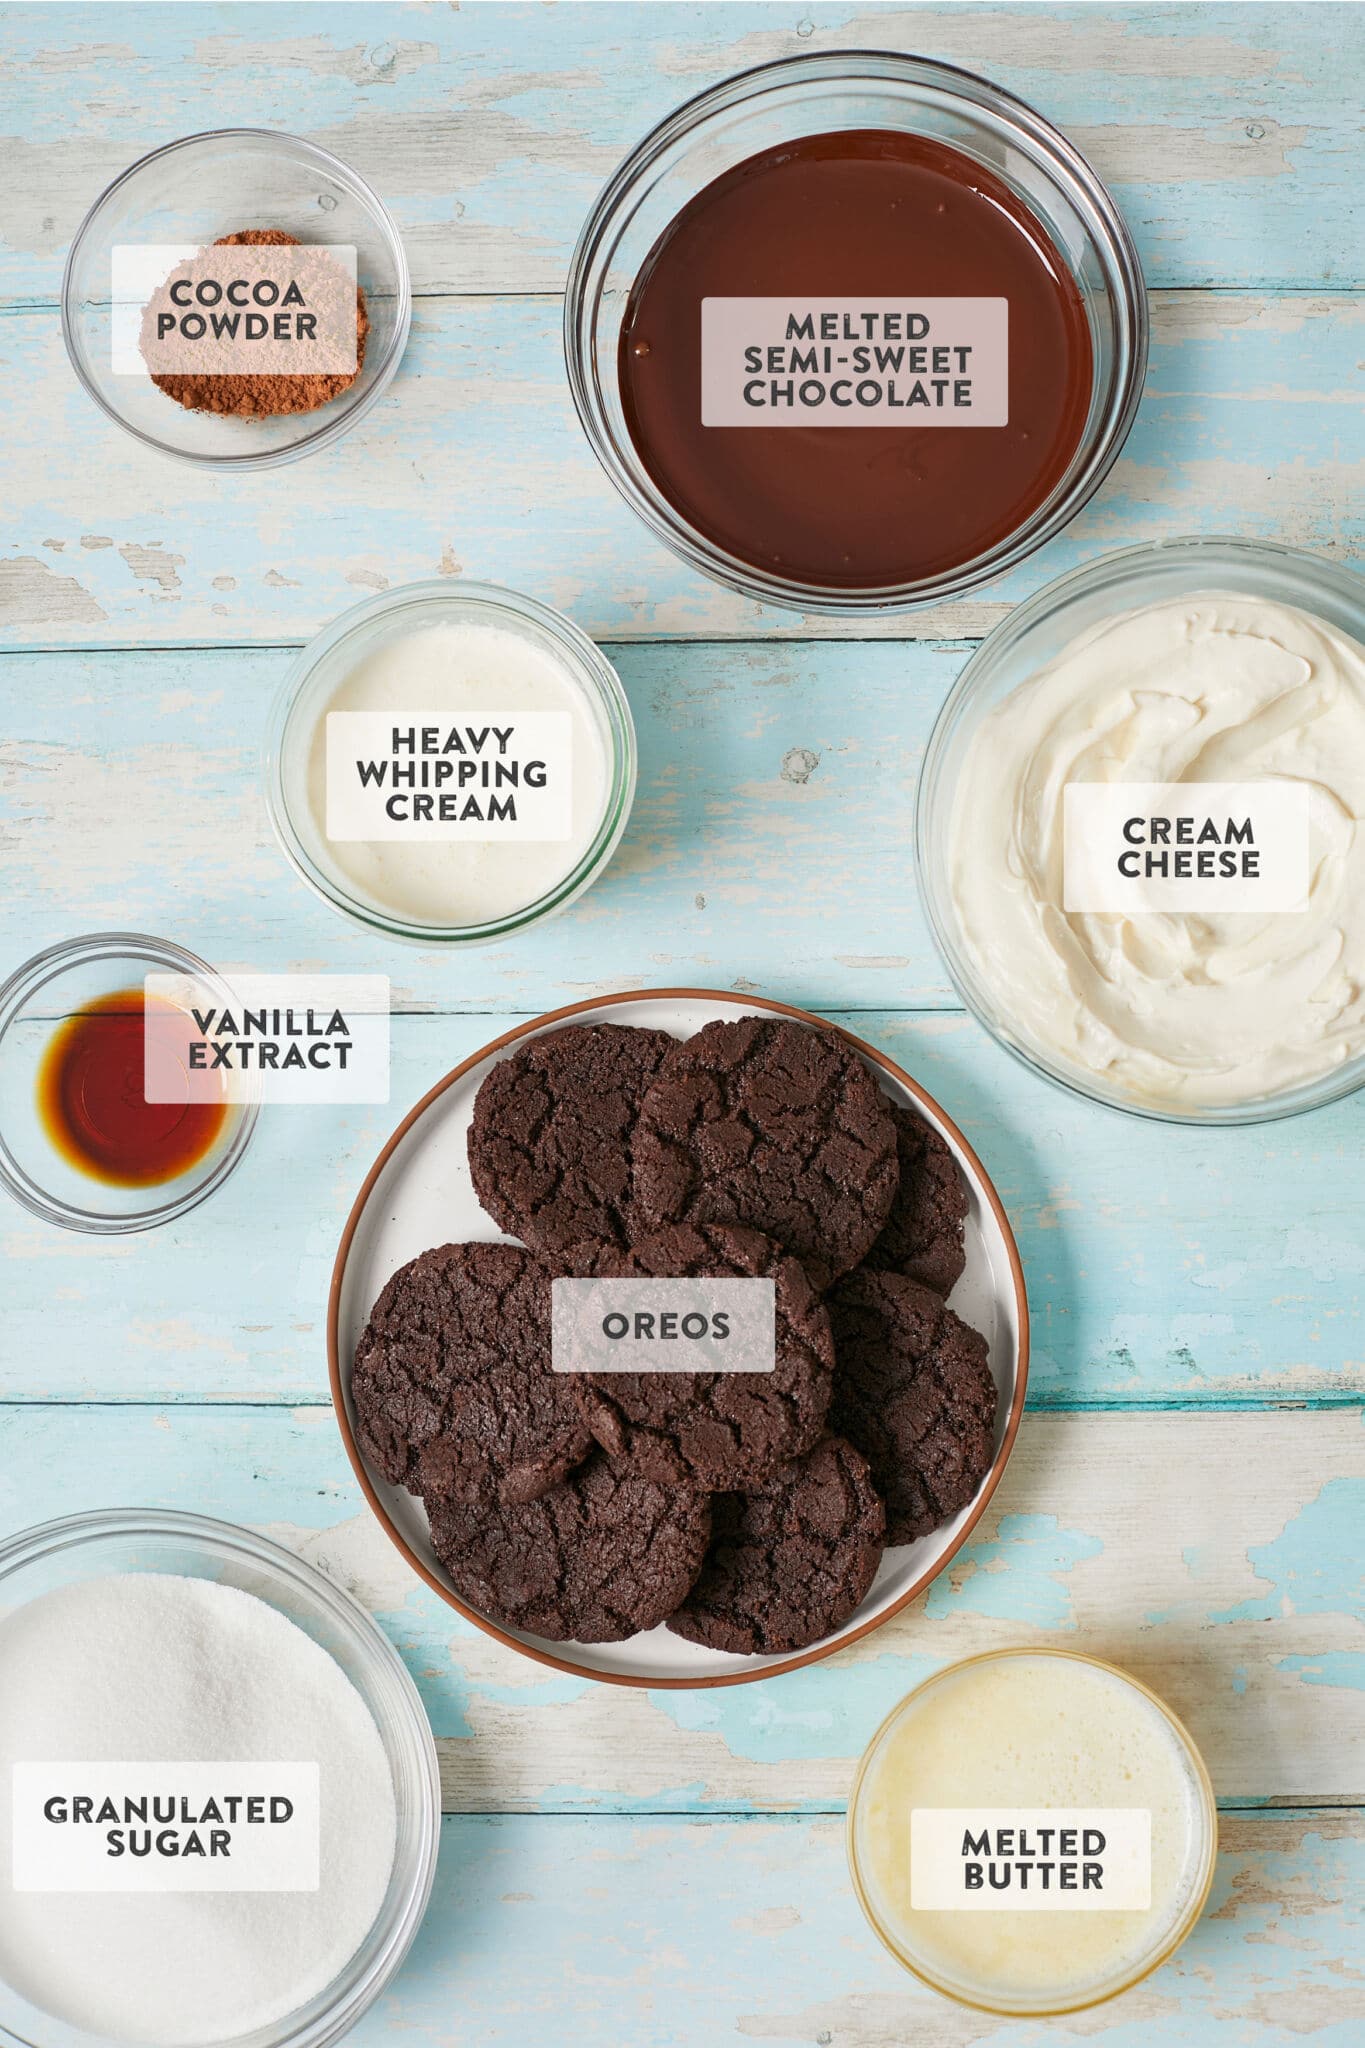
- Oreos:
- Oreos are the perfect base for a crust that amplifies the chocolate cheesecake filling.
- For unforgettable flavor, make Homemade Oreo Cookies! If using store-bought Oreo cookies, remove the creme filling.
- Butter:
- Melted butter is crucial for adding rich flavor and for binding the OREO cookies together.
- Melt small pieces of butter in a microwave-safe bowl at 30-45-second intervals. Gently swirl the bowl to melt completely.
- Feel free to use salted or unsalted butter. If you’d prefer to make the crust with oil, use three-quarters of the required butter amount.
- Oreos:
Cheesecake Filling:
-
- Cream cheese:
- Cream cheese builds up the cheesecake structure by incorporating air to help it to set in the fridge. Cream cheese adds a slightly sweet and tangy flavor alongside a creamy smooth texture.
- Try making my Easiest Cream Cheese recipe all from scratch!
- Granulated sugar (aka white sugar):
- In no-bake desserts like this, you can use stevia or coconut sugar, or check out my Sugar Substitute Chart for more options!
- Bittersweet chocolate:
- Bittersweet chocolate contributes to a rich and slightly bitter flavor, and it’s great for melting because it doesn’t burn easily.
- Be sure to let your chocolate cool before incorporating it into your filling.
- Cocoa powder:
- Cocoa powder will add a rich, chocolatey flavor and it acts as a thickening agent in your filling.
- Be sure to sift your cocoa powder for an extra smooth filling.
- Heavy whipping cream (aka heavy cream):
- Heavy whipping cream has more than 36% fat content, so it will whip up well and retain air to make your cheesecake extra creamy and light.
- Just like cream cheese, heavy whipping cream helps stabilize the filling when cooling in the fridge.
- Vanilla extract:
- Vanilla extract complements the chocolate flavor. Make your own Vanilla Extract at home!
- Cream cheese:
Decoration & Serving:
-
- Whipped cream is a classic complement to chocolate desserts. Make my How To Make Whipped Cream for the best result!
- Alternatively, you can use fresh berries, chocolate shavings, caramel sauce, and/or powdered sugar (aka confectioner’s sugar or icing sugar)!
For the Homemade Butter:
- Heavy cream (high-fat content)
- Salt
- Ice water
For the Homemade Cream Cheese:
- Whole milk (full fat, not low fat)
- Lemon juice (lime juice or white vinegar)
For the Vanilla Extract:
- Vanilla Pods/Beans
- Vodka, bourbon, or alcohol of your choice, or glycerin
How to Make No-Bake Chocolate Cheesecake

Make the Crust:
- Process the Oreos in a food processor or crush the biscuits with a rolling pin into a fine powder. Add in the melted butter and pulse until thoroughly combined.
- Press the crust firmly into the bottom of a pan with your fingers, or use the bottom of a water glass or bottle. The latter will give you a more even crust.
Make the Cheesecake Filling:
- Pulse the cream cheese and sugar in the food processor, followed by the melted chocolate and cocoa powder, and then whipping cream and vanilla extract. Keep processing until fully combined.
- Fold and scrape down the sides of the bowl with a silicone spatula as you go to ensure even mixing.
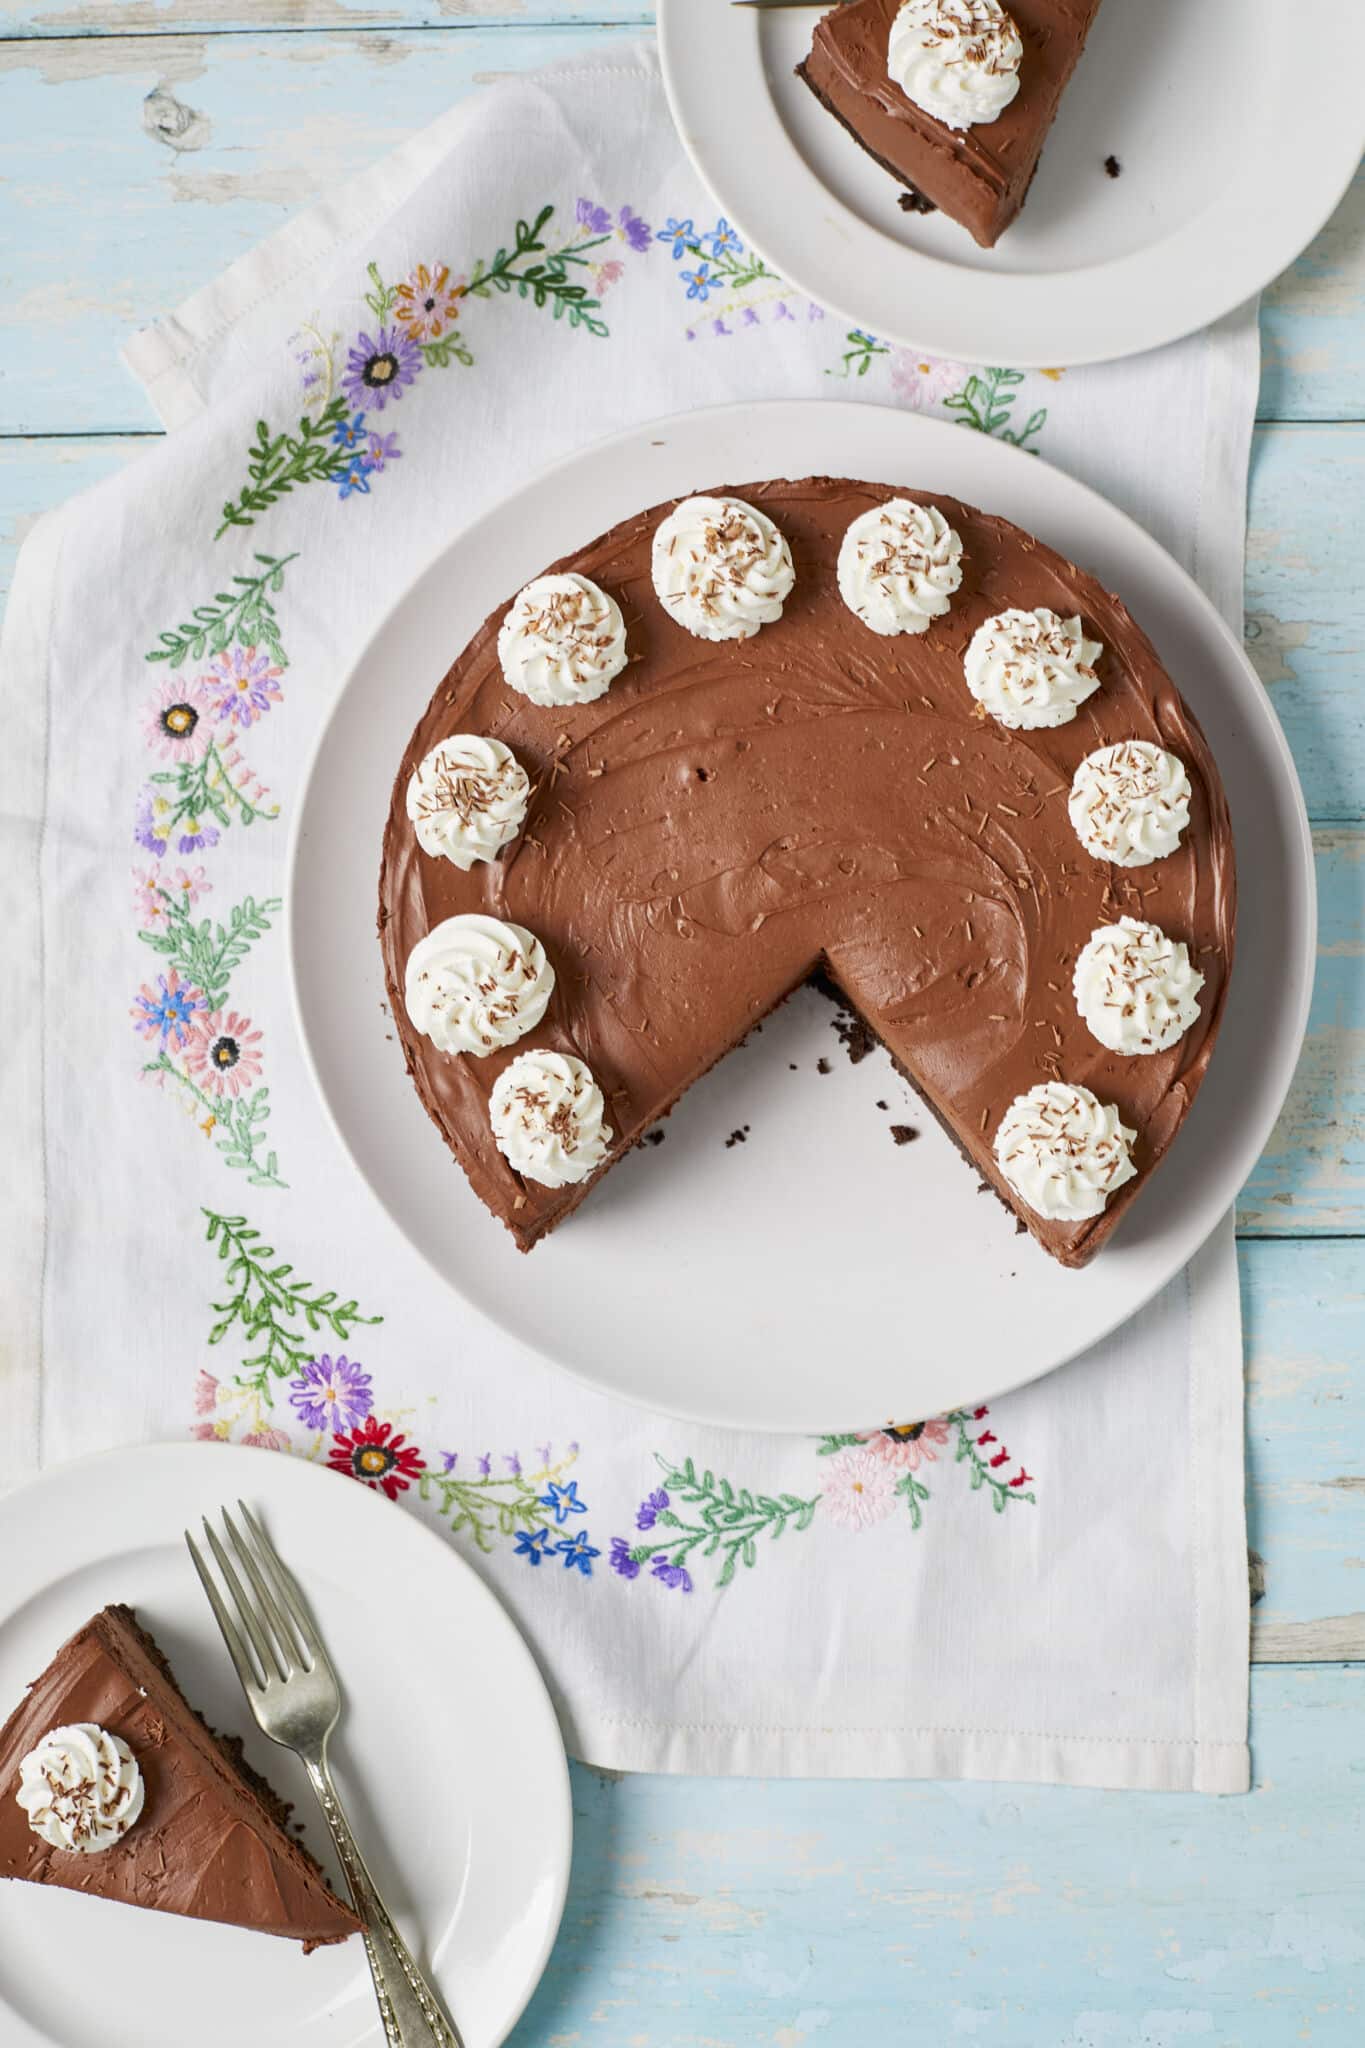
Assemble the Cheesecake & Refrigerate:
- Pour the filling on top of the prepared crust, smoothing out the top with an offset spatula.
- Refrigerate until firm or set. This can take 5 hours up to 2 days. The top should be shiny and firm to the touch.
How to Melt Chocolate
There are two methods to melt chocolate and with both, the goal is to prevent overheating the chocolate so that it doesn’t seize and become lumpy or grainy. Be sure that your bowl, spoon, and anything that comes in contact with the chocolate is completely dry.
- Double boiler or bain-marie:
- Stack one pot or heat-proof bowl on top of a pot filled with water. Bring the water to a gentle simmer, and the steam will gradually melt the chocolate.
- Microwave:
- Place your chocolate in a microwave-safe bowl and microwave it in 20-second intervals, gently stirring the chocolate or swirling the bowl around in between to prevent lumps.
Can I Make No-Bake Chocolate Cheesecake in Advance?
Yes, you can make this No-Bake Chocolate Cheesecake in advance:
- Oreo crust: Prepare your crust in the springform pan and cover it with plastic wrap. Store in the refrigerator for up to three days.
- Cheesecake filling: Make your filling in the food processor as usual. Cover tightly with plastic wrap and store in the refrigerator for up to two days.
- Whole cheesecake: Once you’ve prepared your cheesecake crust and filling, you can store it in the fridge for up to three days in advance of serving.
How to Store Leftover No-Bake Chocolate Cheesecake:
- Room temperature: You can leave your No-Bake Chocolate Cheesecake out at room temperature for no more than two hours.
- Refrigerator: The best way to store leftover cheesecake is in an airtight container or well-covered in the refrigerator for up to three days.
- Freezer: To freeze your leftovers, wrap individual slices of cheesecake or the whole pan in a layer of plastic wrap followed by a layer of aluminum foil. You can freeze for up to 3 months, but the texture and flavor may not be as good as when fresh.
- Thaw: To thaw your frozen cheesecake, remove it from the freezer and let it thaw in the refrigerator for about 4 to 5 hours or overnight.
FAQs
Why is my cheesecake filling runny? How do I fix runny cheesecake filling?
It’s likely your cheesecake filling is runny if you didn’t whip or process the heavy whipping cream long enough, used lower-fat cream, or used cream cheese from a tub. To fix:
- Whip or process for longer: After adding the heavy cream, keep processing the filling until well combined. There shouldn’t be any streaks of white visible in the mixture and your filling should increase slightly in volume.
- Add more fats: To thicken runny cheesecake filling, add more cream cheese gradually until you reach a smooth and slightly thick consistency. If you pick up some filling with a spoon, it should stay firm and not slide off.
- Use brick cream cheese: Tub cream cheese has higher water content and could make your filling runny or watery. Use brick cream cheese for the best, thick results.
Why is my cheesecake filling grainy and lumpy? How do I fix it?
If your cream cheese filling has a grainy or lumpy texture, you may not have processed or prepared your ingredients properly. Here are a few tips to prevent a grainy or lumpy filling:
- Cream cheese: Use softened, room-temperature cream cheese for easy creaming and smooth texture.
- Sugar: When creaming your sugar and cream cheese together, make sure that there aren’t any big clumps of sugar remaining.
- Chocolate:
- Melt your chocolate slowly and steadily using the double-boiler method to avoid burning and overheating your chocolate.
- Make sure your chocolate doesn’t come into contact with any moisture, or else your chocolate will seize and become lumpy.
- Cocoa Powder: Sift the cocoa powder so that no big lumps end up in your filling!
How can I add gelatin for a firmer cheesecake?
Gelatin is a translucent, colorless, and flavorless gelling or setting agent. Get to know more details in my How To Work With Gelatin guide.
- To sponge or bloom the gelatin, sprinkle the powdered gelatin over the cold water and let it sit until the powder has soaked up all the water and expanded.
- Alternatively, you can use two sheets of gelatin. Soak gelatin sheets in cold water for about 5 minutes or until softened, then drain off excess water.
- Add prepared gelatin to the chocolate cream cheese filling.
Gemma’s Pro Chef Tips:
- You can still make and enjoy this recipe if you don’t have a food processor.
- Crust:
- Crush the cookies: Place your Oreo cookies into a gallon-sized resealable plastic bag. Use a rolling pin, heavy glass, or your hand to crush the cookies until they become fine crumbs.
- Blend the cookies: You can also blend your cookies in a blender.
- Filling:
- Use a blender: Pop all of your ingredients into a blender, just as you would in a food processor, and blend! Depending on the size of your blender, you may want to blend your filling one-half at a time.
- Use an electric hand mixer or a whisk: Use a handheld electric mixer or a whisk and a large mixing bowl to combine your filling ingredients.
- Use a stand mixer: Stand mixers with whisk and paddle attachments are a great alternative to food processors.
- You can reach soft peaks and stiff peaks using the whisk attachment when incorporating the heavy cream.
- Crust:
- Cut richness: Cut the richness by serving this with a drizzle of Homemade Raspberry Sauce!
- No-Bake Chocolate Pie: Use my Best-Ever Pie Crust recipe to make this into a No-Bake Chocolate Pie!
- Lighter variation: For a lighter variation, use an 11-inch (28 cm) tart pan with a removable bottom to make a no-bake cheesecake tart.
- First line the pan with plastic wrap with enough to hang over the sides to prevent the filling from seeping out before it sets. Then, press the crust into the bottom of the pan. Make half the amount of filling, fill to the top, and let it set in the refrigerator to chill for three to four hours before serving.
Enjoy More No-Bake Cheesecake Recipes:
- Lemon Meringue Cheesecake
- Strawberry Cheesecake
- Oreo Cheesecake
- Fudge Brownie Cheesecake
- S’mores Cheesecake
And don’t miss more everyday baking recipes in my NEW Bigger Bolder Baking Every Day Cookbook!
Try These Recipes!


Watch The Recipe Video!
Easy No-Bake Chocolate Cheesecake Recipe (100% From Scratch)

Ingredients
For The Oreo Crust
- 14 oz (397 g/18 cookies) Homemade Oreos (unfilled)
- ½ cup (4 oz/115 g) butter, melted
For The Cheesecake Filling
- 3 cups (24 oz/675 g) Homemade Cream Cheese (tripled recipe), at room temperature
- 1 cup (8 oz/225 g) granulated sugar
- 2 cups (12 oz/340 g) bittersweet chocolate, melted and cooled
- 2 tablespoons cocoa powder
- 1 cup (8 fl oz/240 ml) heavy whipping cream
- 1 teaspoon vanilla extract
- Homemade Whipped Cream, for serving
Instructions
Make The Crust
- In the bowl of a food processor, process the Oreos to a fine powder. Add in the melted butter and pulse to combine.
- Press the crust firmly into the bottom of a 9-inch (23 cm) springform pan.
Make The Cheesecake Filling
- Wipe the bowl of the food processor and add the cream cheese and sugar and blend for about 30 seconds, until smooth and lump free.
- Add in the melted chocolate and cocoa powder and process until blended. Scrape down the sides of the bowl to ensure even mixing.
- Pour in the whipping cream and vanilla extract, and process until fully combined.
- Pour the cheesecake batter on top of the prepared crust and smooth the top.
- Refrigerate for at least 5 hours, until firm and set, or up to 2 days.
- When ready to serve, run a thin knife along the edge of the cheesecake before releasing the sides. Serve slices with a generous dollop of Homemade Whipped Cream. Store in the refrigerator, well covered, for up to 3 days.


Hi Gemma I’ve come Into a large lump of cream cheese and I see many cheesecakes in my future.
Is there a “base” recipe that I can just add whatever to? Eg take part of the mix and add melted chocolate for a chocolate cheesecake then take the rest and add oreos for an oreo cheesecake. How important are the different ratios of sugar and cream between these?
I think if you want it to be vegetarian you might want to use a egg substitute for the egg in the cookie recipe..
Hi! If I sub mascarpone for the cream cheese — will this recipe still work? Thank you!
If I want to use store bought cream cheese how much do I need?