This post may contain affiliate links. Please see my full disclosure for details.
Hi Bold Bakers!
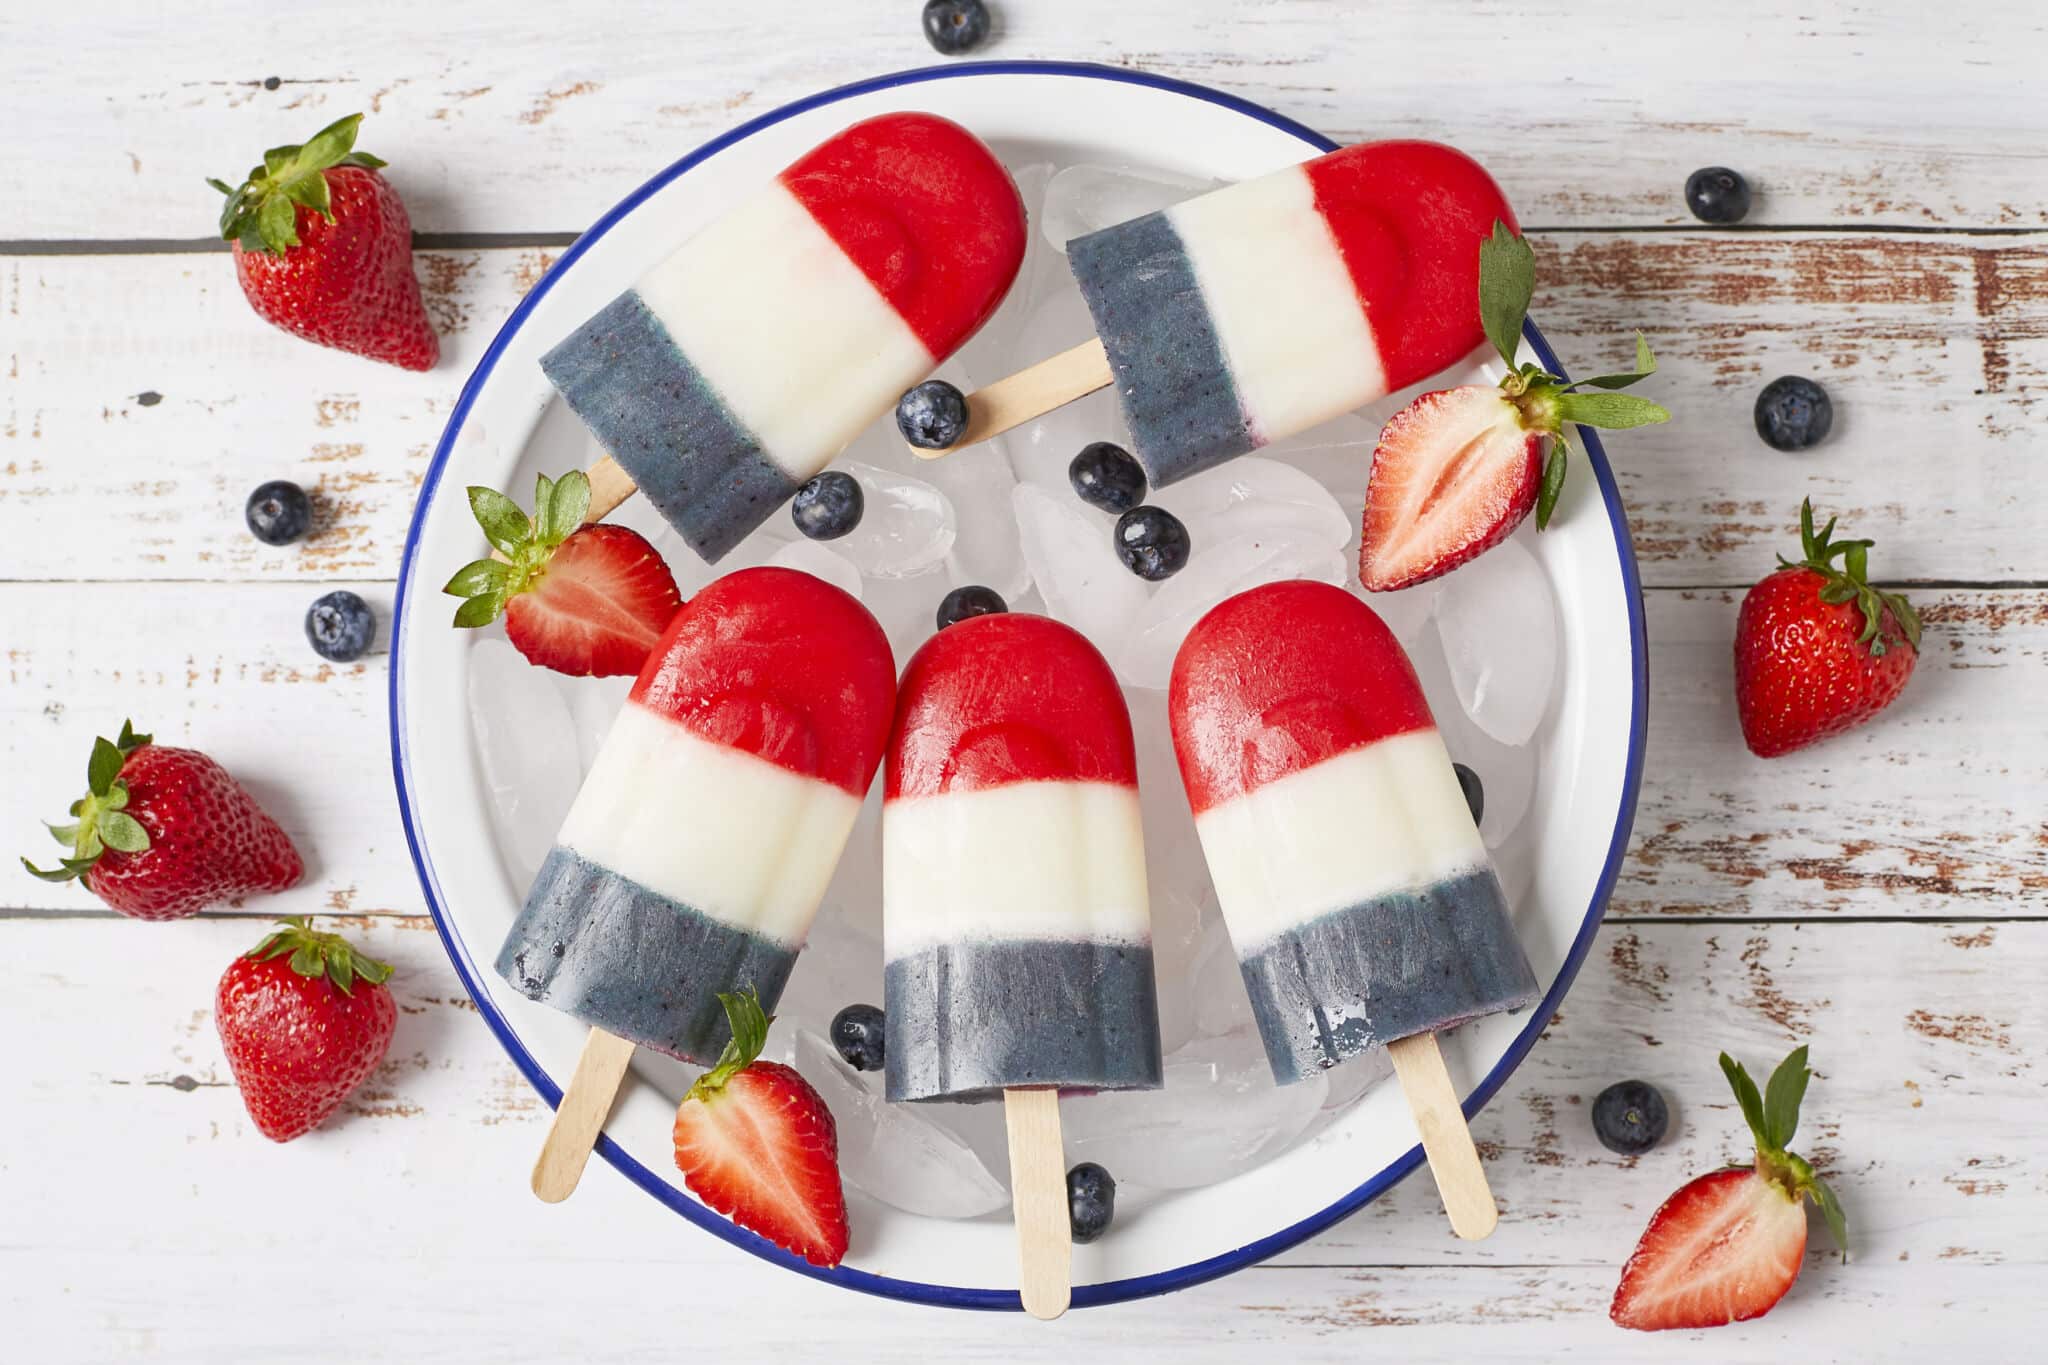
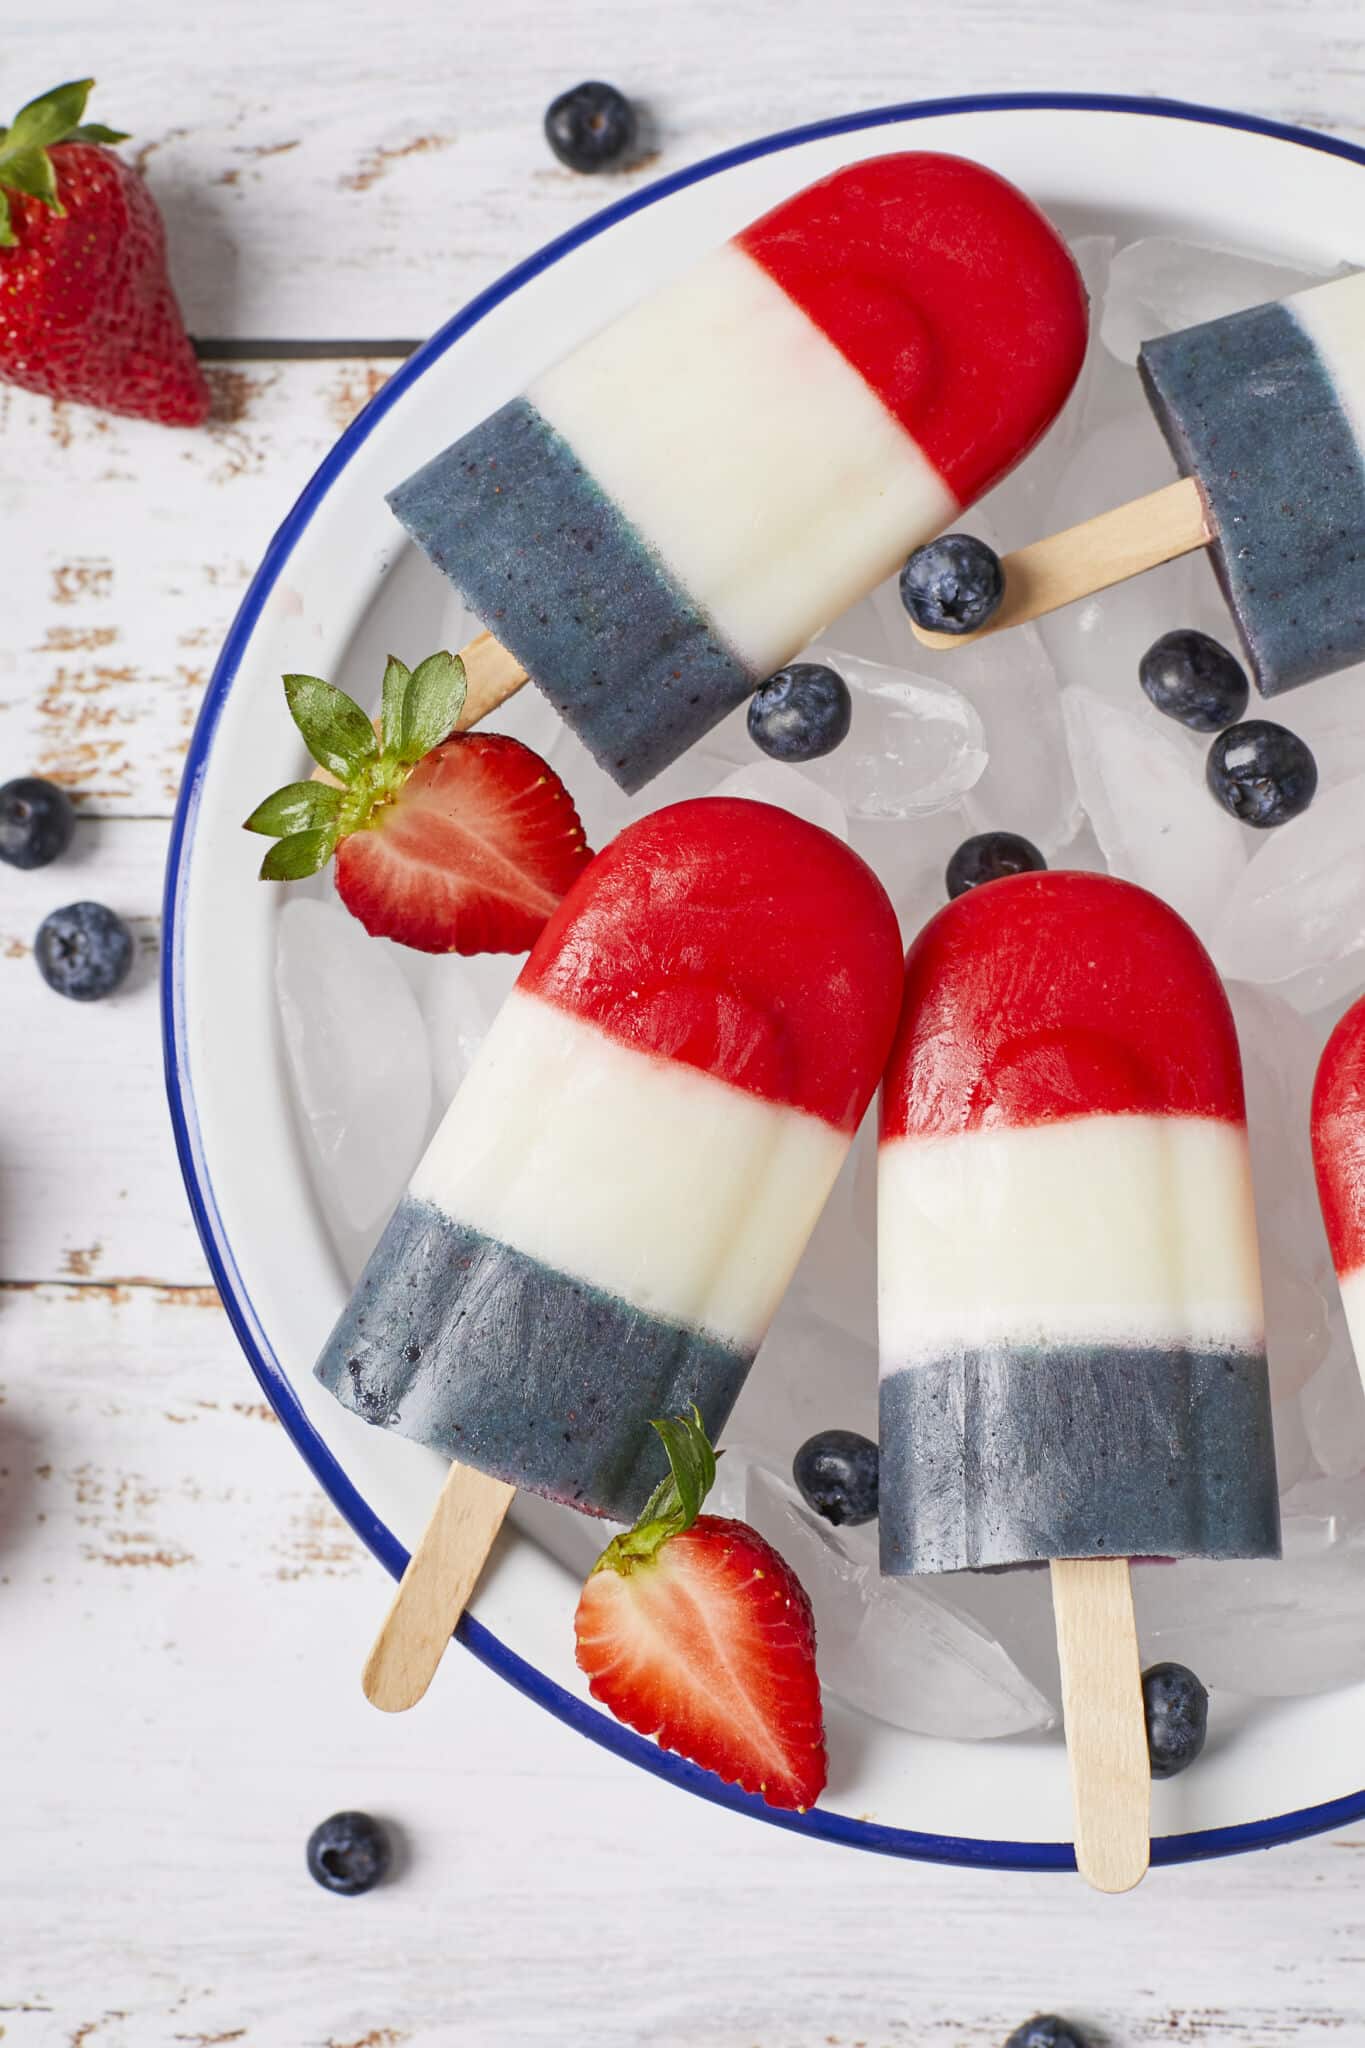
WHY YOU’LL LOVE THIS RECIPE: This simple Homemade Bomb Pop popsicle Recipe is a quintessential summer indulgence to cool off during the hot summers! Packed with fresh berries, sweet lemonade, and creamy yogurt, these DIY popsicles offer a refreshing and wholesome frozen experience. Plus, the eye-catching layers in vibrant red, white, and blue add a delightful touch to every bite.
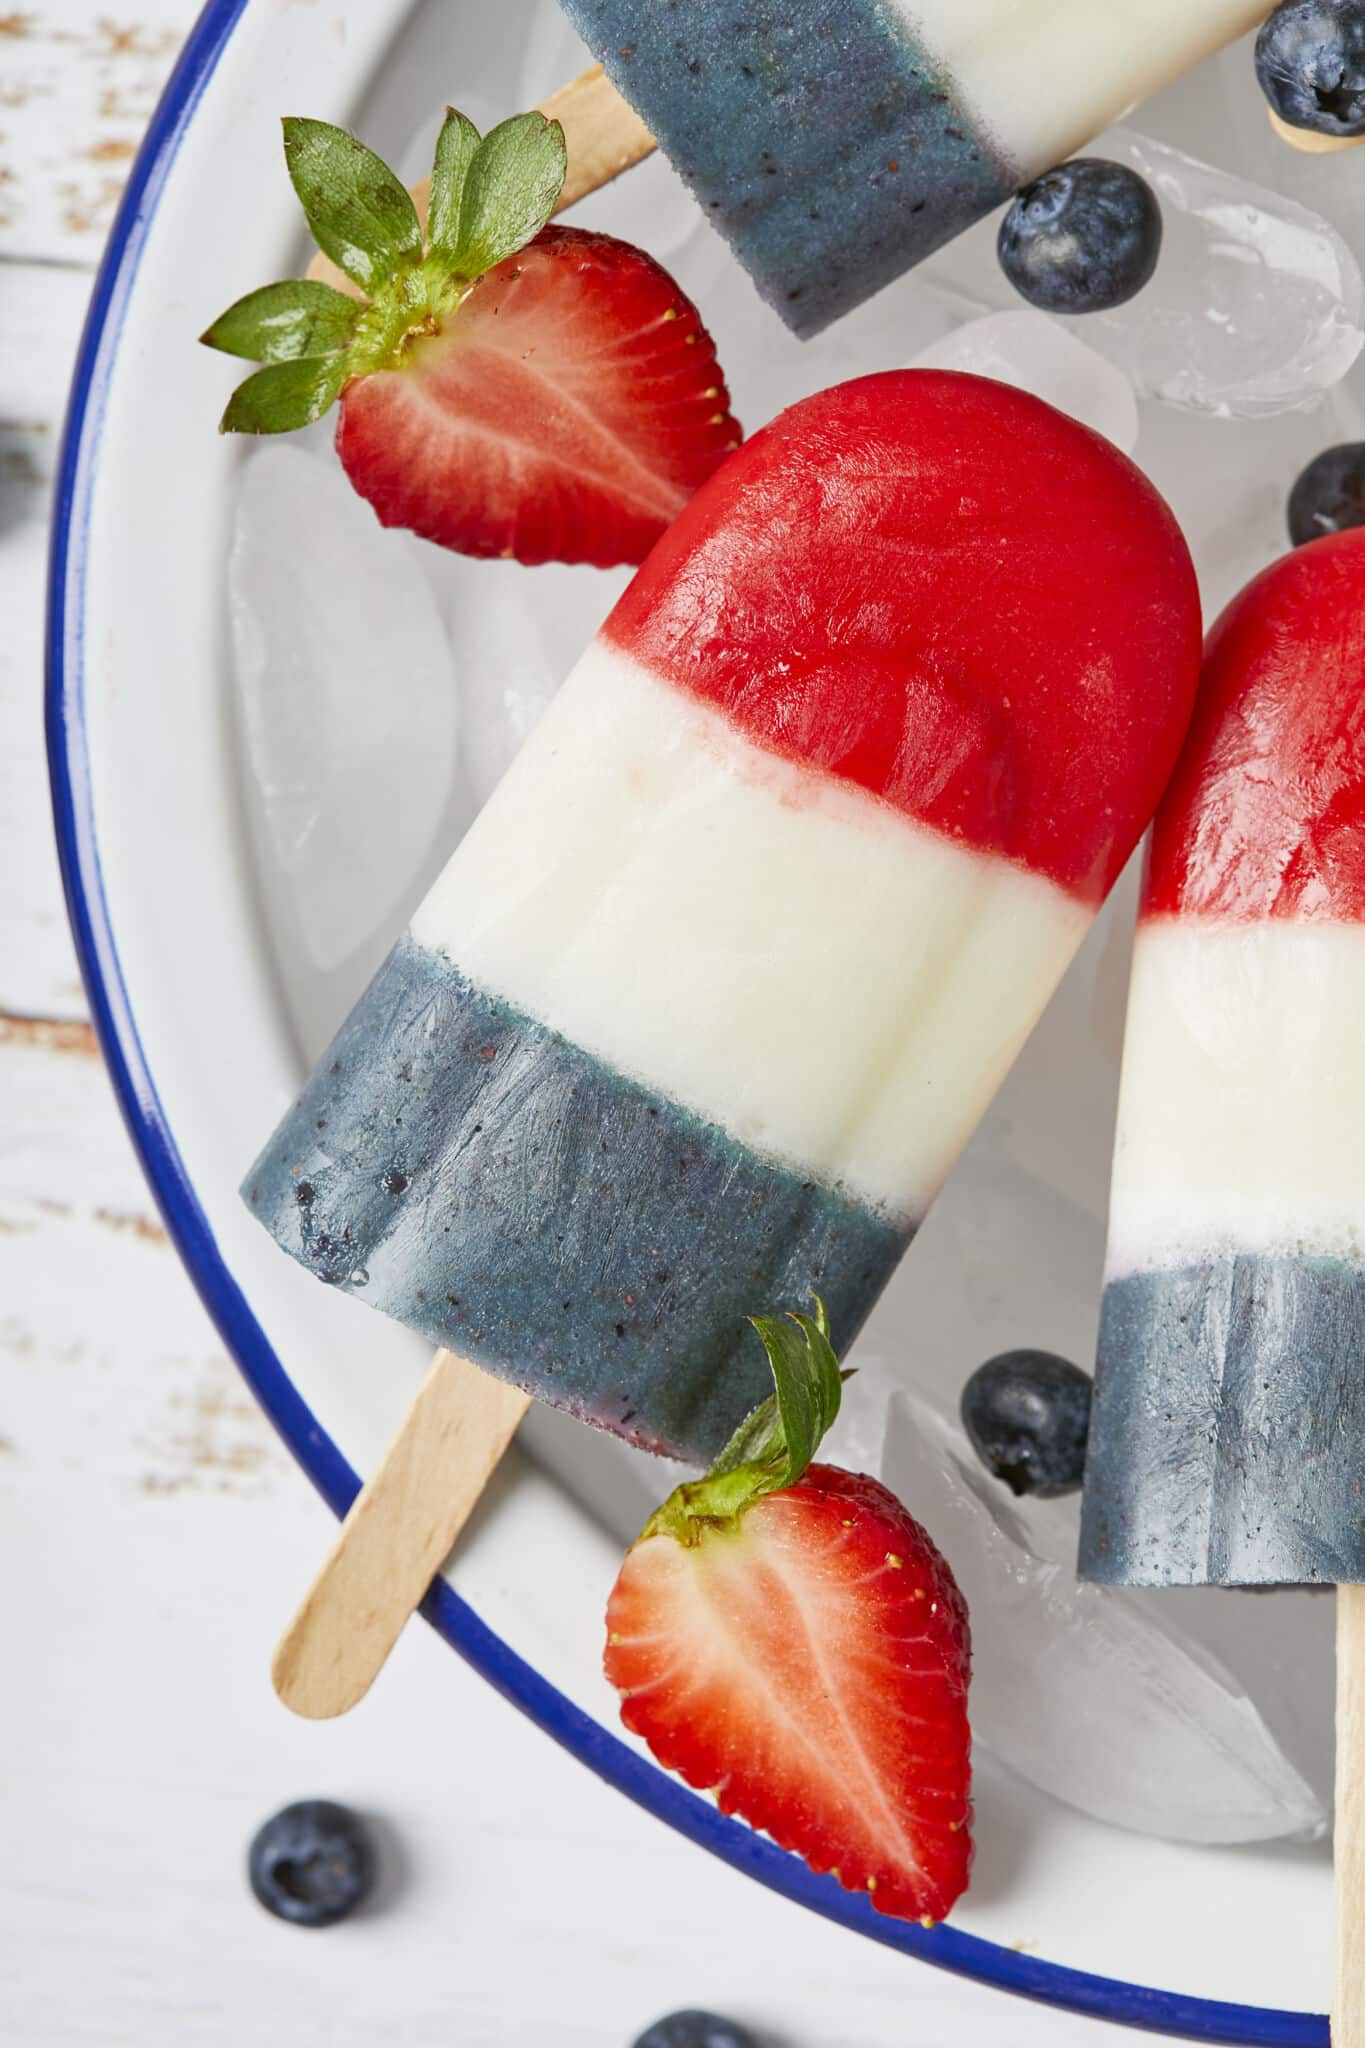
- Iconic appearance: In each popsicle, you get three bright-colored layers.
- Harmonious textures: They also have the most amazing texture with a mix of soft creaminess from the yogurt and the crunchiness of a popsicle from the lemonade, so that you get the best of both worlds.
- Unbeatable homemade excellence: This Homemade Bomb Pop Recipe is crafted without preservatives for a fresh taste that will keep you away from the ice cream truck or market for good!
Summer is just around the corner, which means indulging in frozen treats! While I could opt for store-bought ice pops, I always prefer making homemade versions. That’s why I’m so excited to share my Homemade Bomb Pop Popsicles recipe with all of you Bold Bakers!
IMPORTANT NOTE: This recipe was improved and updated on 6/6/2024, to include new instructions, a STEP-BY-STEP tutorial video, and more Pro Chef Tips.
Table Of Contents
- What Are Bomb Pop Popsicles?
- Tools You Need To Make Bomb Pop Popsicles
- Ingredients You Need To Make Bomb Pop Popsicles
- How To Make Bomb Pop Popsicles
- Gemma’s Pro Chef Tips
- Make Ahead & Storage Instructions for Bomb Pop
- FAQs
- More Popsicle Recipes
What Are Bomb Pop Popsicles?
Bomb Pops, also known as Rocket Pops, are ridged popsicles with red, white, and blue layers flavored cherry, lime, and blue raspberry respectively.
- They’re one of the most popular popsicles in the US known for their multi-flavoring and vibrant American flag colors. As of 2015, there are nine main Bomb Pops with various flavor combinations and colors.
- In my Homemade Bomb Pop Popsicle recipe, the colors honor the classic red, white, and blue that we see in the store-bought versions. In addition, these popsicles are made of natural ingredients and flavors from lemonade, plain yogurt, sugar, strawberries, and blueberries with a more creamy than icy texture.
Tools You Need To Make Bomb Pop Popsicles:
- Measuring cups and spoons
- Blender
- Popsicle mold
- Wooden popsicle sticks
- Optional: Sieve
Ingredients You Need To Make Bomb Pop Popsicles
Popsicle Base:
- Lemonade:
- Adding lemonade is a great way to mimic the classic tart and tangy flavors of store-bought Bomb Pop Popsicles.
- In terms of texture, lemonade tends to become slightly icy after freezing which makes for a great balance with the thicker and creamy plain yogurt.
- To make Homemade Lemonade:
- Combine ½ cup (4 oz/115 g) sugar and ½ cup (4 fl oz/120 ml) water in a small saucepan over medium heat and simmer until the sugar has dissolved.
- Remove and stir in ½ cup (4 fl oz/120 ml) freshly squeezed lemon juice and 3/4 cup (6 fl oz/180 ml) water.
- Plain yogurt:
- Plain yogurt is an unsweetened yogurt that will add plenty of tangy flavors and complement the sweet fruit and sugar. Make yogurt at home using my How to Make Yogurt recipe.
- Yogurt will yield very smooth and velvety-textured popsicles.
- Since plain yogurt is typically high in protein, calcium, vitamins, and probiotics, it makes this popsicle healthier than store-bought versions!
- Granulated sugar (aka White sugar):
- On top of elevating sweetness, sugar is an important ingredient for preventing icy popsicles as it lowers the freezing points of liquids.
- Depending on the sweetness of your fruits or your preference for more bittersweet popsicles, you can adjust the sugar as needed.
- Check out my Sugar Substitute Chart for more options.
Mix-Ins:
- Strawberries:
- Strawberries are crucial for adding strawberry flavor and a slight red coloring to the red strawberry layer in the popsicles.
- It’s currently strawberry season, so use fresh strawberries for extra juicy, sweet, and bright flavors.
- Frozen strawberries are also a good option because they are frozen during peak season. Just be sure to defrost them before use for easier blending.
- Blueberries:
- Blueberries will give you a blue color for the blueberry layer.
- Fresh blueberries provide sweet and tart flavors and intense juiciness.
- Frozen blueberries are even sweeter than fresh blueberries because they are frozen at peak season. Just like the strawberries, be sure to defrost before use for even incorporation in the popsicle mixture.
- Red and Blue Food Coloring (Optional):
- The red and blue food coloring will add a vibrant pop of color similar to the store-bought Bomb Pop Popsicles, but if you prefer a more natural fruit popsicle, you can do without it.
How To Make Bomb Pop Popsicles
Make The Red Layer
-
Combine the strawberries, lemonade, yogurt, 1 teaspoon of sugar, and food coloring (if using) in a blender and puree until smooth. Taste and add more sugar if needed.
-
Pour evenly into 10 popsicle molds, then insert wooden popsicle sticks and freeze until solid, at least 2 hours.
Make The White Layer
-
Combine the lemonade, yogurt and 1 teaspoon of sugar in a blender and process until smooth. Taste and add more sugar if needed.
-
Pour evenly over the frozen red layer and freeze until solid, at least 2 hours.
Make The Blue Layer
-
Combine the blueberries, lemonade, yogurt, 1 teaspoon of sugar and food coloring (if using) in a blender and puree until smooth. Taste and add more sugar if needed.
-
If desired, strain to remove the skin, then pour evenly on top of the frozen white layer. Freeze now for a minimum of 4 hours, but preferably overnight.
Unmold The Popsicles
-
To unmold, run the mold under warm water for a few seconds to loosen the popsicles.
-
Store leftovers in the freezer and in their molds for up to 2 weeks.
Gemma’s Pro Chef Tips:
- To make these popsicles 100% natural, don’t use food coloring.
- You can replace the granulated sugar with honey or agave, but this will affect the color slightly.
- You can use vanilla yogurt in the layers instead of plain yogurt. If you do, leave out the granulated sugar as vanilla yogurt will be sweet enough.
- If your popsicle sticks are not standing up straight, let them freeze for a bit before inserting them.
- Be sure that each layer is fully frozen before adding the next or the colors will lift and blend.
- After adding each color make sure to wipe down the walls of the mold so you get clean layers.
Make Ahead and Storage Instructions for Bomb Pop
You can make Bomb Pop popsicles in advance.
- The best way to store Bomb Pops is to keep them in the freezer in their molds for up to 2 weeks.
- You can also remove the popsicles from their mold, place them on a parchment-lined baking sheet, and refreeze until frozen. Then, place them in a freezer bag or airtight container with pieces of parchment placed in between to prevent sticking, or lay them all in one layer.
FAQs
Are Homemade Bomb Pop Popsicles Healthy?
Yes! Compared to store-bought versions, which contain artificial flavors and coloring, these Homemade Bomb Pop Popsicles are a healthier alternative.
To make these popsicles as natural as possible, here are a few things you can do:
- Homemade lemonade from scratch allows you to control the amount of sugar and only add fresh ingredients. Store-bought powdered or liquid lemonade typically includes added sugars and preservatives.
- Although adding food coloring will make each layer of your popsicle pop, you can omit it to keep your popsicles all natural.
- Depending on how sweet your lemonade or fruits are, you may want to adjust the amount of sugar you use. You can also opt to use natural sweeteners like honey or agave to reduce sugar levels.
How to prevent popsicles from sticking to the mold?
- Non-stick or silicone molds are great for popping your popsicles out without breaking them.
- Cover the inside of the mold with a layer of plastic wrap before pouring in your mixture. However, this method may make the outside of your popsicles a bit bumpy as the plastic wrap can bunch in certain places.
What can I use instead of popsicle molds and popsicle sticks?
- Popsicle Molds:
- You can use paper cups as popsicle molds. Fill the cups with the popsicle mixtures as usual and freeze. When ready, simply tear the paper cup away from the popsicles.
- Small glasses or jars are a great alternative to popsicle molds. After freezing, run them under warm water or let them sit in a warm water bath for a few seconds to loosen the popsicles from the glass.
- Repurpose silicone molds from other baking projects, such as cupcake molds or chocolate molds, to create different shapes for your popsicles. In this case, you can gently push the popsicles out of the molds.
- Popsicle Sticks:
- Thick paper straws or reusable metal straws can be used instead of popsicle sticks. If using paper straws, be sure to cut them down to size before inserting them into your popsicle mixture.
- You can use small utensils such as teaspoons or cocktail stirrers as well. They’re a great, eco-friendly alternative and can most likely be found in your kitchen drawer already! Make sure to wash and dry thoroughly before using.
Can I make dairy-free Homemade Bomb Pop Popsicles?
- Yes, you can substitute some full-fat coconut milk for plain yogurt at a 1:1 ratio.
- If using coconut milk from a can, make sure to shake before use to combine the thick, creamy part of the milk with the liquid part. This separation is normal.
- You can also pour it out into a bowl and give it a good whisk to thoroughly combine the separated parts for a consistent texture.
What do I use if I don’t have a blender?
- To make these Homemade Bomb Pop Popsicles without a blender, you can use a food processor or immersion blender. You want to achieve a smooth puree consistency.
- If using a masher, mash your fruits down as much as possible before combining them with the sugar, lemonade, and plain yogurt.
- If you want a smoother consistency, you can push the mashed fruits through a sieve.

Looking For More Popsicle Recipes? Check Out:
- 5 Best Popsicles for Summer
- 5 All Natural Fruit Popsicles
- Homemade Popsicles
- Cold & Boozy Pina Colada Popsicles
- Homemade Popsicles Trio
And don’t miss more everyday baking recipes in my NEW Bigger Bolder Baking Every Day Cookbook!
IMPORTANT NOTE: This recipe was improved and updated on 6/6/2024, to include new instructions, a STEP-BY-STEP tutorial video, and more Pro Chef Tips.
Try These Recipes!


Watch The Recipe Video!
Homemade Bomb Pop Popsicle Recipe

Ingredients
Red Layer
- 1 cup (5 oz/142 g) strawberries, fresh or defrosted
- ⅓ cup (2 ½ fl oz/80 ml) lemonade
- ⅓ cup (2 ½ oz/71 g) plain yogurt
- 1-2 teaspoons granulated sugar
- 1-2 drops red food coloring (optional)
White Layer
- ⅔ cup (5 fl oz/160 ml) lemonade
- ⅓ cup (2 ½ oz/71 g) plain yogurt
- 1-2 teaspoons granulated sugar
Blue Layer
- ½ cup (2½ oz/71 g) blueberries, fresh or defrosted
- ⅓ cup (2½ floz/80 ml) lemonade
- ⅓ cup (2½ oz/71 g) plain yogurt
- 1-2 teaspoons granulated sugar
- 1-2 drops blue food coloring (optional)
Instructions
Make The Red Layer
- Combine the strawberries, lemonade, yogurt, 1 teaspoon of sugar and food coloring (if using) in a blender and puree until smooth. Taste and add more sugar if needed.
- Pour evenly into 10 popsicle molds, then insert wooden popsicle sticks and freeze until solid, at least 2 hours.
Make The White Layer
- Combine the lemonade, yogurt and 1 teaspoon of sugar in a blender and process until smooth. Taste and add sugar if needed.
- Pour evenly over the frozen red layer and freeze until solid, at least 2 hours.
Make The Blue Layer
- Combine the blueberries, lemonade, yogurt, 1 teaspoon of sugar and food coloring (if using) in a blender and puree until smooth. Taste and add more sugar if needed.
- If desired, strain to remove the skin, then pour evenly on top of the frozen white layer. Freeze now for a minimum of 4 hours, but preferably overnight.
- To unmold, run the mold under warm water for a few seconds to loosen the popsicles.
- Store leftovers in the freezer and in their molds for up to 2 week.
Recipe Notes
- To make these popsicles 100% natural, don’t use food coloring.
- You can replace the granulated sugar with honey or agave, but this will affect the color slightly.
- You can use vanilla yogurt in the layers instead of plain yogurt. If you do, leave out the granulated sugar as vanilla yogurt will be sweet enough.
- If your popsicle sticks are not standing up straight, let them freeze for a bit before inserting them.
- Be sure that each layer is fully frozen before adding the next or the colors will lift and blend.
- After adding each color make sure to wipe down the walls of the mold so you get clean layers.

