This post may contain affiliate links. Please see my full disclosure for details.
Hi Bold Bakers!
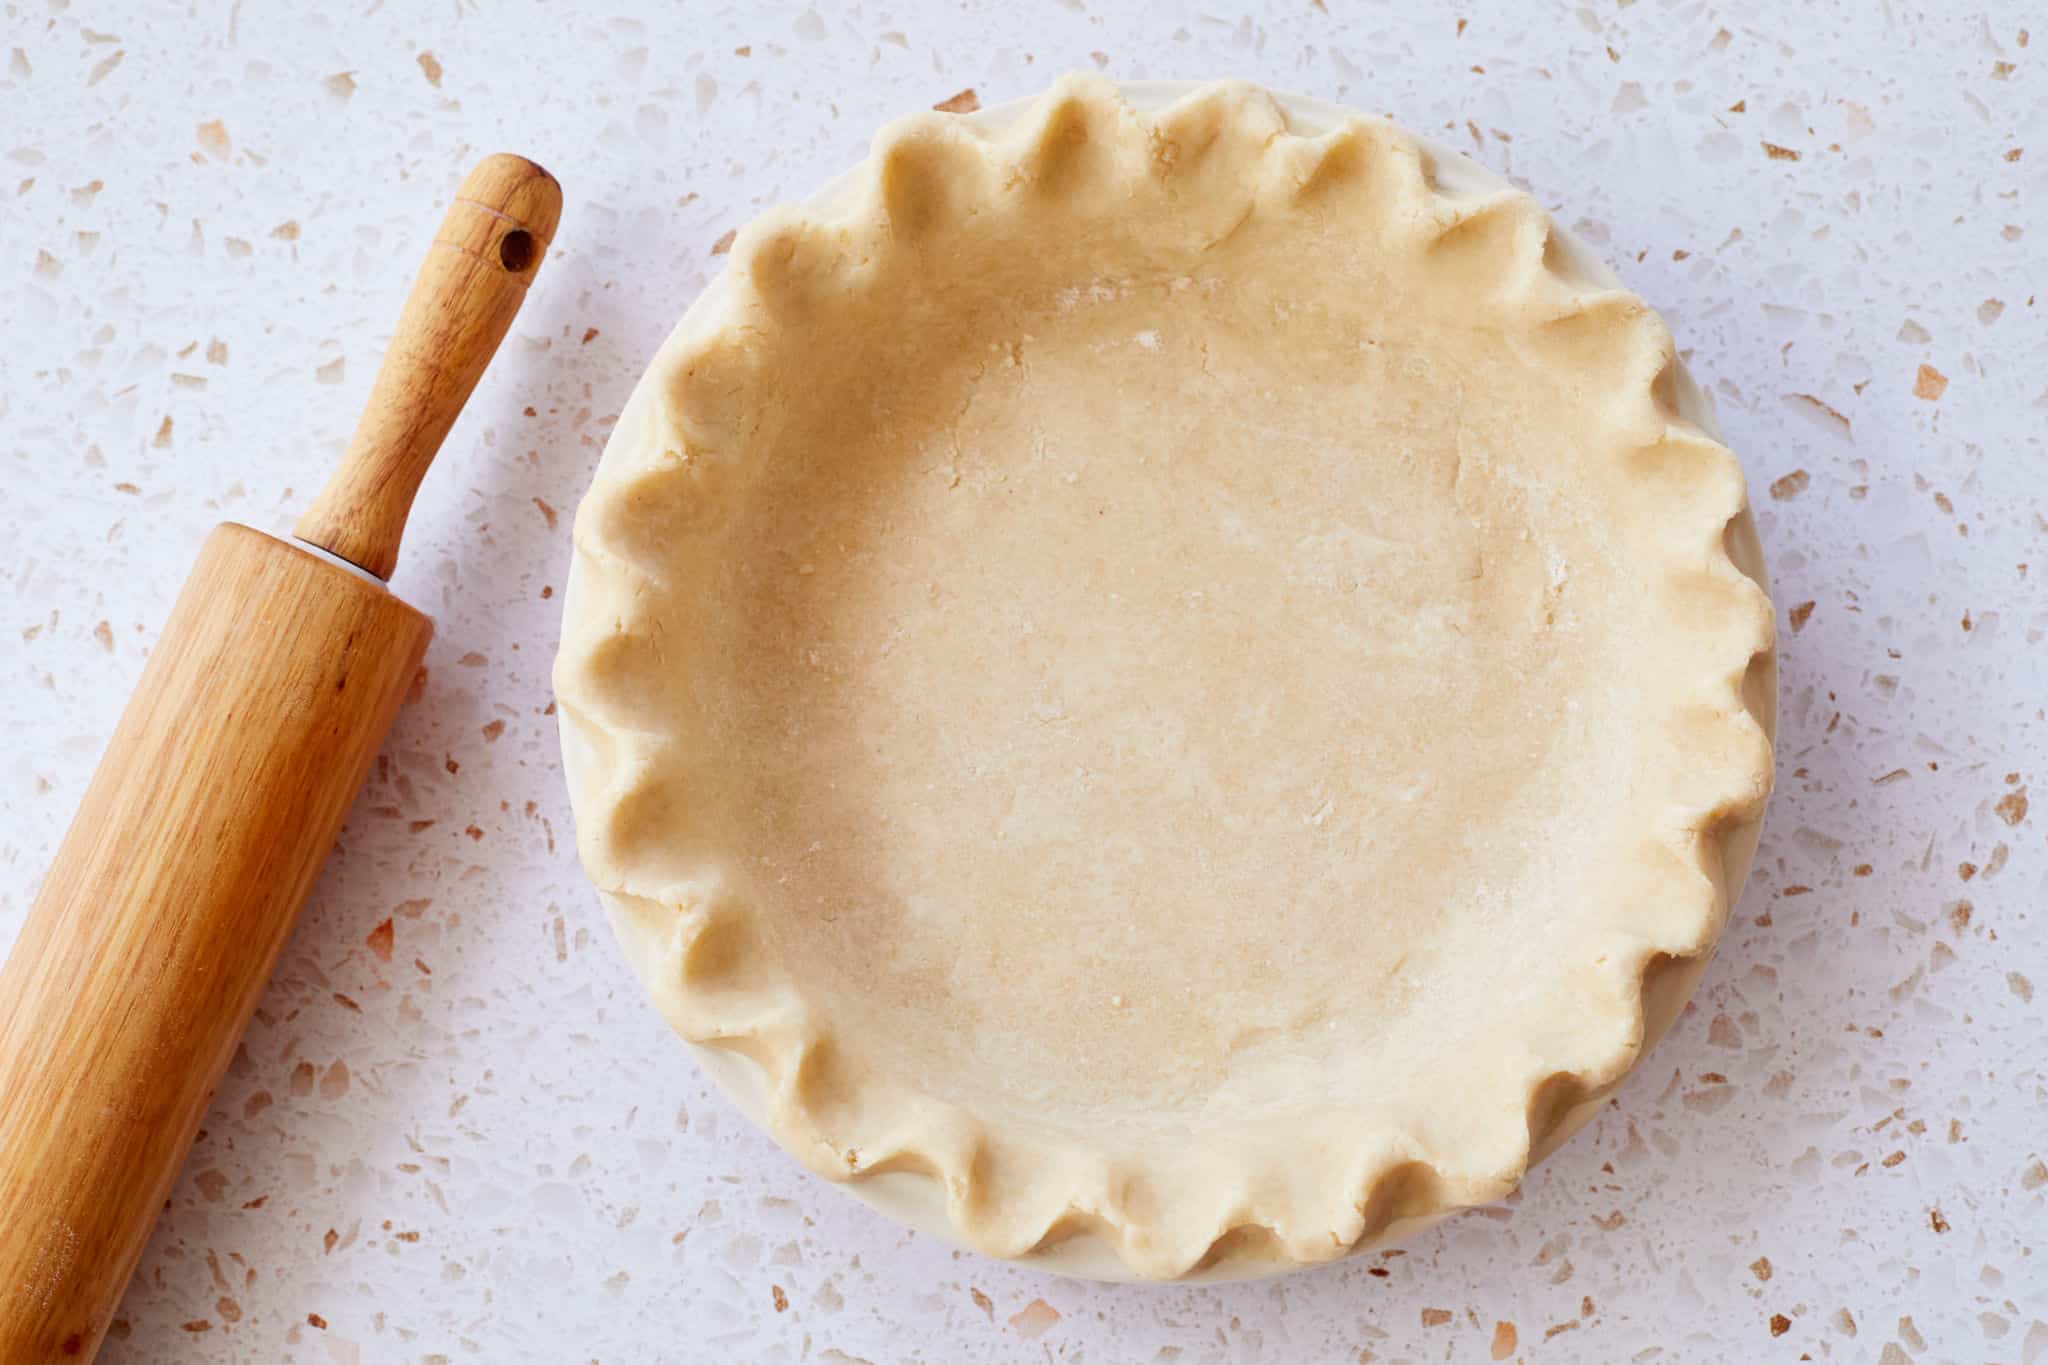
IN THIS RECIPE: Your new favorite way to make pie crust! Just 5 ingredients will get you a flaky, incredible Pâte Brisée pie crust that you can use with all of your favorite pies — all of which I definitely have recipes for… like Pumpkin Pie, Apple Pie (or even Caramel Apple Pie), Pecan Pie, and more.
I’m going to say something radical here. Are you ready? A flaky, tender, absolutely perfect pie crust doesn’t need shortening or any chemical cheats. In fact, this pie crust only uses butter and four other simple ingredients to get the results you’re looking for. It’s all about technique, and this French technique is as simple as it comes.
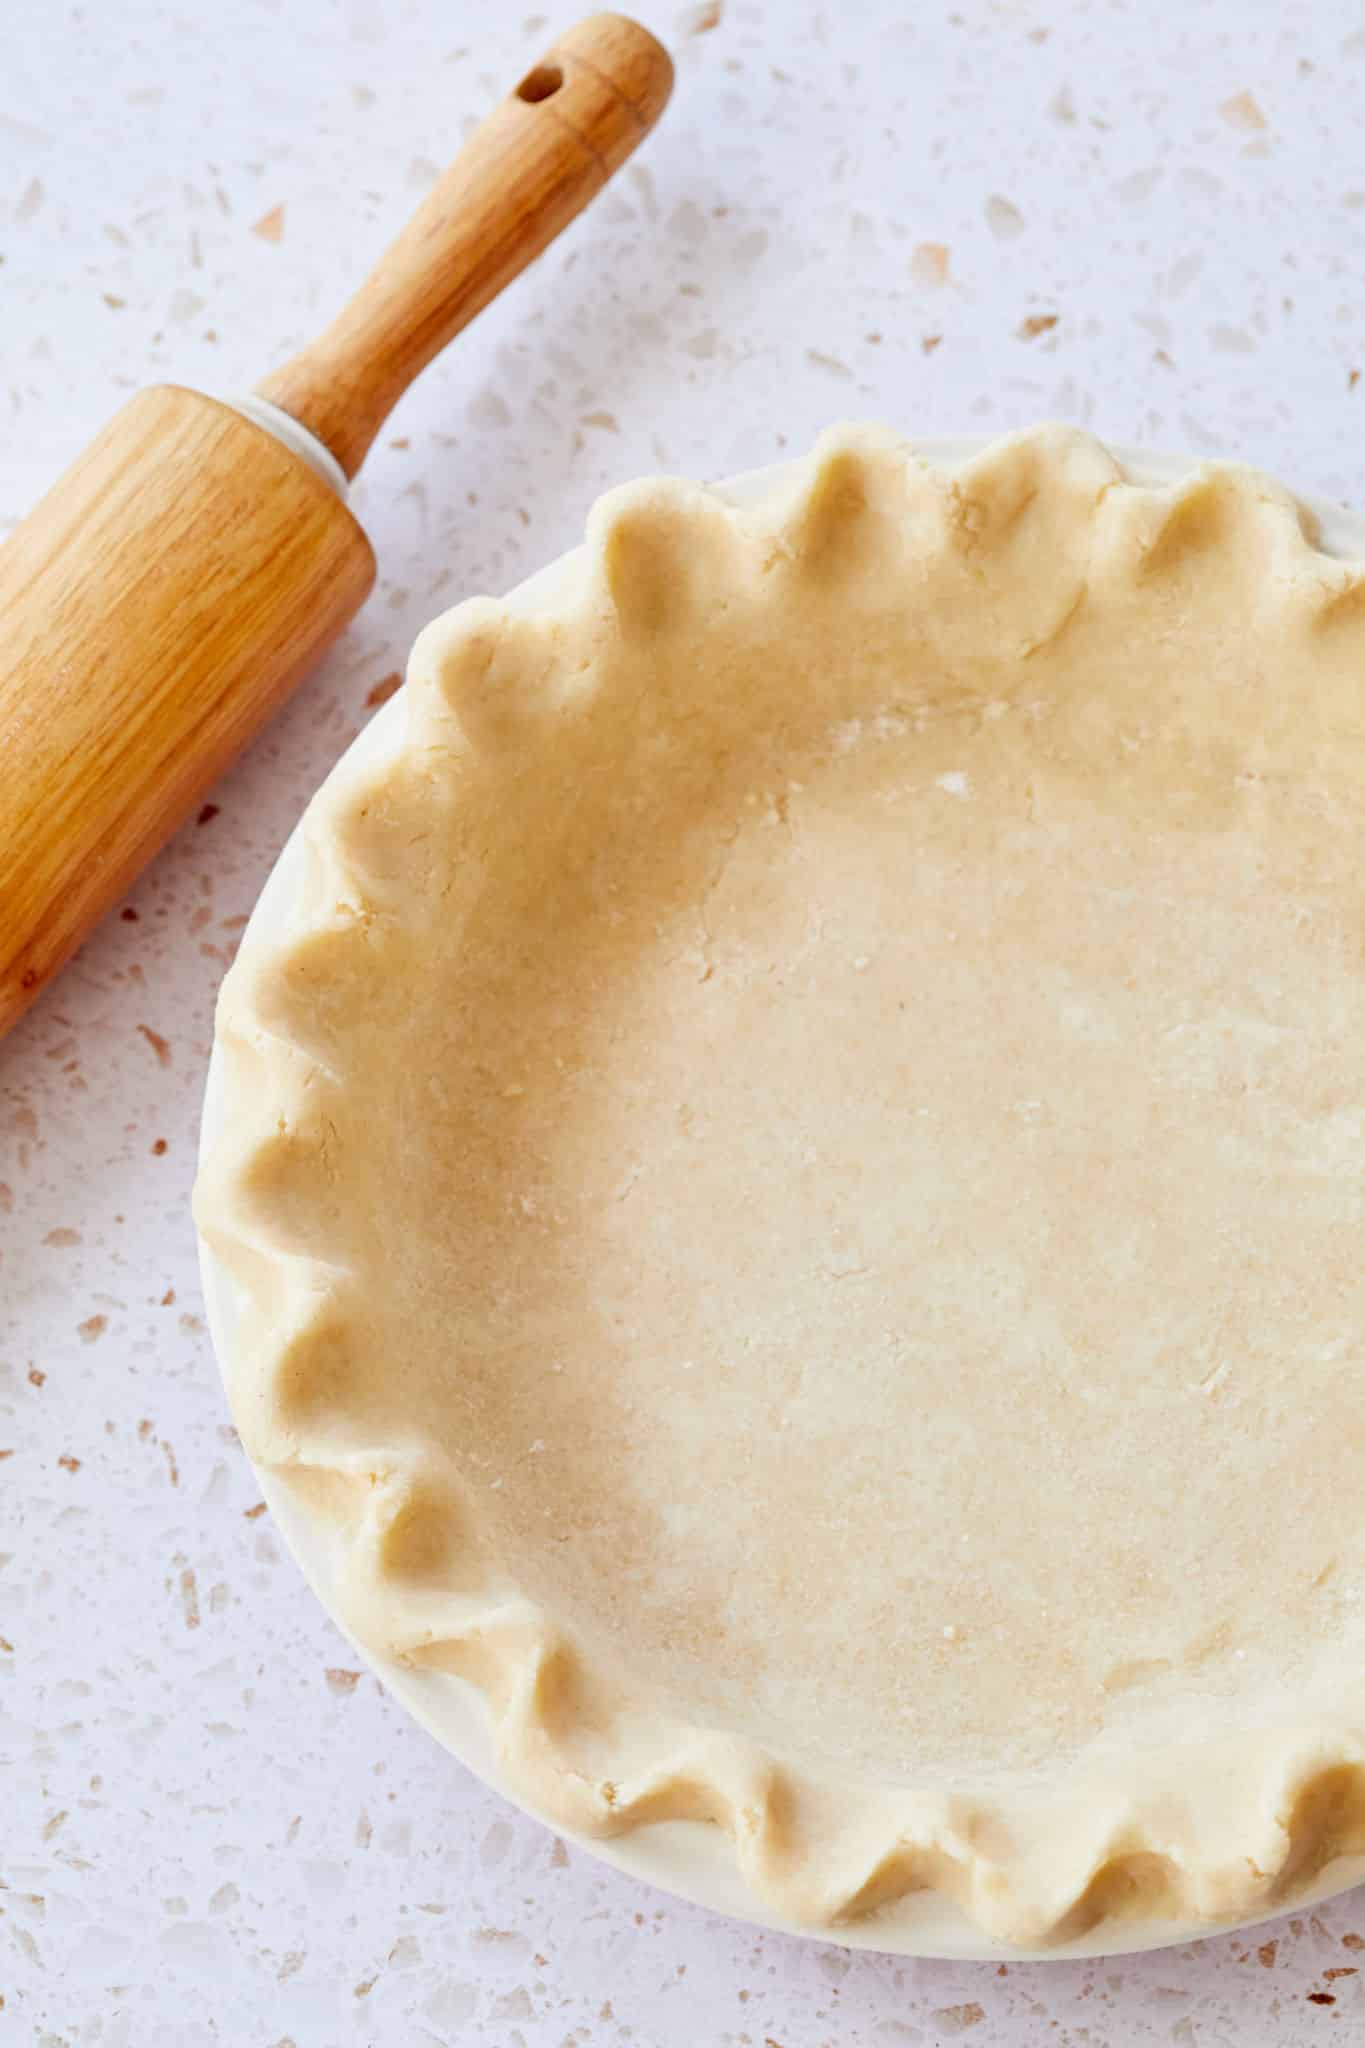
What Is Pâte Brisée?
Pâte Brisée is a pie that uses a French technique called fraisage. It is used to blend the dough after all the ingredients have been cut together. Blending the dough together in this way creates long alternating strands of butter and dough — which is essential for a flaky, layered, and tender pie crust!
The Flour
Feel free to use All-Purpose Flour here. You can also use a 1:1 All-Purpose Gluten-Free Flour if you have a favorite! Just make sure it’s 1:1. More important is that your butter and water are very cold when making this pie crust recipe.
What You Need To Make Pâte Brisée
- Your Fingers (a Pastry Blender is optional!)
- Mixing Bowl
- Measuring Cups & Spoons
How To Make Pâte Brisée
It’s simple, and most of the steps are exactly like making a regular pie crust, or my Perfect Pie Crust. The difference comes in the technique, that fraisage I mentioned earlier. To do that, you have to quickly work with the heel of your hand to smear small portions of dough away from you into thin streaks until all the dough has been worked. You only need to smear each portion once. This is fraisage!
Tips For Making Pâte Brisée
- Always make sure that your butter and water are very cold when making this or any pie crust.
- You can use this pie crust for any pie filling. The recipe makes just one crust but you can easily double it for a two-crust pie.
- The touch of sugar helps tenderize the crust but you can leave it out if you prefer (or if you are making a savory pie).
- This crust is amazing with my Caramel Apple Pie
- Try this crust when making homemade Pop-Tarts
How To Blind-Bake Pie Crusts
If your recipe calls for blind baking, here’s an entire in-depth article on how to do it!
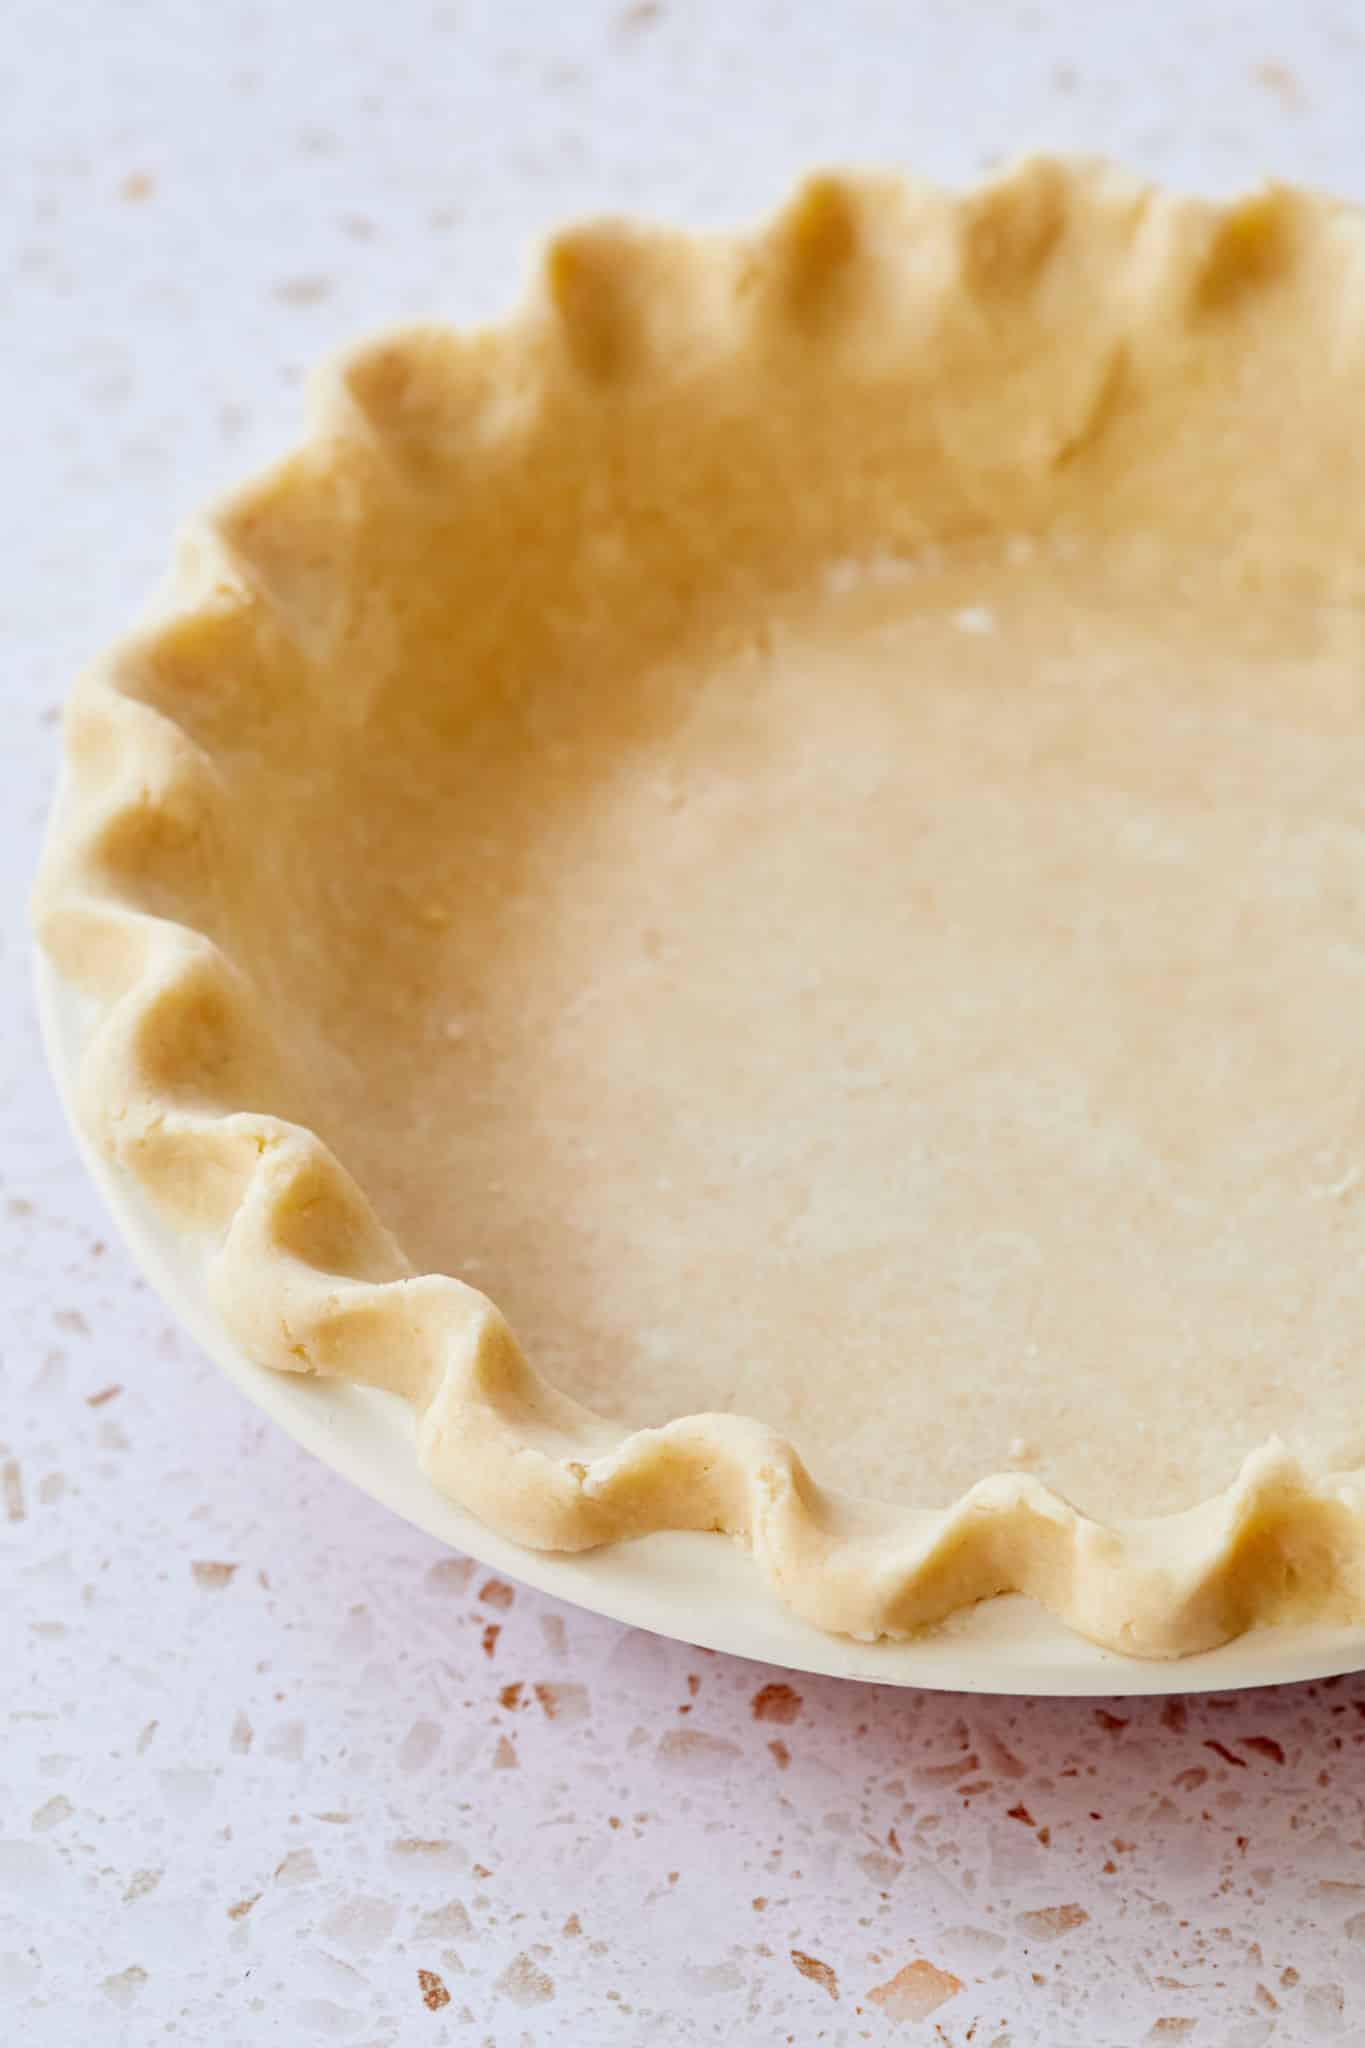
Storing Pâte Brisée
Make your pastry, wrap in cling wrap and freeze for up to 8 weeks. Then you always have pie dough at the ready. Defrost in the fridge overnight and use according to your recipe.
Make More Pies!
And don’t forget to buy my Bigger Bolder Baking Cookbook!
Pâte Brisée Recipe
Ingredients
- 1 ¼ cups (6¼oz/177g) all-purpose flour
- 1 ½ teaspoons granulated sugar
- ½ teaspoon salt
- ½ cup (4oz/115g) butter (cold and diced)
- 3-4 tablespoons ice water
Instructions
- In a medium bowl, combine the flour, sugar, and salt.
- Rub the diced butter into the flour using your fingertips until it resembles coarse crumbs. You can also use a pastry blender.
- Toss in 3-4 tablespoons of ice water and stir to combine.
- Dump the mixture onto a clean and cold work surface.
- Working quickly with the heel of your hand, smear small portions of dough away from you into thin streaks until all the dough has been worked. You only need to smear each portion once. This method is called fraisage.
- With a bench scraper, gather the dough up into a ball, press into a disc, wrap well and refrigerate for at least 30 minutes (and up to 2 days.)
- Your dough is now ready to use. For longer storage, freeze for up to 2 months (defrost overnight in the refrigerator).





Please picture the fraisage technique- I would like to SEE as it is pushed by hand into thin streaks. Thank you.
One picture is worth a thousand words. I make this pastry all the time using my food processor to pulse until crumbly. Takes seconds.
Need video of this technique
I have been using the Pate Brisse Frissage method for a while. To work the dough, use two bench scrapers–or jerry-rig something similar–on a baking surface. This take on the method never puts the warmth of the hands in contact with the buttery flaky dough until gently formed into a disk for fridge resting. I always use buttermilk unless I don’t have enough–then I kick myself. I’ve never had buttermilk long enough to go so sour I could not use it for baking. If it does bubble a bit and still smells good, it adds to its lifting and flaking… Read more »
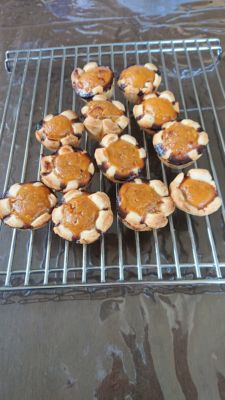
I used this recipe to make mini-pumpkin pies. They turned out beautifully and the crust was flaky, crisp and delicious! I took the advice Gemma always gives and added my water a tablespoon at a time, instead of adding it all at once. I ended up only needing 3 TBS. Also, I started out using my pastry cutter, but found going in with my hands was much better!