This post may contain affiliate links. Please see my full disclosure for details.
Hi Bold Bakers!
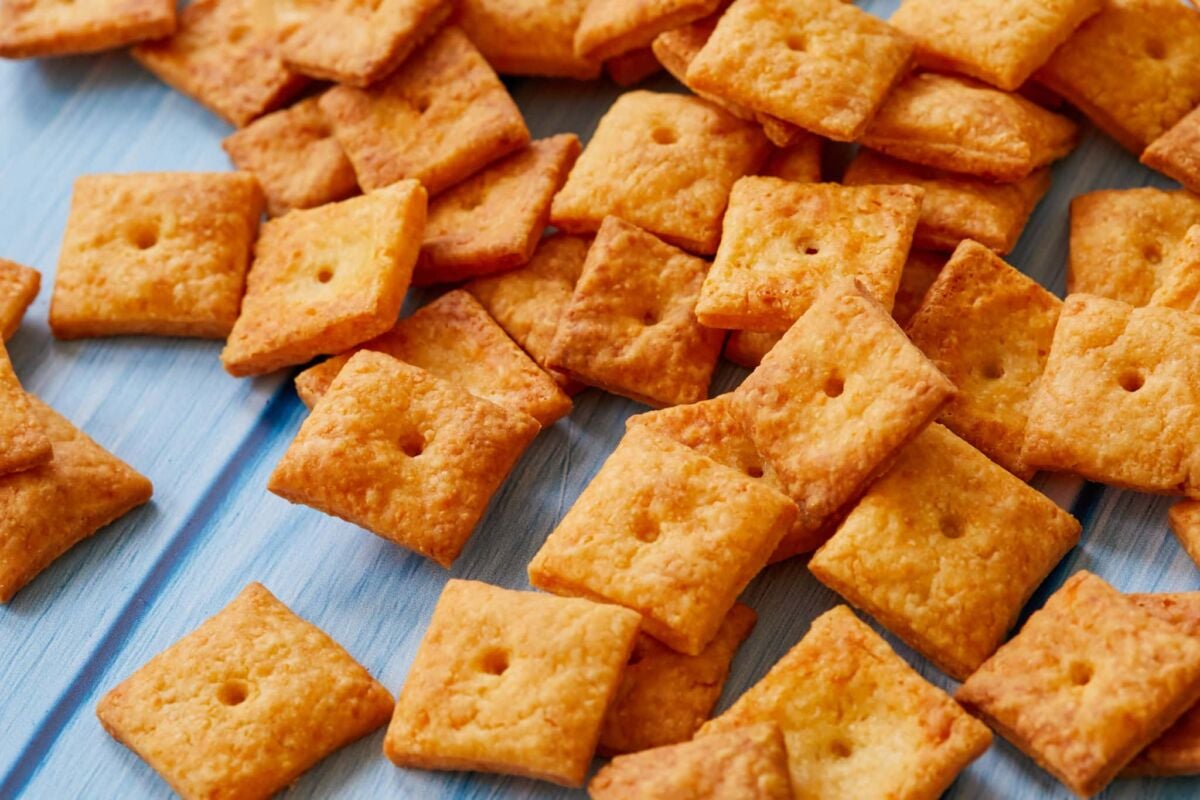
WHY YOU’LL LOVE THIS RECIPE: I’ve made countless homemade crackers over the years, and these Homemade Cheez-Its are one of the recipes that surprised me the most. I expected them to be fussy, but they’re incredibly simple to make with just a handful of ingredients—and the flavor is miles ahead of anything from a box. As a professional baker and a mom, I love having homemade snacks I know my family will actually eat, and these cheesy crackers disappear every single time.
- Made with real cheddar: 100% extra-sharp cheddar delivers bold, cheesy flavor in every bite.
- Perfectly crispy: Light, buttery, golden crackers with the satisfying crunch you know and love.
- Easy to make: Just 5 simple ingredients and a food processor are all you need.
- Perfect for every occasion: Pack them into lunch boxes, serve them on road trips, or keep them on hand for after-school and anytime snacking.
- Freezer-friendly: Freeze the unbaked dough for up to 8 weeks and bake fresh crackers whenever you want them.
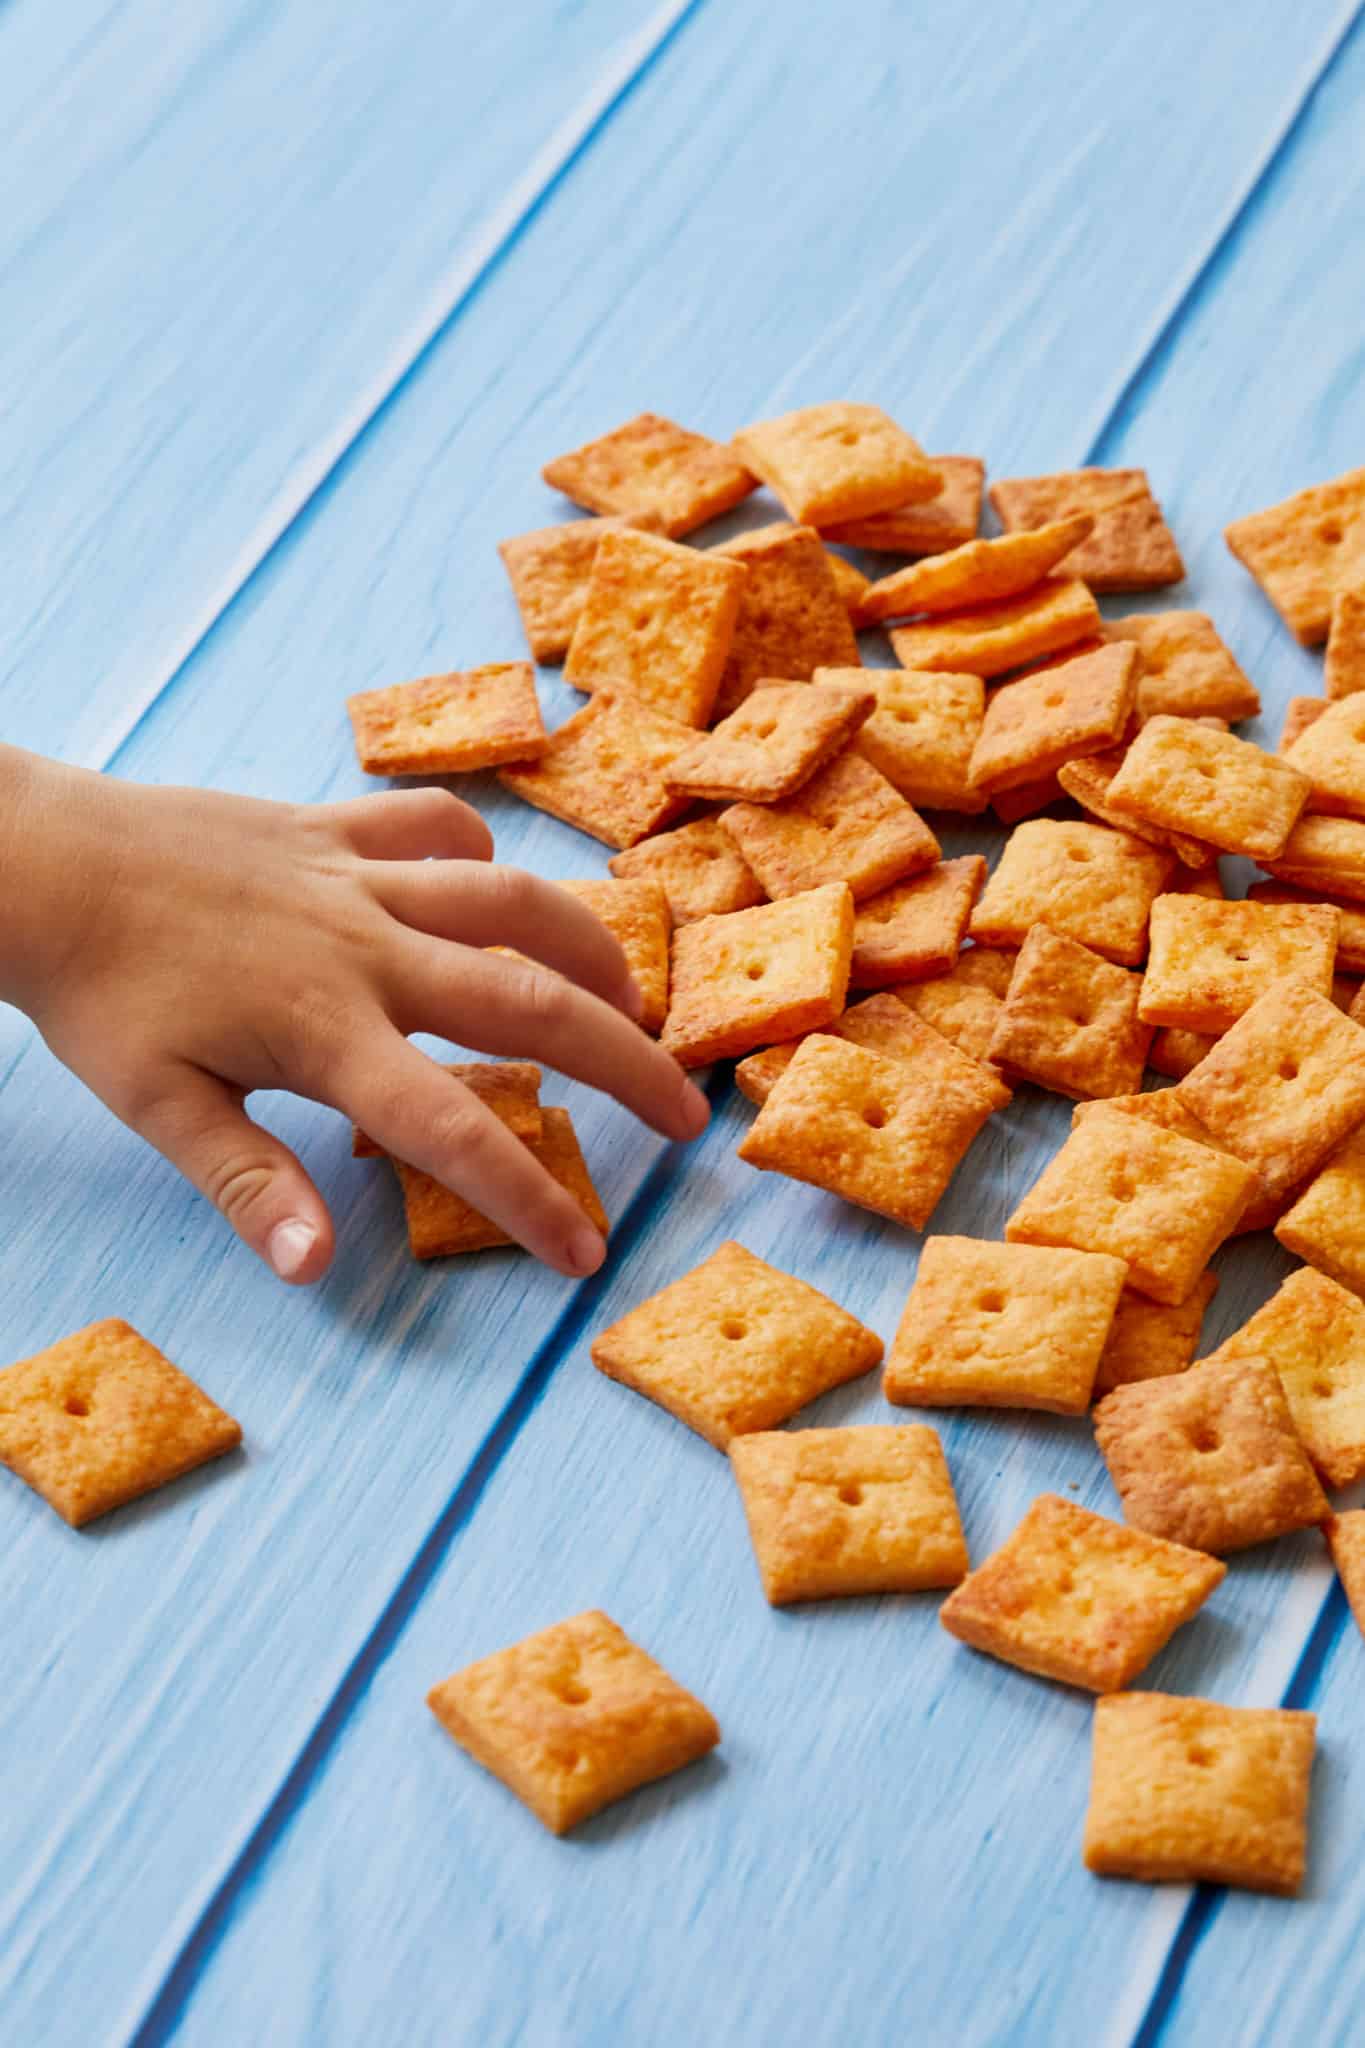
And if you have a young child, as I do, and often find yourself stressing about what they’re eating, you’ll be extra relieved to have a homemade version of one of their favorite snacks — made with all-natural ingredients you can feel good about.
I always keep a batch of this dough in my freezer because it’s such an easy way to have fresh homemade Cheez-Its on demand. Instead of baking the whole batch, I roll, cut, and freeze the crackers, then bake off only what we need. It’s a simple trick that keeps them perfectly fresh, and it gives me peace of mind knowing my family is enjoying a homemade version of one of their favorite snacks. Once you taste them warm from the oven, it’s honestly hard to go back to the boxed kind.
Bold Bakers Loved This!
“I just made these with a GF flour (Cup4Cup in the blue bag) and used a pasta roller attachment and they turned out perfect! Thank you!”– Erika
“absolutely delicious, used a bit of leftover parmesan in the recipe. a lot of will power needed not to eat them all in one go!” – Nicola A.
“A M A Z I N G!!!!!!
Must try recipe! super delicious. Excellent recipe!!! We used white cheddar instead and added some turmeric for the color and they were absolutely delicious! My kid and I had so much fun making them, It’s now in our recipe book for ever.” — Sabeba
IMPORTANT NOTE: This post was updated on 7/21/2026 with a refreshed introduction, updated recipe description, clearer step-by-step instructions, and enhanced Pro Chef Tips.
Table of Contents
- What are Homemade Cheez Its?
- Tools You Need
- Key Ingredients and Substitutes
- How to Make Homemade Cheez Its Crackers
- Gemma’s Pro Chef Tips
- Make-Ahead and Storage Instructions
- How to Know Cheez Its are Ready
- FAQs
- More Copycat Recipes
What are Homemade Cheez Its?
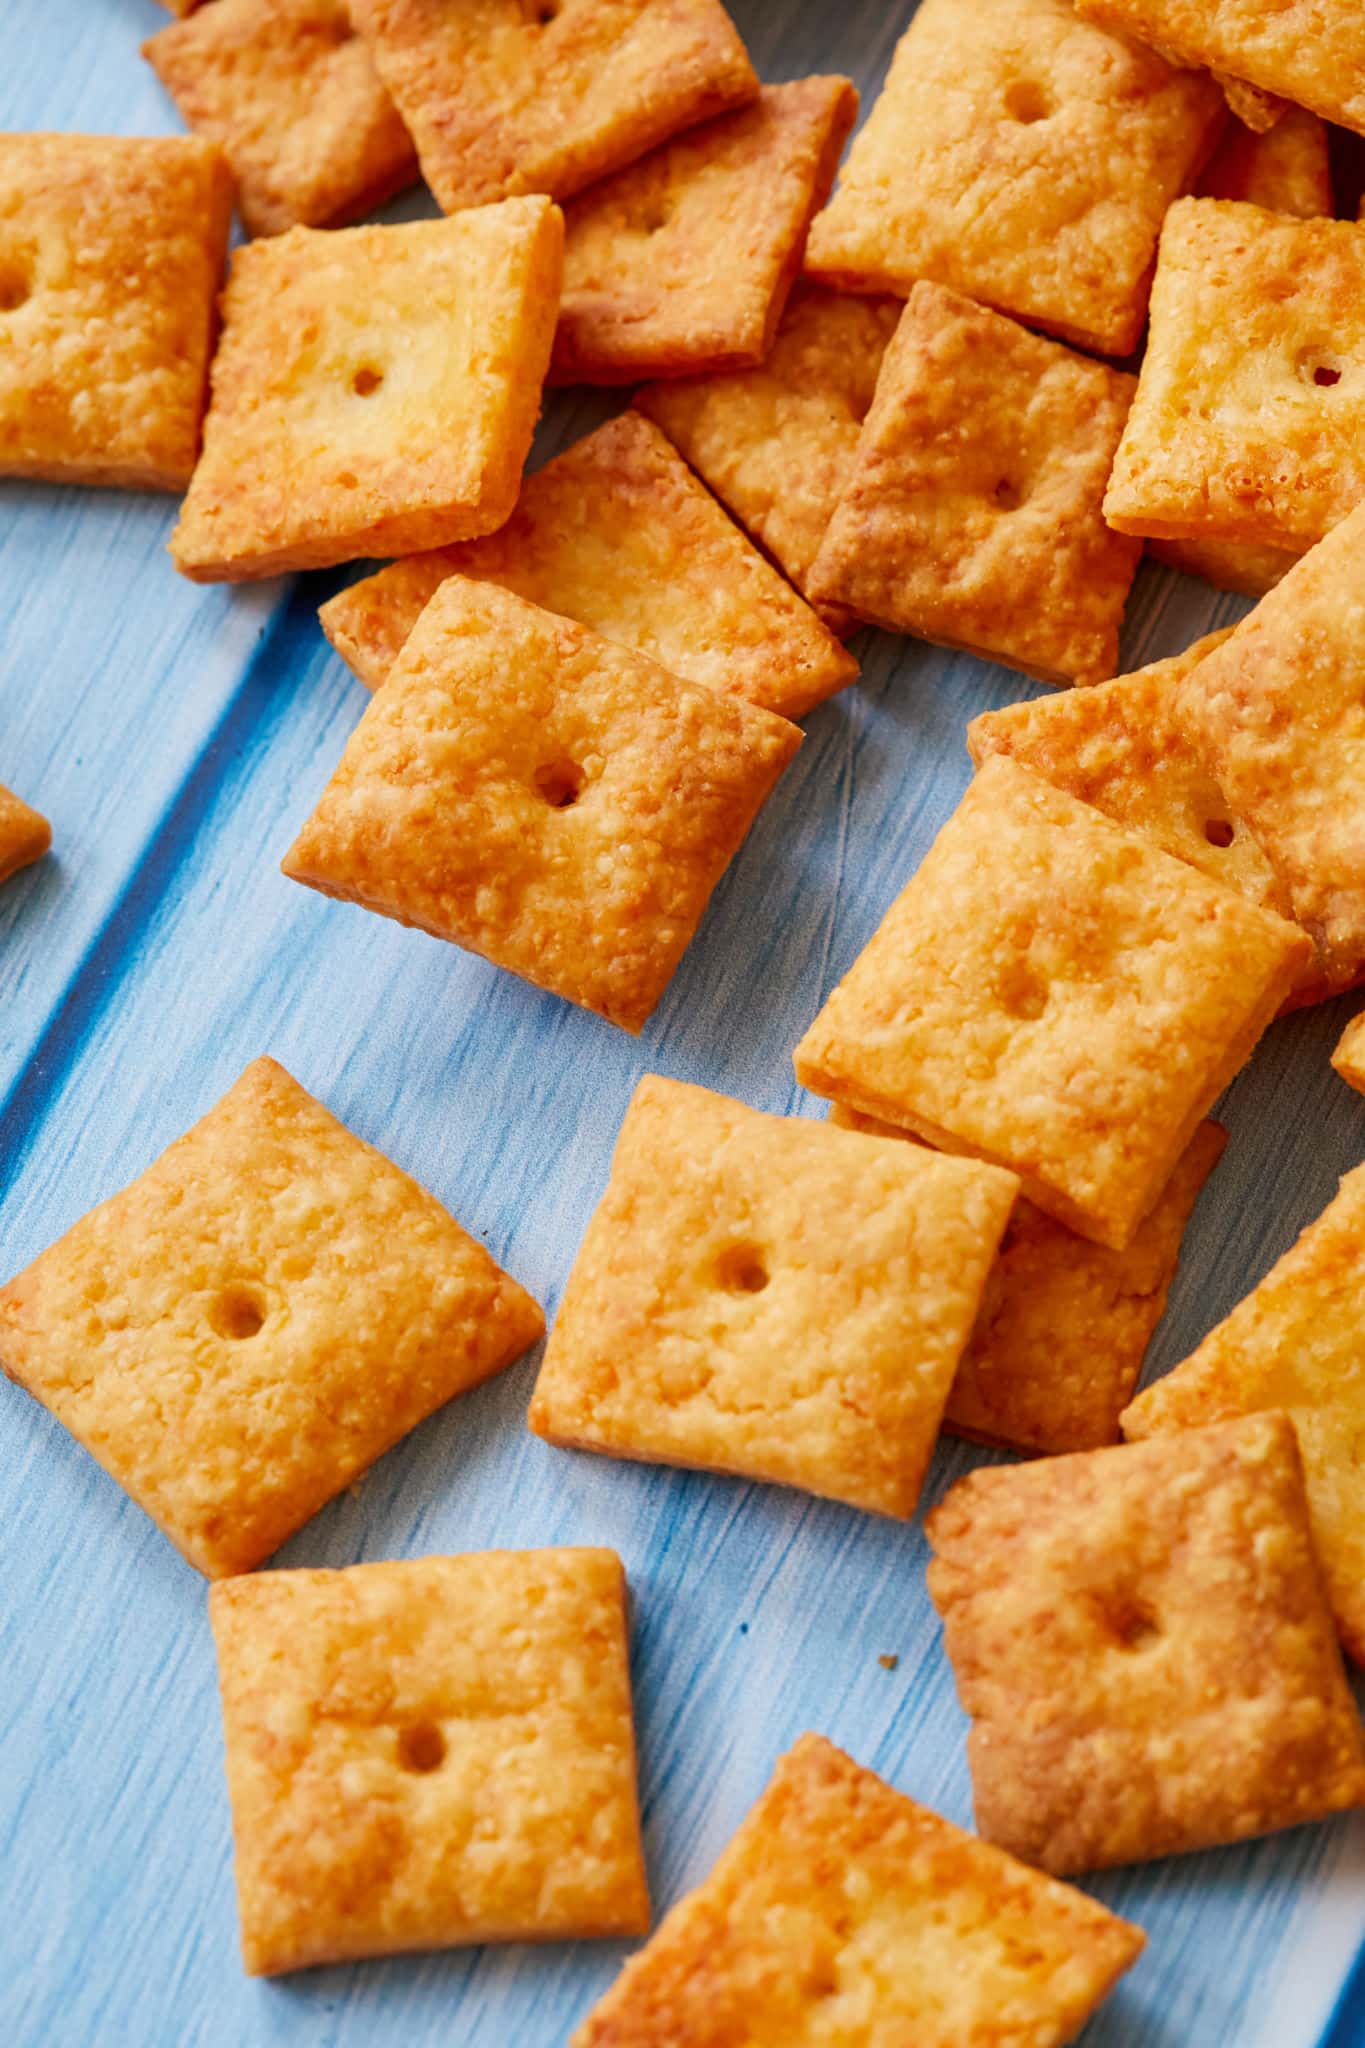
Homemade Cheez-Its are a from-scratch version of the classic store-bought cheese crackers, made with 5 simple, real ingredients for a fresher, cheesier snack.
- Real Ingredients: Made with extra-sharp cheddar cheese, butter, flour, salt, and water — no preservatives or artificial flavors.
- Crispy Texture: Baked until golden and crisp, just like the original, but even lighter and fresher.
- Bold Cheesy Flavor: Using real cheddar gives these crackers an even richer, tangier taste than store-bought.
- Customizable: Easy to swap in different cheeses or adjust seasoning for your perfect cracker.
Tools You Need
- Measuring cups
- Measuring spoons
- Food processor
- Rolling pin
- Knife, pizza cutter, or fluted pastry wheel
- Parchment paper
- Baking sheets
Key Ingredients and Substitutes
Extra-Sharp Cheddar Cheese
- Provides the main flavor and fat needed for richness and crispness. Also helps bind the dough.
- Substitutes:
- Mild cheddar for a less sharp taste
- Monterey Jack for a creamier, milder cracker
- White cheddar or a mix of white cheddar and parmesan for a different sharpness.
All-Purpose Flour
- Forms the structure of the crackerdough, binding the fat and cheese together.
- Substitutes:
- Whole wheat flour for a nuttier, heartier flavor (expect a slightly denser cracker)
- Gluten-free all-purpose blend or my Easy Almond Baking Mix for a gluten-free version.
Salt
- Enhances the overall flavor and balances the richness of the cheese.
Butter
- Cold butter adds richness and helps create a tender, flaky texture.
- Substitutes:
- Unsalted butter for more control over saltiness
- Plant-based butter for a dairy-free option, but the texture may slightly vary.
Ice Water
- Helps the dough come together without warming the butter or cheese, preserving a flaky, tender texture.
- Substitutes:
- Cold milk for a slightly richer dough (optional)
- Adjust the amount slightly depending on dough consistency.
How to Make Homemade Cheez Its Crackers
- Combine the dry ingredients: In the bowl of a food processor, combine the cheese, flour, and salt and process for 10 to 15 seconds, until the mixture is finely ground.
- Add the butter and water: Pulse in the butter until crumbly, then pulse in the water until the mixture just starts to come together.
- Knead and chill the dough: Transfer to the counter and knead briefly, just until a dough is formed. Divide the dough in half, then cover with plastic wrap and refrigerate until chilled, about 1 hour.
- Preheat the oven: When ready to bake, preheat the oven to 350°F (180°C) fan assist and have 2 baking sheets set aside.
- Roll and cut the dough: On a piece of floured parchment paper big enough to fit into the baking sheet, roll out one half of the dough into roughly a 9×11-inch (23×28-cm) rectangle. Cut the dough into 1-inch (2½-cm) squares. Trim any jagged edges if you wish to have perfect squares.
- Arrange and poke the crackers: Transfer the paper with the dough to a baking sheet and spread the squares of dough evenly apart. Using the flat end of a wooden skewer, poke a hole in the center of each square.
- Bake until crisp: Bake for 12–15 minutes, until the crackers are puffed and golden brown. Let cool while you repeat with the remaining dough.
- Store for later: Store in an airtight container at room temperature for up to 1 week.
FULL (PRINTABLE) RECIPE BELOW!
Gemma’s Pro Chef Tips For Making Copycat Cheez-Its
- Use a food processor: A food processor is essential for grinding the cheese properly for this dough.
- Choose the right cheddar: If you want the classic look, use yellow cheddar. But the taste is more important, so if you can only find extra sharp white cheddar, go with this. I do NOT recommend using shredded cheese, which contains anti-caking agents so won’t blend or melt so well.
- Customize the flavors: sprinkle spices such as garlic powder, onion powder, or paprika over the crackers for extra flavors.
- Roll dough thinly: Be sure to roll the dough to the correct measurements, so it is thin enough to bake up nice and crispy!
- Watch for over baking: Watch the crackers carefully towards the end of the baking time. They can quickly go from nice and toasty to over brown and burnt.
- Bake with the fan on: Because there are two trays it is best to bake with the fan on. If you are only baking one tray at a time without fan, then bake at 375°F (190℃).
- Adjust baking time if needed: If you cut your crackers bigger than just note you might need a longer baking time.
Make-Ahead and Storage Instructions
Refrigerating Dough:
If you’re not baking right away, you can refrigerate the dough for up to 24 hours. Just be sure to cover it tightly with plastic wrap to prevent it from drying out.
Freezing Dough:
You can make the dough ahead of time, wrap it tightly, and freeze for up to 8 weeks. When ready to bake, let the dough thaw in the refrigerator for a few hours before rolling and cutting.
Storing Baked Crackers:
Store your homemade Cheez-Its in an airtight container at room temperature for up to 1 week. For longer storage, you can refrigerate them, but they may lose some crispness.
How to Know Cheez Its are Ready
Golden Brown:
The crackers should be puffed up and golden brown when they’re done. Check the edges, as they will be the first to show the color change.
Crispy Texture:
Gently press on a cracker to feel for a firm, crispy texture. If it feels soft or doughy, they need more time in the oven.
Even Baking:
Rotate the baking sheets halfway through the baking time to ensure even cooking, especially if using two trays.
FAQs
What Kind Of Cheese Is In Cheez-Its?
Cheez-Its are made with 100% real cheese, which they proudly advertise on their packaging. If you look at the ingredients of Cheez-Its, they list “cheese made with skim milk.” The Original Cheez-Its don’t say which cheese they include, but for my homemade version, I opted to use extra-sharp cheddar cheese for that real cheesy flavor.
Can I Use Another Cheese In Homemade Cheez-Its?
I used 8 oz. of extra-sharp cheddar cheese to make our Cheez-Its, but feel free to experiment with other semi-hard cheeses. If you’d like a more mild-tasting Cheez-It, try cheddar cheese instead of extra-sharp. You can also try making these crackers with 8 oz. of Monterey Jack cheese, or with 6 oz. of white cheddar cheese and 2 oz. of parmesan!
Try More Copycat Recipes!
- Absolutely Adorable Homemade Animal Crackers
- 4-Ingredient Homemade Goldfish Crackers
- Homemade Wheat Thins
- Homemade Thin Mints
- Homemade Disneyland Dole Whip
IMPORTANT NOTE: This post was updated on 7/21/2026 with a refreshed introduction, updated recipe description, clearer step-by-step instructions, and enhanced Pro Chef Tips.
Try These Recipes!



Homemade Cheez-Its


Ingredients
- 2⅔ cups (8 oz/225 g) shredded extra-sharp cheddar cheese
- 1 cup (5 oz/142 g) all-purpose flour
- ¼ teaspoon salt
- ¼ cup (2 oz/57 g) butter, cold and diced
- 2 tablespoons ice water
Instructions
- In the bowl of a food processor, combine the cheese, flour, and salt and process for 10 to 15 seconds, until the mixture is finely ground.
- Pulse in the butter until crumbly, then pulse in the water until the mixture just starts to come together.
- Transfer to the counter and knead briefly, just until a dough is formed. Divide the dough in half, then cover with plastic wrap and refrigerate until chilled, about 1 hour.
- When ready to bake, preheat the oven to 350°F (180℃) fan assist and have 2 baking sheets set aside.
- On a piece of floured parchment paper big enough to fit into the baking sheet, roll out one half of the dough into roughly a 9x11-inch (23x28-cm) rectangle. Cut the dough into 1-inch (2½-cm) squares. Trim any jagged edges if you wish to have perfect squares.
- Transfer the paper with the dough to a baking sheet and spread the squares of dough evenly apart. Using the flat end of a wooden skewer, poke a hole in the center of each square.
- Bake for 12 - 15 minutes, until the crackers are puffed and golden brown. Let cool while you repeat with the remaining dough
- Store in an airtight container at room temperature for up to 1 week.
Recipe Notes
- Use a food processor: A food processor is essential for grinding the cheese properly for this dough.
- Choose the right cheddar: If you want the classic look, use yellow cheddar. But the taste is more important, so if you can only find extra sharp white cheddar, go with this. I do NOT recommend using shredded cheese, which contains anti-caking agents so won't blend or melt so well.
- Customize the flavors: sprinkle spices such as garlic powder, onion powder, or paprika over the crackers for extra flavors.
- Roll dough thinly: Be sure to roll the dough to the correct measurements, so it is thin enough to bake up nice and crispy!
- Watch for over baking: Watch the crackers carefully towards the end of the baking time. They can quickly go from nice and toasty to over brown and burnt.
- Bake with the fan on: Because there are two trays it is best to bake with the fan on. If you are only baking one tray at a time without fan, then bake at 375°F (190℃).
- Adjust baking time if needed: If you cut your crackers bigger than just note you might need a longer baking time.









I just made these with a GF flour (Cup4Cup in the blue bag) and used a pasta roller attachment and they turned out perfect! Thank you!
Made these today. sharp white cheddar. So yummy!!
absolutely delicious, used a bit of leftover parmesan in the recipe. a lot of will power needed not to eat them all in one go!
It worked! I’m not yet a bold baker, but you give me hope, Gemma. My daughter loves White Cheddar Cheez-Its and I wondered if I could make them at home. I followed your directions, including Pro tips and recipe notes that brought them all together. They are delicious! Thank you for your help and encouragement.
Got a new food processor and tried this recipe. They came out great…delicious and so easy! Thanks for another great recipe!!
Can I cut these out with my gold fish cutter and bake them that way.
just made a batch, followed the recipe exactly, omg, are these incredibly delicious! I will never buy cheezits again
A M A Z I N G!!!!!!
Must try recipe! super delicious. Excellent recipe!!! We used white cheddar instead and added some turmeric for the color and they were absolutely delicious! My kid and I had so much fun making them, It’s now in our recipe book for ever.
Yummy crackers! Easy instructions and I used New York extra sharp white cheddar. Thanks!
I made these today! I used Jalapeno cheddar. It’s so good and quite addictive!