This post may contain affiliate links. Please see my full disclosure for details.
Hi Bold Bakers!
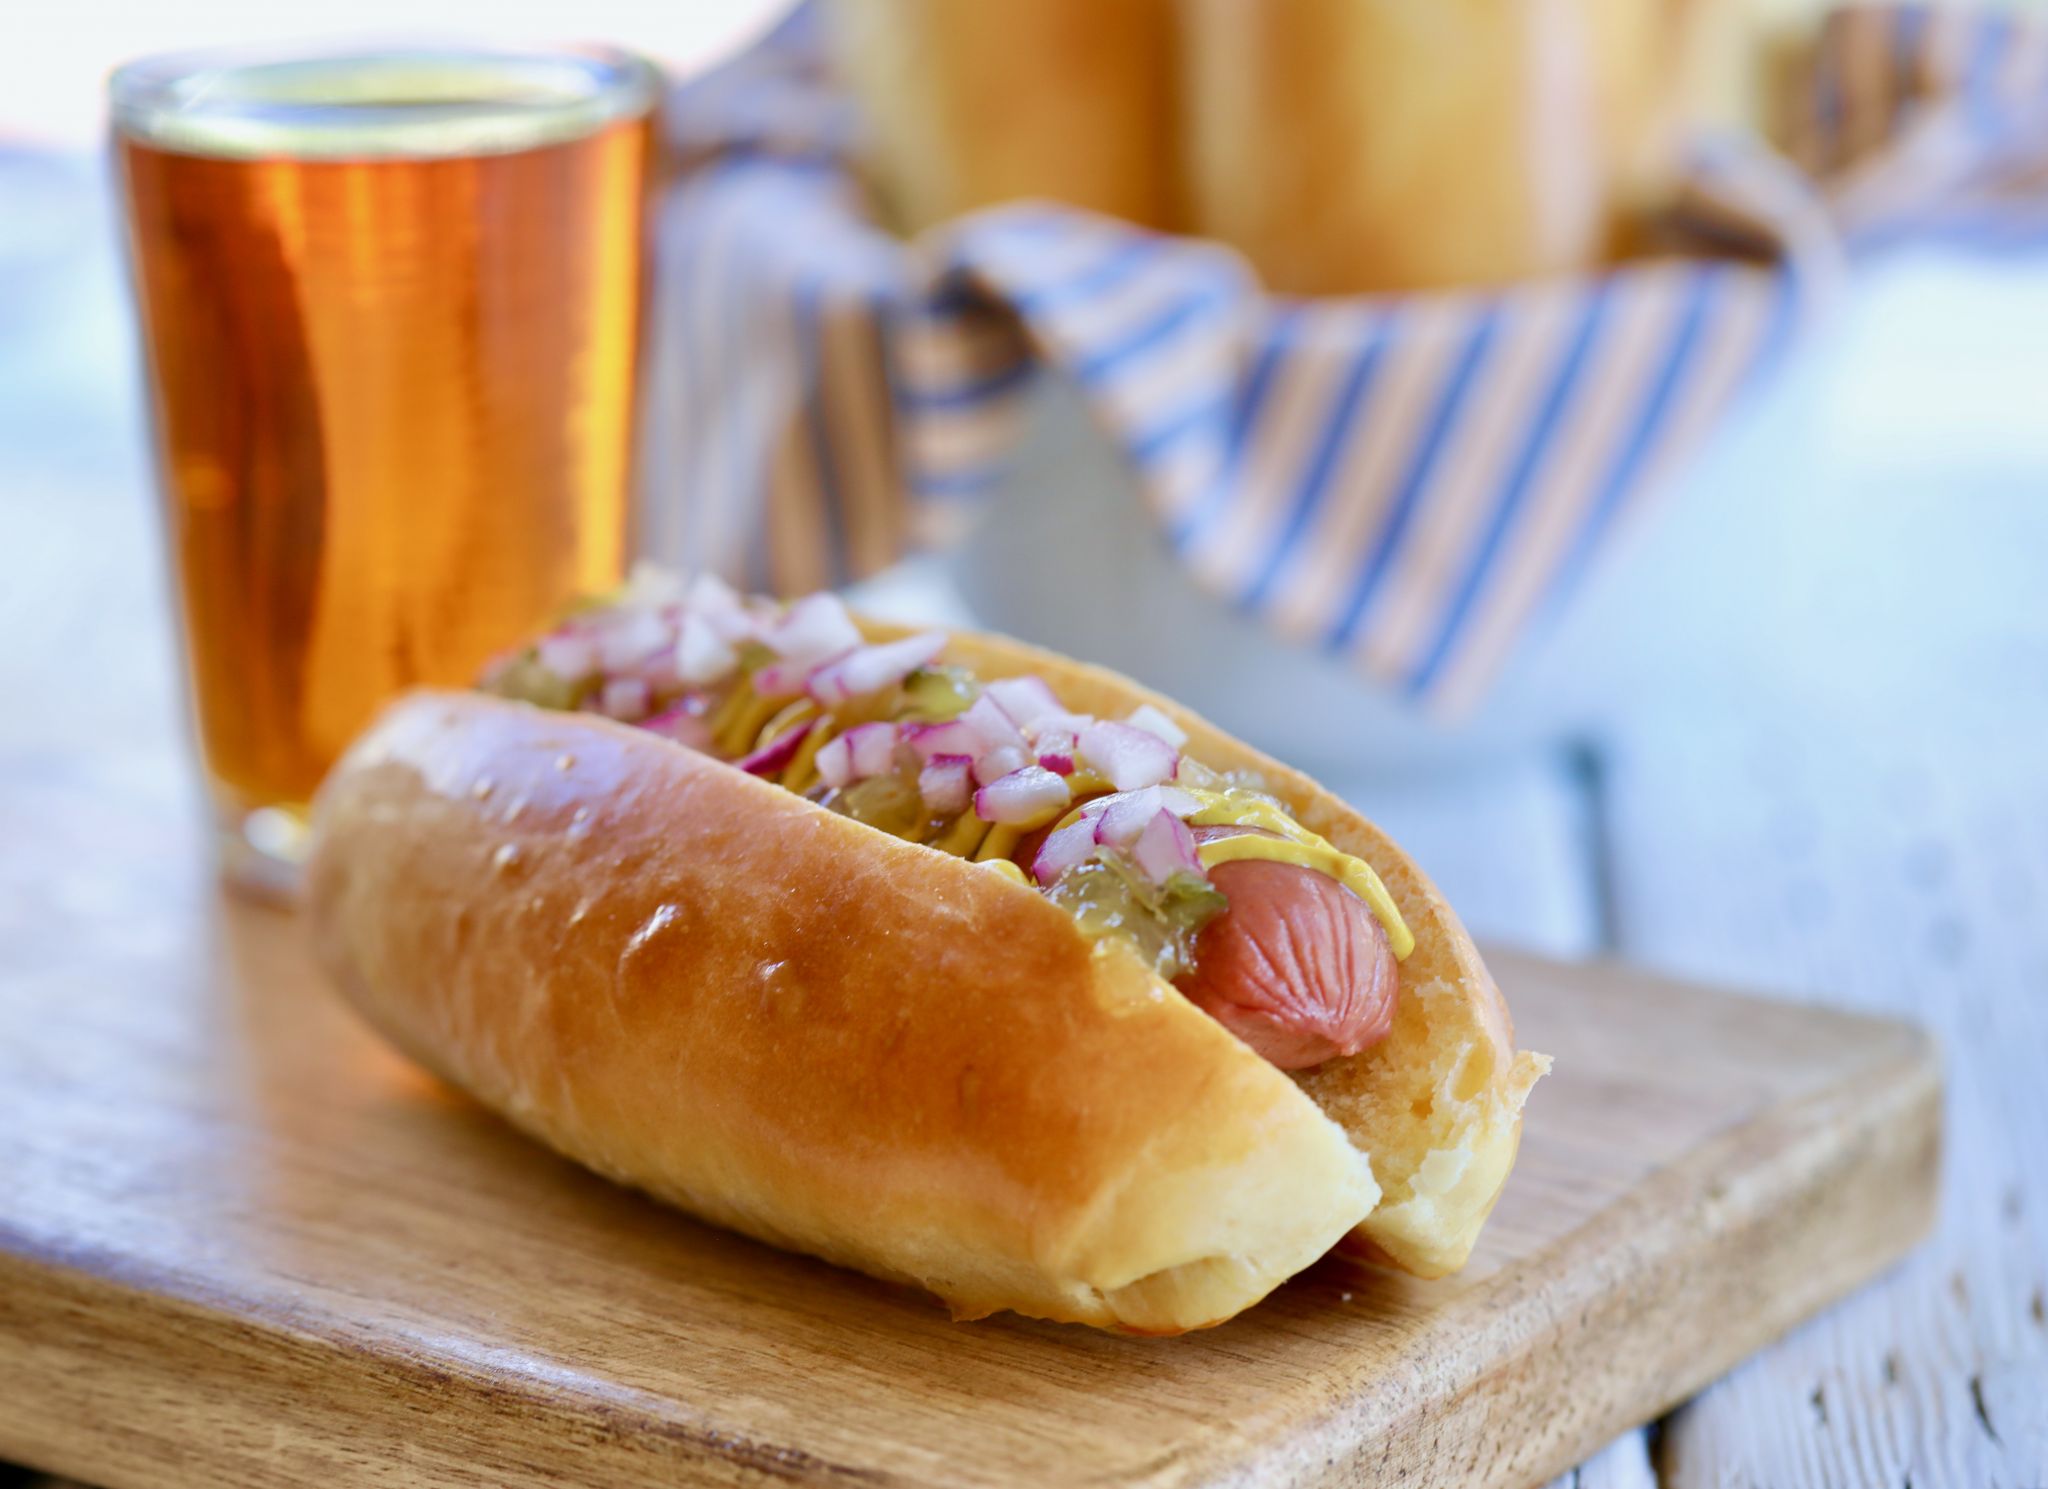
Hot dogs are an American BBQ staple and for a good reason! They’re easy to make, either on the grill, on a stovetop, or over an open fire, they’re cheap to buy and can feed a lot of hungry mouths, and, most importantly, they’re delicious! But there’s one thing that needs improvement when it comes to hot dogs — hot dog buns.
Storebought hot dog buns sacrifice taste for shelf life, adding chemicals that save the buns from going stale or moldy, but give them an artificial taste. They’re often dry and crumbly, and the one bun end that always seems longer than your hotdog and gets left behind on a paper plate is a sad reminder of what could have been.
My hot dog bun recipe is different. Made from a brioche dough, which is chock full of butter and eggs, my homemade hotdog buns are extra buttery and fluffy. These homemade hot dog buns turn out to be perfect for more than ‘dogs too — try them with lobster rolls or chili cheese dogs, because these buns will not fall apart! In fact, since they’re so fluffy, they’ll absorb all those delicious juices, letting you savor every last bite.
[ Want to make Hamburger Buns instead? Make my Brioche Buns for Hamburgers! ]
What Are Brioche Hot Dog Buns?
A brioche hot dog bun is a bit different from a typical storebought white bread hot dog roll because it is made from an enriched dough, which means it is made with eggs and butter. The dough also ever-so-slightly sweeter than traditional buns, which serves as the perfect complement to a salty hot dog or spicy sausage.
What You Need To Make Homemade Hot Dog Buns
- Measuring Cups and Spoons
- Mixing bowl
- Standing mixer
- Plastic wrap and parchment paper
- Baking sheet
How To Make Homemade Hot Dog Buns
Making homemade hot dog buns is a super simple way to transform your backyard grilling into a gourmet meal! (Don’t forget to get the full recipe with measurements, on the page down below)
- Combine flour, sugar, yeast, and salt in a bowl of an electric mixer, making sure to keep the salt and yeast on different sides of the bowl. (Salt could deactivate the yeast at this stage.)
- In a separate jug or bowl, whisk together milk and eggs.
- Pour the liquid into the dry ingredients and knead, using the dough hook attachment, on medium speed.
- When the dough comes together into a ball, add in the sliced, softened butter. Continue to knead the dough for around 6 to 8 minutes, until a soft, shaggy dough forms.
- Turn the dough out onto a lightly floured surface and shape it into a smooth ball. Place this ball into a greased bowl and cover with plastic wrap. You will want to let the dough rest in a warm place for 1 1/2-2 hours for its first proof.
- After about 1 1/2-2 hours, you can shape the hotdog buns. Divide the dough into 6 pieces, roughly 3¾oz each, and shape them into a long 6-inch baguette.
- Make sure to pinch the seams of the dough together well, so it doesn’t pop open when baking. The goal is a smooth, crease-free roll. Make sure to watch my “How To Shape Bread Rolls” video!
- Place the buns on a parchment paper-lined baking sheet to proof for a second time, this time for around 45 to 60 minutes. Keep air away from the buns by covering with plastic wrap or a clean kitchen towel.
- After their second proof, brush each bun with egg wash.
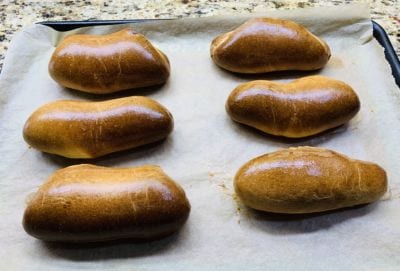
- Bake the hotdog buns at 375°F (190°C) for 20-22 minutes or until they are golden brown!
Gemma’s Pro Chef Tips for Making Homemade Hot Dog Buns
- When making your dough, hold back on the liquid. Sometimes, your dough doesn’t need it all, and while you can always add more, you can’t take it back.
- If you would like more fiber, introduce a little whole wheat flour to the dough.
- Shower caps work great as a cover for proofing bread dough. They’re reusable, and no air can get in to harm your dough.
- These buns can be frozen for up to 6 weeks, so feel free to make a batch or two!
- Rolling smooth hotdog buns is very important. For help, watch my “How To Shape Bread Rolls” video!
How Do I Store Homemade Hot Dog Buns?
Since these fresh hot dog buns are made with butter and eggs, they can spoil after 3 days. It is best to keep them in an air-tight container at room temperature for up to 2 days, or keep them in the freezer for up to 6 weeks!
Make More Bread!
And don’t forget to buy my Bigger Bolder Baking Cookbook!
Full (and printable) recipe below!
Homemade Hot Dog Buns Recipe
Ingredients
- 2 ¼ cups (11 oz/319 g) all-purpose flour
- 2 tablespoons granulated sugar
- 1 teaspoon instant yeast
- 1 teaspoon salt
- 2 large eggs
- ½ cup (4 fl oz/120 ml) whole milk
- ¼ cup (2 oz/57 g) butter, softened
Instructions
To Make the Brioche Dough
- In the bowl of an electric mixer, combine flour, sugar, yeast and salt.
- In a seperate jug whisk together the milk and eggs.
- On medium speed, pour the liquid into the dry ingredients and knead with the dough hook attachment. (Tip: hold back a little liquid incase you doesn't need it all to make the dough come together)
- Once the dough comes together into a soft ball add in the sliced, softened butter. Continue to knead the dough for roughly another 6-8 minutes. You will notice it is a soft, saggy dough.
- Turn out the dough onto a lightly floured surface and shape into a smooth ball. Place it into a greased bowl, cover the bowl with plastic wrap (or a shower cap) and keep in a warm place to proof for 1 ½ - 2 hours.
To Shape the Hot Dog Buns
- Divide the dough roughly into 6 (3 ½ oz) pieces. Shape each piece into smooth rolls (see video above). Pinch the seams of the dough together well so the roll doesn't pop open while baking. You want a smooth, crease free roll. (Shaping the dough into a smooth ball is very important. See my How to Shape Rolls video!)
- Place the hot dog buns on a lined baking sheet, cover with plastic wrap and proof for roughly 45 to 60 minutes.
- Once proofed, brush each bun with egg wash.
- Bake at 375°F (190°C) for 20-22 minutes or until they are golden brown. Remove from the oven and cover with a towel as they cool to soften the crust.
- Store buns in an air-tight container at room temperature for up to 2 days. Because of the butter and eggs they can spoil after 3 days so you can either keep them in the fridge or in the freezer for a longer shelf life.





Hi
Can I want an egg replacement?
Would like to see exactly how you roll the downed rolls into a hot dog bun shape please!
Hello,
Looking to try this tomorrow, when you say all-purpose flour, am I ok using strong white bread flour?
Thanks
Matt
Another recipe of yours I love. I made these and left them to rest overnight. Served some with hot dogs and pickled fennel and red cabbage. Also served one with tuna salad, everything homemade and so satisfying! Thank you so much.
These hot dog buns were delicious.
Love what you bake! The first view on your recipe you know I am really a big fan of you. I never had guts to get into the kitchen until I saw the videos you made baking fun and loving!!! Thank you for all the teaching. God bless you, Gemma:)
I made these today and they came out really well because I delayed the proofing by refrigerating the dough. Then baked and devoured the buns with homemade sausages. Yum. Thanks, Gemma
I love this recipe. I’ve not tested it against any others as it tastes , looks , feels so much nicer and better than any shop bought hotdog rolls.
All the family think they’re amazing.
Hello Gemma ma’am
I was wondering if I could double the recipe as there are more number of people in my family. if so, is there any ingredient that does not require to be doubled? Please let me know.
My family and I love your recipes. They are so easy to make! Thank you so much and lots of love!
Regards
Sangeetha
I made these buns to use for cheesesteaks but they didn’t turn out as I expected. The taste was fine but they were on the dry, crumbly side. I followed the recipe instructions and the raw dough itself was right but I used almond milk instead of whole milk, also I mixed it all up and kneaded by hand, so maybe that made a difference? I have an oven thermometer so my oven was the right temp. I’ve always had a pretty high success rate with all of your recipes Gemma so I’m chalking this one up to baker’s error… Read more »