This post may contain affiliate links. Please see my full disclosure for details.
Hi Bold Bakers!
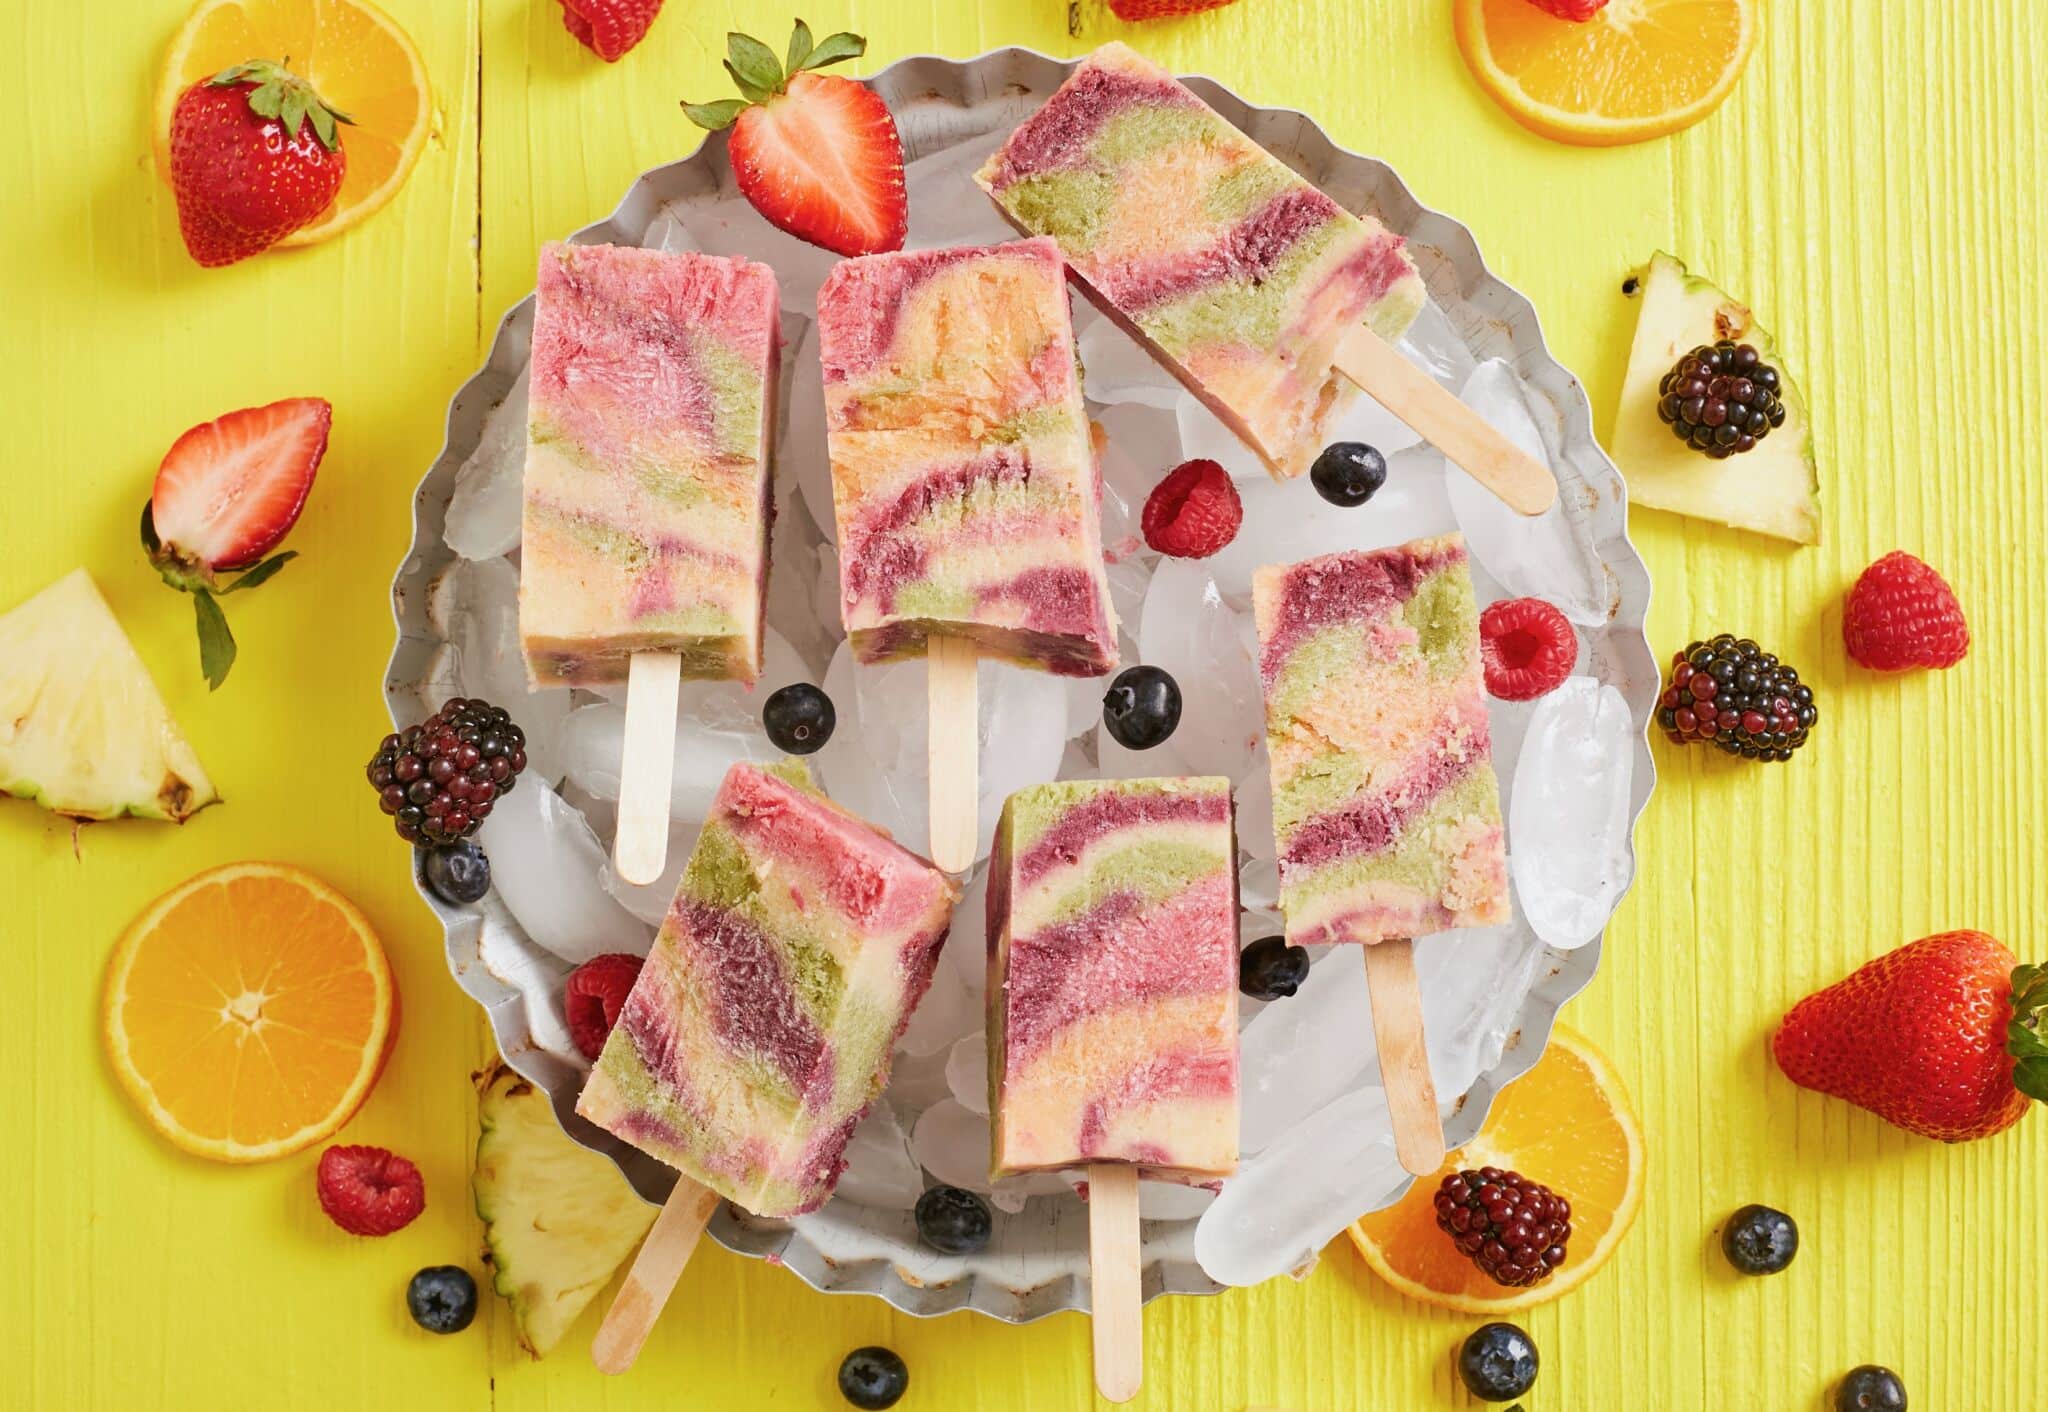
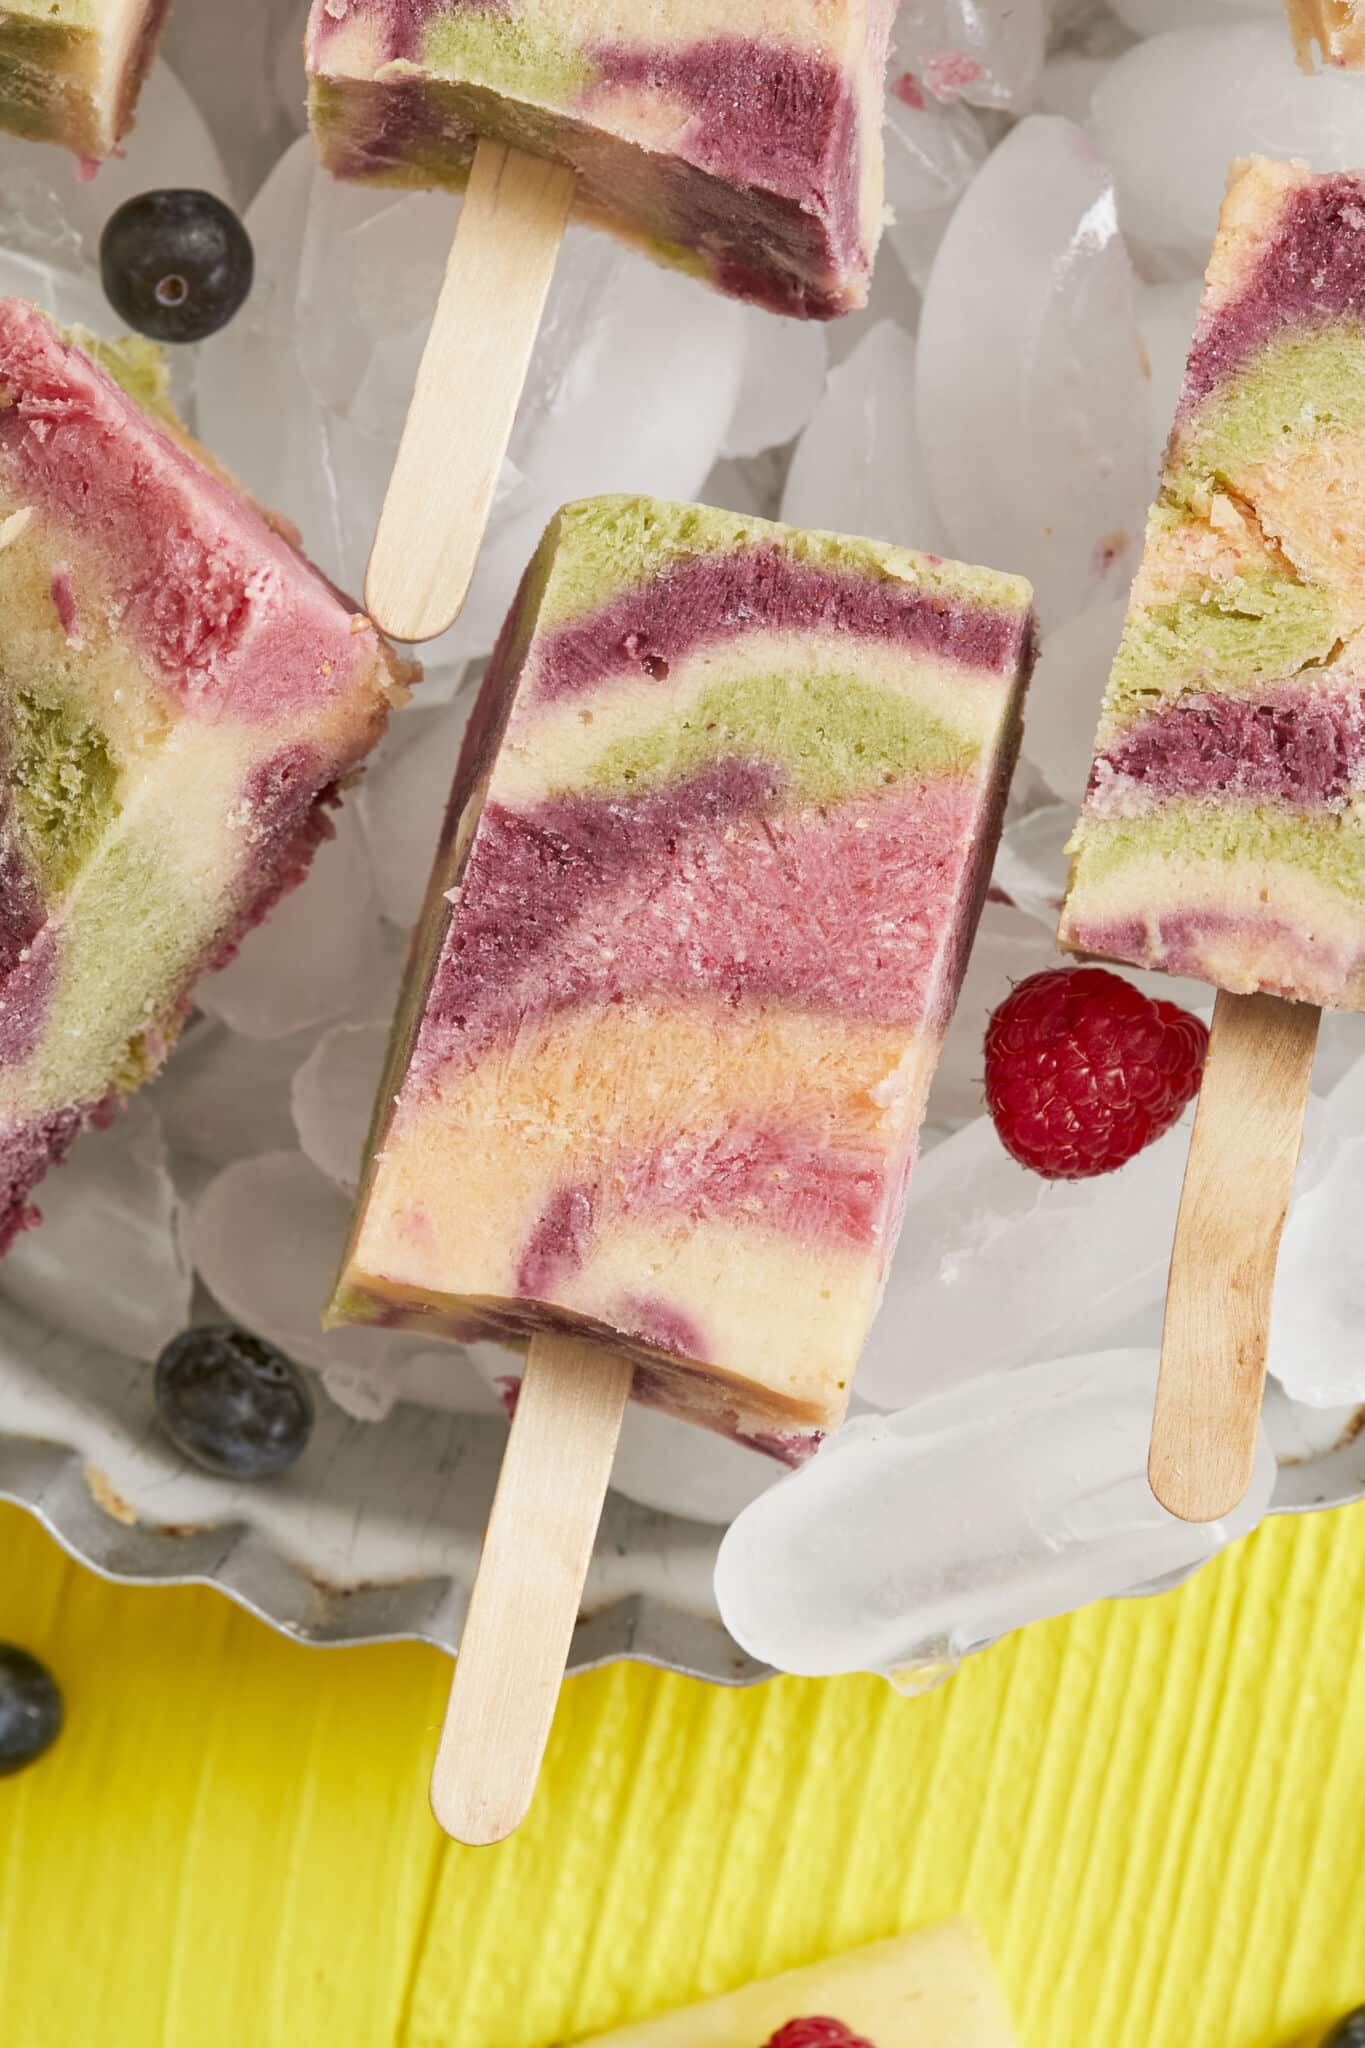
WHY YOU WILL LOVE THIS RECIPE: You’ll wow kids and adults with these beautiful, healthy, all-natural tie dye popsicles in a trippy pattern. They’re fun and easy to make, too (you don’t even need a popsicle mold!).
Summer is the perfect time for a lovely frozen treat, and enjoying my All-Natural Tie-Dye Popsicles is a fun and colorful way to cool down on a hot summer day. They’re creamy and bursting with fruit flavor, and the swirl of colors makes these popsicles a showstopper.
Table of Contents
- What are Tie-Dye Popsicles?
- Tools You Need
- Tie-Dye Popsicle Ingredients
- How to Make Tie-Dye Popsicles
- How to Store Tie-Dye Popsicles
- FAQS
- Gemma’s Pro Chef Tips
- Try More Popsicle Recipes!
What are All-Natural Tie-Dye Popsicles?
Tie-Dye Popsicles, or ice pops, are absolutely gorgeous rainbow-colored frozen treats. They are loaded with all-natural fruit (and some spinach, but don’t worry, you can’t taste it!), creamy yogurt, and honey for all-natural sweetness.

Tools You Need
What’s amazing about this All-Natural Tie-Dye Popsicle recipe is that you don’t need a special popsicle or ice pop mold!
- 9×5-inch (23 x 12½ cm) loaf pan
- Plastic wrap
- Measuring cups and measuring spoons
- Food processor or blender
- 5 small bowls (or use one bowl and rinse after making each colored layer)
- Large spoon
- Thin knife
- Foil
- Popsicle sticks
All-Natural Tie-Dye Popsicle Ingredients
Frozen fruit and veg: These nutritious treats are made with a virtual rainbow of produce: bananas (they also give the popsicles a delicious richness), raspberries, strawberries, peaches, orange, mango, pineapple, blueberries, and spinach
Plain yogurt: Yogurt adds protein and an amazing creaminess to frozen treats. Make it at home using my How to Make Yogurt Recipe!
Honey: Honey not only complements the fruit flavors with mellow sweetness but also keeps popsicles from freezing rock hard.
How to Make Tie-Dye Popsicles
Prep: Grease and line the loaf pan with plastic wrap.
Blend: Puree each layer individually in order to keep the colors separate and bright. Use individual bowls for each layer, or use one bowl and rinse it between batches.
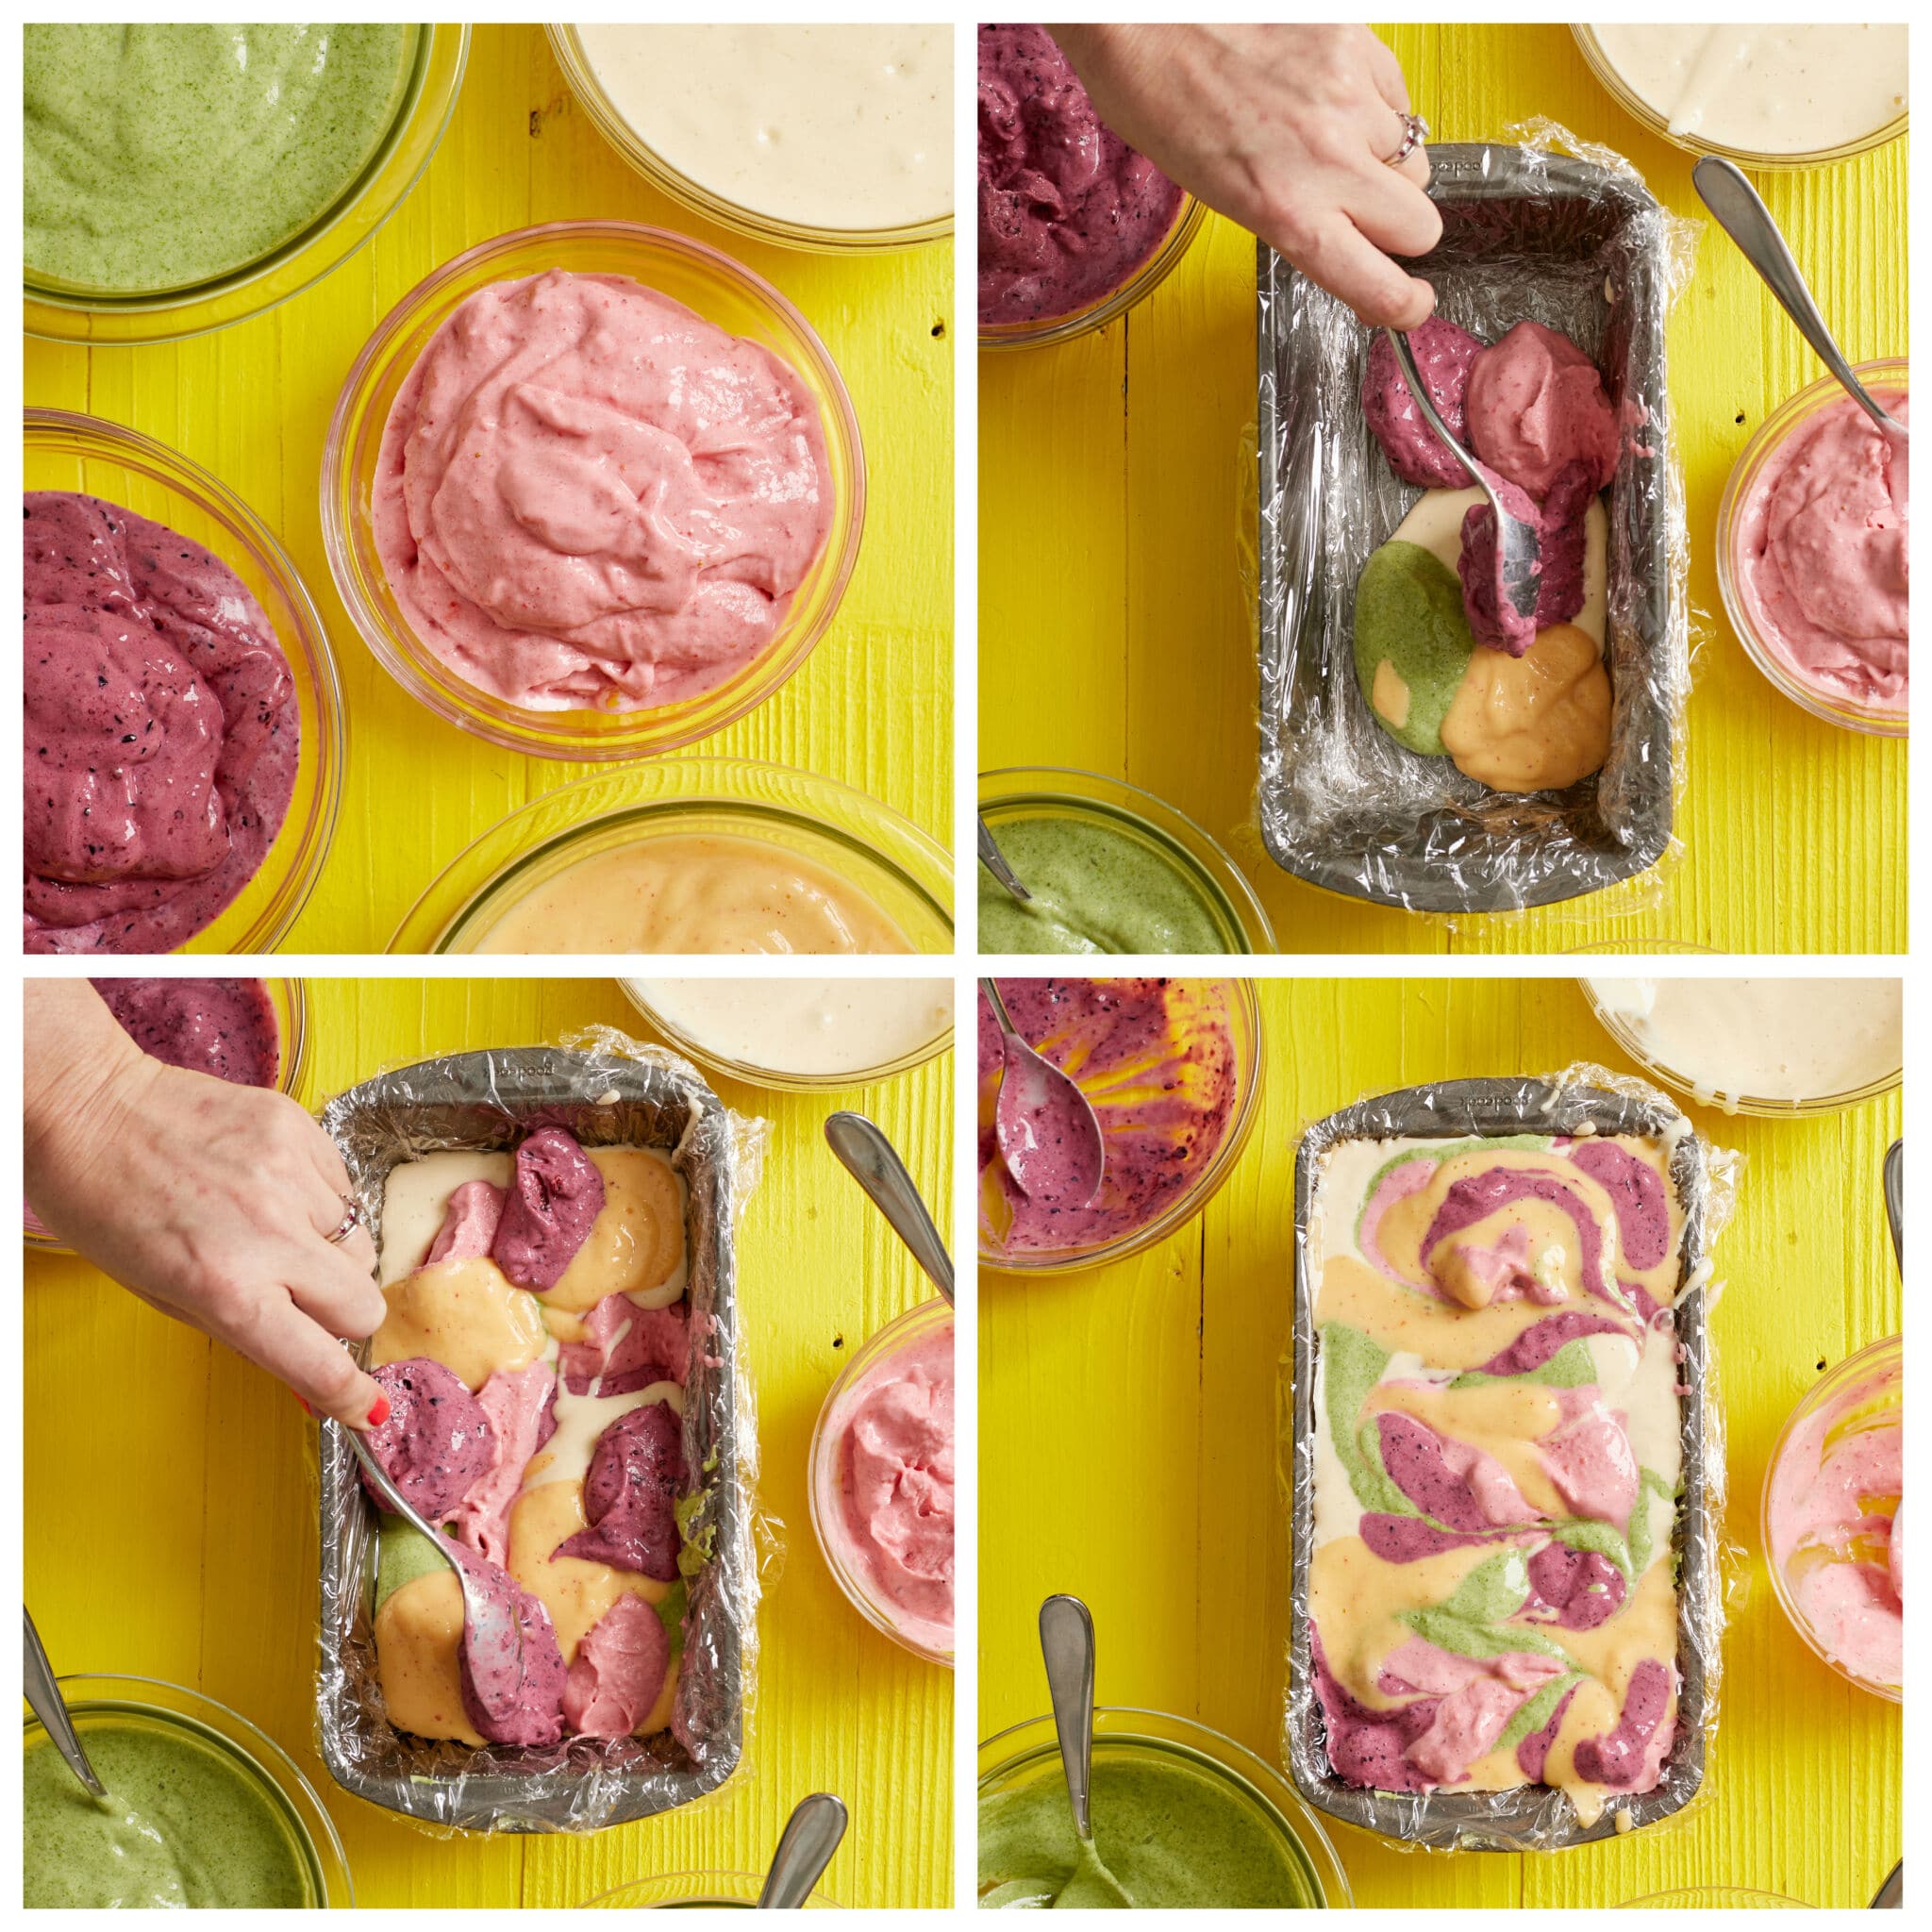
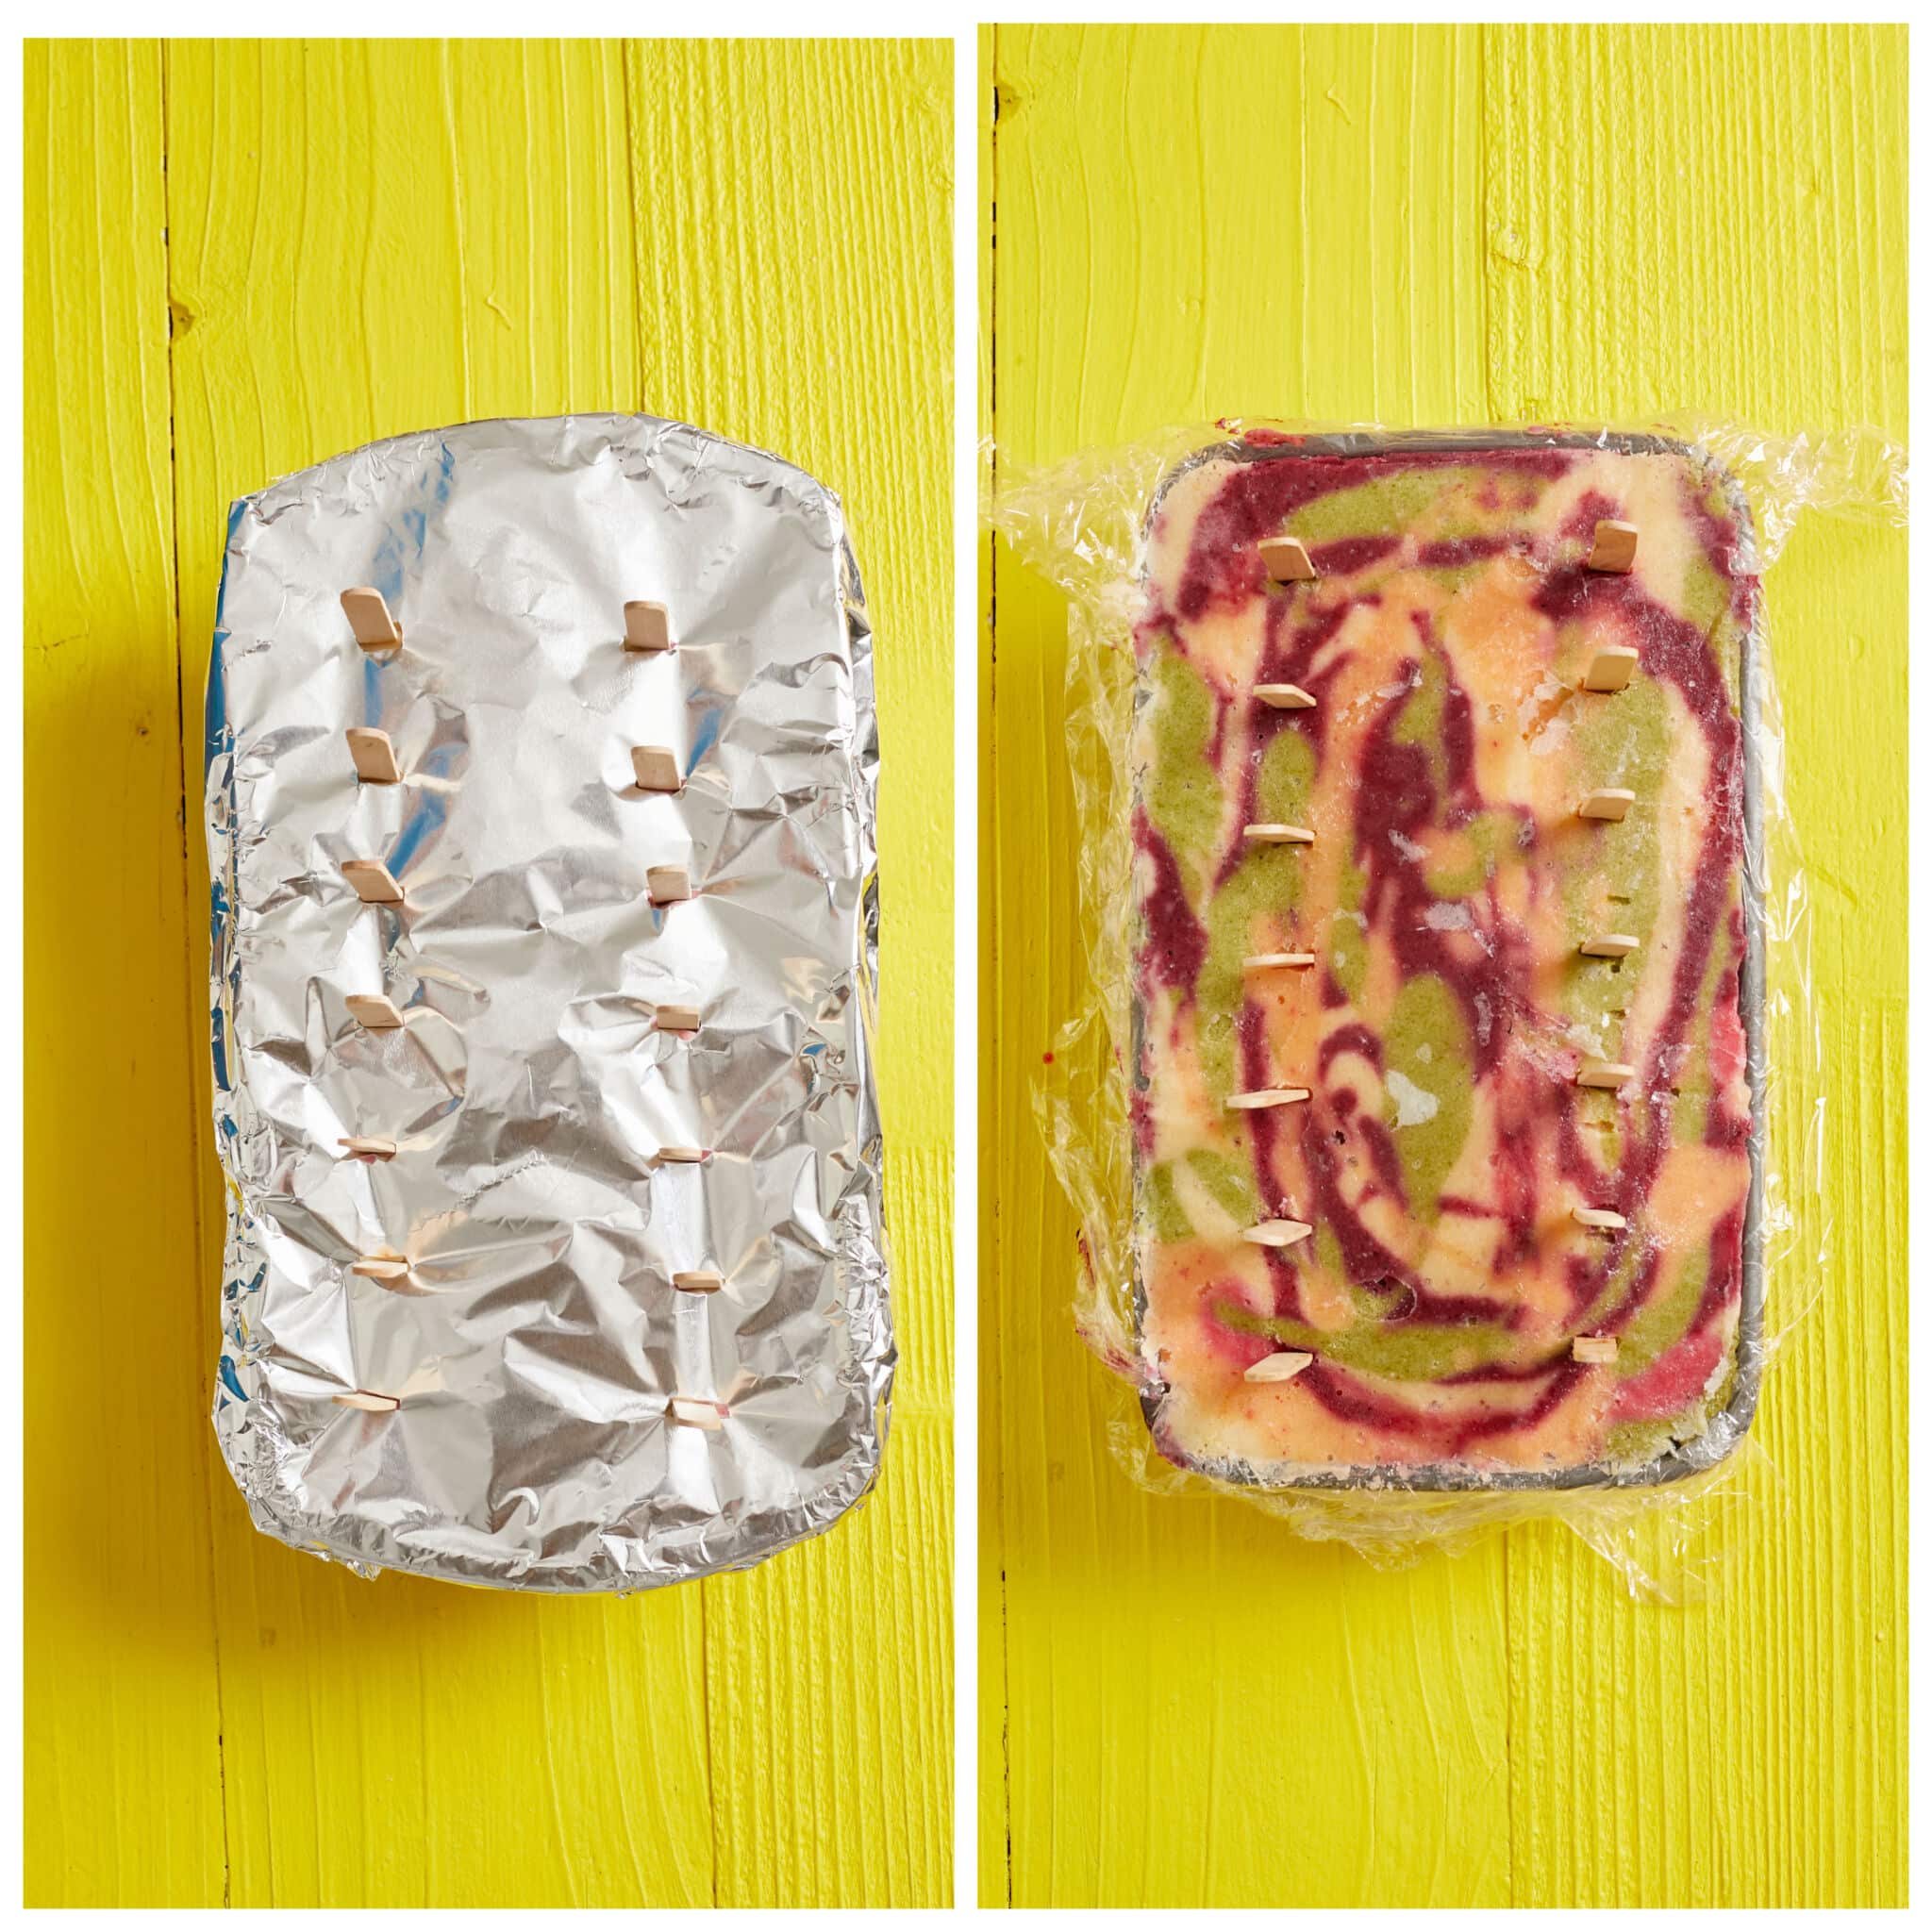
Assemble: Spoon each completed puree randomly into the prepared pan. Once all of the mixtures are added, use a thin knife to make a wide zig-zag pattern through the layers. Cover with foil, make slits for popsicle sticks, and insert sticks.
Freeze: Freeze for a minimum of 8 hours, until frozen solid.
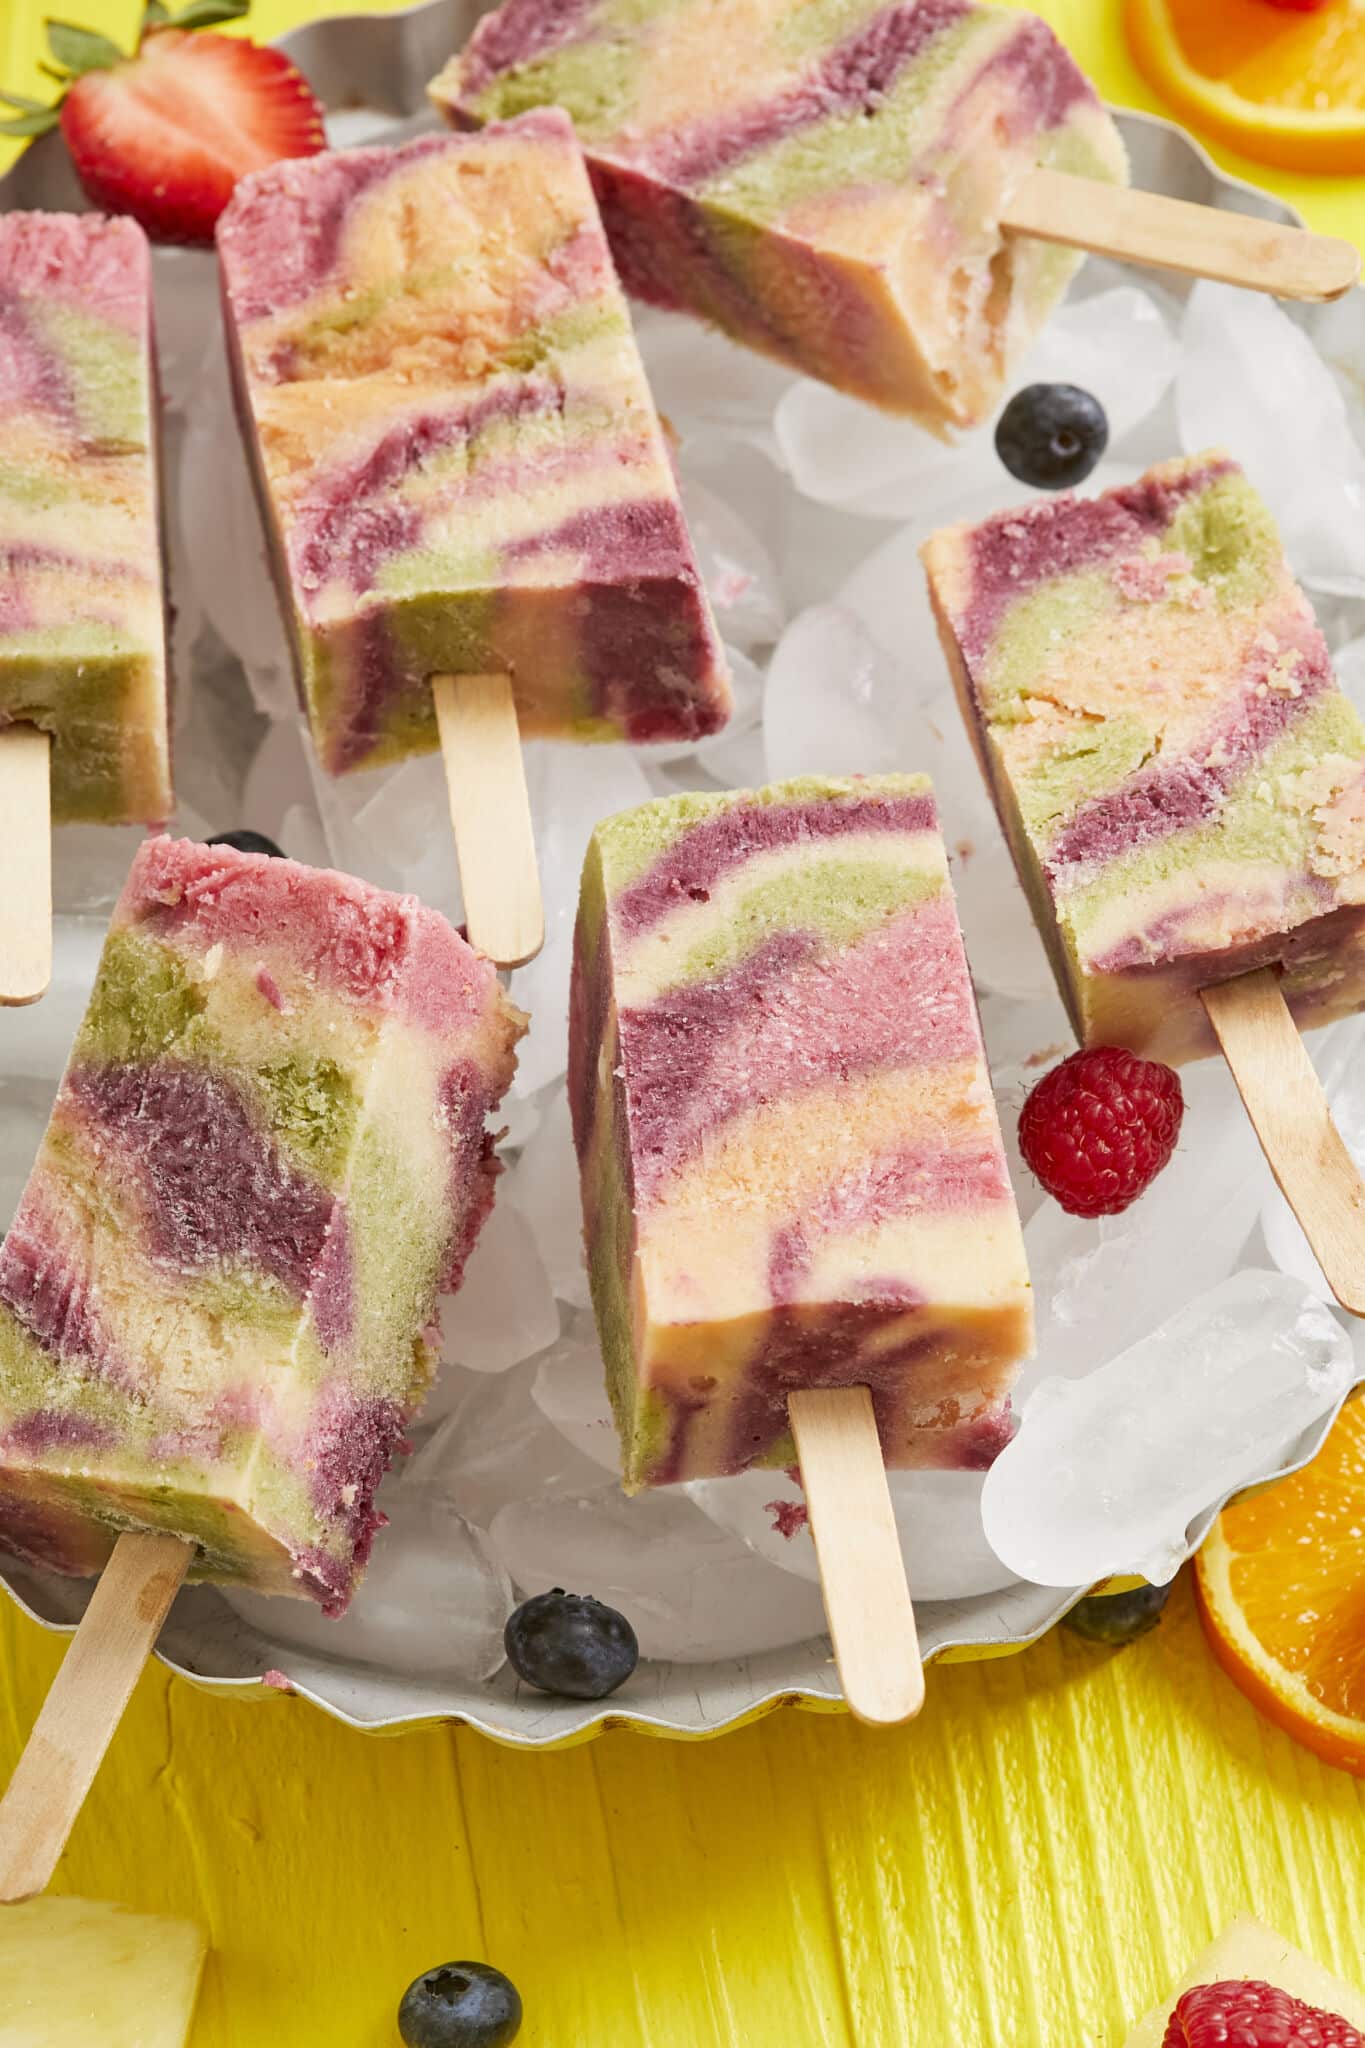
Remove from pan: Lift plastic wrap to pull the entire popsicle out of the pan. Use a sharp knife to cut into individual popsicles.
How to Store Tie-Dye Popsicles?
The best way to store Tie-Dye popsicles is to wrap popsicles with ring wrap and store them in the freezer for up to 1 week.
FAQ
How can I make All-Natural Tie-Dye Popsicles dairy-free?
If you want to avoid dairy, you can use a dairy-free yogurt like a coconut or nut milk-based yogurt.
How do I get the best tie-dye effect?
- Carefully use a big spoon to ladle the puree mixtures into the pan.
- For best results, do not pour the mixture into the pan or spoon them from high up. Taking your time will keep the different color purees separate until you swirl them.
How do I remove the popsicles from the mold without breaking them?
Run the mold under water, and they pop right out.
Gemma’s Pro Tips for Making All-Natural Tie-Dye Popsicles:
- Try to use as little water as possible when pureeing the layers so you don’t dilute the fruit flavors.
- If you are having a hard time blending, try lightly defrosting the fruit in the microwave, but don’t completely defrost. The colder the purees are, the better the colors will stay separate and the more beautiful your popsicles will be.
- Remember to gently lay the colors on top of each other to keep them from sinking and over-blending.
- If you want more vibrant colors, use a few drops of food coloring per layer.
- If you want to make this dairy-free, replace the yogurt with coconut milk.
Try More Popsicle Recipes!
Try These Recipes!


Watch The Recipe Video!
All Natural Tie Dye Popsicle Recipe (No Popsicle Mold Needed!)

Ingredients
Red Layer
- 1 small frozen banana
- ½ cup (4 oz/115 g) plain yogurt
- ½ cup (2½ oz/71 g) frozen raspberries
- ½ cup (2½ oz/71 g) frozen strawberries
- 1 tablespoon honey
Orange Layer
- 1 small frozen banana
- ½ cup (4 oz/115 g) plain yogurt
- ½ cup (2½ oz/71 g) frozen peaches
- 1 small orange, peel and pith removed
- ¼ cup (1¼ oz/35 g) frozen mango
- 1 tablespoon honey
Yellow Layer
- 1 small frozen banana
- 1 cup (5 oz/142 g) frozen pineapple
- ½ cup (4 oz/115 g) plain yogurt
- 1 tablespoon honey
Green Layer
- 1 small frozen banana
- ¾ cup (3 oz/85 g) frozen spinach
- ½ cup (2½ oz/71 g) frozen pineapple
- ½ cup (4 oz/115 g) plain yogurt
- 1 tablespoon honey
Purple Layer
- 1 small frozen banana
- ½ cup (2½ oz/71 g) frozen blueberries
- ½ cup (2½ oz/71 g) frozen blackberries
- ½ cup (4 oz/115 g) plain yogurt
- 1 tablespoon honey
Instructions
- Grease and line a 9x5 inch (23x12½ cm) loaf pan with 3 large layers of plastic wrap allowing the extra to come up and over the edges on all sides. Set aside.
- For each layer, place all of the ingredients in a food processor or blender and puree until smooth. If needed add a bit of water, 1 tablespoon at a time, until blending is possible.
- Transfer each blended layer to a separate bowl and rinse out the bowl before blending the next layer to keep the colors bright.
- To assemble, use a large soup spoon to carefully and randomly add the colors to the prepared loaf pan. Keep the spoon close to the surface of the added colors as you add more colors so gravity doesn’t make each addition sink and overmix the colors.
- Once all of the colors have been added, run a thin knife in a wide zig zag pattern through the layers only once.
- Place a piece of foil over the top of the loaf pan and, measuring 1-inch (2½ cm) in from a long edge, make small slits in the foil 3 cm (a bit more than 1-inch) apart with the tip of a thin knife. Repeat on the other side. You should have about 7 slits on each side.
- Carefully insert popsicle sticks into the slits almost all the way to the bottom of the pan and gently place this in the freezer for a minimum of 8 hours, or until frozen solid.
- When ready to serve, gently pull up on the plastic wrap to lift the whole popsicle out of the pan. (If it sticks, just give it a few minutes on the counter.)
- Peel away the plastic wrap and with a sharp knife cut down the center of the loaf. Then cut between the popsicle sticks to create individual popsicles. Serve immediately
- Store leftovers wrapped in cling wrap in the freezer for up to 1 week.


Great idea I’m a huge fruit ( sorbet ) instead of ice cream person and was wondering if you only waited fir a few hours could you scoop this out as frozen multi flavored sorbet ?
Hi Gemma,
I want to make this recipe for an upcoming BBQ, but need to find a replacement for the yellow layer. My niece & nephew are allergic to pineapple and mango… I was thinking lemon, but was afraid the consistency will affect the popsicle (too much liquid).
Do you have any suggestions for me for a replacement yellow layer? Thanks in advance! Love your recipes!!!