
This post may contain affiliate links. Please see my full disclosure for details.
Hi Bold Bakers!
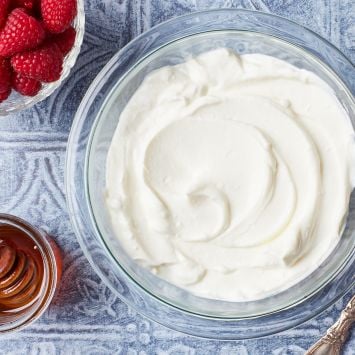
.WHY YOU’LL LOVE THIS RECIPE: Learn How to Make Homemade Greek Yogurt, and you’ll be rewarded with gorgeously thick, creamy yogurt with a wonderful, fresh flavor. DIY Greek Yogurt is surprisingly easy, and you’ll love saving money with this kitchen staple!
- Luscious: It has a velvety and creamy texture with the perfect tang!
- Economical: Homemade is not only delicious—it costs more than 50% less per serving than store-bought.
- Protein-packed: Because Greek Yogurt is strained, it has a highier protein concentration than regular yogurt.
- Empowering: Making Greek Yogurt might sound like a big deal, but you’ll be shocked at how straightforward my recipe is and how satisfying it is to make!
- Customizable: Tangier, milder…I show you the methods for whatever type you prefer!
Greek Yogurt is a go-to ingredient, and it’s incredible how it adapts to whatever you want. Whether it’s in a sweet or a savory recipe, or used as a thickener, as a substitute for sour cream, in a dip, in smoothies, or to add lush texture and unique flavor to baked goods, Greek Yogurt is one of those best all-around players in the kitchen, You can use your batch in Bigger Bolder recipes like Blueberry Muffin Smoothie, High Protein Bread, No-Bake Funfetti Cheesecake, George’s Healthy Breakfast Muffins, and Frozen Yogurt Pops.
I hadn’t made yogurt in a few years, and honestly, I expected the process to be fussy and complicated — but to my delight, it was anything but! Making homemade Greek yogurt is surprisingly easy, and you don’t need any special equipment. With my simple recipe, there’s no need to buy a yogurt maker because YOU are the yogurt maker (congrats!). Even though it’s straightforward, this might be a new kitchen adventure for you, so I recommend reading the recipe through twice and watching the video below before you start. After that, you’ll be ready to make the easiest Greek yogurt ever! Rest assured — my recipe isn’t finicky. I’ve streamlined the method to give you clear, precise instructions so you’ll feel confident every step of the way. I hope you love your homemade Greek yogurt, and be sure to let me know how it turns out in the comments!
Table of Contents
- What is Greek Yogurt?
- Tools You Need
- Key Ingredients and Why
- How to Make Greek Yogurt
- Gemma’s Pro Chef Tips
- Make Ahead and Storage Instructions
- FAQs
- More Kitchen Basics Recipes
What is Greek Yogurt?
- Homemade Greek Yogurt is a style of yogurt that is very thick and creamy.
- Homemade Greek Yogurt is made from fermented milk and yogurt, Because most milk available today is pasteurized, yogurt, which contains natural bacteria, is added to the milk to ferment it.
- Because Homemade Greek Yogurt is strained, which removes the excess whey, it has an extra-thick texture.
- My Homemade Greek Yogurt recipe is made from pure dairy without commercial starches or gums for thickening.
- Greek yogurt differs from regular yogurt in several ways. It has a high protein content with at least twice the amount of protein than regular yogurt (Greek Yogurt has 15 to 20 grams per serving, and regular yogurt has 5 to 7 grams); it’s high in nutrients like calcium, magnesium, phosphorus, and zinc, it has less sugar than regular yogurt, it’s thicker than regular yogurt, with a consistency similar to sour cream, and Greek Yogurt tastes tangier than regular yogurt.
- Strained yogurt made from sheep or goat milk has been a staple food in Greece for hundreds of years. Greek yogurt was virtually unknown in the United States until the early 2000s, when manufacturers like the Fage company, followed by the Chobani company, introduced strained yogurt. Although the U.S. version is made with cow’s milk, its thick texture and high-protein content are similar to authentic Greek yogurt. Now, Greek-style yogurt represents 50% of yogurt sales in the U.S.
Tools You Need
- Heat-proof bowl
- Measuring spoons
- Measuring cups
- Glass measuring jug
- High-sided saucepan
- Tea towels
- Sieve
- Cheesecloth
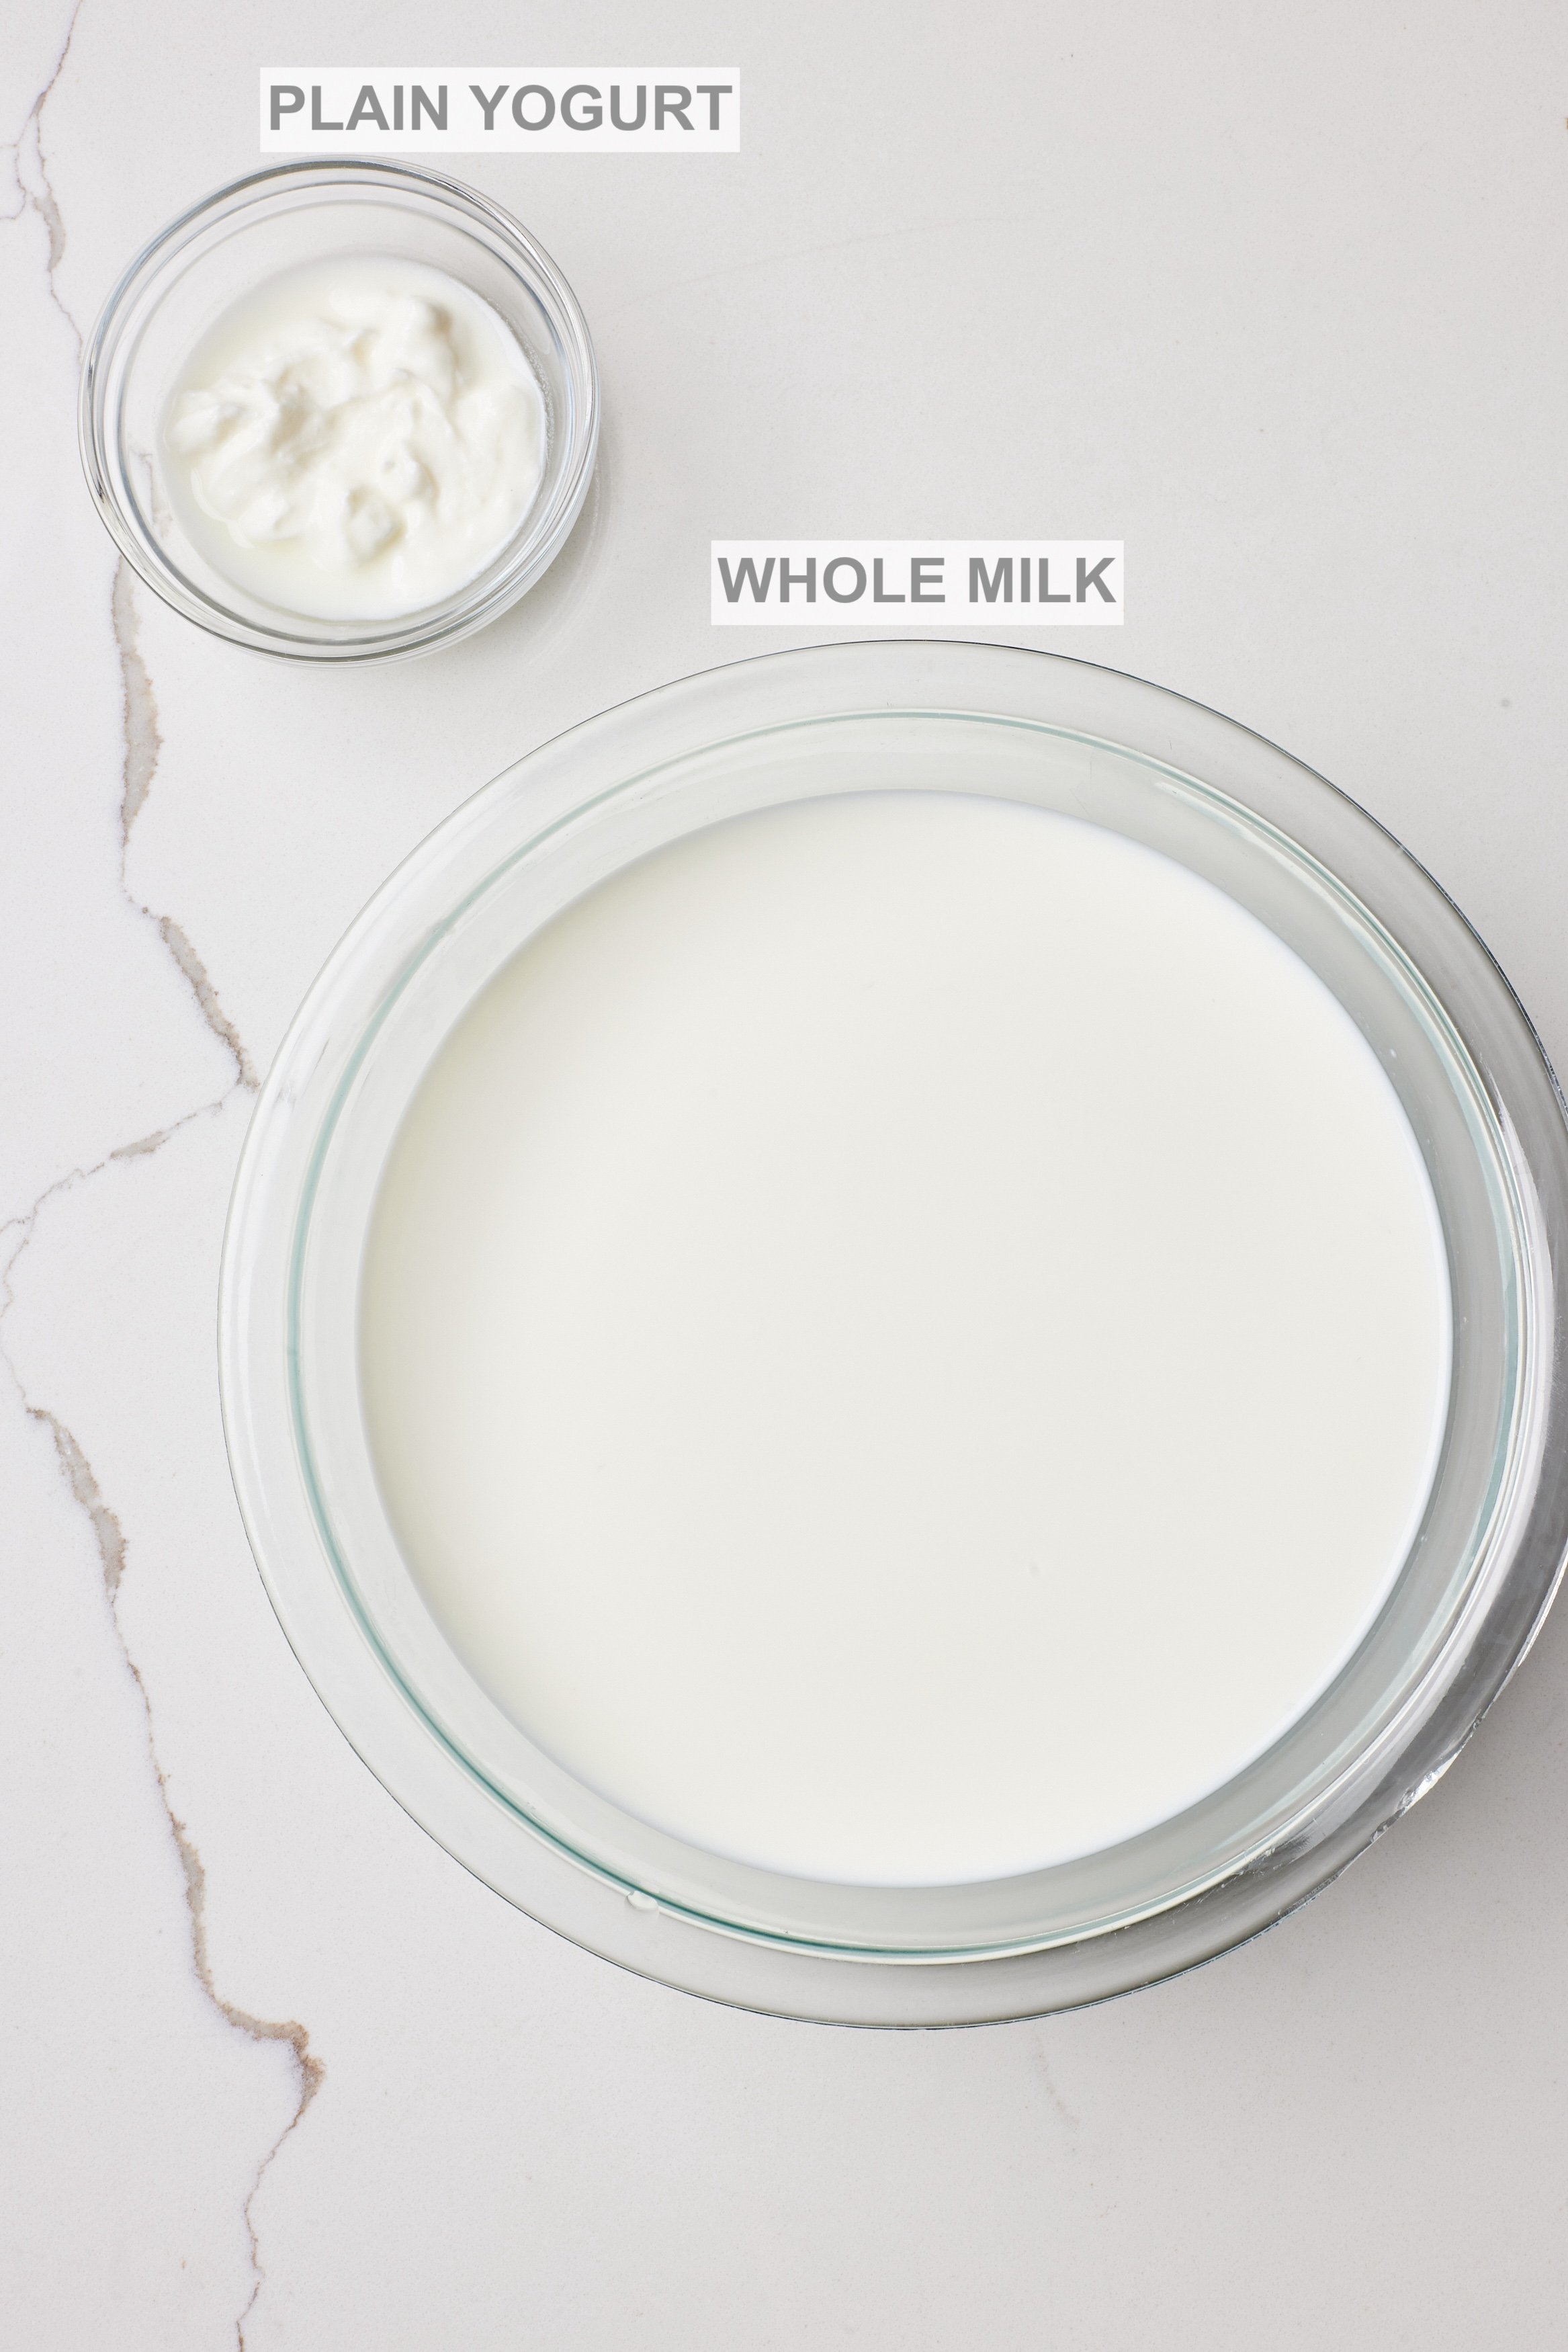
Key Ingredients and Why
Whole milk
- Whole milk is the base of this homemade Greek Yogurt recipe.
- Milk proteins help the yogurt get creamier as it ferments.
- The lactose (milk sugar) in milk feeds the live cultures, which causes fermentation.
- Whole milk, with a milk fat content of 3.25%, contributes to wonderful creaminess.
- Substitute: You can use 2% milk, but your end result won’t be as creamy.
Plain yogurt
- Plain yogurt adds live, active cultures. These cultures ferment the lactose in the milk into lactic acid, thickening the mixture and making it tangy.
- Note: The yogurt you use must have active cultures.
- I recommend using plain, full-fat yogurt for the best texture.
- Substitute: You can use a lower-fat yogurt, but it will make the final result less creamy.
How to Make Greek Yogurt
Make the yogurt
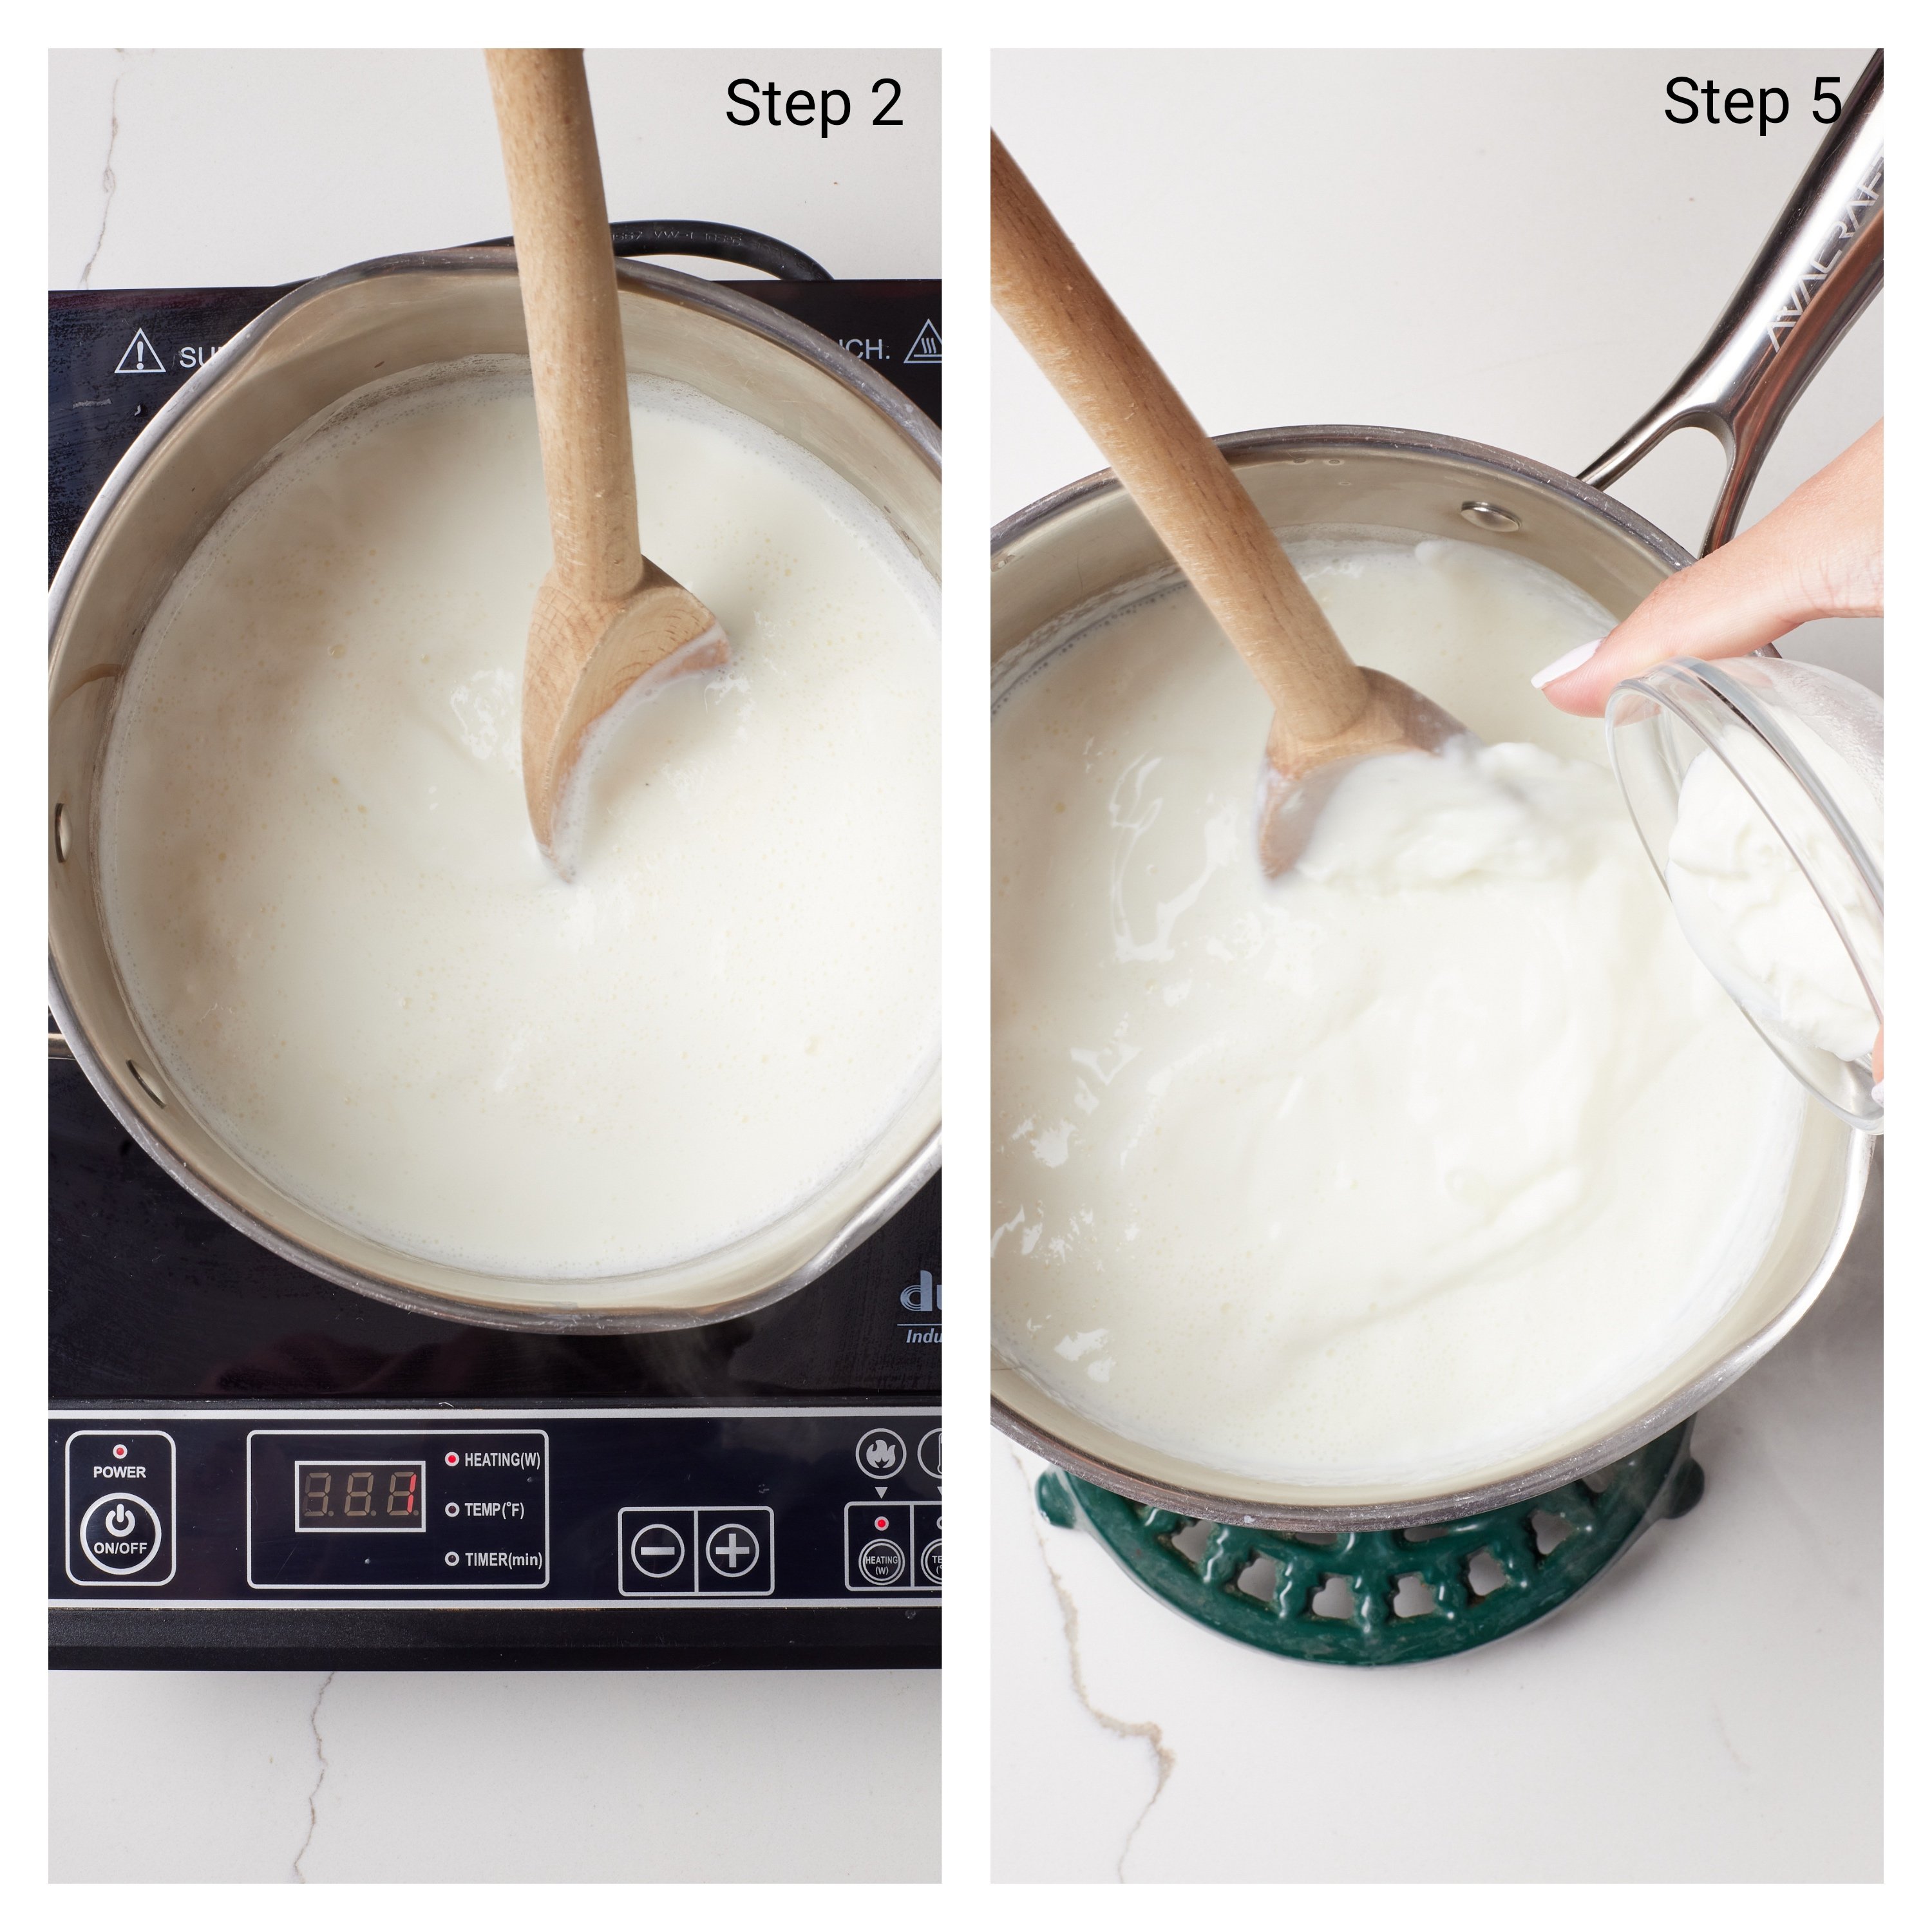
- Heat the milk: Place the milk in a sturdy, high-sided saucepan over medium heat until it just begins to simmer.
- Keep at a low simmer: Lower the heat and stir gently for 5 minutes, keeping the milk just under a boil (roughly 180°F/82°C) the whole time. If it begins to rise up and threaten to bubble over, lower the heat slightly.
- Let cool: Pour the milk into a heat-proof bowl and let cool until you can comfortably hold your finger in the milk for about 5-10 seconds (about 100°F/38°C). Stir regularly as it cools.
- Remove skin: If any skin has formed on the surface of the milk as it cools, lift it off the milk and discard it before proceeding to the next step.
- Add yogurt: In a small bowl, whisk the plain yogurt with a few tablespoons of the warm milk to loosen it, then stir the yogurt into the milk.
Set the yogurt
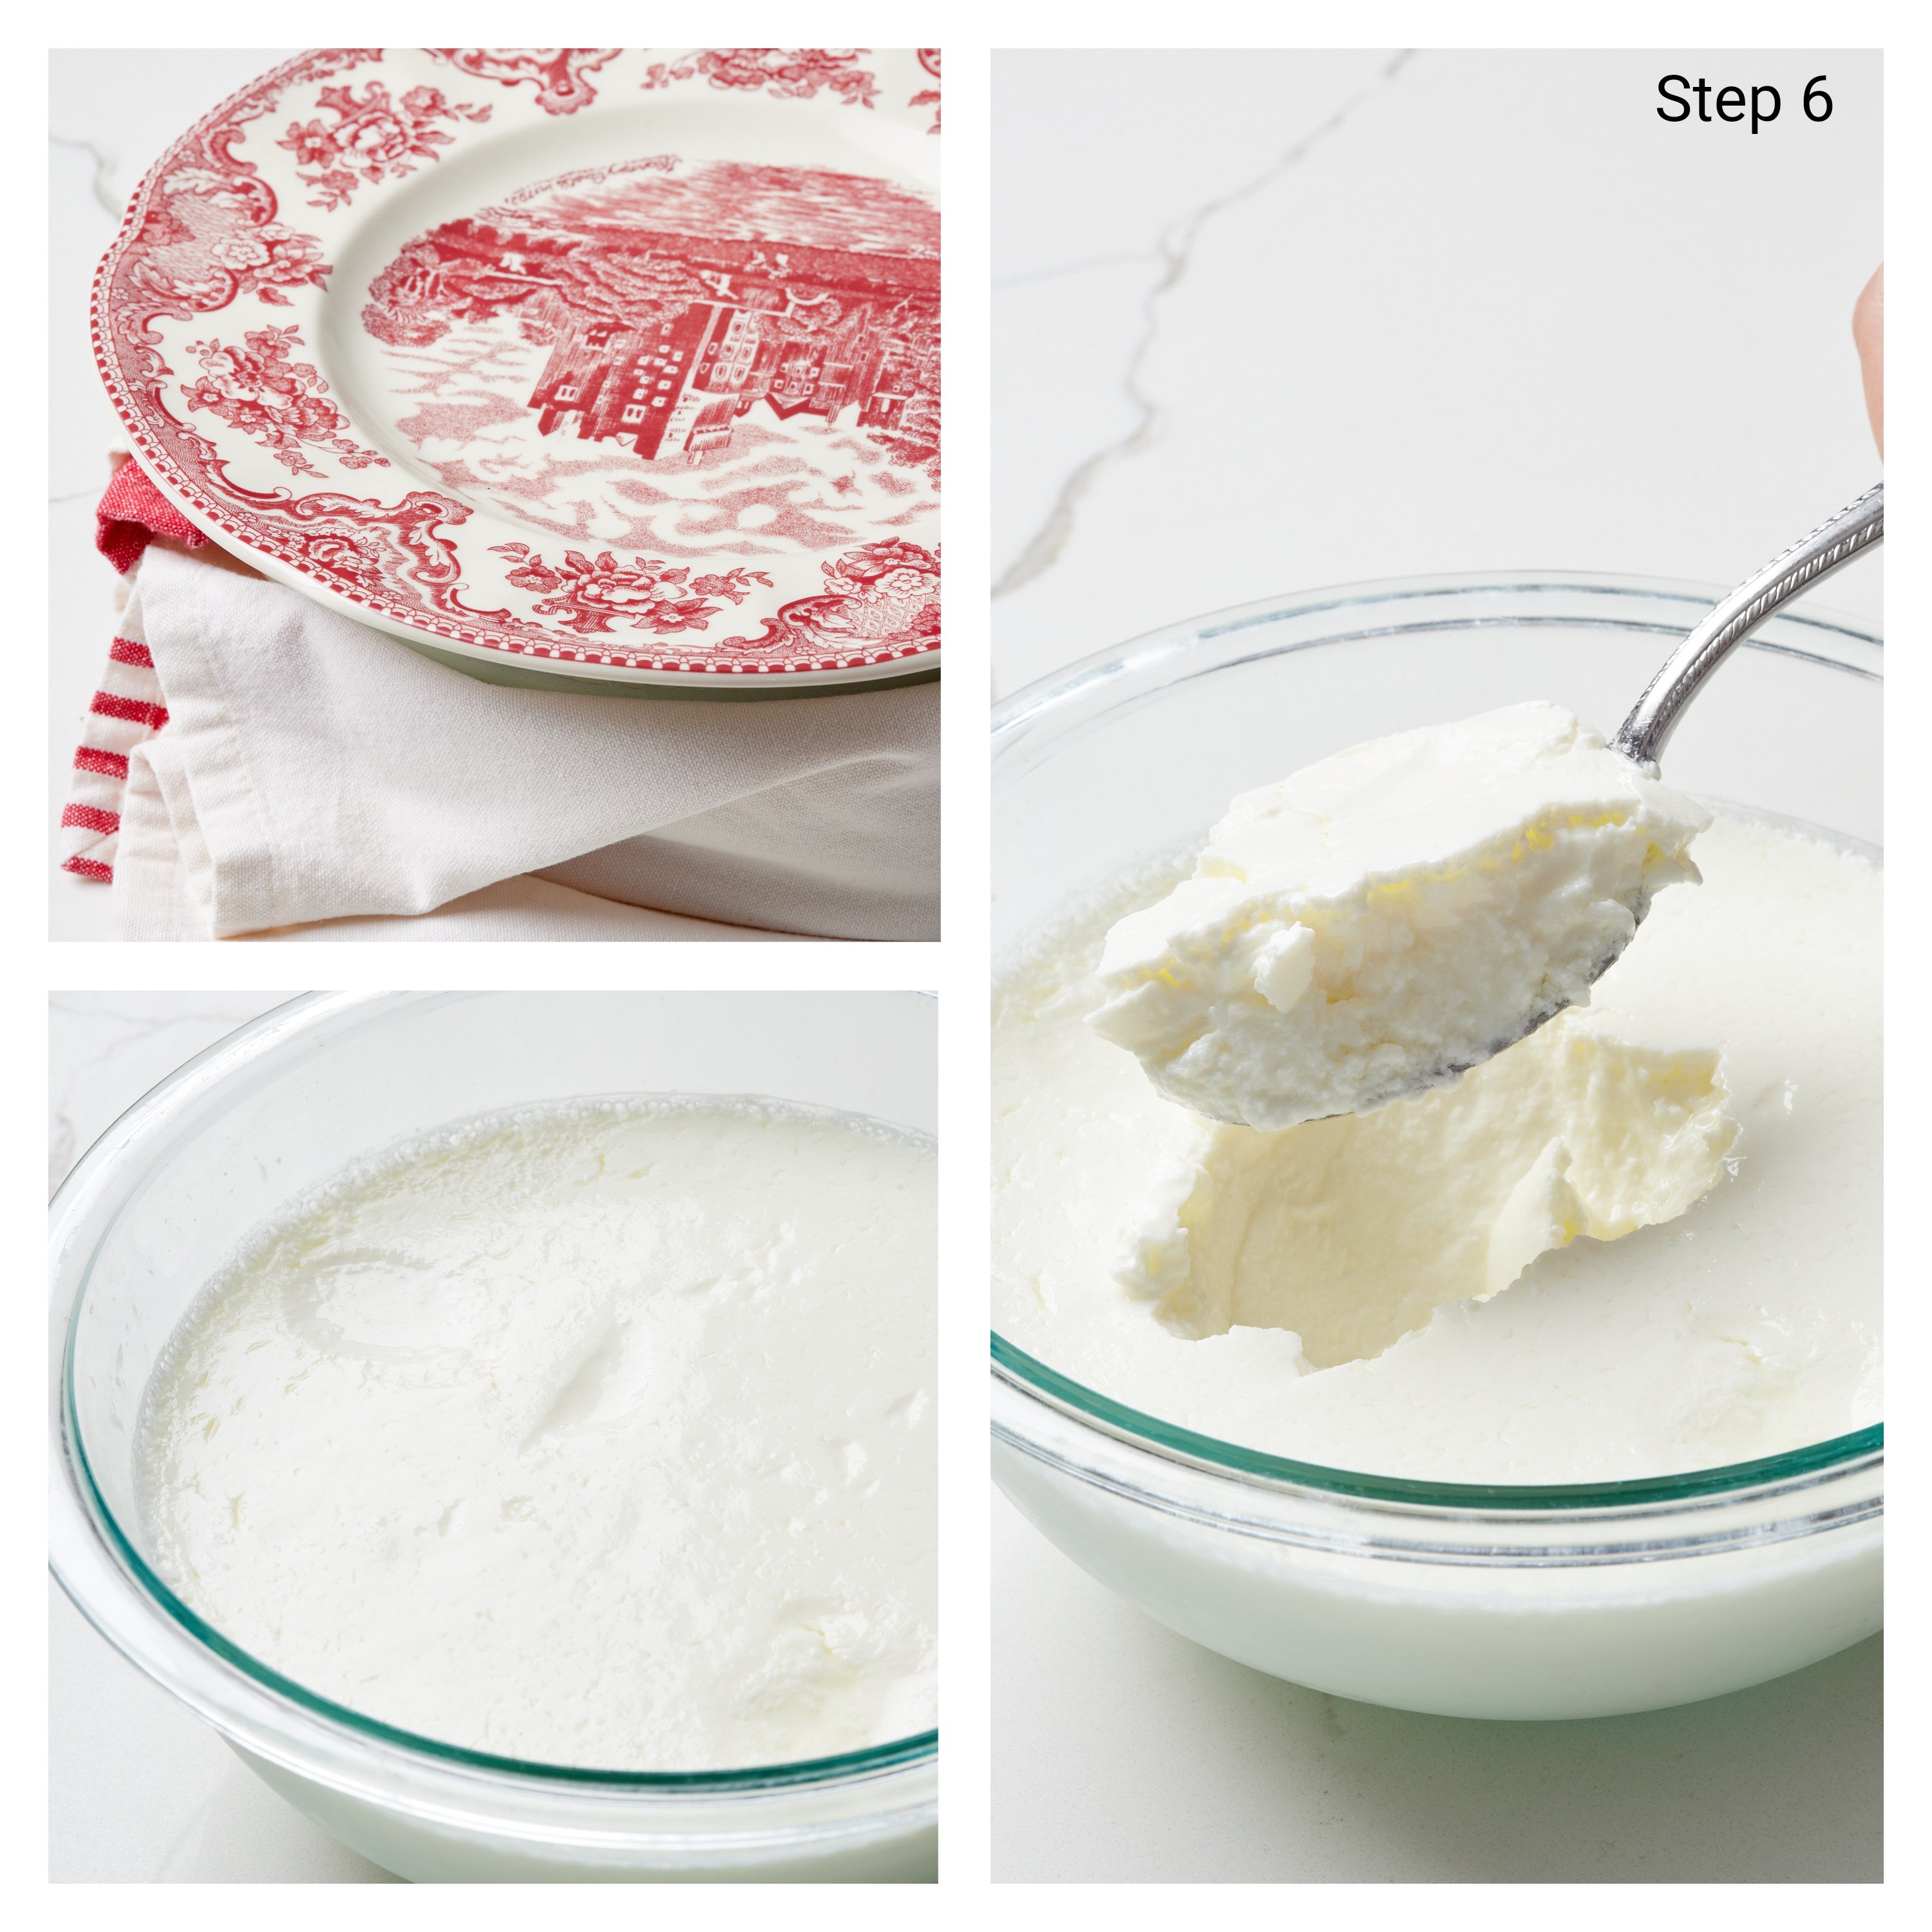
- Put in a warm spot: Cover the bowl with a lid or a plate, then wrap the bowl in a few tea towels to keep it insulated and place in a warm, draft-free spot for 6 hours. (see notes).
- Monitor the mixture: Check that the yogurt is set before proceeding. If not, let the yogurt continue to rest for another hour or two.
Strain the yogurt
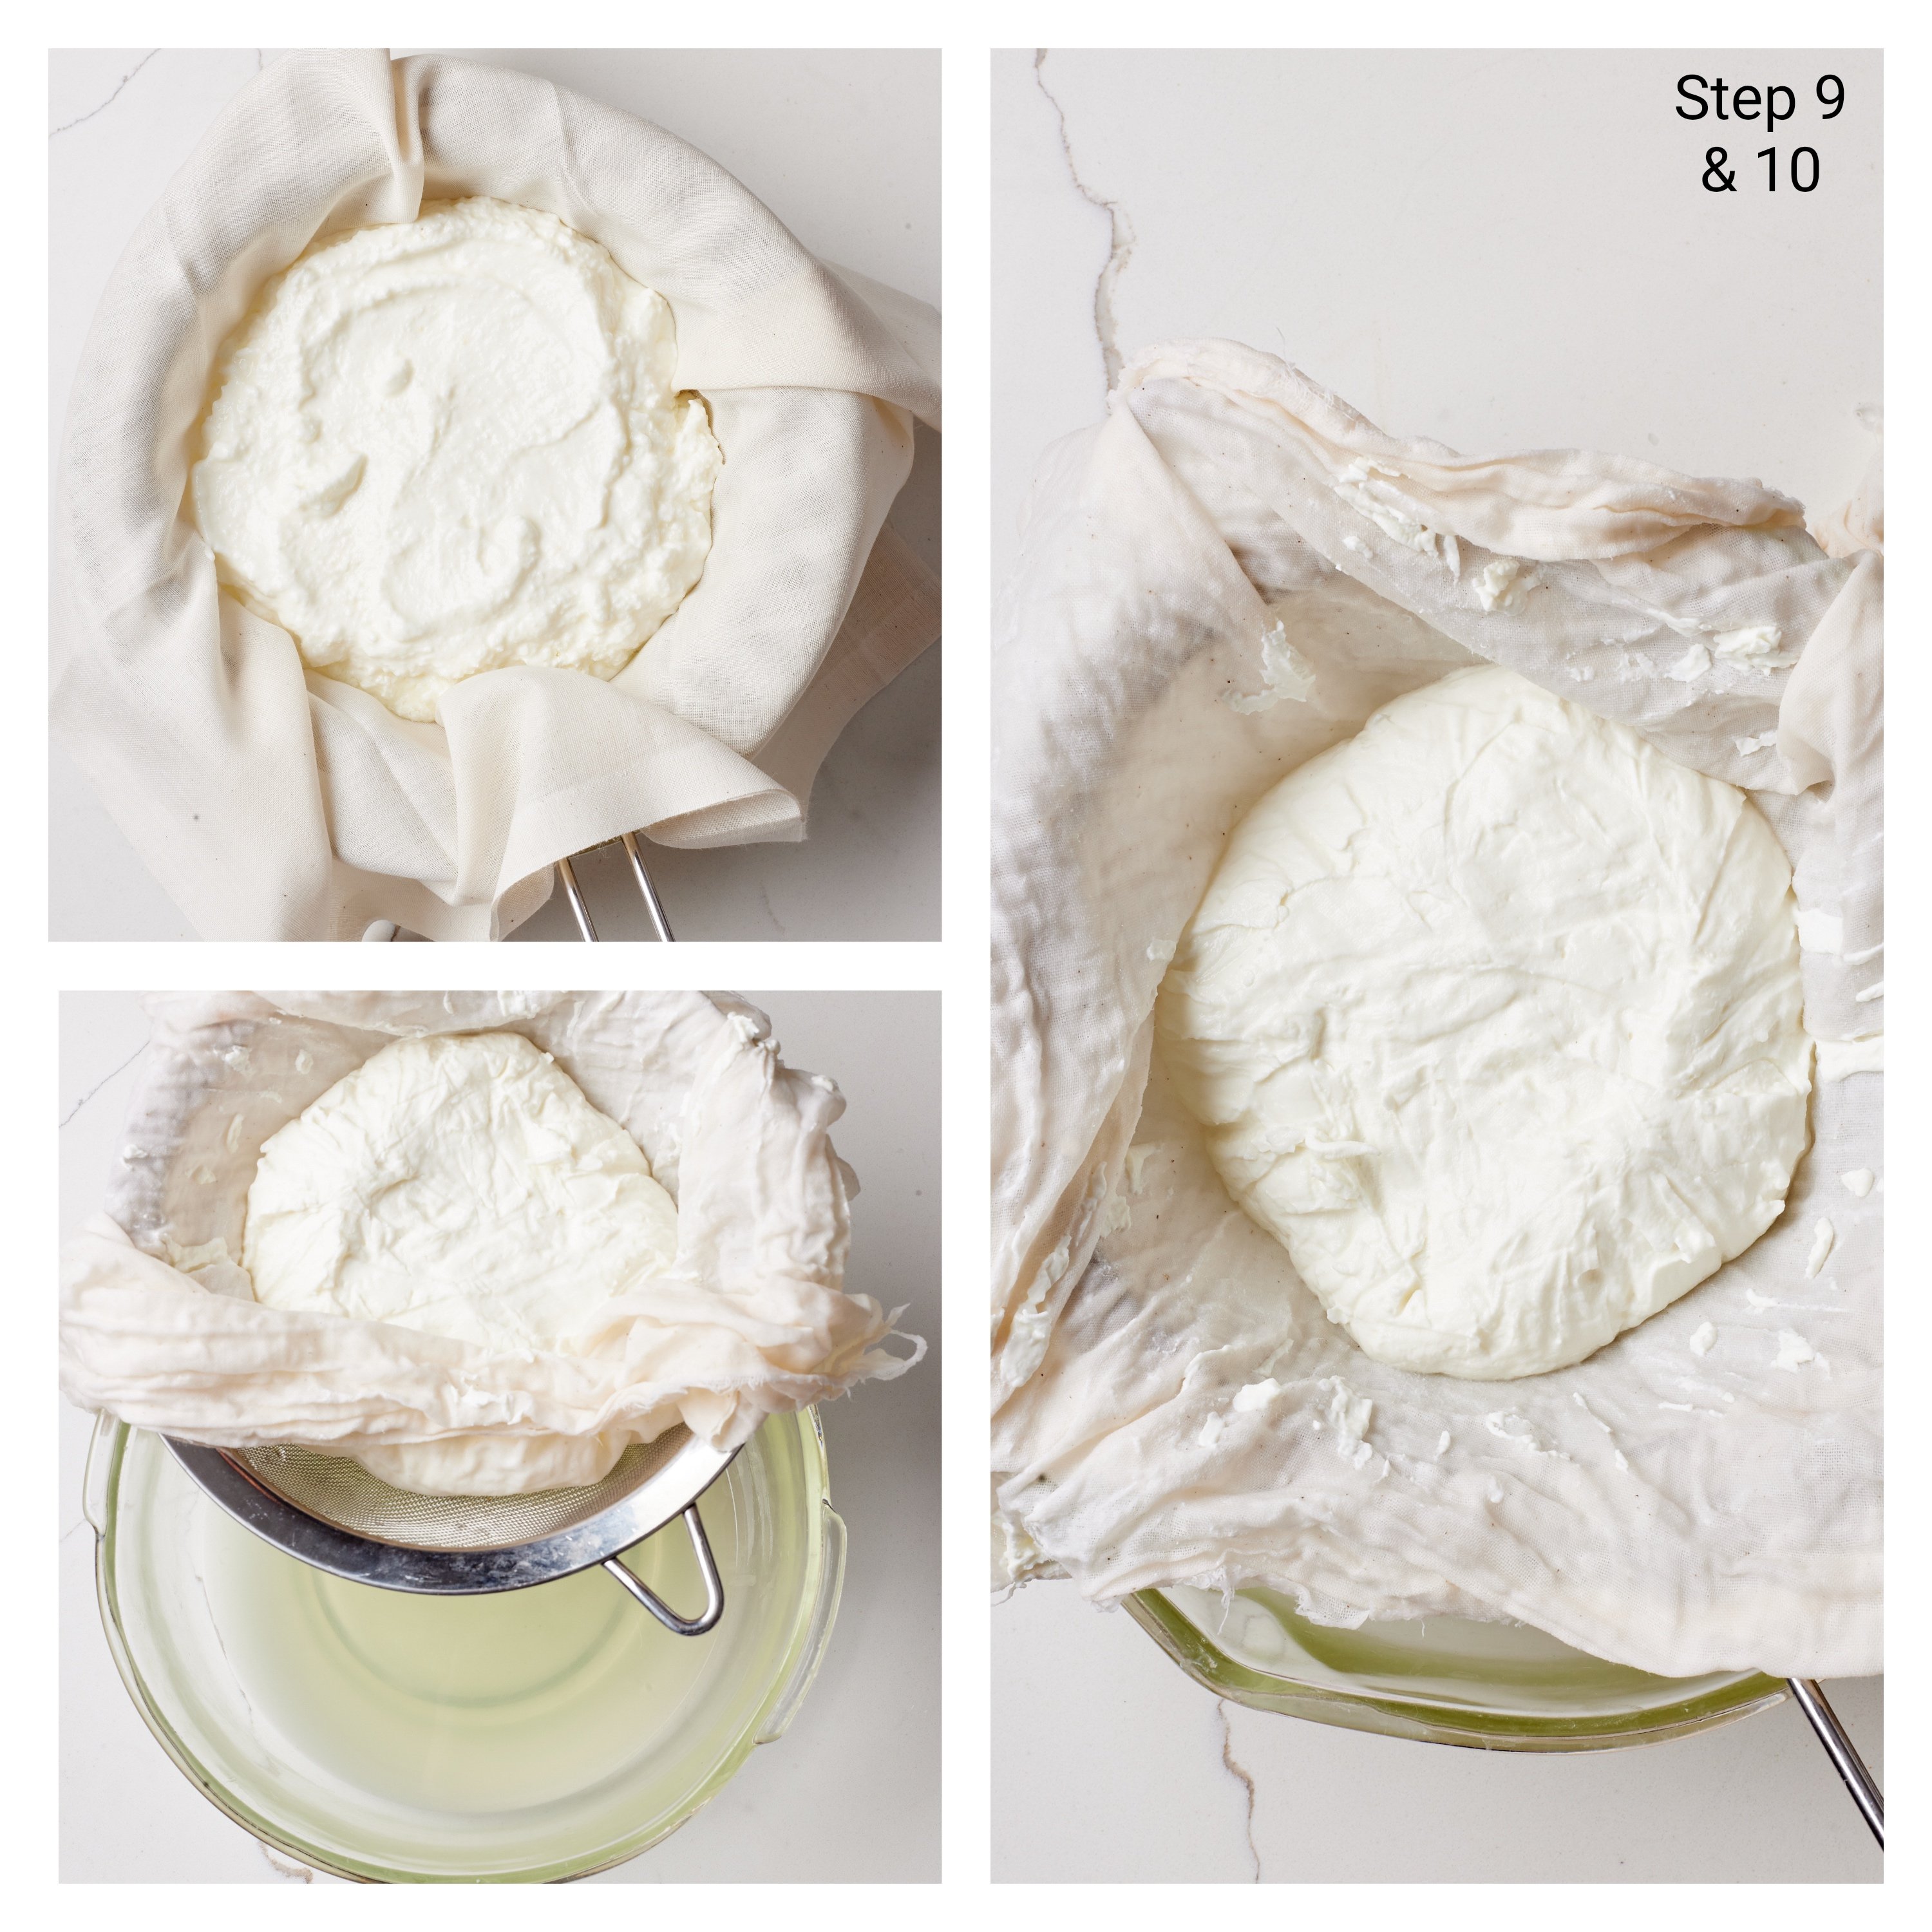
- Prepare to strain: Place a large sieve over a large bowl and line with 4 layers of cheesecloth. (see notes).
- Add yogurt to sieve: Gently scoop the yogurt into the lined sieve and fold the overhanging cloth on top of the yogurt.
- Let yogurt strain: Place this in the refrigerator for 6 to 8 hours, or until desired thickness is reached.
- Place in container: Carefully transfer your strained Greek yogurt to a lidded container, and keep refrigerated for up to 1 week.
FULL (PRINTABLE) RECIPE BELOW!
Gemma’s Pro Chef Tips
- Heating is crucial: Heating the milk kills off any harmful bacteria.
- Thermometer optional: We go by look and feel when heating and cooling the milk, but if you feel more comfortable, you can use a thermometer.
- Creamier result: Some yogurt recipes will have you remove the milk from the heat just after it simmers, but cooking it for a few minutes longer will give you a creamier, richer yogurt.
- Milk options: We recommend whole milk, but you can also use low-fat or non-fat milk. If you do, adding 2 tablespoons of milk powder while you are heating it will give the yogurt a bit more body.
- Active cultures are a must: Be sure that the yogurt you are using as a starter contains active cultures. You can also use a yogurt starter if you aren’t sure.
- Warming tips: The milk needs to stay at about 100°F/38°C for the full 6 hours for the yogurt to properly set. My oven has a proof setting, which we have found keeps things warm enough. If you don’t have a proof setting, you can still use your oven: just turn the oven on for 1 to 2 minutes, then turn it off and place the yogurt inside. Every hour or two, check that it is still warm there; otherwise, turn the oven on again for 1 minute, and then turn it off.
- Variation: If you prefer plain yogurt instead of Greek, just refrigerate it for 6-8 hours after if had set without straining it.
- Cheesecloth tip: Cheesecloth can come with a very open weave or be finely woven. If your cheesecloth is tight-knit, you may only need two layers of cloth.
- Straining option: Instead of cheesecloth, you can line your sieve with a single layer of large coffee filter, though not as much liquid will strain, and your yogurt will be a bit looser.
- Don’t waste whey: The liquid left in the bowl after straining is whey. It’s high in protein and vitamins. This can be stored in a separate jar and used for smoothies, in a marinade, or to cook grains.
- So many uses: This Greek yogurt can be enjoyed plain or with fresh fruit or sweetened with honey, maple syrup, or a dollop of jam. Use it on chili or soups, Enjoy it with granola, or on top of a slice of pie, or spooned on a simple cake
Make Ahead and Storage Instructions
- Make ahead instructions: You can make the Greek Yogurt and store it for up to one week.
- How to store leftovers: Store the homemade Greek yogurt in a lidded container in the refrigerator.
- The yogurt keeps in the fridge for up to one week.

FAQs
Yes, it’s safe.
Cooking the yogurt to 180°F (82°C) pasteurizes the milk and kills any bacteria.
Additionally, adding the active cultures from yogurt ferments the milk into yogurt, adding good bacteria.
The yogurt is good for up to one week.
Discard the yogurt after one week.
If you see any of these signs before one week, discard the yogurt: Mold
A curdled texture or grey color
An unpleasant odor
A chemical-like flavor.
Making Greek yogurt taste good is a matter of personal opinion- do you crave a robust tang, or do you like it milder?
To make tangier homemade Greek Yogurt: Use a yogurt starter that has a bold, tangy flavor you enjoy.
Allow the yogurt to set (ferment) longer. Fermenting it from 8 to 12 hours will give it more oomph. Note: after 6 hours of fermentation, taste test every 2 hours to see if it’s tangy enough.
Add a little squeeze of fresh lemon juice after the fermentation.
To make milder homemade Greek Yogurt: Use a yogurt starter that’s milder.
Ferment for a slightly shorter time. Letting the yogurt set for 5 hours instead of 6 will lessen the tanginess.
When the yogurt is done, stir in a teaspoon of cream to add a milder flavor.
Yes, Greek Yogurt is a dairy product. Traditionally, it is made with sheep or cow milk, but in the United States, Greek-style yogurt like ours is made with cow’s milk.
Greek Yogurt has lactose, but it has significantly less lactose than regular yogurt.
It has 30-50% less lactose than regular yogurt
Yes, you can absolutely make Greek Yogurt in an Instant Pot. You will need a model with a “yogurt” setting.
Here’s how to make yogurt in an instant pot: Heat the milk using the “yogurt” setting.
Cool the milk, stir in the starter, and let the mixture sit for 6-12 hours.
Strain the yogurt.
You can choose the method that’s right for you, but I prefer the stovetop Greek Yogurt recipe because it requires no special equipment and is interesting and fun!
Yes, dogs and cats can eat plain Greek yogurt without sweeteners in moderation (a small spoonful on top of regular food).
The probiotics help digestion.
It’s a good source of protein.
Note that some cats might be sensitive to the dairy.
More Staple Recipes
- How to Make Homemade Mozzarella
- Homemade Dumpling Wrappers
- How to Make Homemade Peanut Butter
- Homemade Pizza Sauce
- How to Make Cream Cheese
Watch The Recipe Video!
Greek Yogurt

Ingredients
- 4 cups (32 fl oz/960 ml) whole milk
- 2 tablespoons plain yogurt
Instructions
To Make the Yogurt
- Place the milk in a sturdy, high-sided saucepan over medium heat until it just begins to simmer.
- Lower the heat and stir gently for 5 minutes, keeping the milk just under a boil (roughly 180°F/82°C) the whole time. If it begins to rise up and threaten to bubble over, lower the heat slightly.
- Pour the milk into a heat-proof bowl and let cool until you can comfortably hold your finger in the milk for about 5-10 seconds (about 100°F/38°C). Stir regularly as it cools.
- If any skin has formed on the surface of the milk as it cools, lift it off the milk and discard it before proceeding to the next step.
- In a small bowl, whisk the plain yogurt with a few tablespoons of the warm milk to loosen it, then stir the yogurt into the milk.
To Set the Yogurt
- Cover the bowl with a lid or a plate, then wrap the bowl in a few tea towels to keep it insulated and place in a warm, draft-free spot for 6 hours. (see notes)
- Check that the yogurt is set before proceeding. If not, let the yogurt continue to rest for another hour or 2.
To Strain the Yogurt
- Place a large sieve over a large bowl and line with 4 layers of cheesecloth. (see notes)
- Gently scoop the yogurt into the lined sieve and fold the overhanging cloth on top of the yogurt.
- Place this in the refrigerator for 6 to 8 hours, or until desired thickness is reached.
- Carefully transfer your strained Greek yogurt to a lidded container, and keep refrigerated for up to 1 week.



Hi Gemma,
Do you have to remove the milk skin?
Also, is it necessary to “hold” the scalded milk at 180ºF for any length of time?
What might happen if you don’t do e8ther of these steps?
Thanks,
Sarah
Hi Gemma,
it’s been awhile but I have to ask you. Have you ever made cold start yogurt in the Instant pot? I make it all the time. It’s so simple. I strain mine probably more than most but we like it quite thick. I’m sure you have seen recipes on the internet for it. If not, let me know and I will send it to you.
Pam
Don’t throw away the milk skin, it can be stored in a box refrigerated and when you have enough you can use it to make butter or clarified butter by cooking it.
Hi Gemma
Great recipe was just going to ask once this has set and has been cold in the fridge can I then add honey and keep in jars also how long will this last in the fridge.Thank you.
Hi, Gemma,
Thanks for the recipe! My husband wants to try this as he loves yogurt. Note: I think you want to insulate, not insult, your bowl. Funny error! Thanks for all the great recipes.